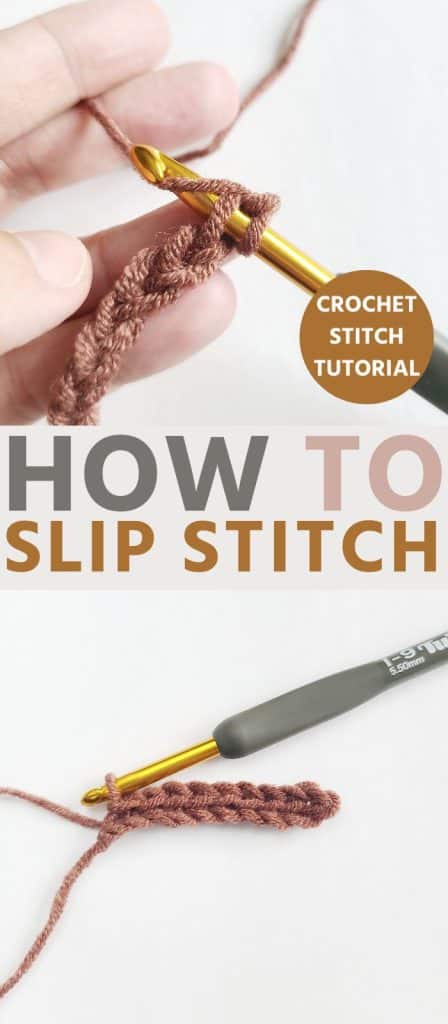
Learn the Slip Stitch (sl st) Crochet Stitch for Beginners
If you want to learn how to crochet a slip stitch, then you have come to the right place! Slip stitches are used in almost all types of crocheted patterns and are an important skill to learn for beginners.
A Sl St can be used to add details to crochet projects such as blankets, hats, scarfs, and home decor items.

What is a Slip Stitch in Crochet?
The slip stitch – abbreviated as sl st – in crochet is a basic but very useful stitch used throughout patterns and is most commonly used as a slip stitch join or slip stitch seam.
Crochet Slip Stitch (sl st)
- Insert hook into designated stitch
- YO (yarn over) and pull back through the st and through the loop on the hook.
The slip stitch is the shortest of all basic crochet stitches, and is really more of a technique than an actual stitch. Slip stitching is usually used to move yarn across a group of stitches without adding additional height to your project and create a tight fabric.
Using a slip stitch to join work in the round is a common practice as well. It can also be used to surface crochet (aka a surface stitches) on projects to create words and design. A surface slip stitch is often used in surface crochet.
You sometimes may see the slip stitch shown as a chart symbol in patterns, too. Each stitch has a symbol that corresponds to that stitch, so when they are grouped together, it is another way to read a pattern. Take a look at the chart symbol that represents a slip stitch below.

Below, I’ve created a more detailed picture tutorial with step-by-step bullet points showing you exactly how to create a crochet slip stitch. We’ve also linked to the fantastic video tutorial created by HappyBerry Crochet if learning crochet stitches by video is more your style.
Crochet Materials Needed to Make a Slip Stitch
So, what do you need to get started making a slip stitch in crochet?
Well… not much! To get started with the crochet slip stitch tutorial (sl st) you will need to have some yarn and a crochet hook! Any weight yarn will do, it’s just important that you find the corresponding crochet hook size that is recommended for that weight. You may also like to have a stitch marker on hand to help mark your slip stitches along the rows.
Items needed to learn the Slip Stitch (slst):
- Crochet Hook
- Yarn
- Stitch Marker

However, I recommend getting a skein of either Caron Simply Soft or Lion Brand Vanna’s Choice for this tutorial. These yarn types are of medium weight, which means they are easy to work. Fortunately, they are also easy to find at just about any craft store.
Since you’ll also need a crochet hook that is appropriate for medium-weight yarns, I recommend getting a 5.5 mm / I-9 crochet hook.
Once you have these crochet supplies and items in hand, you are ready to begin learning how to crochet the slip stitch!
How to Crochet a Slip Stitch (sl st)
Skill Level: Basic
Materials
- Yarn: Any yarn weight will work. I used a four weight yarn (Color Theory Yarn)
- Hook: Any size crochet hook as long as it corresponds with the yarn you are using (find the recommended hook size on the label of the skein of yarn) I am using a 5.5 mm hook.
- Stitch Marker: Stitch markers are good to help mark the number of stitches along the row.

Crochet Stitches & Abbreviations
Chain Stitch (CH): A simple crochet stitch that often forms the foundation of what crochet stitches are worked into during projects.
- Make a slip knot.
- Insert hook into slip knot point first, bring yarn over the shaft of the hook from back to front and grab it with the throat of the hook.
- Draw hooked yarn through slip knot and onto the hook. This movement will make one chain stitch
- Repeat steps two and three until you have the desired number of stitches for a pattern. One loop will remain on hook.
Notes
- Written in standard US terms
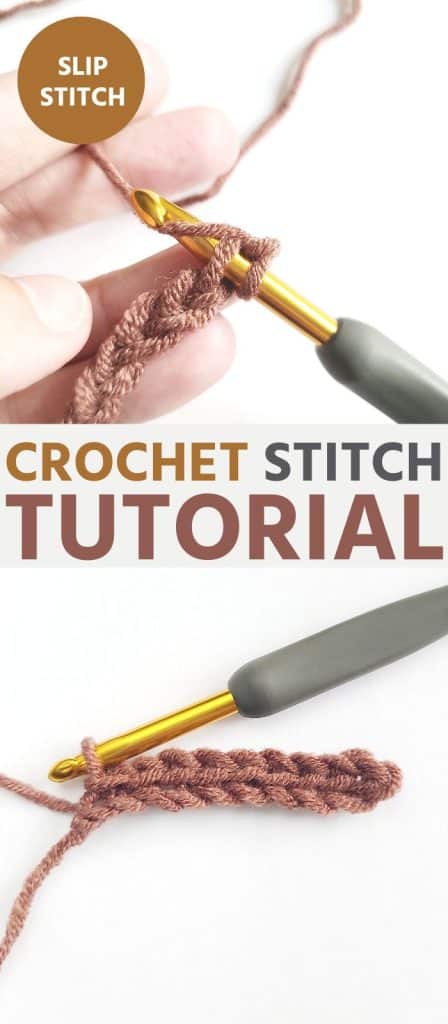
Crochet Slip Stitch Tutorial Steps
This is a step-by-step tutorial on how to make a slip stitch (sl st) in crochet. I use this stitch quite often in my free crochet patterns, so knowing this stitch is a must!
Step 1
Start by creating a crocheted foundation chain

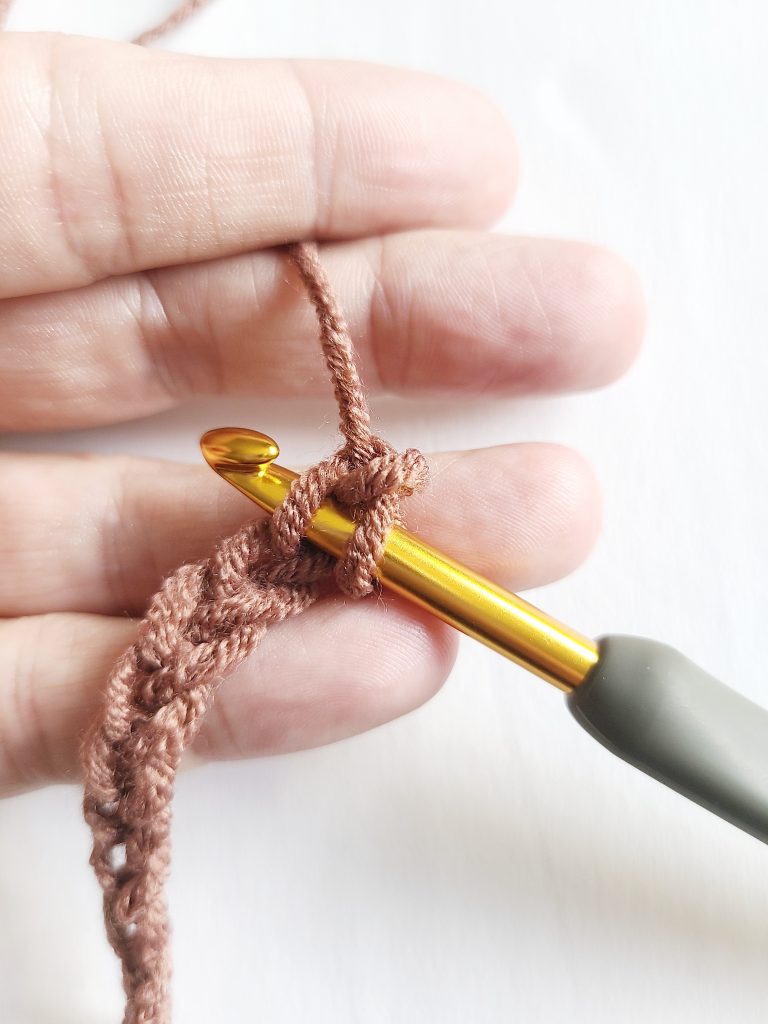
Step 2
Insert your hook into the 2nd chain (ch) from the hook when working the first row. If you are in the middle of a project that calls for a slip stitch, make sure to insert the hook under the back loop of the stitch:
Step 3
Yarn Over

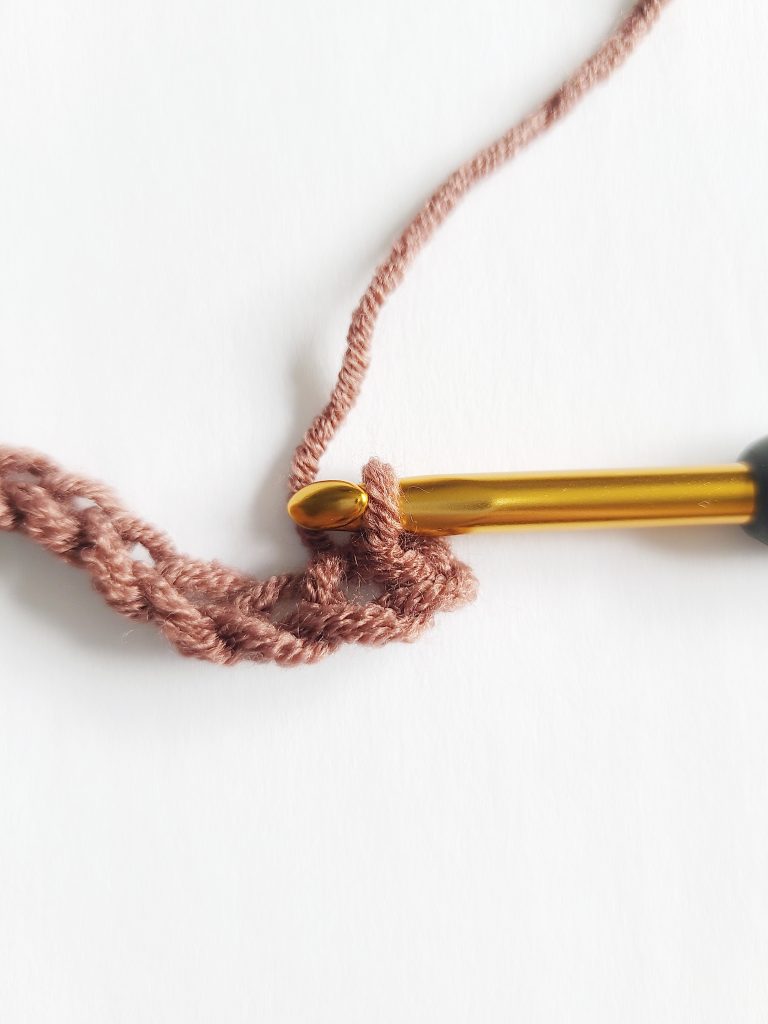
Step 4
Pull the yarn through two loops to complete the first stitch: You have now made your first slip stitch!
Step 5
Finally, insert your hook into the next stitch. Repeat these steps until the end of the row:
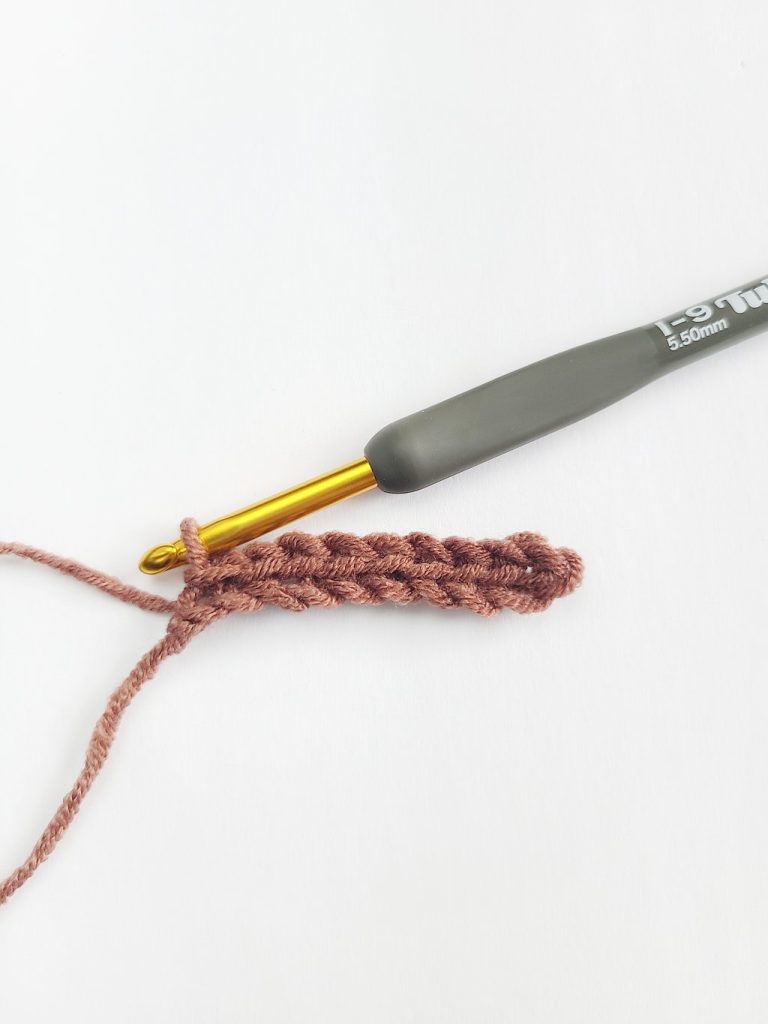
You are finished! You have now completed a row of slip stitches!
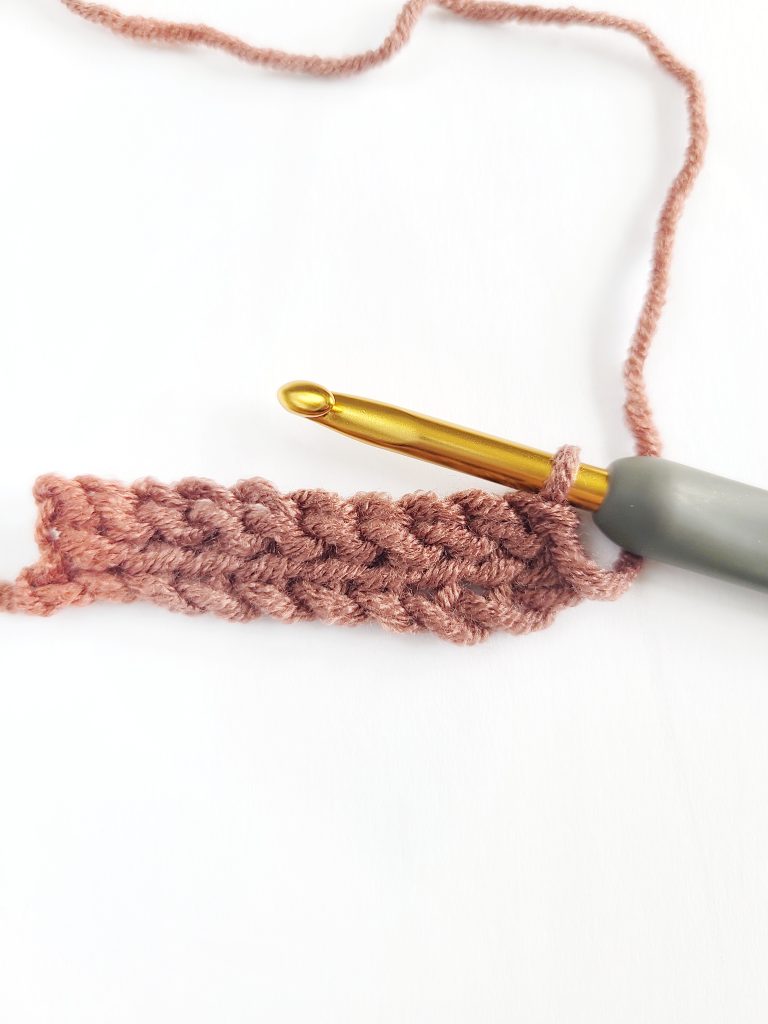
Second Row – and more: To continue on to the next row of slip stitches, you would need to chain 1 and then turn your work. Continue sl st along the top of the previous row’s sl sts (not the turning chain though) either in the front loop or the back loop depending on what the pattern you are following calls for.
The picture below shows a crocheted second row of slip stitches worked in the back loop of the stitch.
Slip Stitch Crochet Video Tutorial
A video sometimes helps to learn new crochet stitches easier. If you are new to crocheting, this video lesson will help you learn how to create a crochet slip stitch effortlessly. Enjoy!
Slip Stitch Edgings
There are many types of crochet borders or edgings, but did you know you can use a slip stitch to create one too?
For a slip stitch edging, just create a slip stitch into every stitch. The slip stitches form a second layer of “V” shapes along the edge of whatever you are bordering. This pattern matches the “V” shapes that are already on top of your last row of stitches.
Slip Stitches for a Foundation Ring
Slip stitches can also be used to form a ring to use in circular crochet patterns like granny squares, tubes for socks, and even gloves.
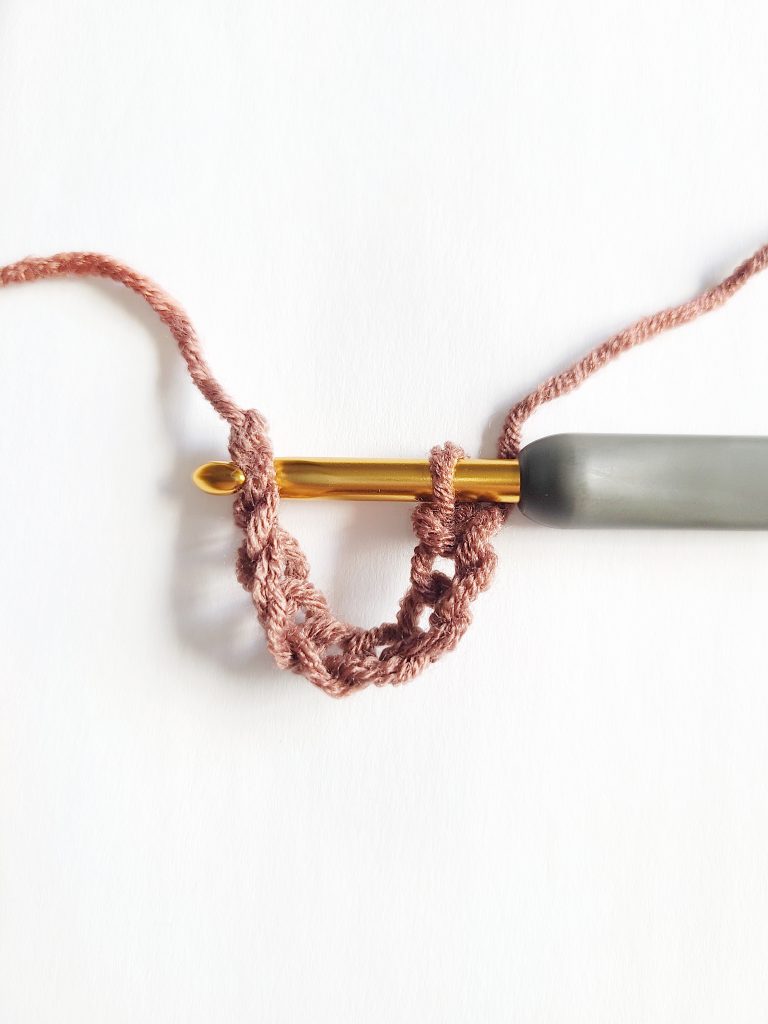
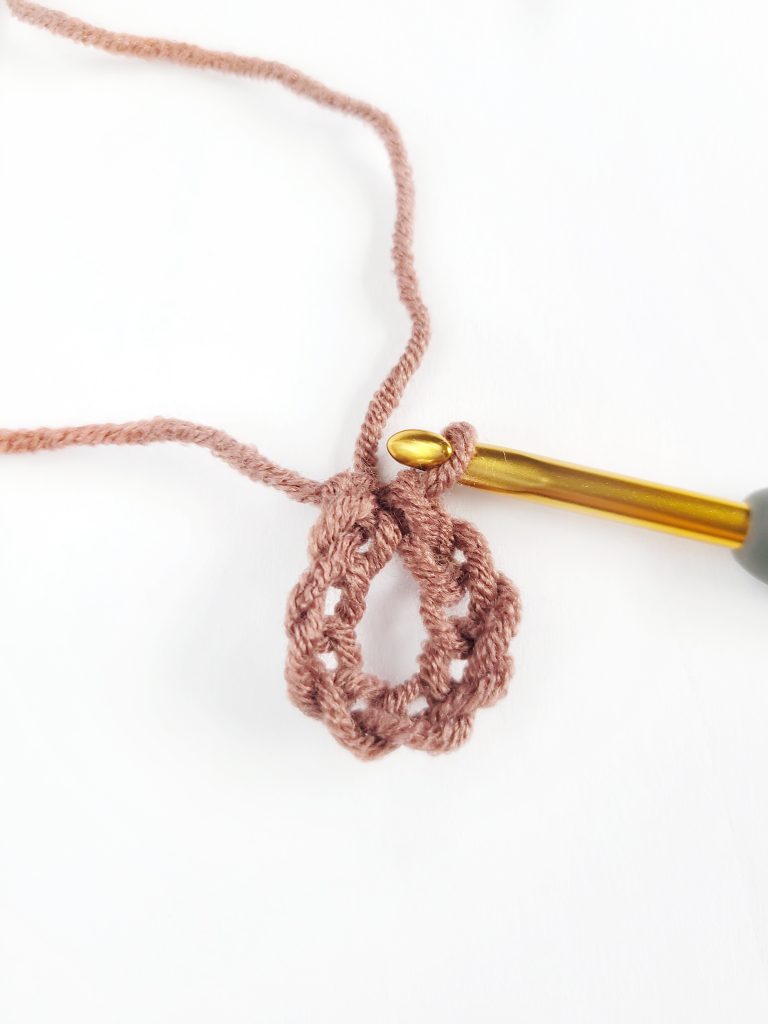
How to Make a Foundation Ring
Make any number of chains (or follow along with a pattern), then insert the crochet hook through the first chain that you made. Wrap the yarn around the hook and pull it back through that first chain and the last ch (the one on your crochet hook) to complete a ring.
You Just Crocheted a Slip Stitch
You just learned how to crochet the slip stich! Now you are ready to tackle a beginner crochet pattern using this stitch. I suggest my Striped Crochet Blanket or Mix it up Crochet Scarf free pattern. These are both a crochet project that I recommend crochet beginners to begin learning to crochet with.
Share this on social media or Pin to save for later.
More Basic Crochet Stitches To Learn
A few more common crochet stitches that are great to learn are single crochet stitches, half double crochets and double crochets. Learn more about each one of these simple stitches below.
Single Crochet (sc): Single Crochet Stitch Tutorial
- Insert hook from front to back in the second chain from the hook or designated stitch
- Bring the yarn over (YO) the hook and pull the yarn back through the chain (or stitch) from back to front (2 loops on hook).
- YO and pull through both loops on the hook.
Half Double Crochet (hdc): Half Double Crochet Tutorial
- YO (yarn over) insert hook from front to back of the designated stitch, YO the hook and pick up a loop.
- YO the hook and pull back through all three loops on the hook.
Double Crochet (dc): Double Crochet Tutorial
- Wrap the yarn over (YO) the hook, insert the hook into the specified st.
- YO the hook again, draw the yarn through the st, so there are 3 loops on the hook
- YO the hook again draw it through 2 loops, so there are 2 loops on the hook
- YO the hook, draw it through the final 2 loops.
You May Enjoy These Crochet Stitches Too
- Crochet Puff Stitch Tutorial with Photos
- Whip Stitch Crochet Seaming Technique
- Half Double Crochet Slip Stitch (hdc slst) for Beginners
- Single Crochet Increase Tutorial (sc inc)
- Creating Seams Using the Mattress Stitch
- Single Crochet Two Together (Single Crochet Decrease)
- How to Crochet a Cable Stitch
- Crochet Moss Stitch Tutorial (Written, Photo and Chart)
- How to Crochet a Granny Stripe in Rows
- How to Make a Crochet Rib Stitch (Photo Tutorial)
- How to Crochet the Shell Stitch (Step-by-Step Instructions)
- How to Crochet the Waffle Stitch
- C2C Crochet (Corner to Corner) for Beginners: Video + Photos
- 8 Easy Crochet Stitches for Baby Blankets
- How to Single Crochet Back Loop Only (SC BLO)
- Half Double Crochet Decrease (Half Double Crochet Two Together)
- Textured Crochet Stitches You Need to Try
- Beginner’s Tutorial on Making a Slip Knot in Crochet
- How to Triple Crochet (tr)
- How to Crochet the Bobble Stitch (BO)
- Step-by-Step Guide: The Herringbone Half Double Crochet (HHDC) Stitch
- Half Double Crochet Third Loop Tutorial
Why do I feel like the slip stitch is the same as a single crochet stitch
Hi Danielle,
They are similar, but not the same. 🙂 Here is the single crochet tutorial that may help: https://easycrochet.com/single-crochet-tutorial/
Krista
You recently had a pattern for the Spike stitch, and I had started a blanket, but I had to change the type of yarn and took it all apart to start over. Now that pattern is gone and I am so bummed because it was a great stitch, but I can’t remember how to start it. Is there anyway you could re post that?
Hi Erin,
I think this may be it. https://easycrochet.com/2014/07/14/spike-stitch-crochet-tutorial/ Hope this works for you! 🙂
Krista
Thank you so much for your help. I’m trying my first little project and being that I have no idea what I’m doing I’ve now referred to two of your tutorials and found them tremendously helpful and easy to follow. Again, thank you and I wish you the very best in all your endeavors.
You are welcome! Glad to have you here!! 🙂