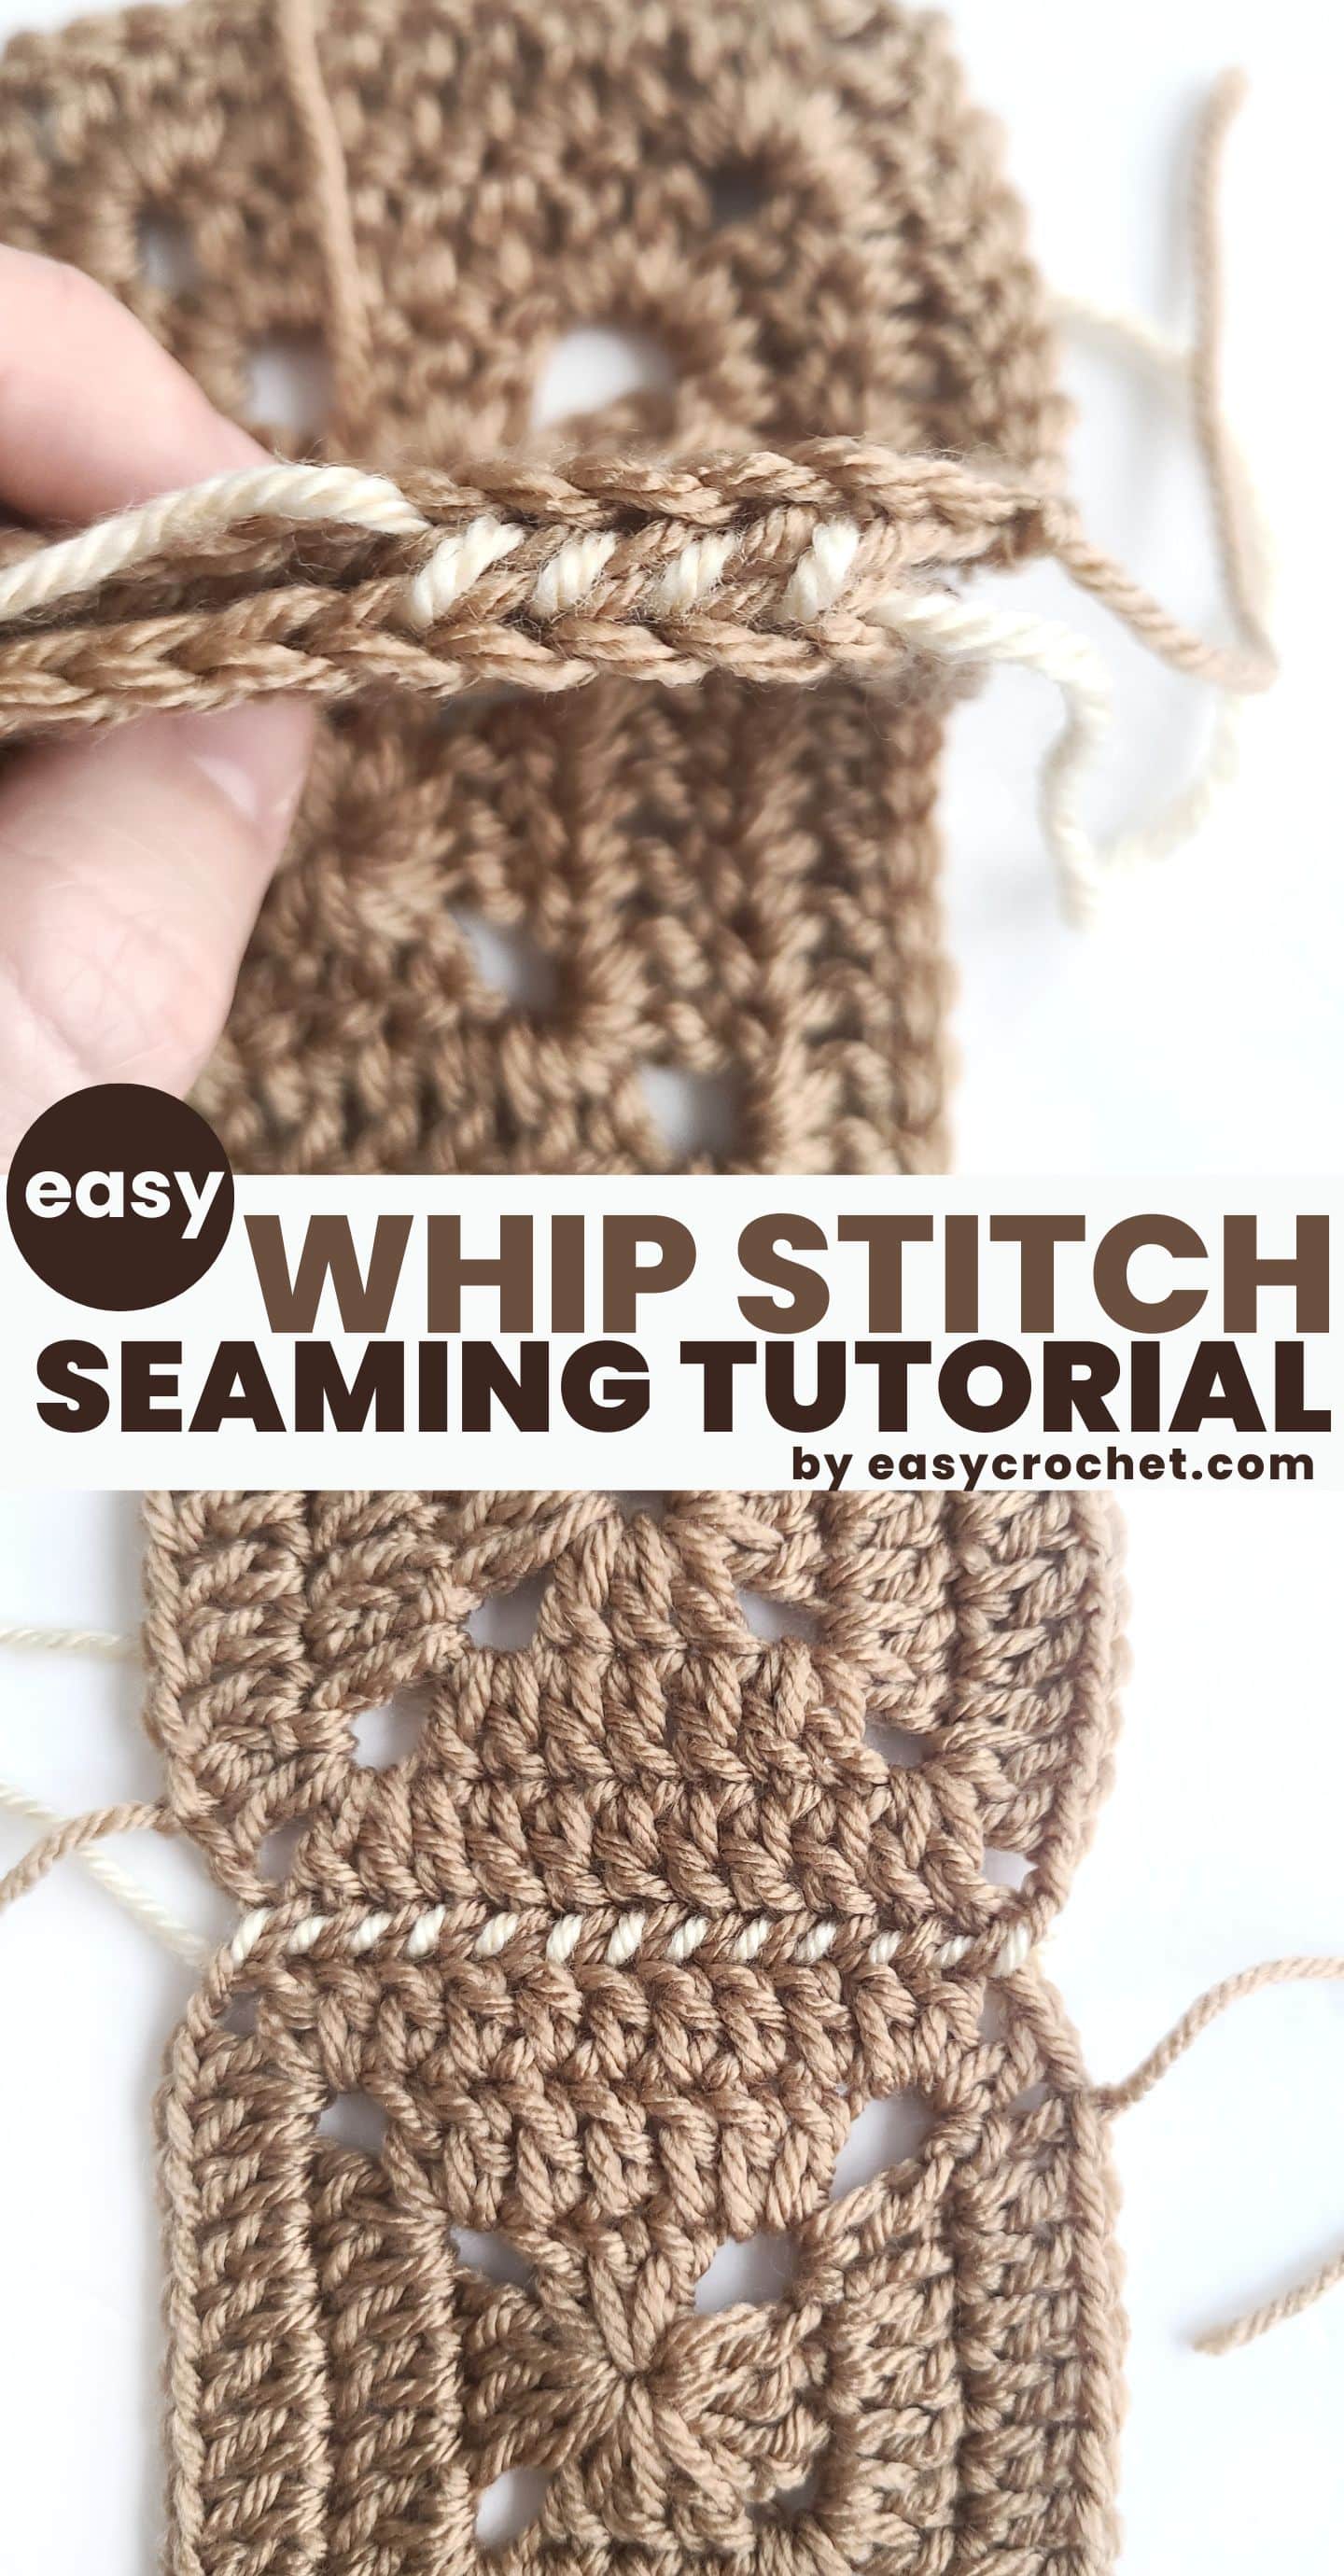
Whip Stitch Crochet Seaming Technique
The crochet whip stitch seam is a simple and versatile technique for joining two pieces of crochet fabric together.
This technique is commonly used for joining squares or rectangles to make blankets, scarves, and other projects. It is also a great way to add finishing touches to amigurumi or other three-dimensional crochet projects. The whip stitch creates a seamless and almost invisible join, making it a great choice for any project that requires a polished finish.
Materials Needed for a Whip Stitch Seam
In this tutorial, we will go over the materials and basic steps needed to create a whip stitch seam.
- Yarn Needle (aka tapestry needle)
- Yarn

You will need a yarn needle, yarn in the same color as the crochet pieces (the tutorial shows a different color to highlight the whip stitch), and the two pieces of crochet fabric that you wish to join. Make sure the pieces are aligned with the right sides facing each other before beginning the seam.
Let’s Get Started
Once you have your materials ready, we can move on to the step-by-step instructions for the whip stitch seam
Below, learn how to whip stitch in crochet to be able to join crochet pieces together easily.
Simple Whipstitch Seam Tutorial
Skill Level: Easy
Materials
- Yarn
- Tapestry Needle (aka yarn needle)
Notes
This crochet tutorial is written in standard US terms.
The Tutorial
Hold or align pieces to be joined with the right sides together.
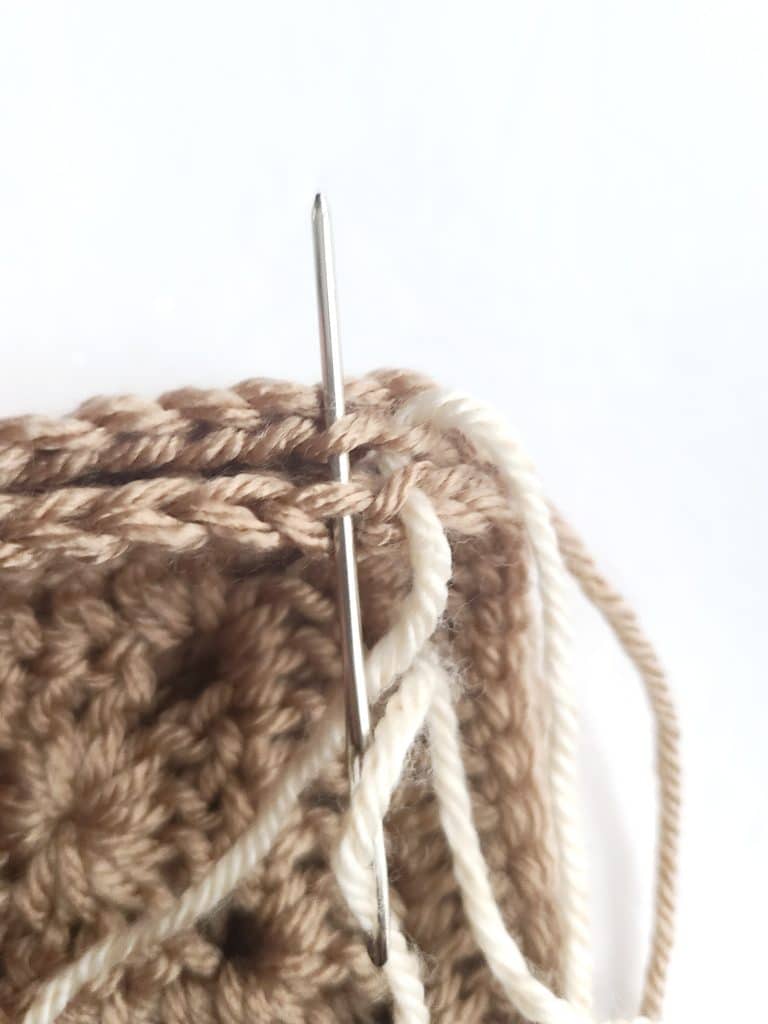
Insert the yarn needle through the back loop of the first stitch on one piece, and then through the corresponding stitch on the other piece.
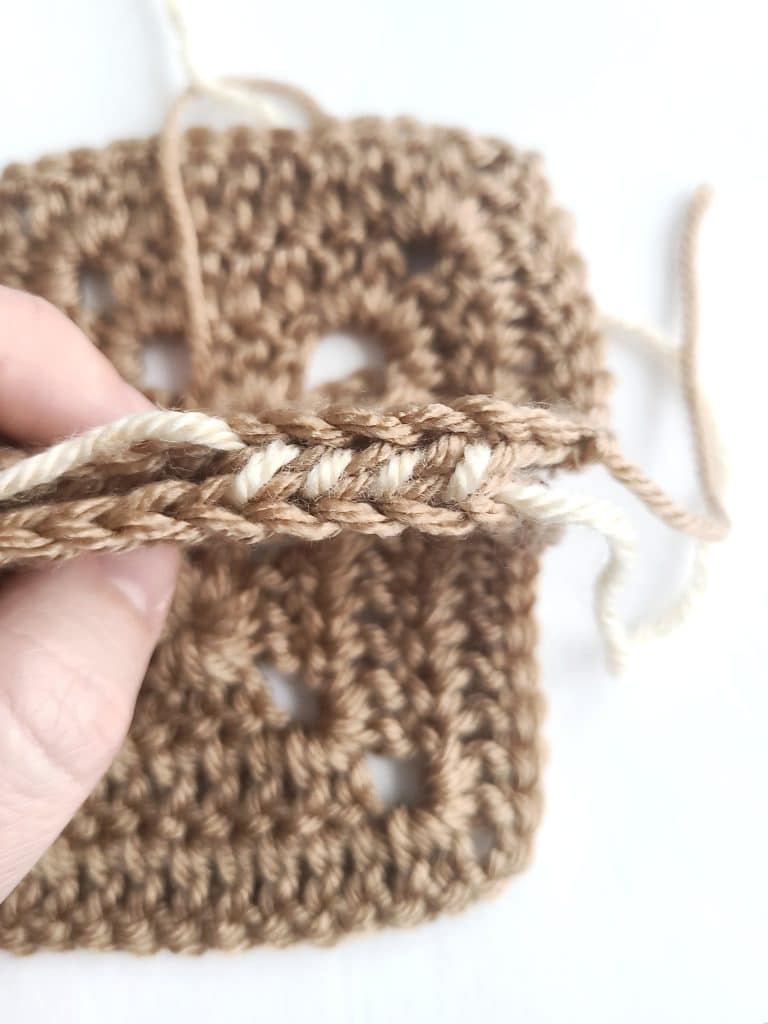
Pull through and repeat.
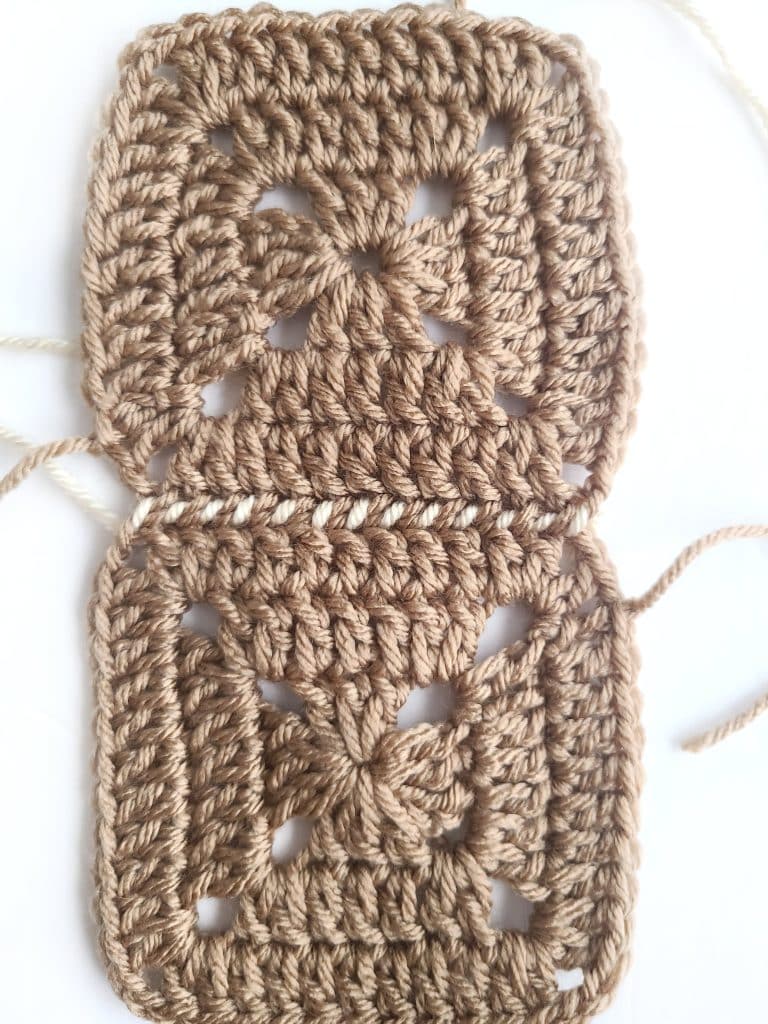
Continue across to make a seam.
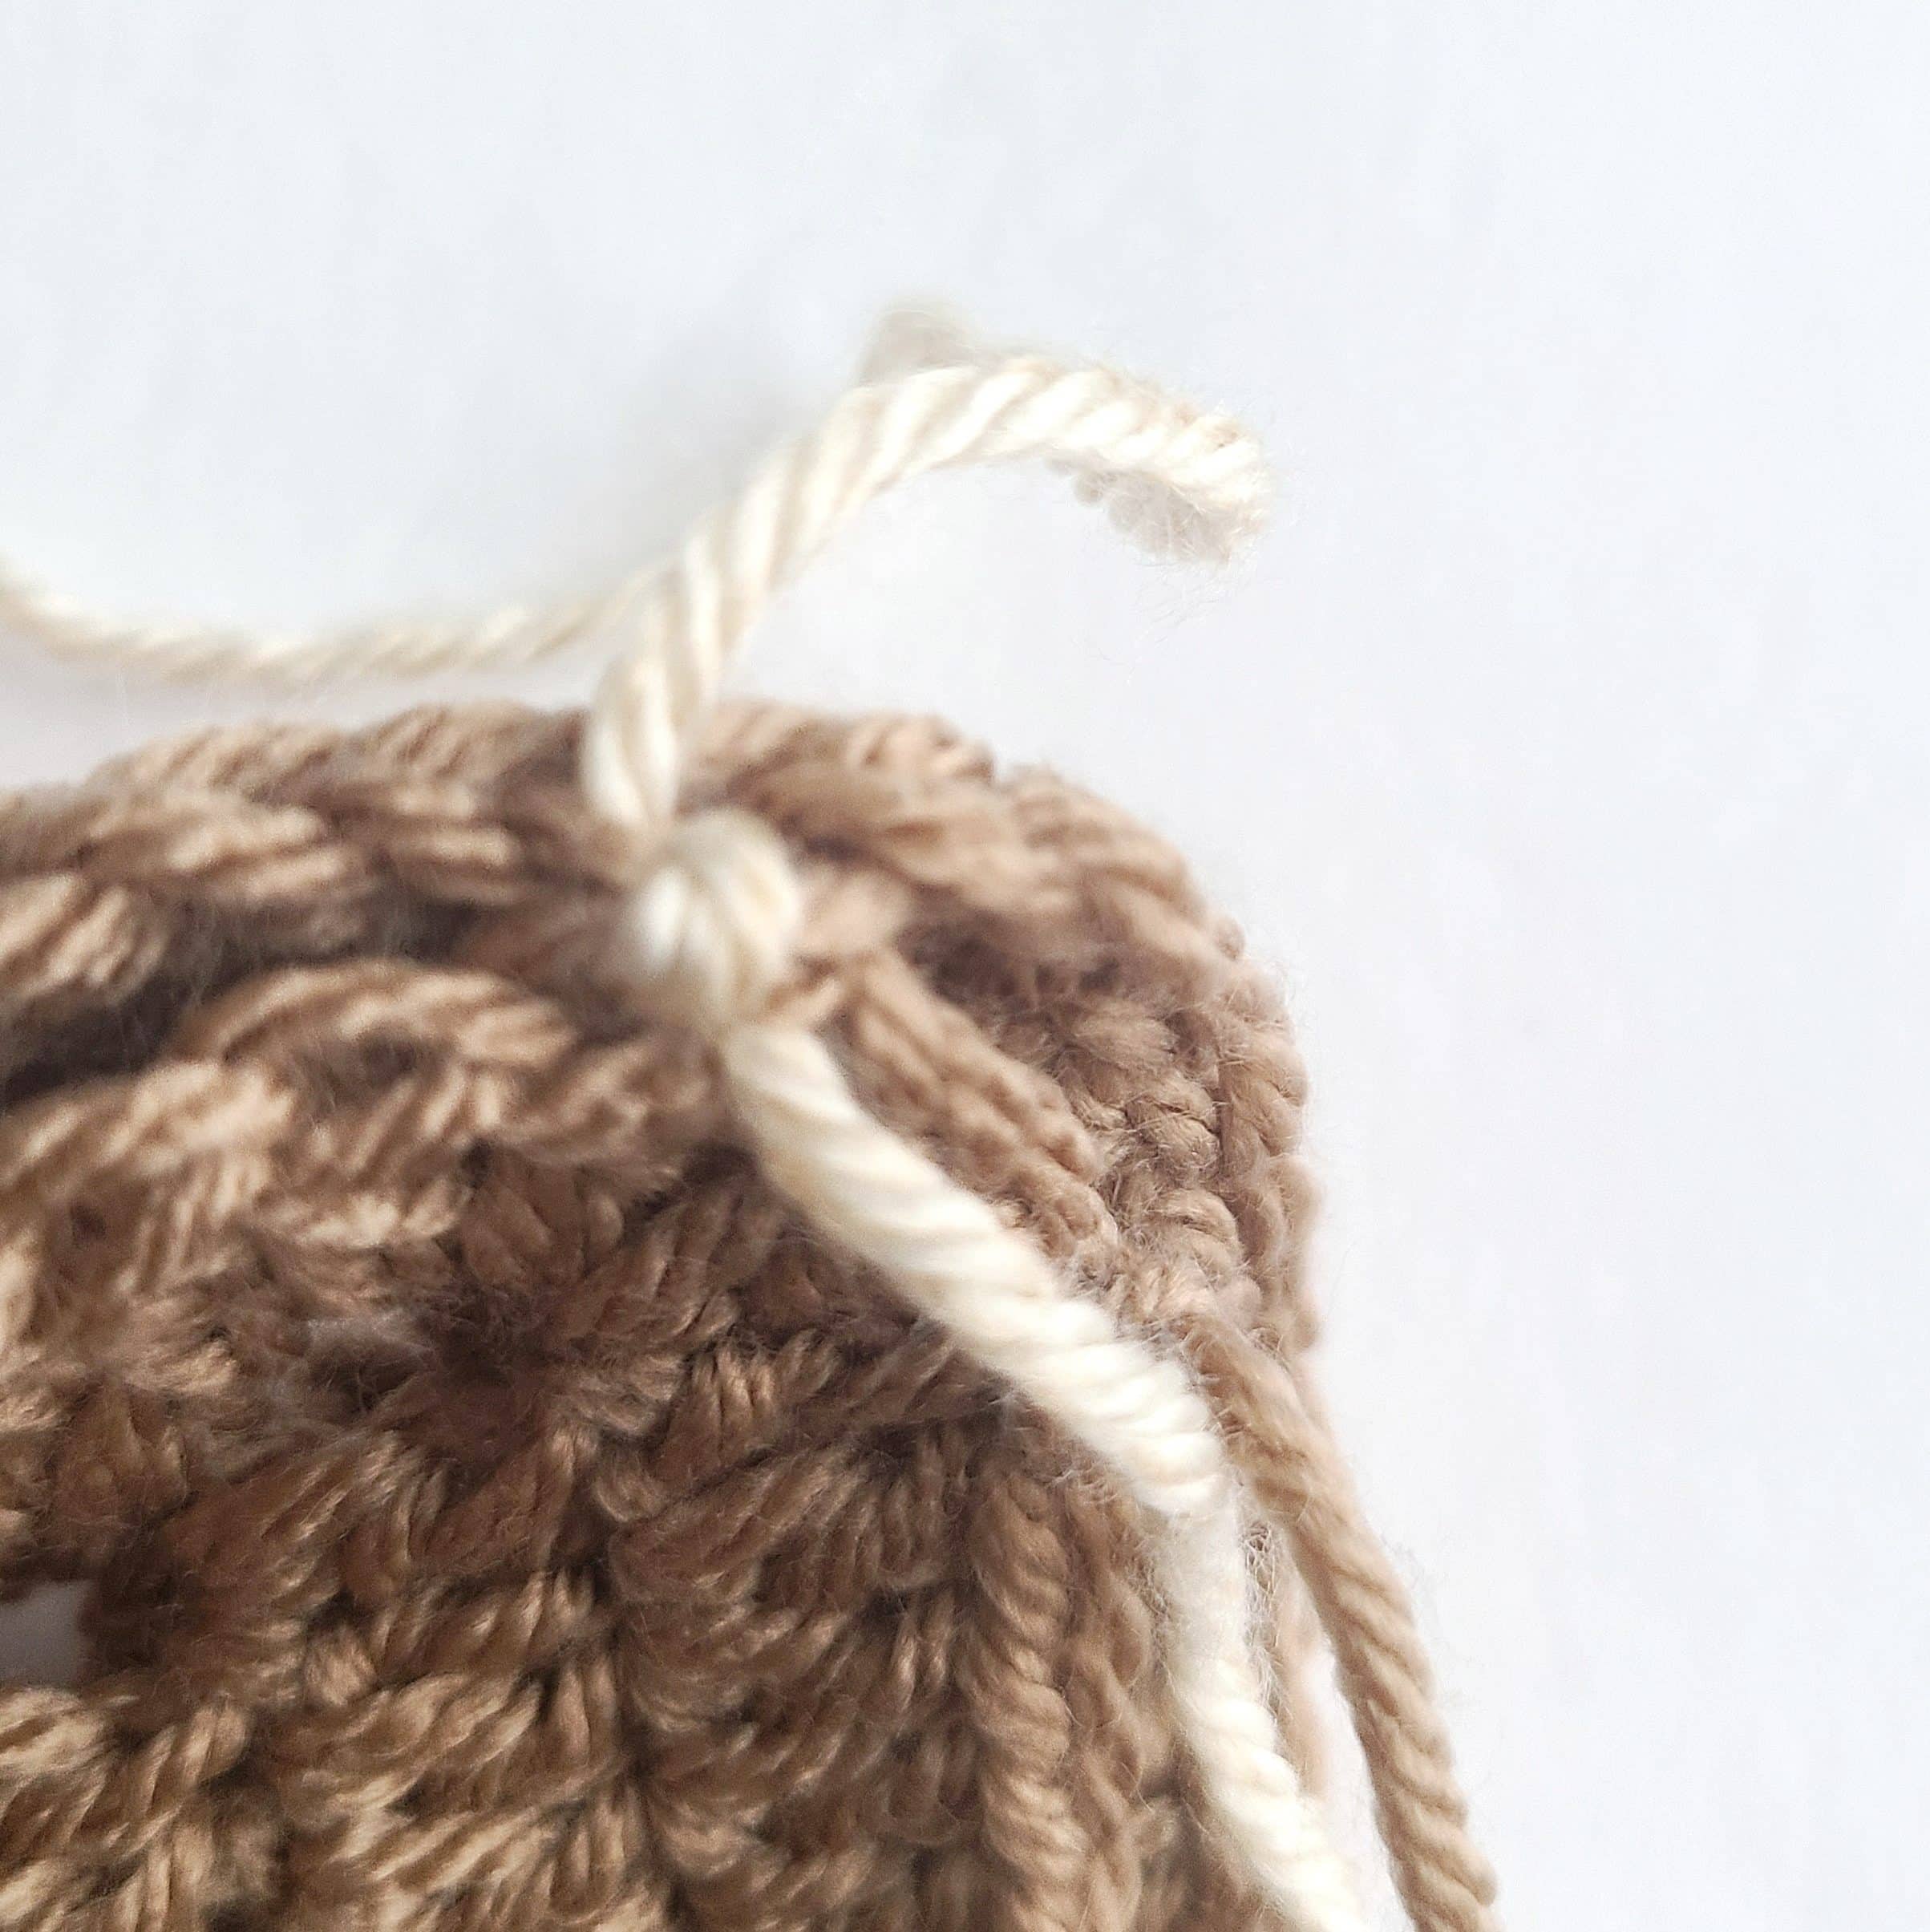
Tip: when starting your join, whip stitch a few times in the first stitch to secure it.
Common Questions About the Whip Stitch Seam
Take a look below at some common questions that may arise when whip stitch seaming.
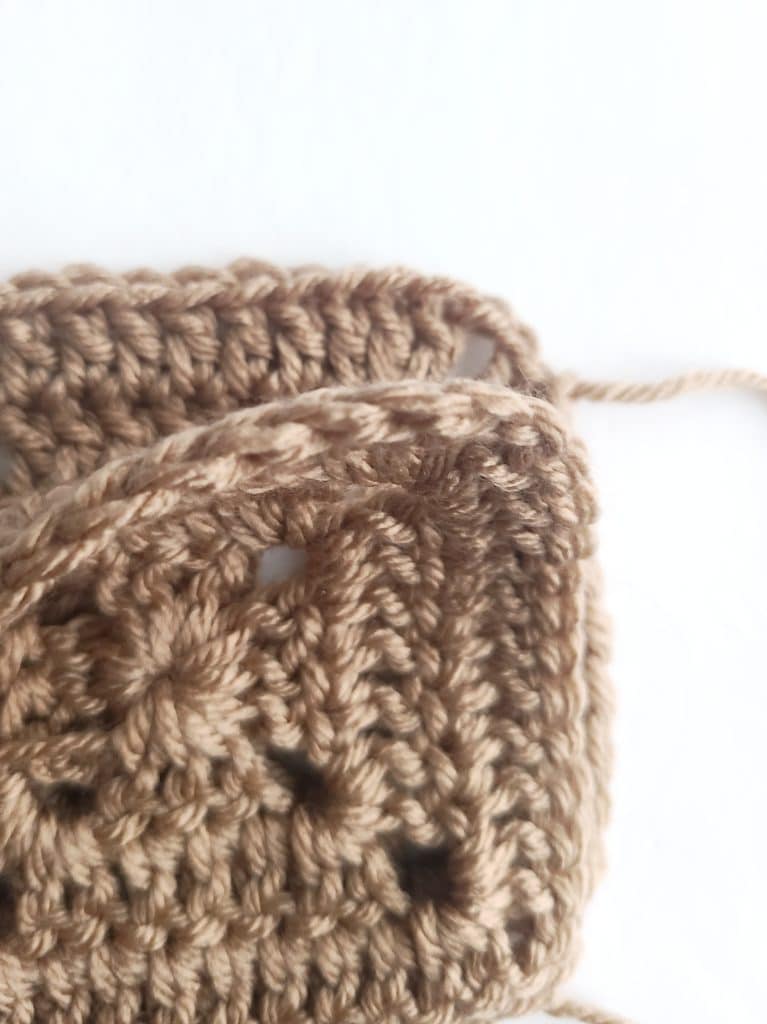
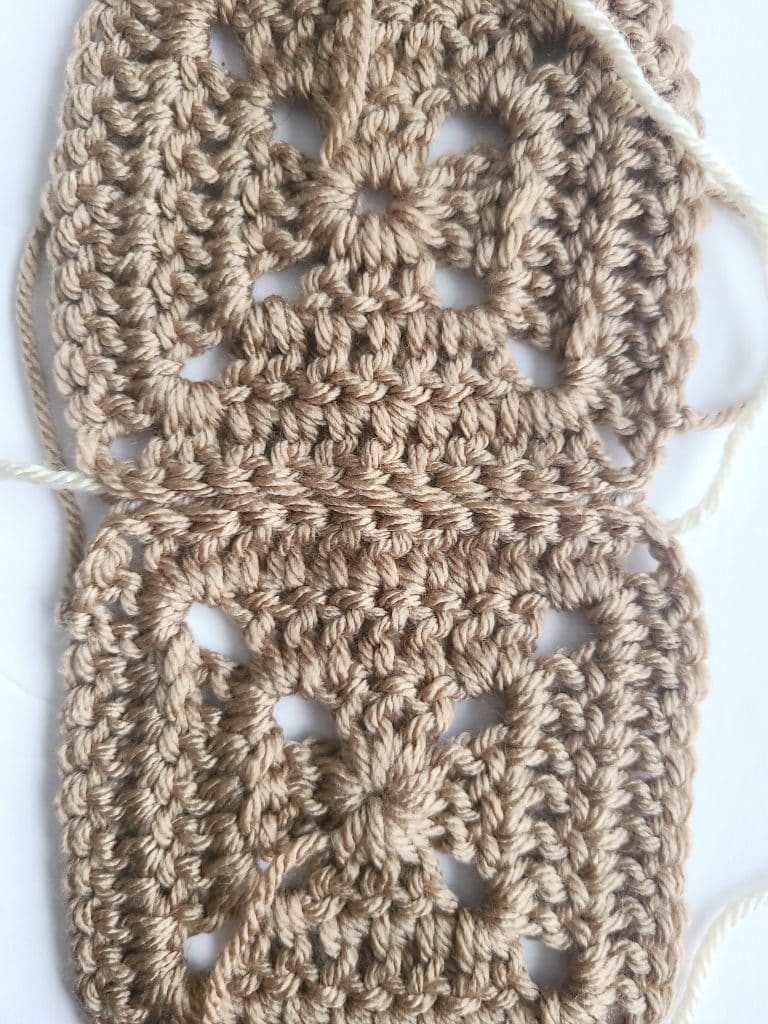
What do the Two Sides of a Whip Stitch Seam look like?
One side will show the whip stitch and one side should be an invisible seam. Depending on what the pattern calls for and what you would like to show in your design, you could use either side.
- right side
 wrong side
How do I Keep a Good Tension when Working the Whip Stitch Seam?
To make the whip stitch seam as invisible as possible (as shown above), it is important to keep the tension of the yarn consistent throughout the process.
If the stitches are too tight, the seam will be noticeable and may cause the fabric to pucker. If the stitches are too loose, the seam may be too visible and the fabric may stretch out of shape. Experiment with different tensions to find the right balance for your project.
Are There Different Methods to Working a Whip Stitch?
Yes, when creating a whip stitch seam, you can work through both loops of each stitch (aka simple whip stitch) or just the back loops of the stitches (as shown above) to make an invisible seam or flat whipstitch.
Simple Whipstitch: Created by working through both loops of each stitch (not invisible) when joining.
Flat Whipstitch: Created by working through only the back loop of each stitch during joining.