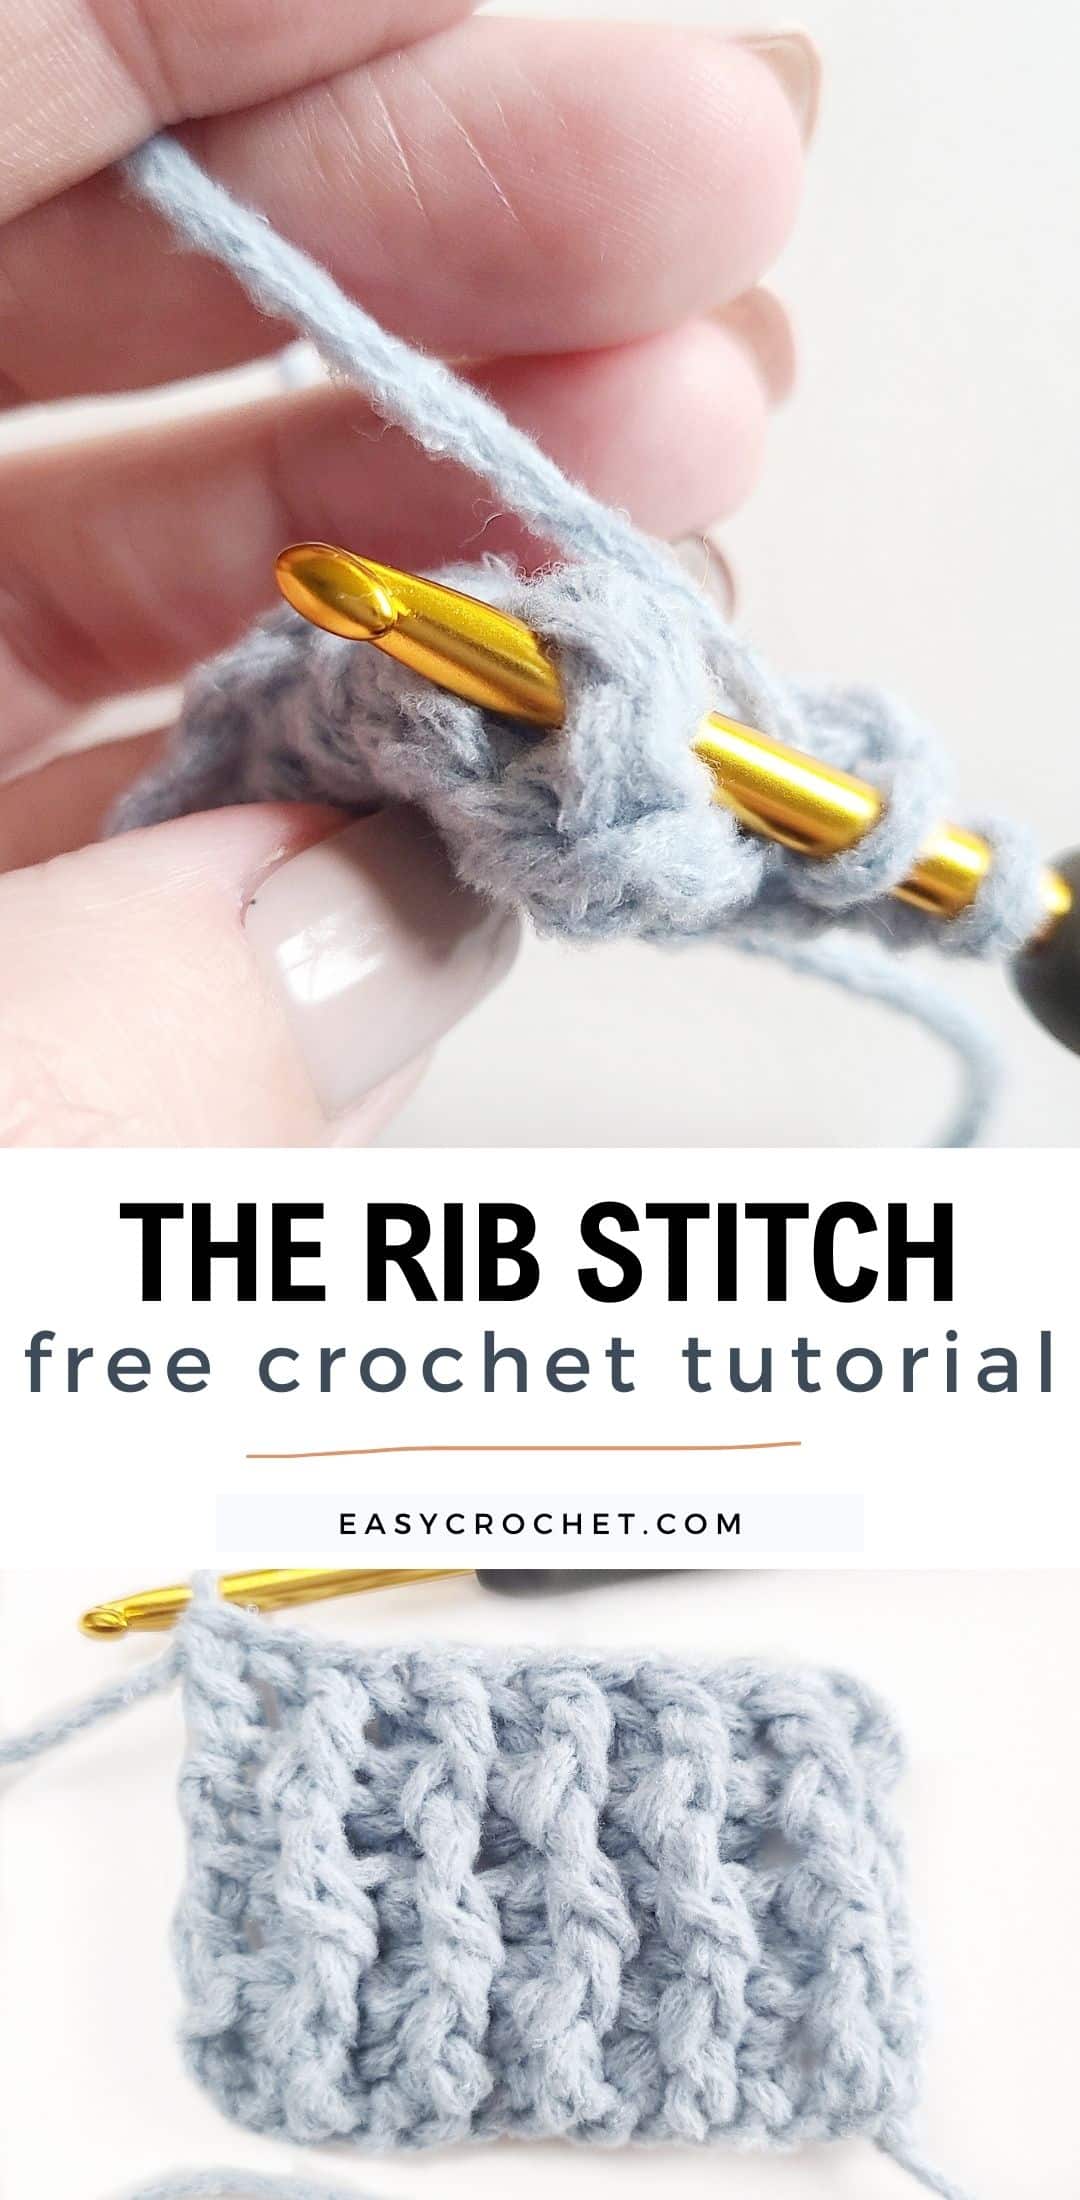
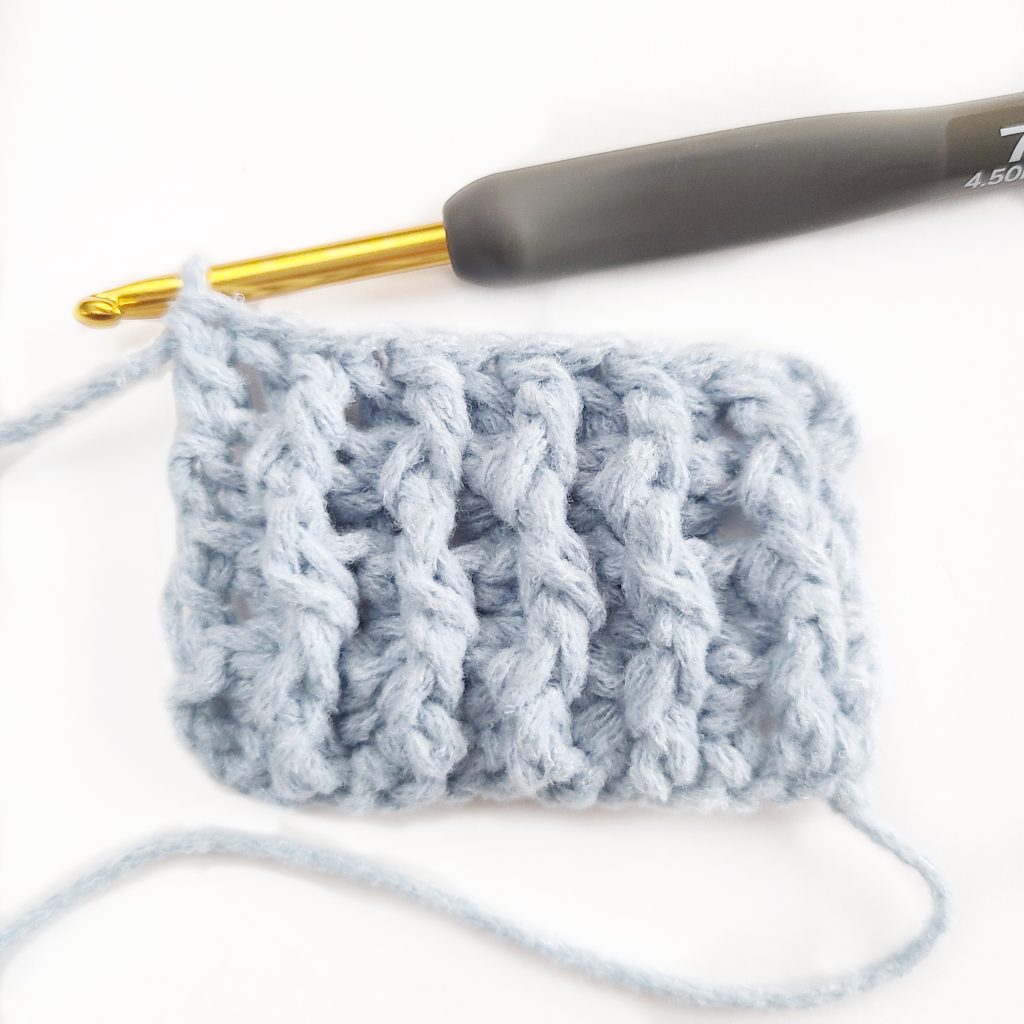
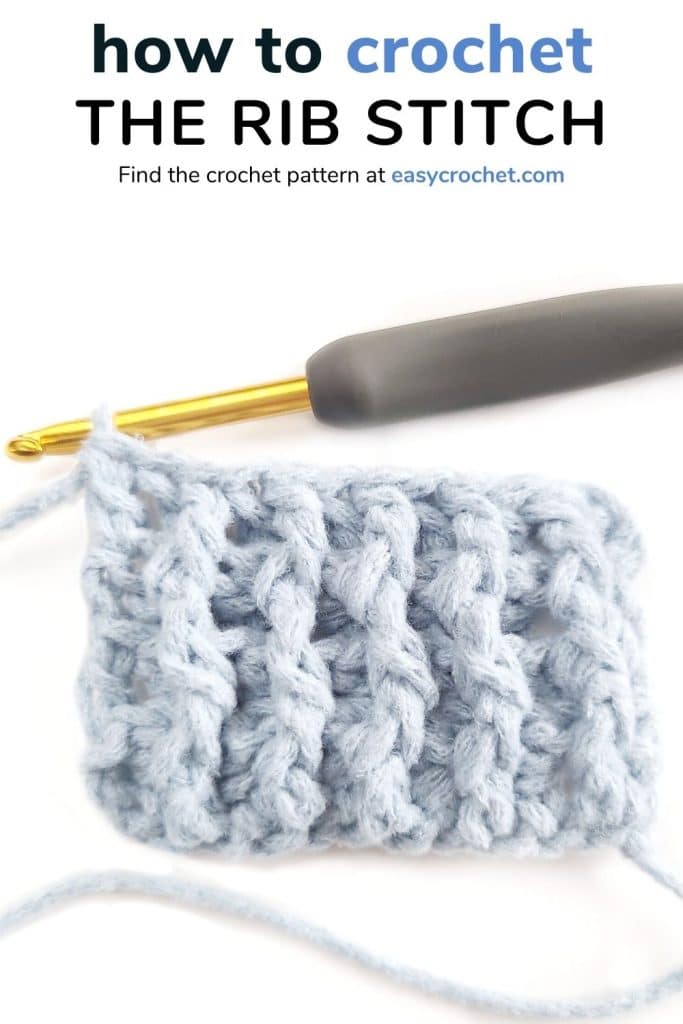
How to Make a Crochet Rib Stitch (Photo Tutorial)
Learning how to crochet a rib stitch is easy! Crochet ribbing only uses two basic stitches that are beginner-friendly and works up a whole project with a one repeat row.
I promise you’ll be able to use this crochet rib stitch technique to create a knit-like elastic and stretchy ribbing, as well as a good deal of other crochet projects too!
Scroll down to find a rib stitch photo tutorial as well as the rib stitch written tutorial! Enjoy!
Techniques & Stitches in Crocheted Ribbing
There are two stitches used in creating a rib stitch. The first is the double crochet stitch and the second is the chain stitch. You will also need to be familiar with posts in crochet.
Learn more about the stitches and techniques below to get a better understanding of how to create a rib stitch. Each tutorial has written instructions as well as tutorial videos too.

Double Crochet Stitch
This ribbing tutorial will focus on using the double crochet stitch, but you may from time to time see the rib stitch worked up using single crochet stitches and half double crochet stitches as well.
Double Crochet
Abbreviation: dc
Difficulty Level: Easy
Learn this stitch →
When using a different stitch with these instructions, it is worked up in the same manner as a double crochet ribbing tutorial, but with the stitch changed.
The double crochet is a basic stitch that most beginners learn from the get go when they are learning how to crochet. A double crochet (dc abbreviation) is an easy stitch to learn when you follow along with our free stitch tutorial as well as take a look at the stitch explanation below.
Once you are confident with the dc stitch, you’ll be able to make a crocheted ribbing easy!
Double Crochet (dc):
- Wrap the yarn over (yo) the hook, insert the hook into the specified st.
- Yo the hook again, draw the yarn through the st, so there are 3 loops on the hook
- Yo the hook again draw it through 2 loops, so there are 2 loops on the hook
- Yo the hook, draw it through the final 2 loops
Chain Stitch
You will also need to know how to chain in crochet as well. Chains are what forms the foundation of most crochet projects and are made by creating connecting loops of yarn.
Learn more about the chain stitch (ch) in crochet to be able to complete this ribbing technique correctly.
Chain Stitch (ch):
- Make a slip knot.
- Insert hook into slip knot point first, bring yarn over the shaft of the hook from back to front and grab it with the throat of the hook.
- Draw hooked yarn through slip knot and onto the hook. This movement will make one chain stitch
- Repeat steps two and three until you have the desired number of stitches for a pattern. One loop will remain on hook.
Post Stitches
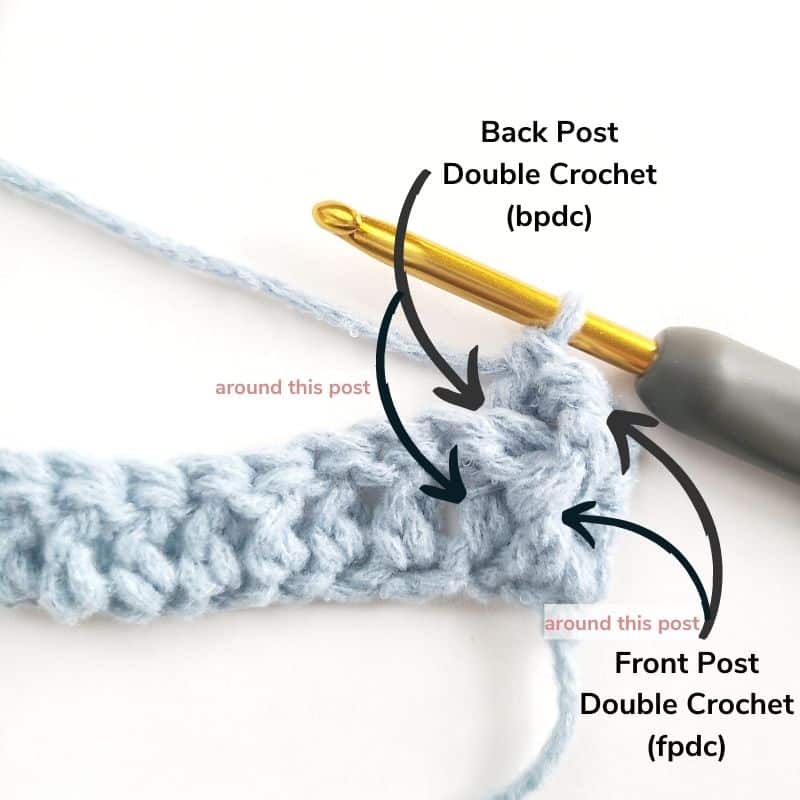
You will also have to be familiar with what a post is in crochet, since you will be working the double crochet stitch we talked about earlier around the front and back post of the dc stitches. A post is the body of the completed double crochet, simply put.
Below in the tutorial, you will be working around the front post of the stitches and around the back post of the stitches as well.
Post stitches are displayed in patterns by placing an abbreviation; fp (front post) or bp (back post) in front of the stitch used.
As for this tutorial, you will see a front post double crochet (fpdc) and back post double crochet (bpdc) abbreviation used. When we work around these post stitches, you will see that is what creates the texture and ribbing in this tutorial.
Crochet Rib Pattern and Tutorial
Skill Level: Easy
Materials
- Any yarn (I used a four weight yarn; Bernat Bundle up by Yarnspirations)
- Any crochet hook that corresponds with the yarn you are using. (I used a 4.5 mm crochet hook size)
Crochet Stitch Abbreviations
- dc(s) = double crochet(s)
- ch(s) = chain(s)
- fpdc = front post double crochet
- bpdc = back post double crochet
- sk = skip
- rep = repeat
Notes
- Written in standard US terms
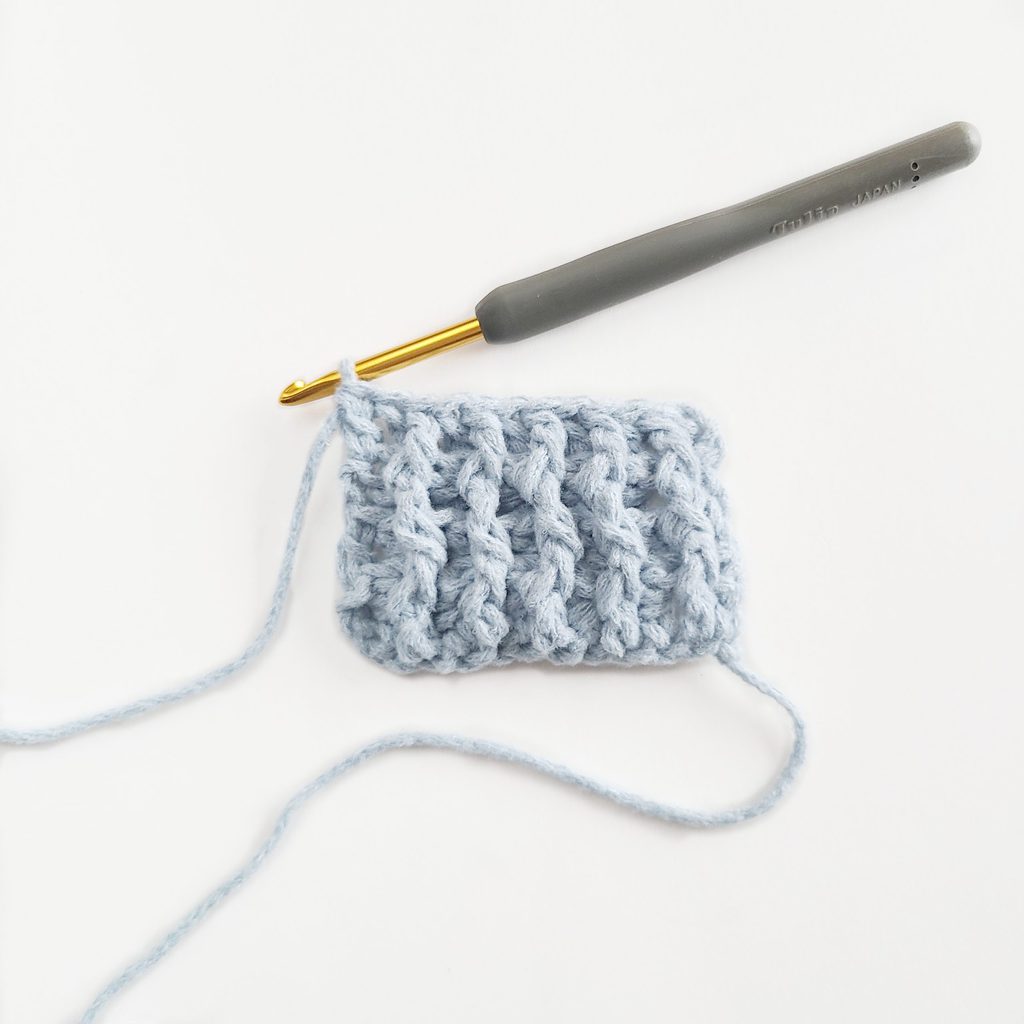
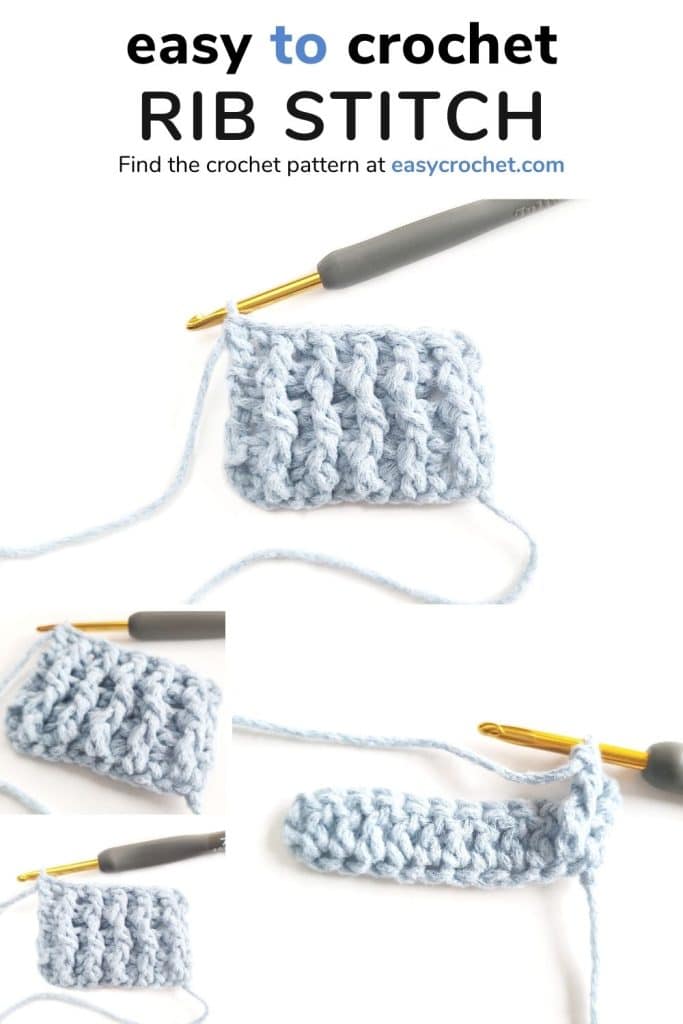
The Rib Stitch Pattern (Photo Tutorial)
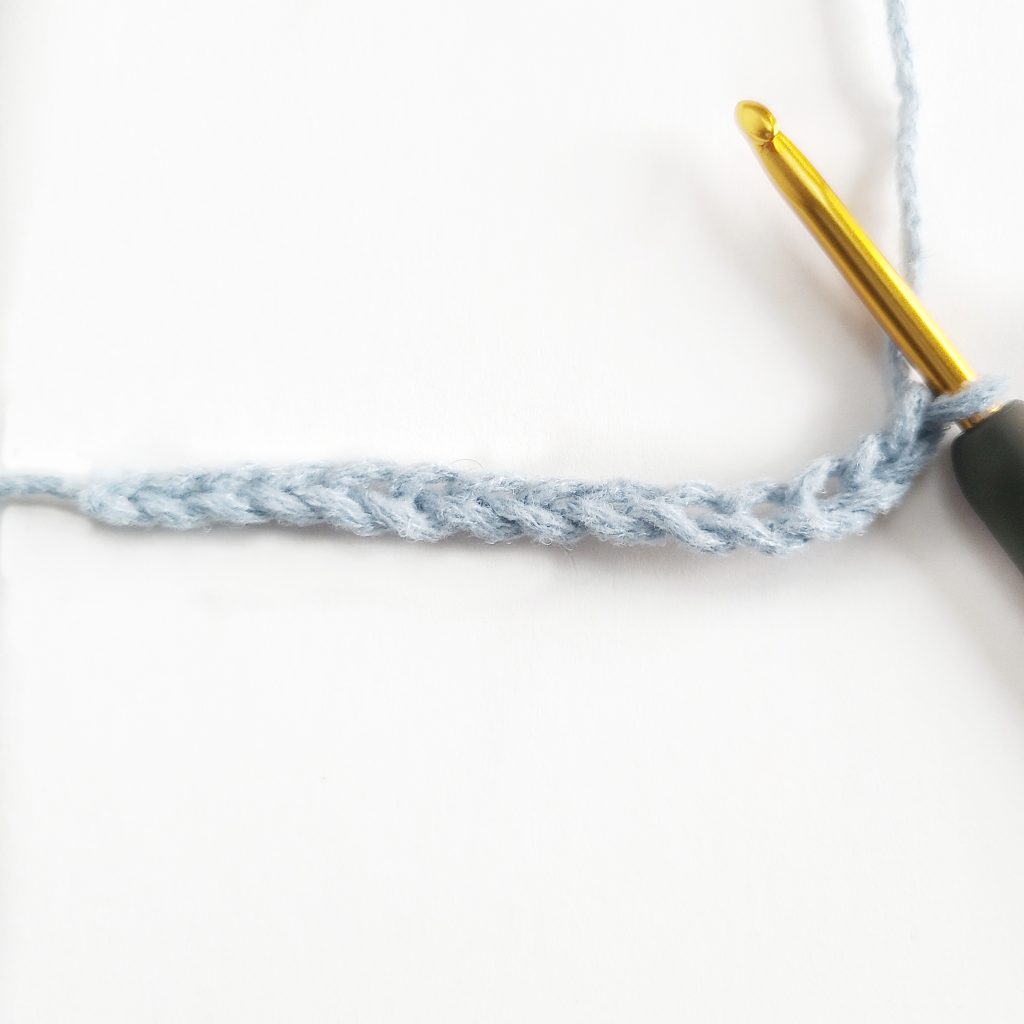
Step 1 (Foundation)
Make a starting ch in a multiple of 2. This tutorial shows a starting ch of 14.
Step 2 (Row 1)
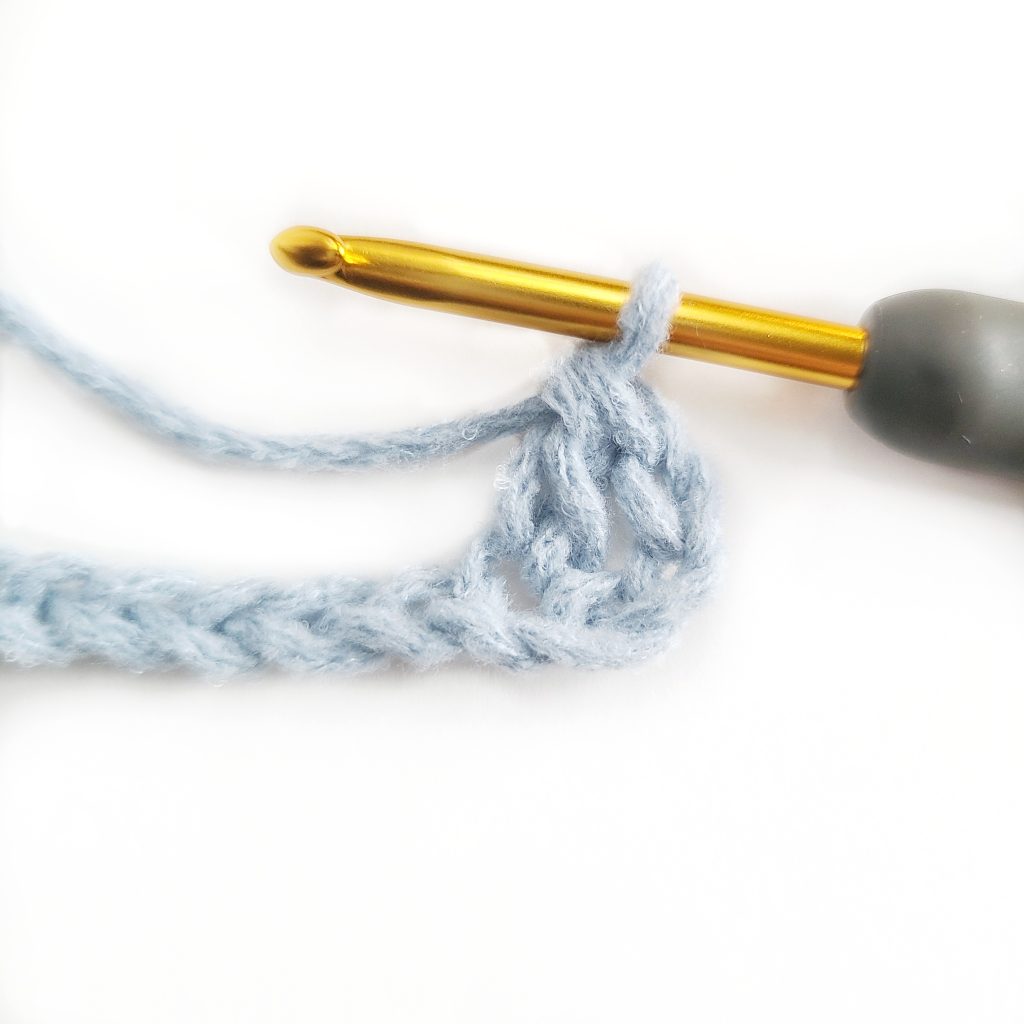
One dc in the fourth ch from the hook.
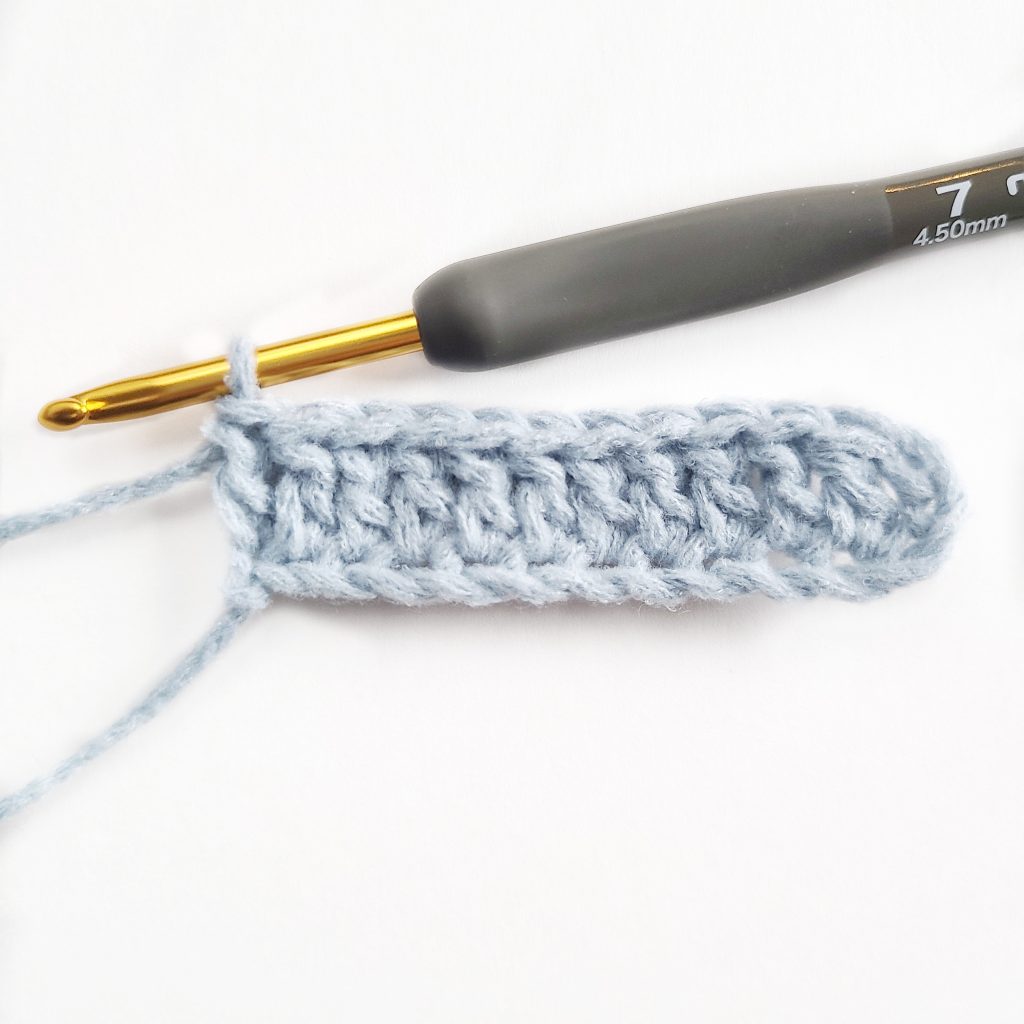
Step 3
One dc in each of the remaining chs across. 11 total sts. (your total number of sts will be three less, since we started in the fourth ch from the hook)
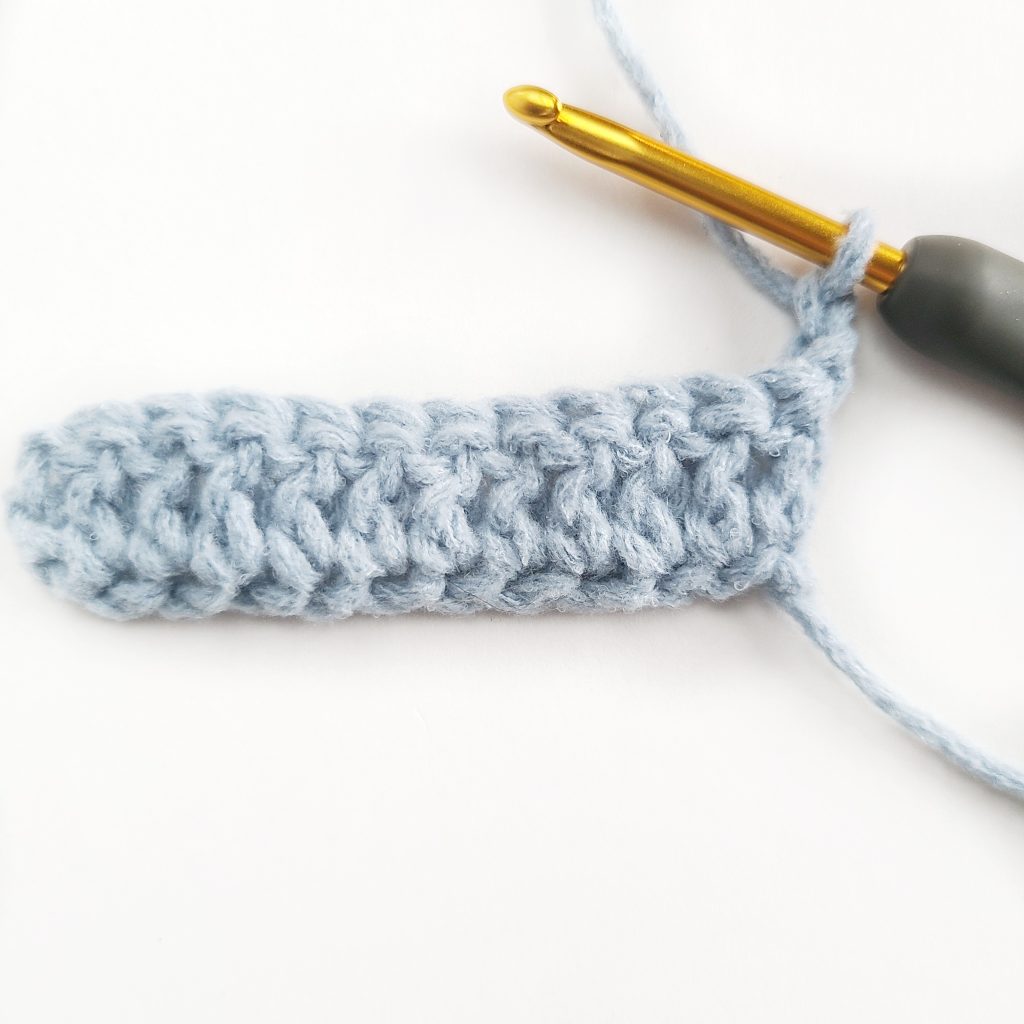
Step 4 (Row 2)
Turn your work, Ch 2
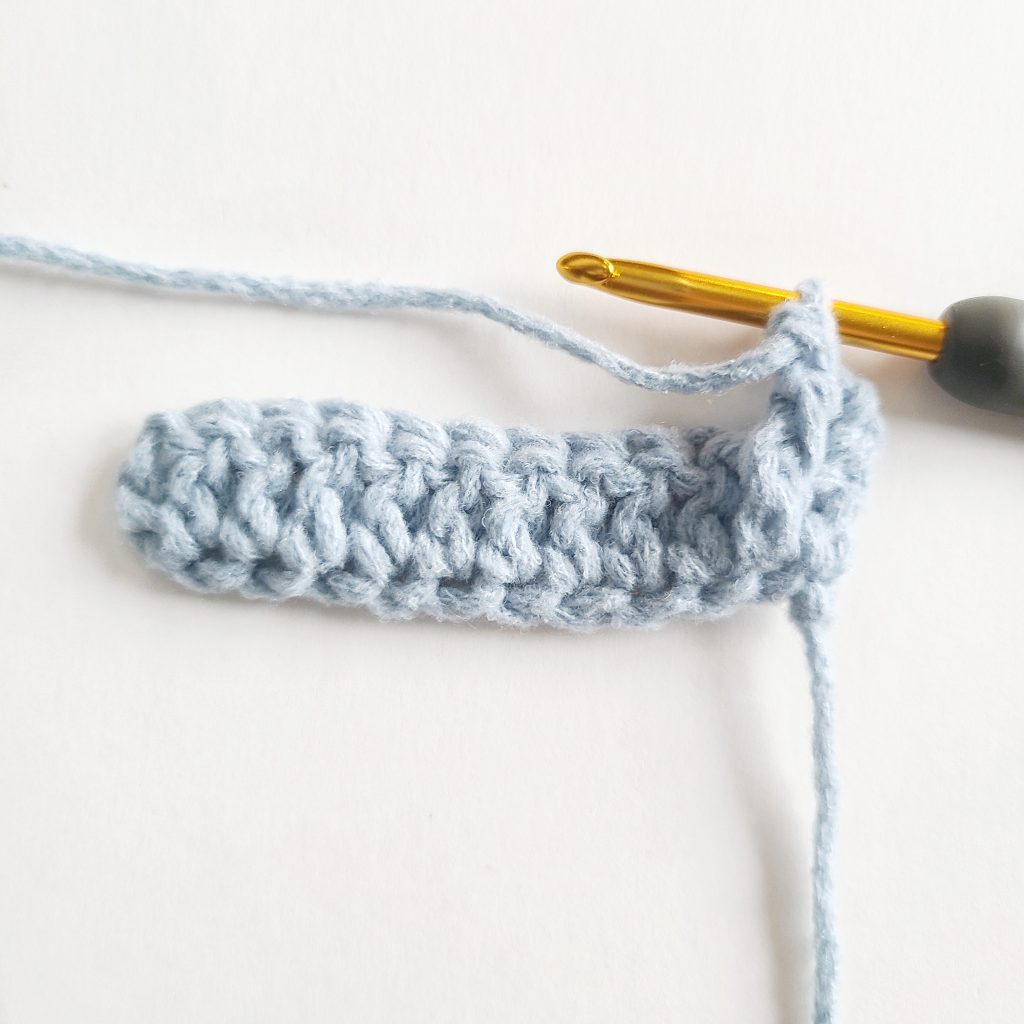
Step 5
sk the first dc. fpdc around the next st.
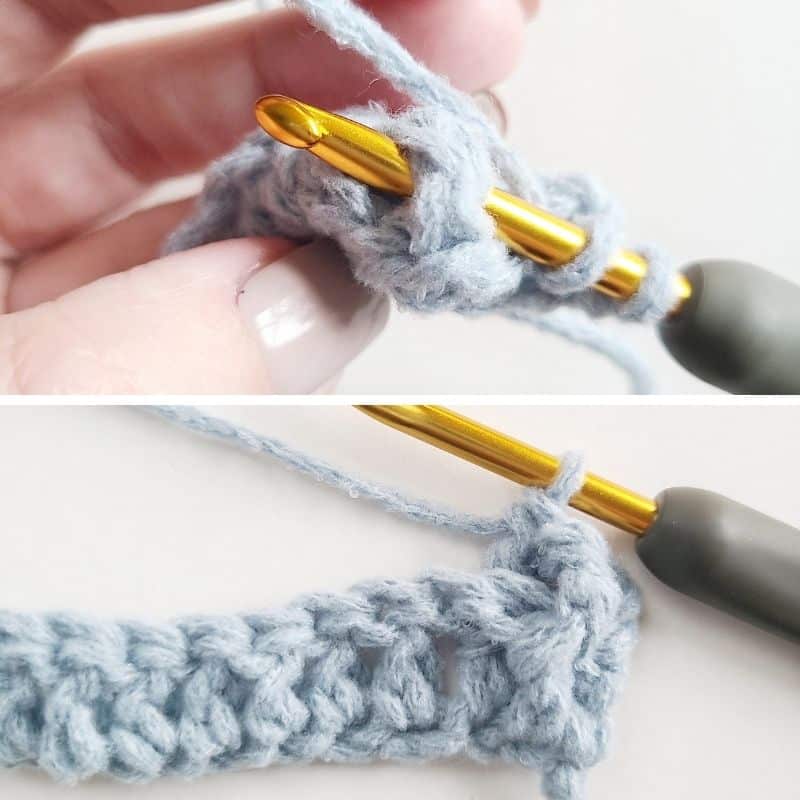
Step 6
bpdc around the next st.
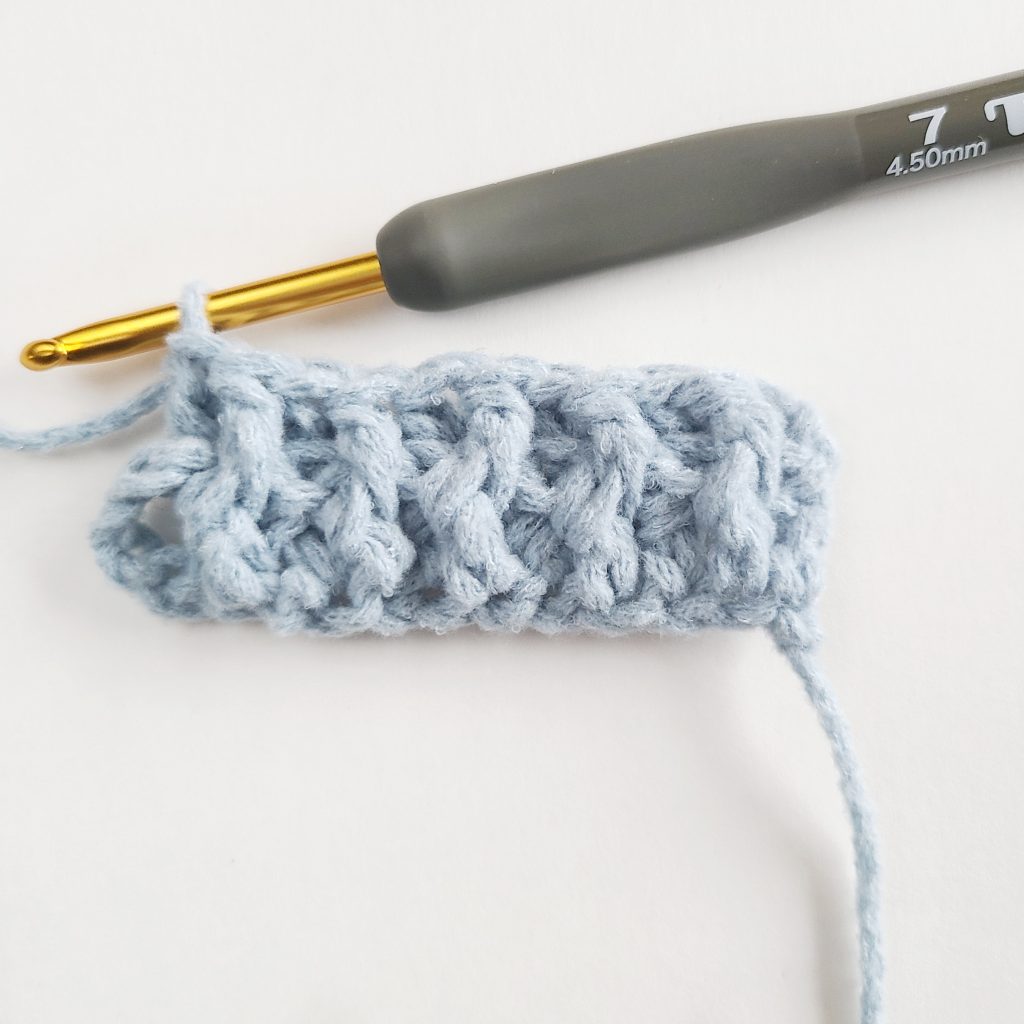
Step 7
rep steps 5 & 6 across the row
Step 8
End with a dc in the top of the turning ch
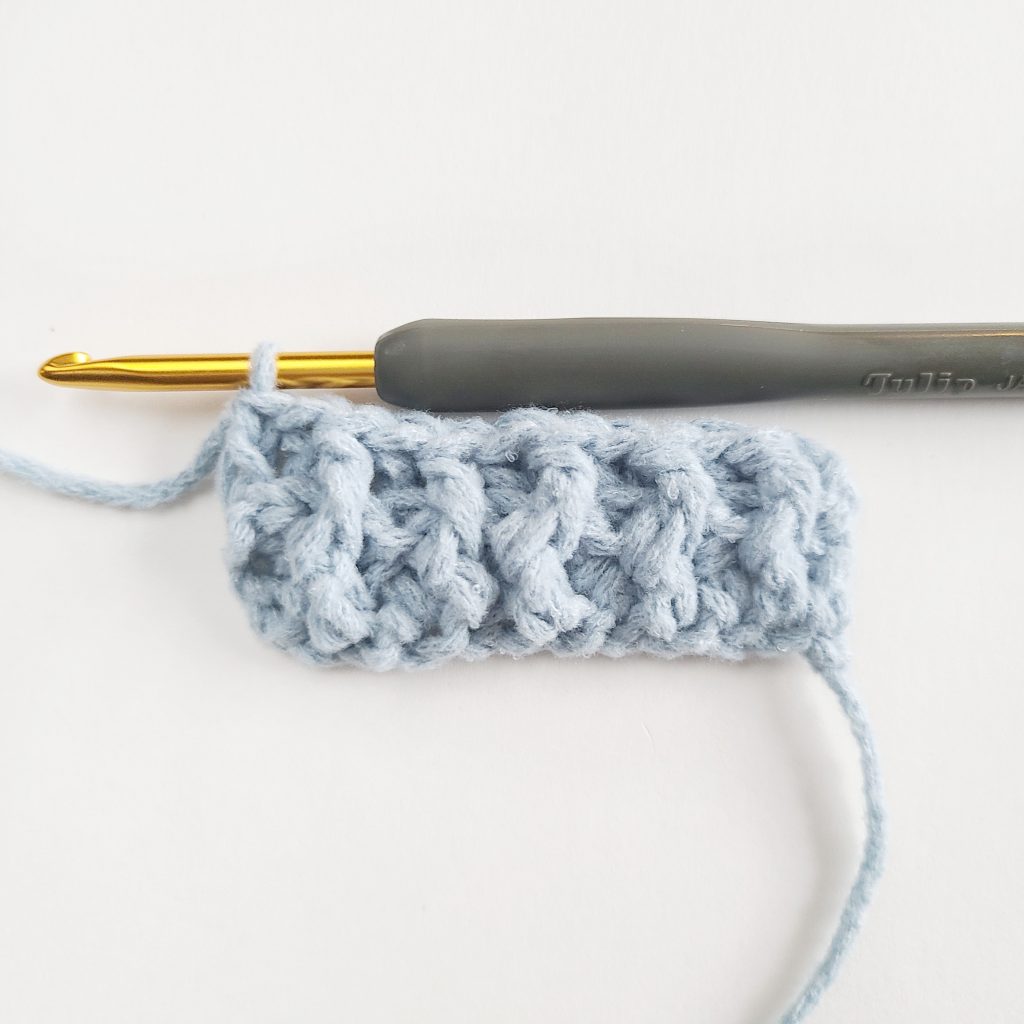
Step 9
Rep steps 4- 9 of each row for the pattern.
Rib Stitch Pattern (Written Tutorial)
To Begin: Start with a multiple of 2 for your starting ch
Row 1: 1 dc in the fourth ch from the hook, 1 dc into each ch across, turn.
Row 2: Ch 2 (counts as the first st), sk the next st, *1 fpdc around post of next st, 1 bpdc around post of next st, rep from * ending with 1 dc in the top of the turning ch, turn.
Row 3 – ?: Rep row 2 for the next row and every one after until you reach the last row you desire.

More Free Crochet Stitch Tutorials
- Crochet Puff Stitch Tutorial with Photos
- Whip Stitch Crochet Seaming Technique
- Half Double Crochet Slip Stitch (hdc slst) for Beginners
- Single Crochet Increase Tutorial (sc inc)
- Creating Seams Using the Mattress Stitch
- Single Crochet Two Together (Single Crochet Decrease)
- How to Crochet a Cable Stitch
- Crochet Moss Stitch Tutorial (Written, Photo and Chart)
- How to Crochet a Granny Stripe in Rows
Free Crochet Patterns
- 30 Free Crochet Baby Blanket Patterns
- Primrose Crochet Baby Blanket
- 10 Cozy Crochet Blanket and Afghan Patterns You’ll Love
- Easy Moss Stitch Crochet Baby Blanket
- Rainbow Crochet Blanket Pattern
- Easy Crochet Afghan Pattern (8 Sizes)
- Easy Crochet Shell Stitch Baby Blanket
- Mountain Pine Crochet Tree Blanket