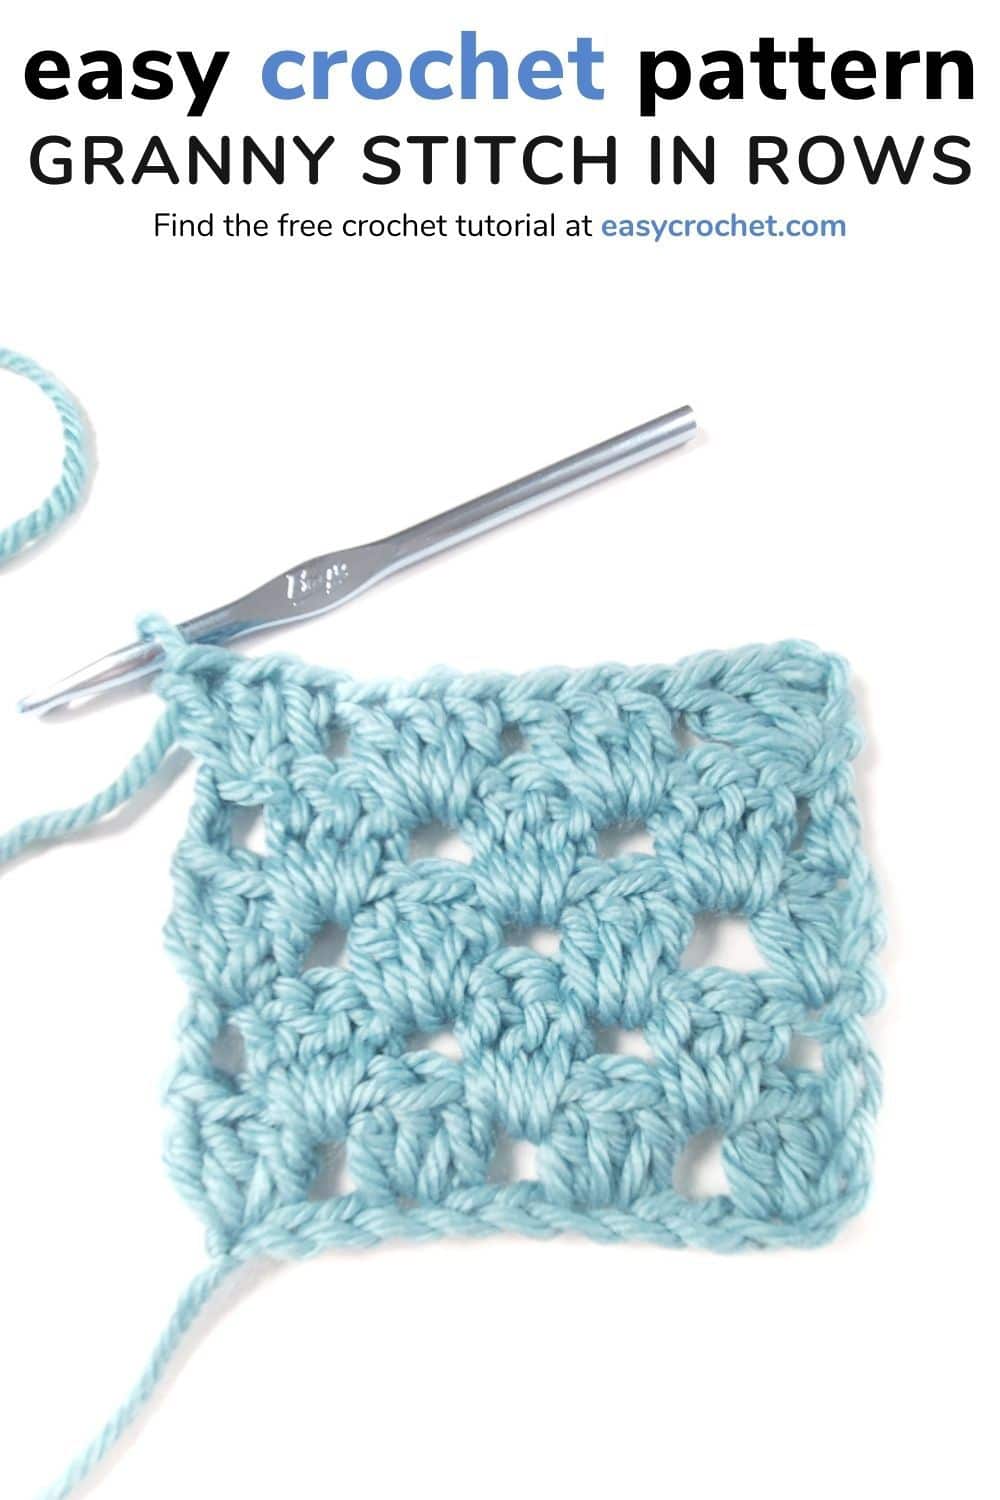
How to Crochet a Granny Stripe in Rows
If you have ever wondered how to make a granny stitch in a row (aka granny stripe stitch), then this granny rows crochet tutorial is for you! This simple stitch combination uses only two easy stitches and is simple to learn.

Stitches in a Granny Row
There are only a few simple stitches you’ll need to know to make a crochet granny in flat rows, which are the double crochet (dc) and the chain stitch (ch)!
Chain stitches and double crochet stitches are easy to learn and are beginner-friendly stitches that most begin making when they are learning how to crochet.
You can learn more about each of these special stitches below.
Double Crochet (dc):
- Wrap the yarn over (yo) the hook, insert the hook into the specified st.
- Yo the hook again, draw the yarn through the st, so there are 3 loops on the hook
- Yo the hook again draw it through 2 loops, so there are 2 loops on the hook
- Yo the hook, draw it through the final 2 loops.
You will be making a double crochet three times into one stitch to make a dc cluster, which creates the classic granny look that you see in granny squares.
Chain Stitch (ch):
A simple crochet stitch that often forms the foundation of what crochet stitches are worked into during projects and to bring a new row of a project to the correct height.
- Make a slip knot.
- Insert hook into slip knot point first, bring yarn over the shaft of the hook from back to front and grab it with the throat of the hook.
- Draw hooked yarn through slip knot and onto the hook. This movement will make one chain stitch
- Repeat steps two and three until you have the desired number of stitches for a pattern. One loop will remain on the hook.
You will use both of these easy stitches to create a foundation chain and the turning chains of each row repeat. You can learn more about chain stitches in our Easy Crochet guide.
Materials to Make a Row of Granny Stitches
You’ll just need a few basic crochet supplies to make this stitch; yarn and a crochet hook.
Yarn
Any yarn weight will work when crocheting a granny row, you do not need to use the same yarn as the tutorial to get a good result. You can also use one solid color or a set of multiple colors to make a Granny stripe design.
To join in a new color or change colors in crochet, you can follow along with the tutorial I linked up. I used Red Heart Soft Essentials (a five weight yarn) for this tutorial. Take a look at these bulky 5 extra soft yarns below.

Crochet Hook
You will use the crochet hook size recommended on the label of the yarn you want to make your granny rows in.
Since the hook size will vary depending on what yarn you are using, it really can be any size. I used a 6.5 mm (K-10.5) crochet hook in this tutorial, which can be seen below in the photo instructions.
Granny Stitch Rows Pattern
Skill Level: Easy
Materials
- Any Yarn
- I used Red Heart Soft Essentials
- Any Crochet Hook that corresponds with yarn (check yarn label for recommended hook size)
- I used a 6.5 mm crochet hook
Crochet Abbreviations
- ch(s) = chain(s)
- st(s) = stitch(es)
- dc(s) = double crochet(s)
- rep = repeat
- sk = skip
Pattern Notes
- The pattern is in standard US terms
- Ch 3 counts as a stitch
- Change the size by working the starting chain in a multiple of 3.
- On row 1 the beginning 2 chs at the beginning counts as one st (see stitch chart)
Crochet Granny Stitch Rows Pattern (Written)
To Start: Ch a multiple of 3
Row 1: In the 3rd ch from the hook dc2X, *sk 2 chs, dc 3x in the next ch, repeat from * across ending with 3 dcs in the last ch.
Row 2: Ch 3, dc 3x in the first space between the 3 dc group from the row before, end with 1 dc in the last st.
Row 3: Ch 3, dc 2x in the first st, dc 3x in the space between the 3 dc group from the row before ending with 3 dc in the last st (top of the ch 3 from the previous row).
Row 4 -?: Rep Rows 2 and 3 for as long as you like.
Granny Stitch in Rows Pattern (Photo Tutorial)
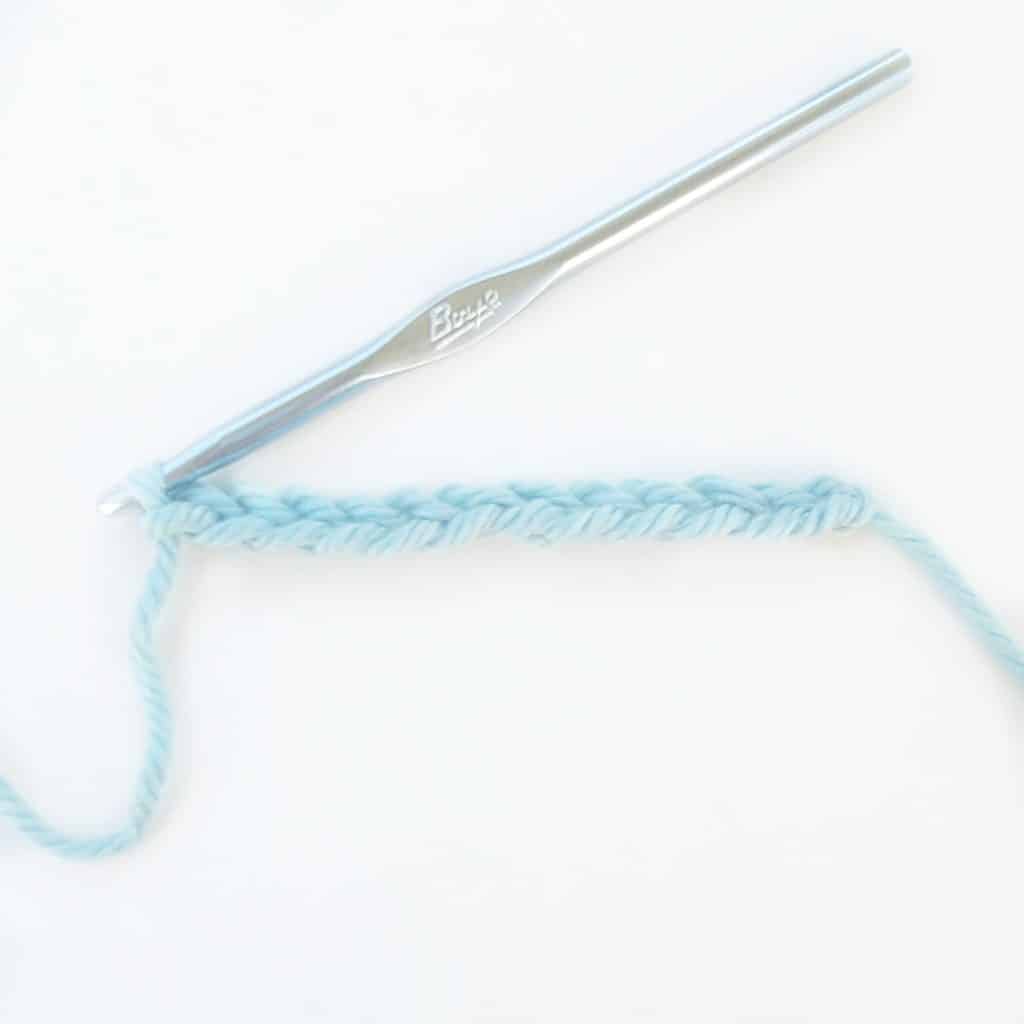
Step 1
Crochet a starting ch in a multiple of 3. A starting ch of twelve is shown in the example.
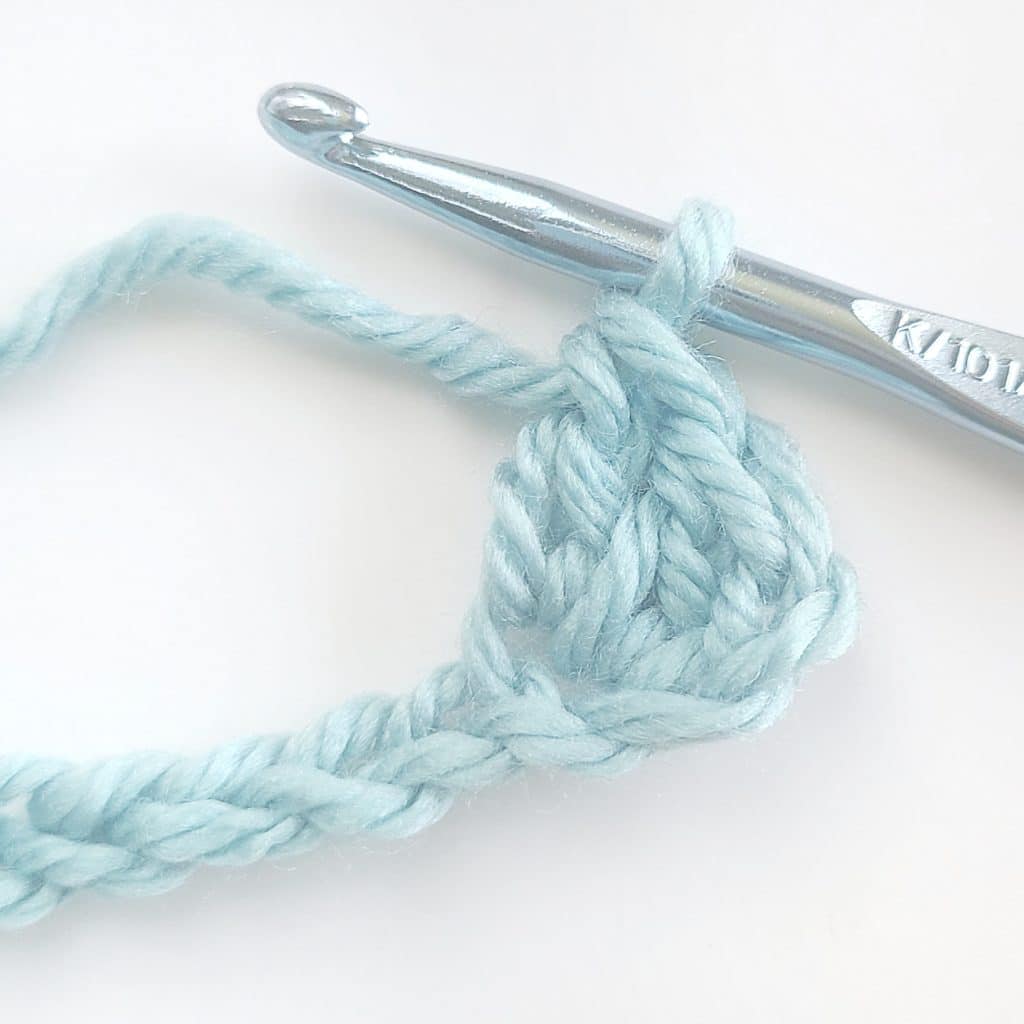
Step 2
In the 3rd ch from the hook, make 2 dcs.
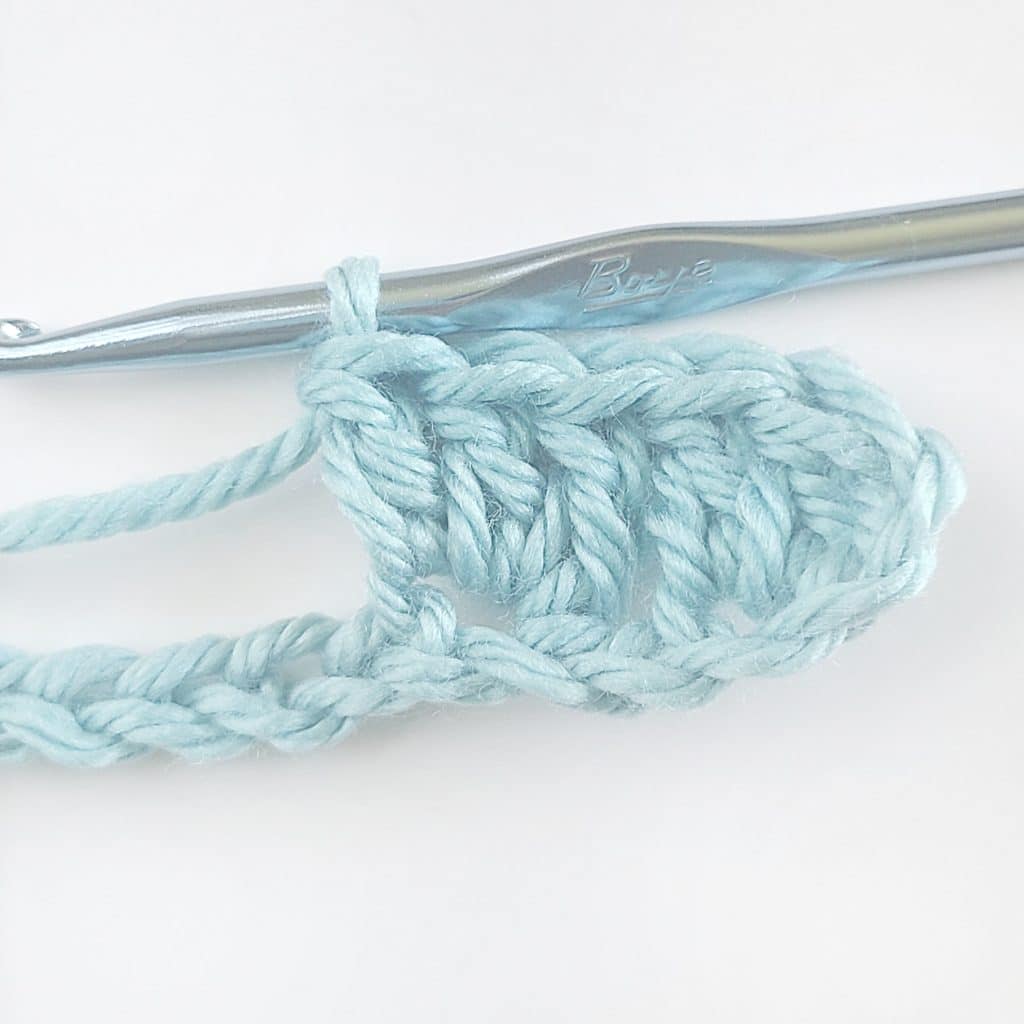
Step 3
sk 2 sts, make 3 dcs into the next st.
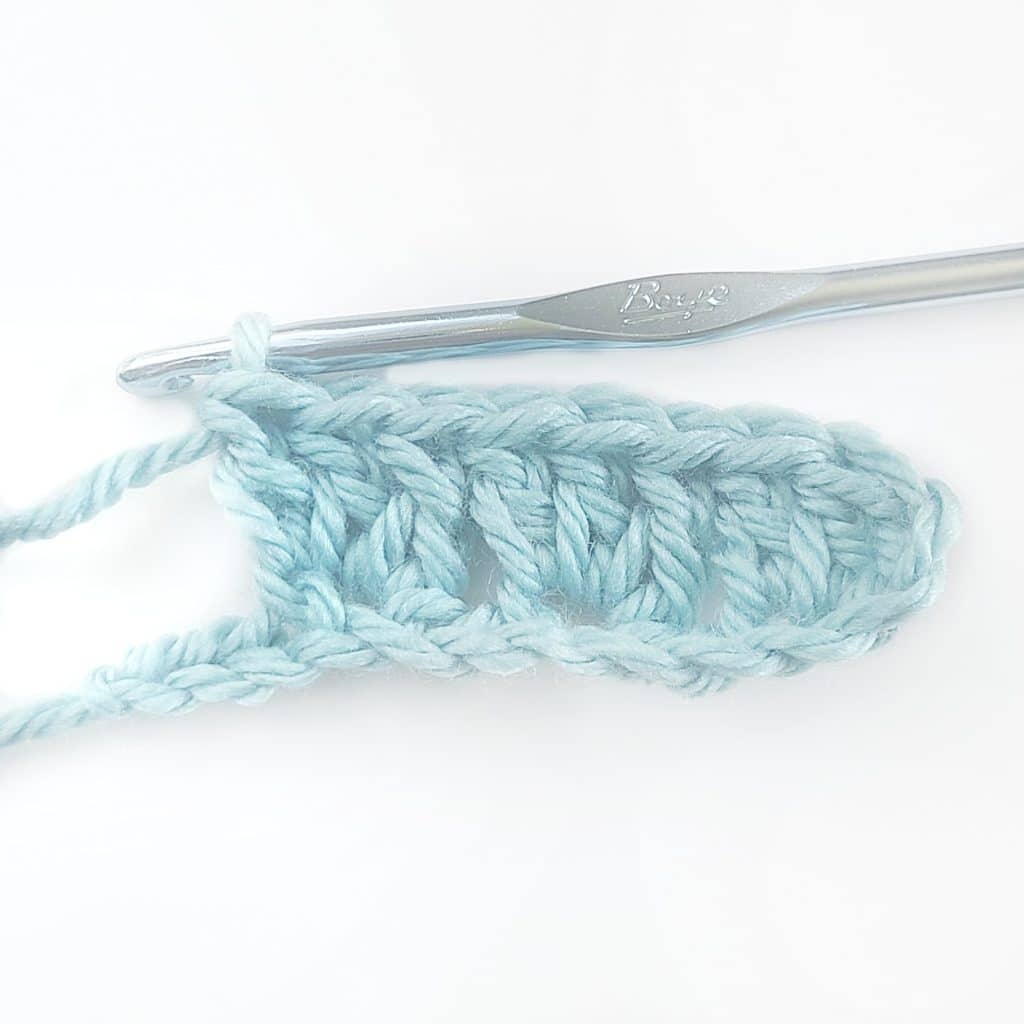
Step 4
sk 2 sts, make 3 dcs into the next st.
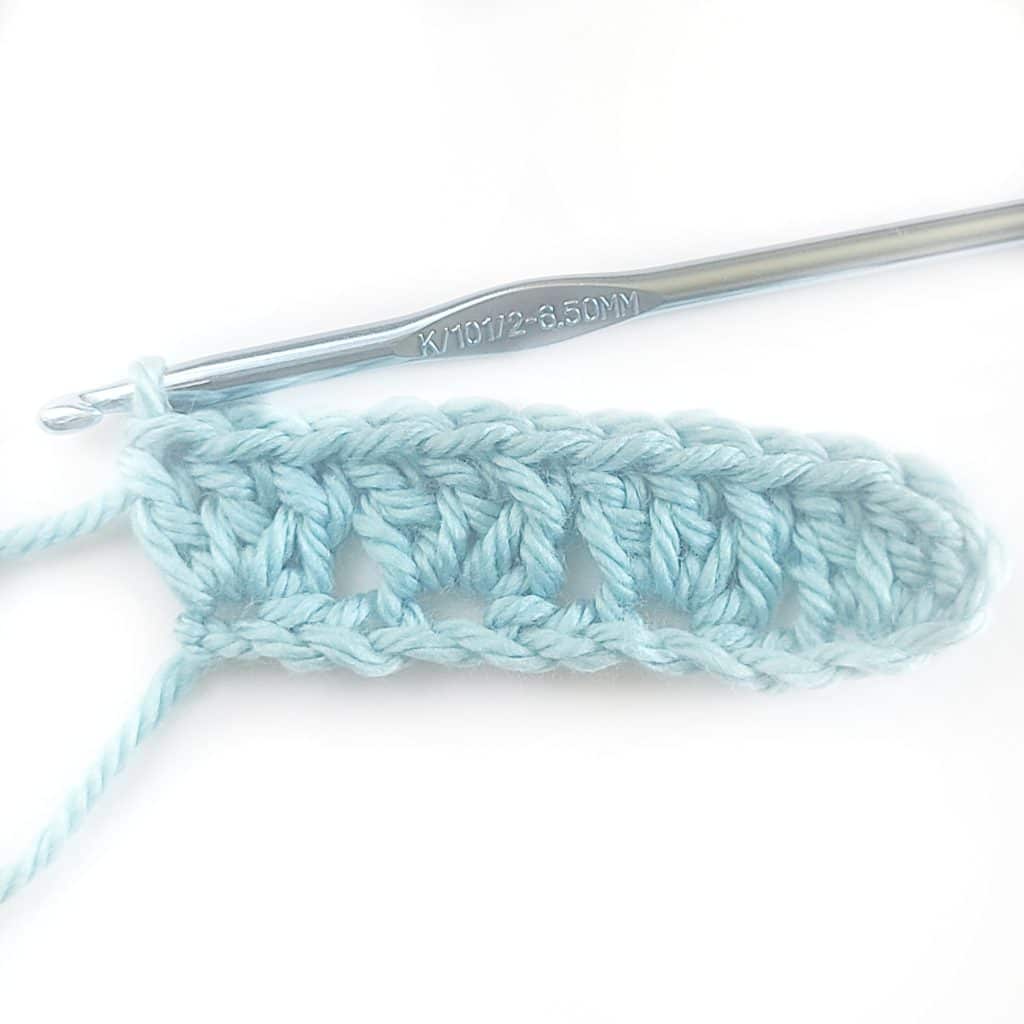
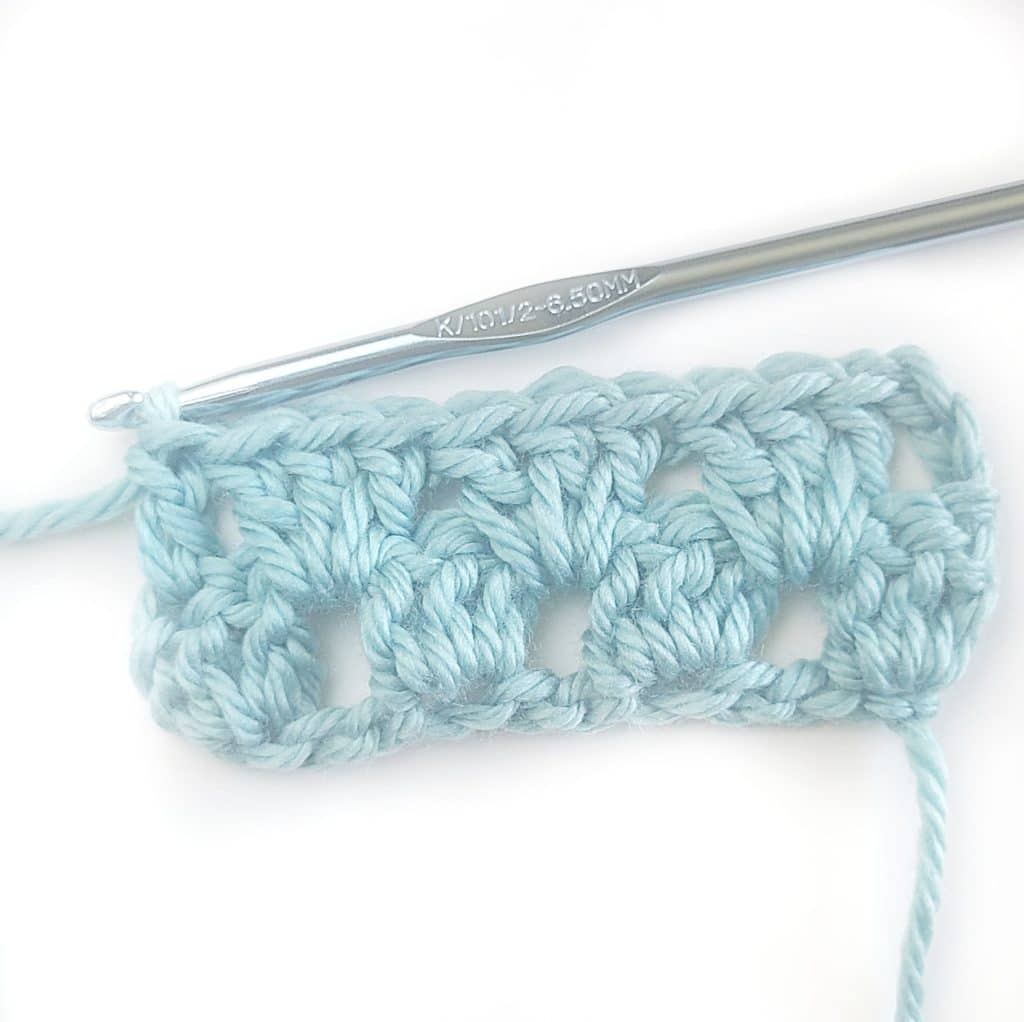
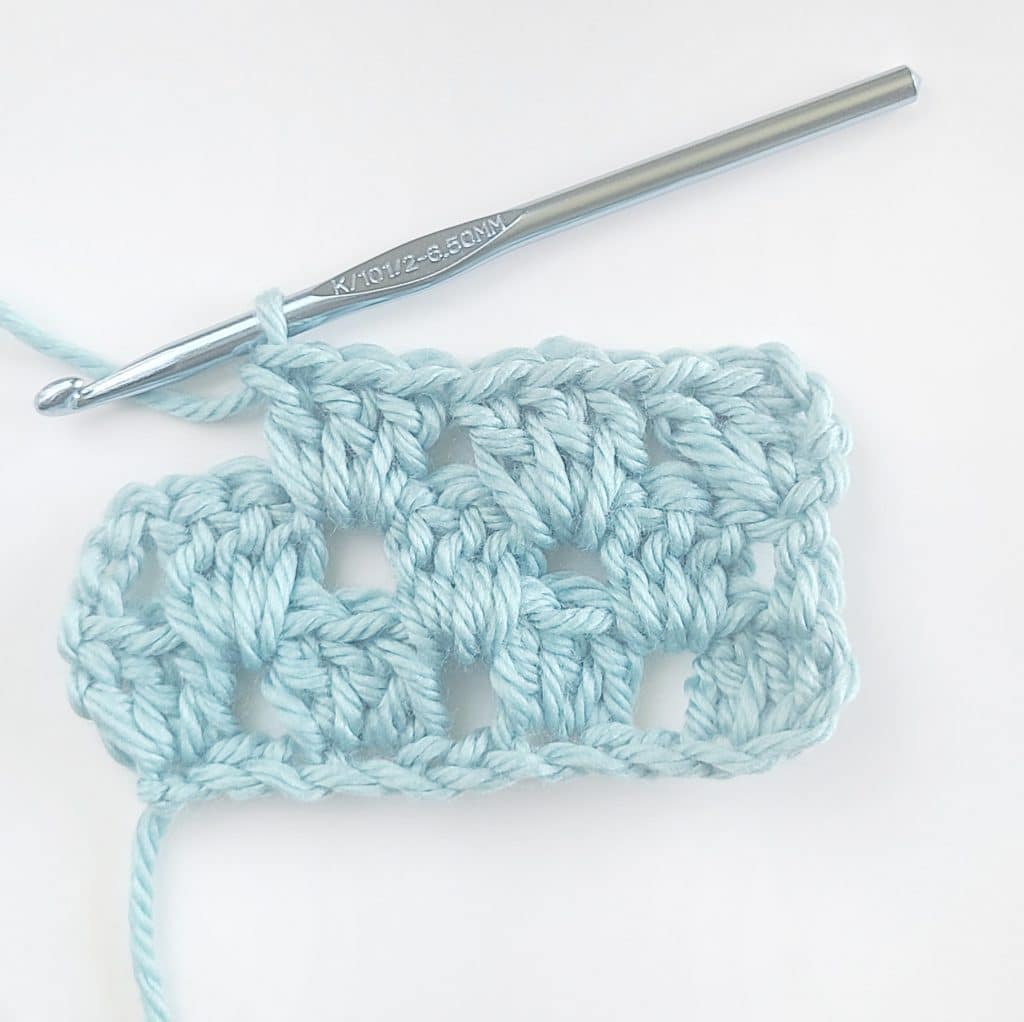
Step 5
sk 2 sts, work 3 dcs into the last st. Row 1 completed.
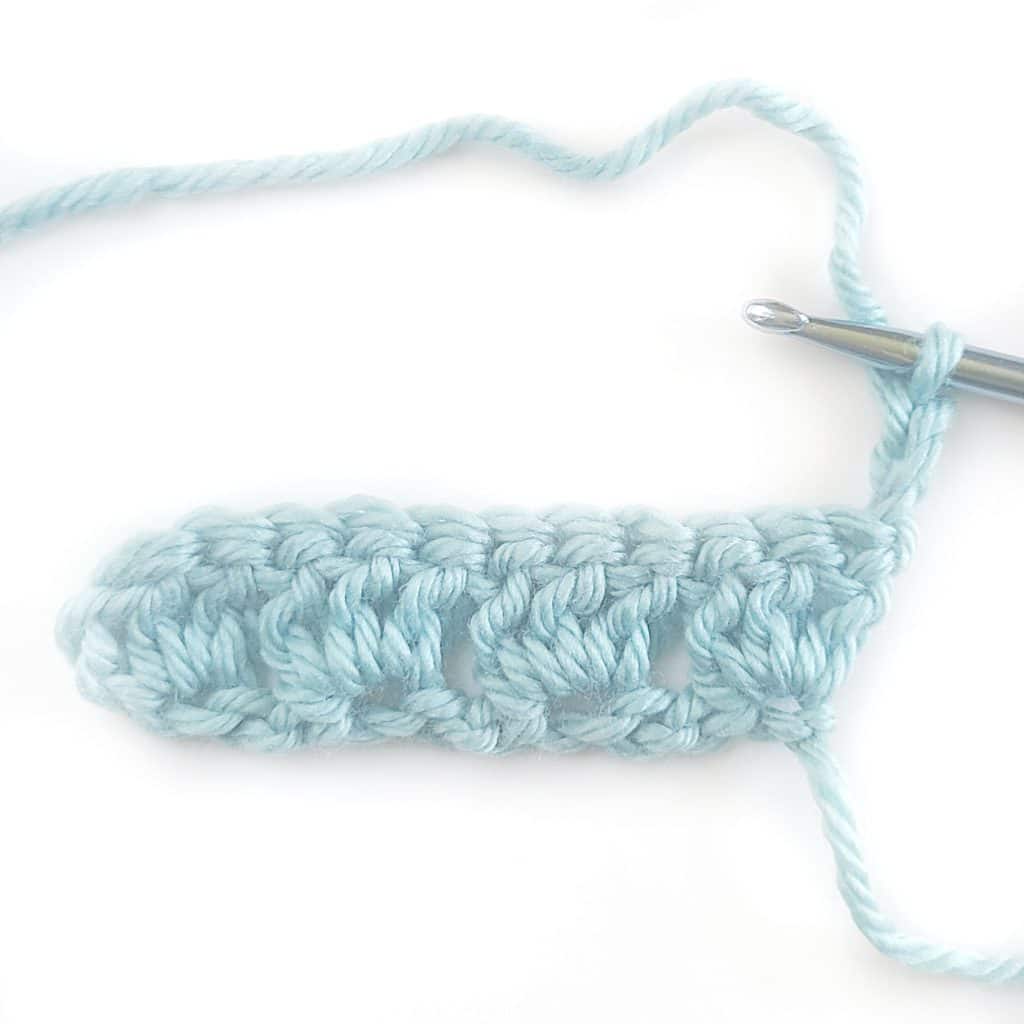
Step 6
Start of Row 2. Ch 3 and turn your work.
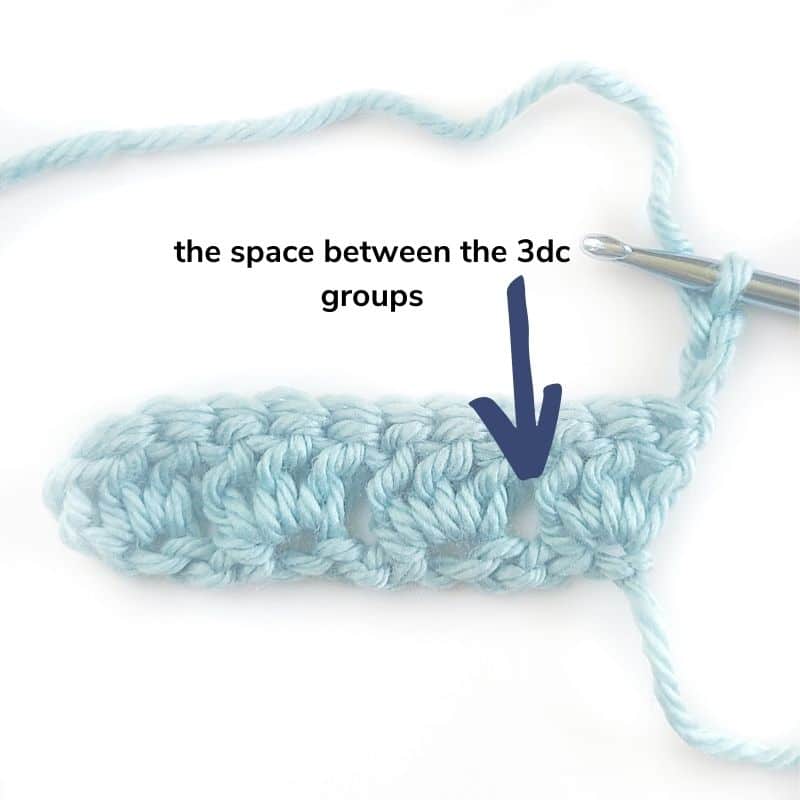
Step 7
Locate the first space that was created after the first 3 dc group from the row before
Step 7 continued….
Dc 3 x into that space.
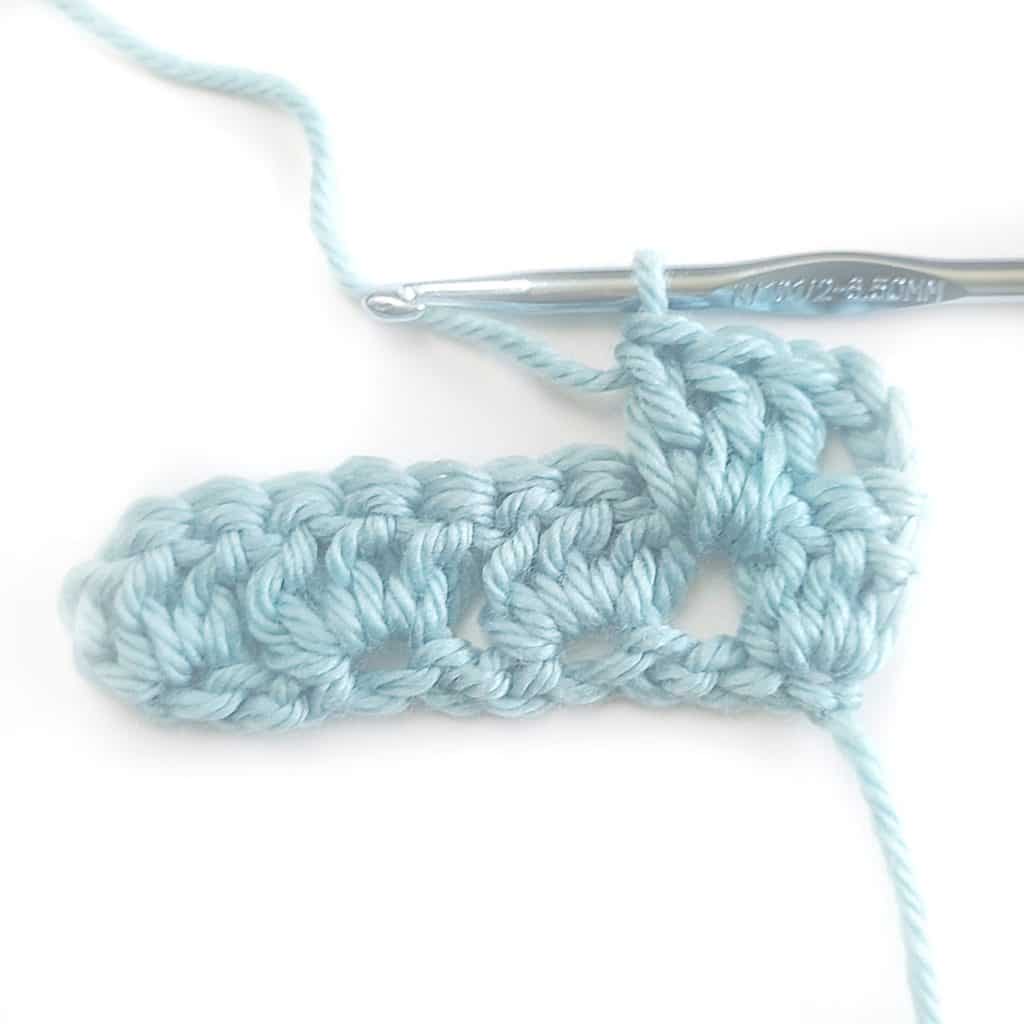
Step 8
Dc 3 x into the next space between groups of 3dcs.
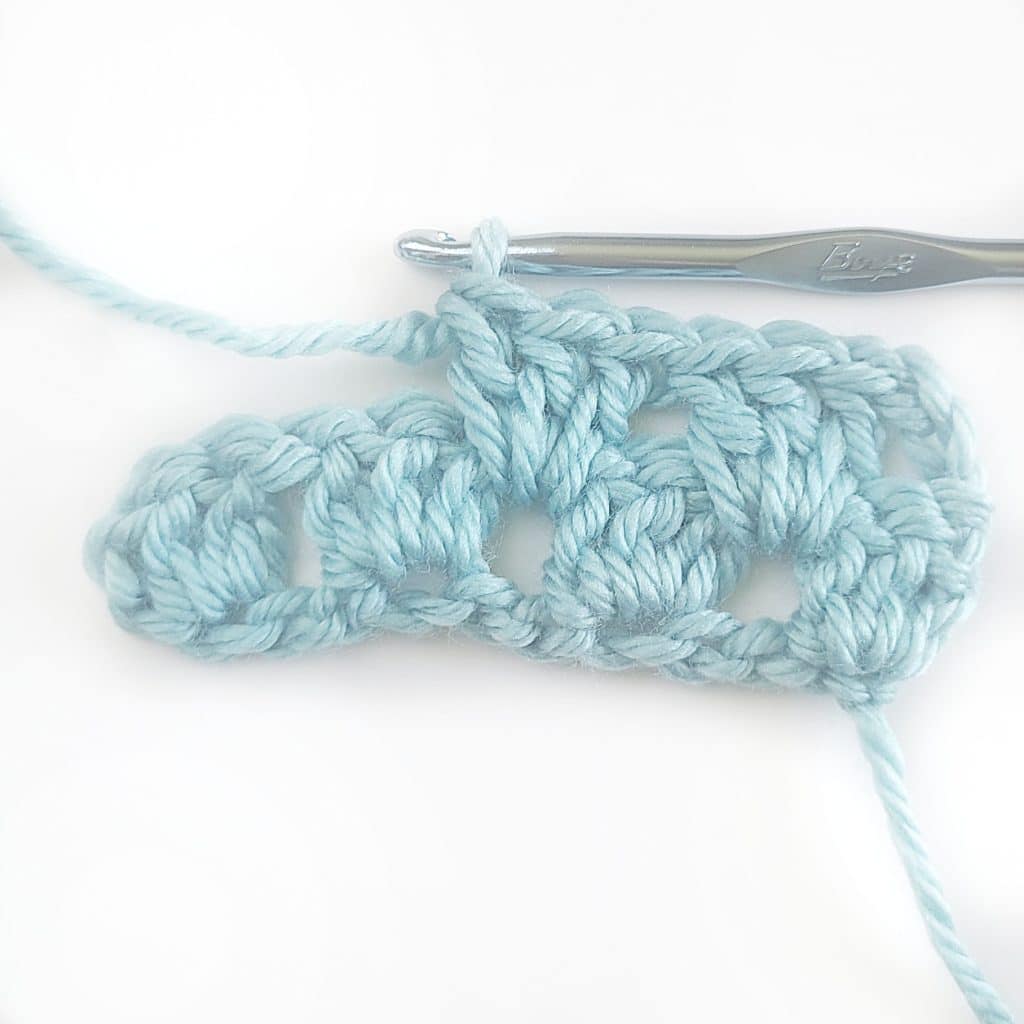
Step 9
Dc 3 x into the next space between groups of 3dcs.
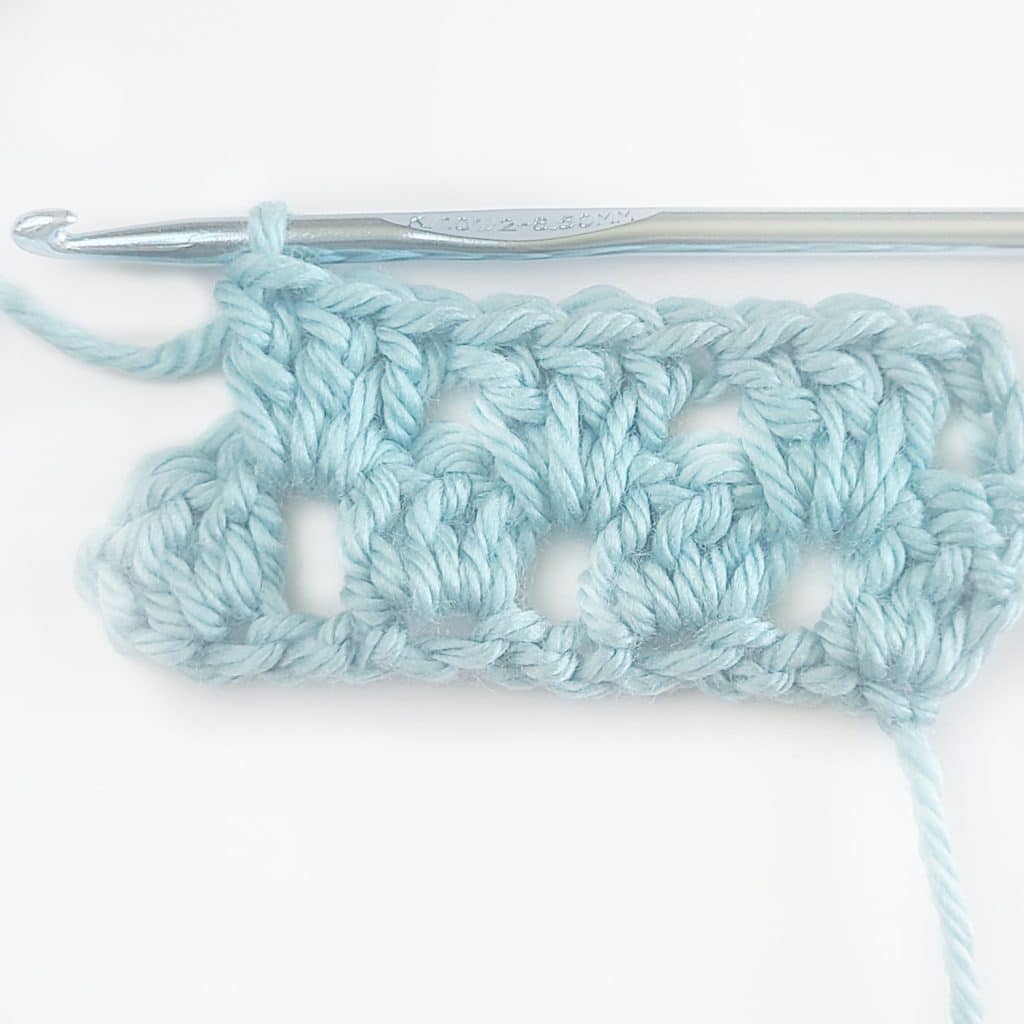
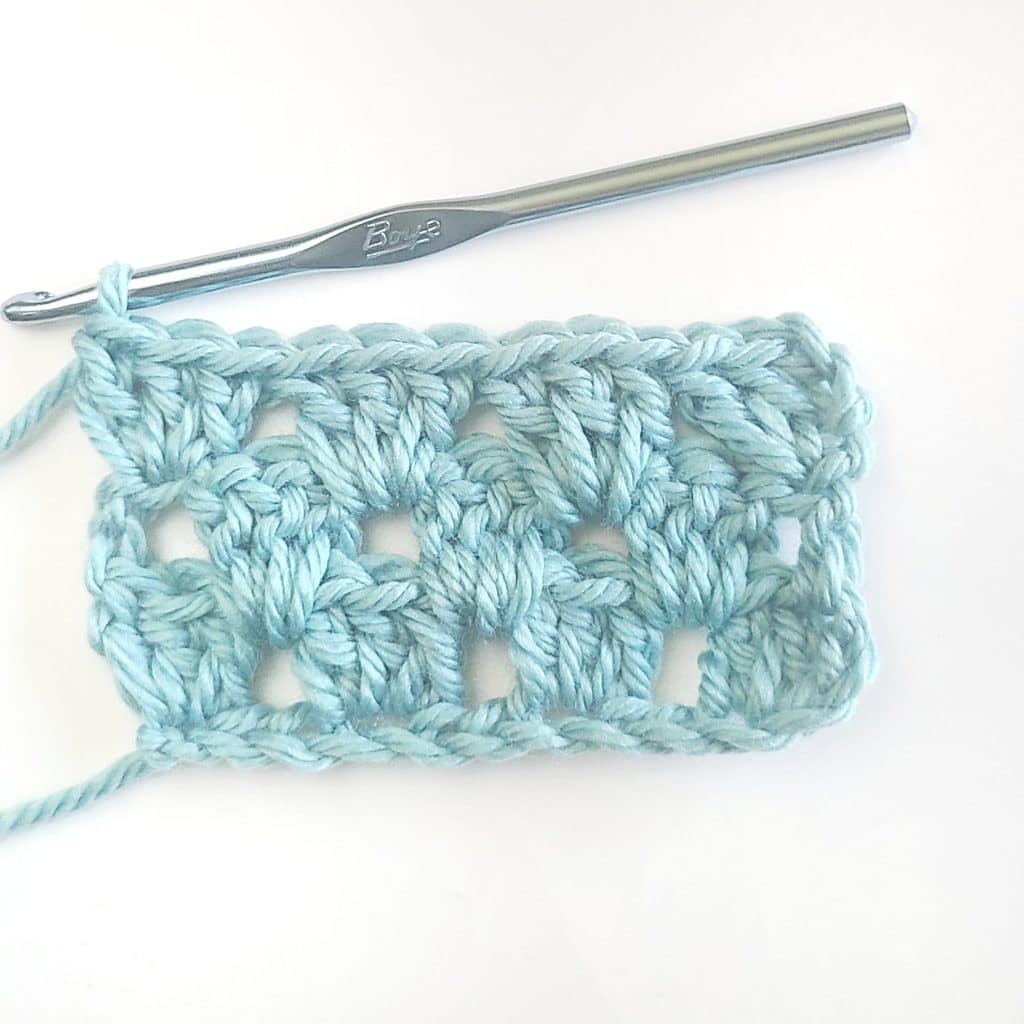
Step 10
1 dc into the top of the ch 3 from the row before, turn. Row 2 completed.
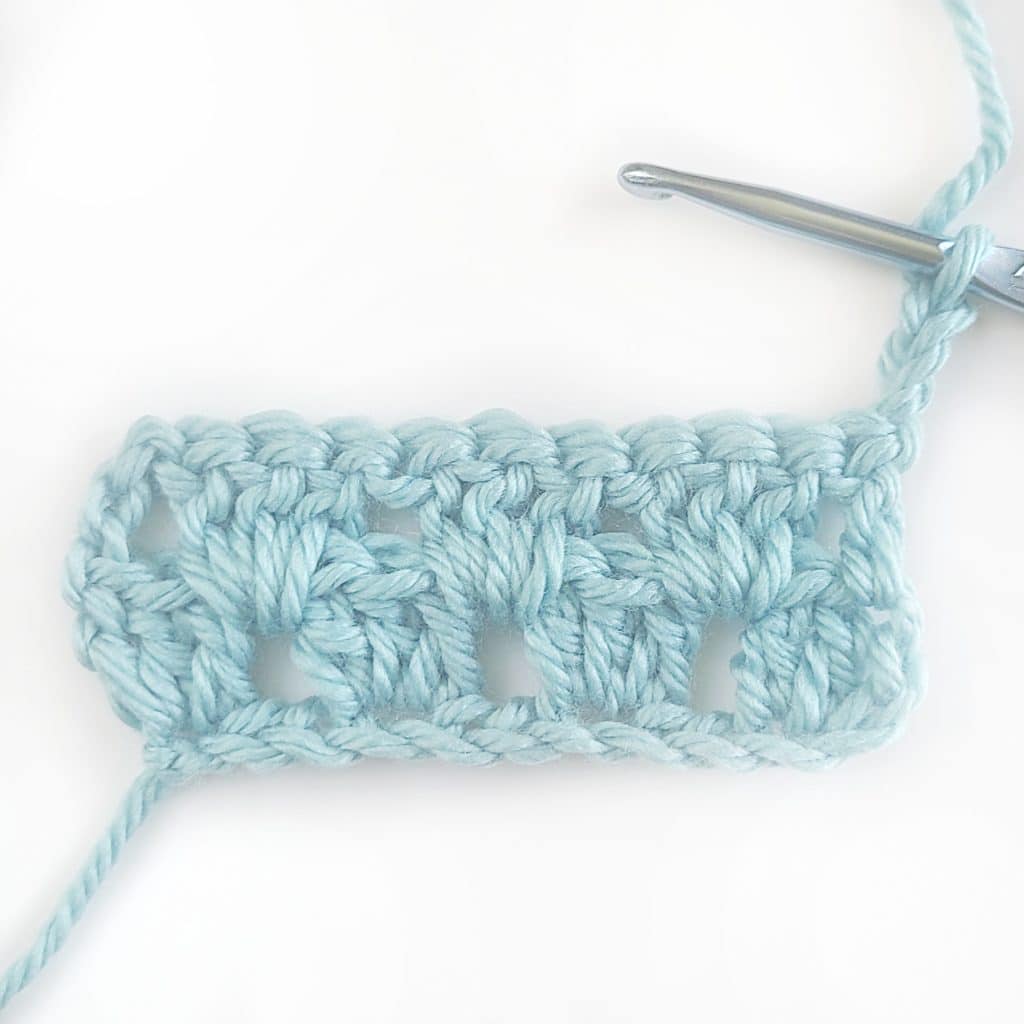
Step 11
Start Row 3. Turn your work and ch 3.
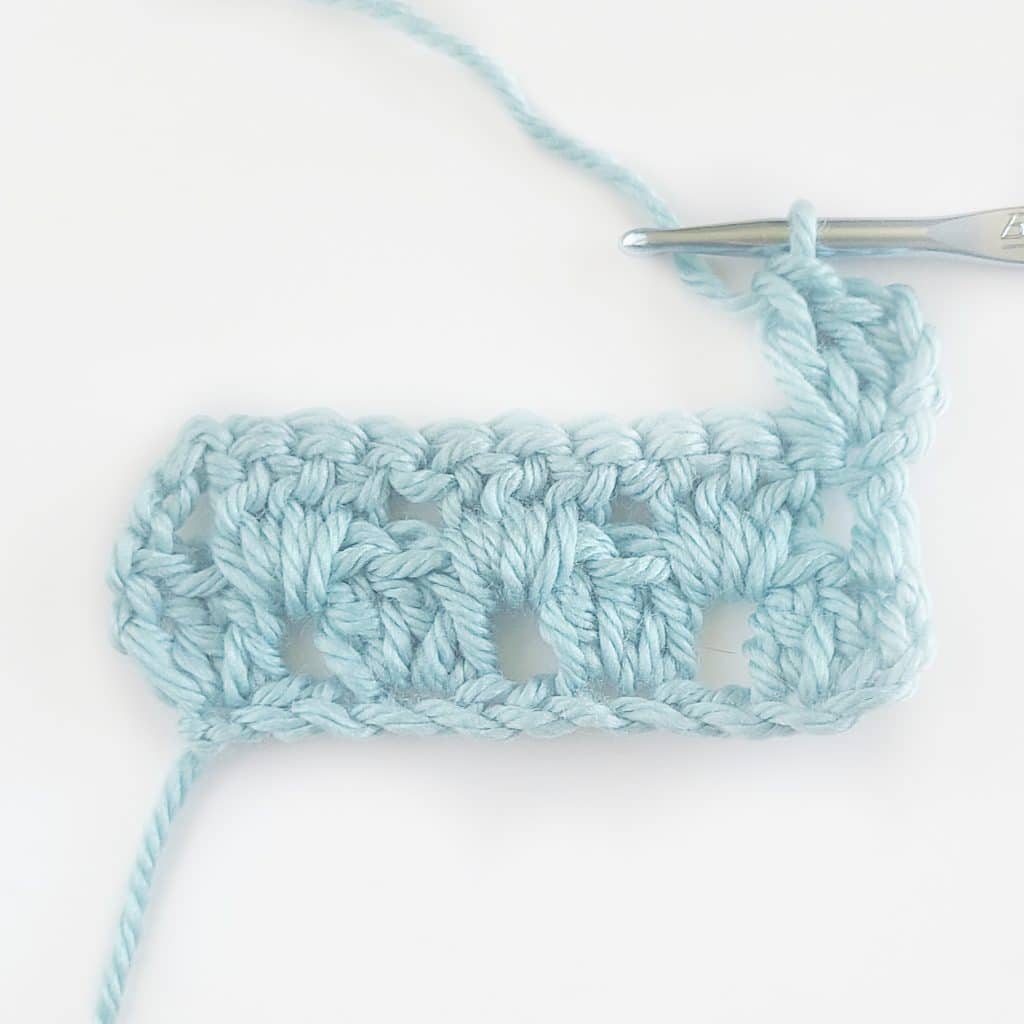
Step 12
2 dcs into the first st for a total of 3 dcs (ch 3 counts as st)
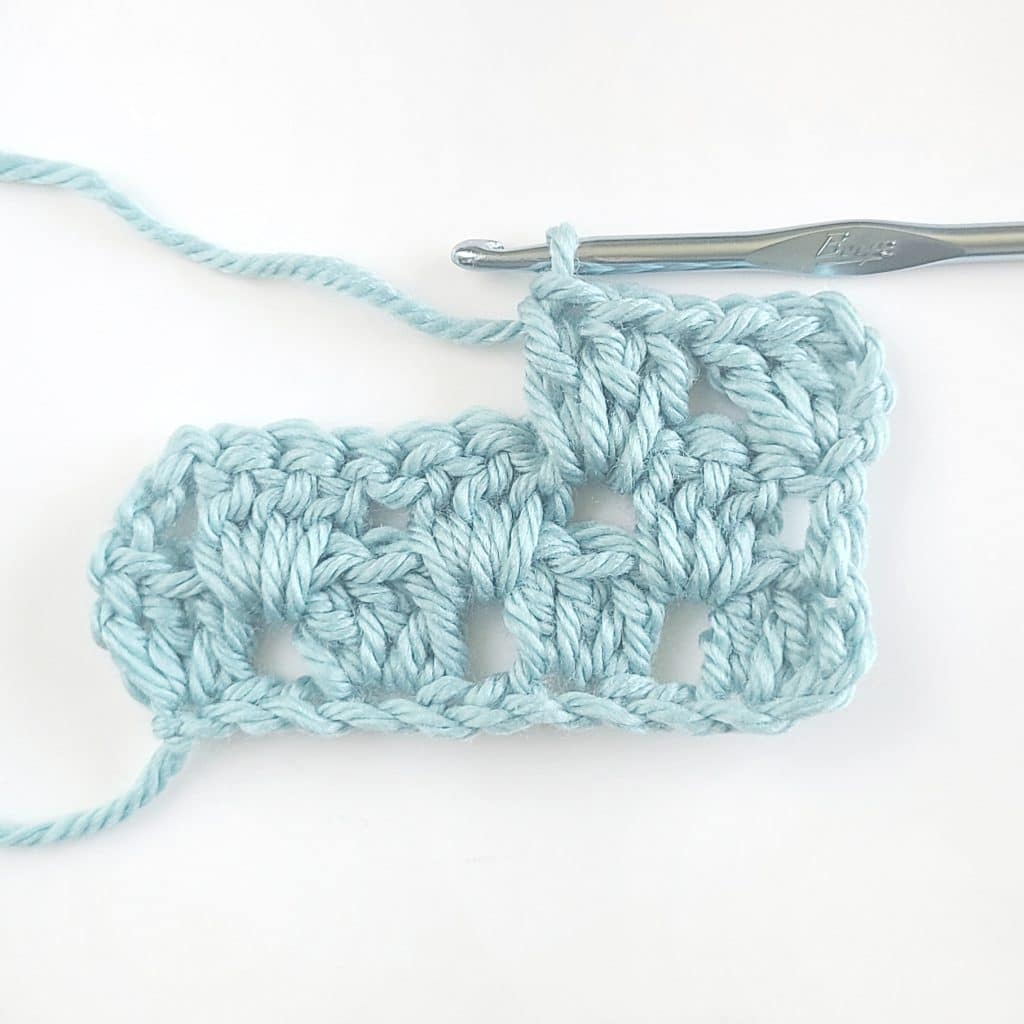
Step 13
3 dcs into the next space between the 3dc groups.
Step 14
3 dcs into the next space between the 3dc groups.
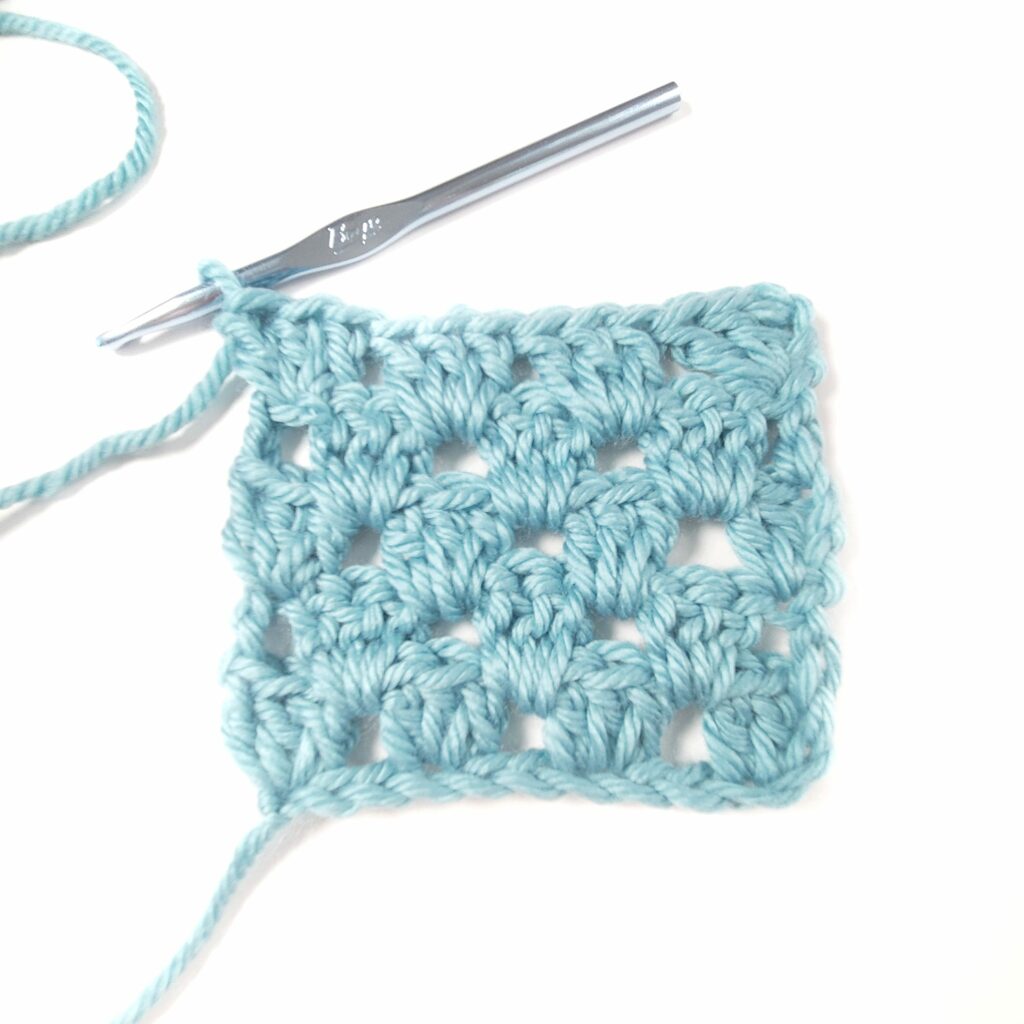
Step 15
3 dcs into the top of the ch 3 from the row before. Row 3 completed.
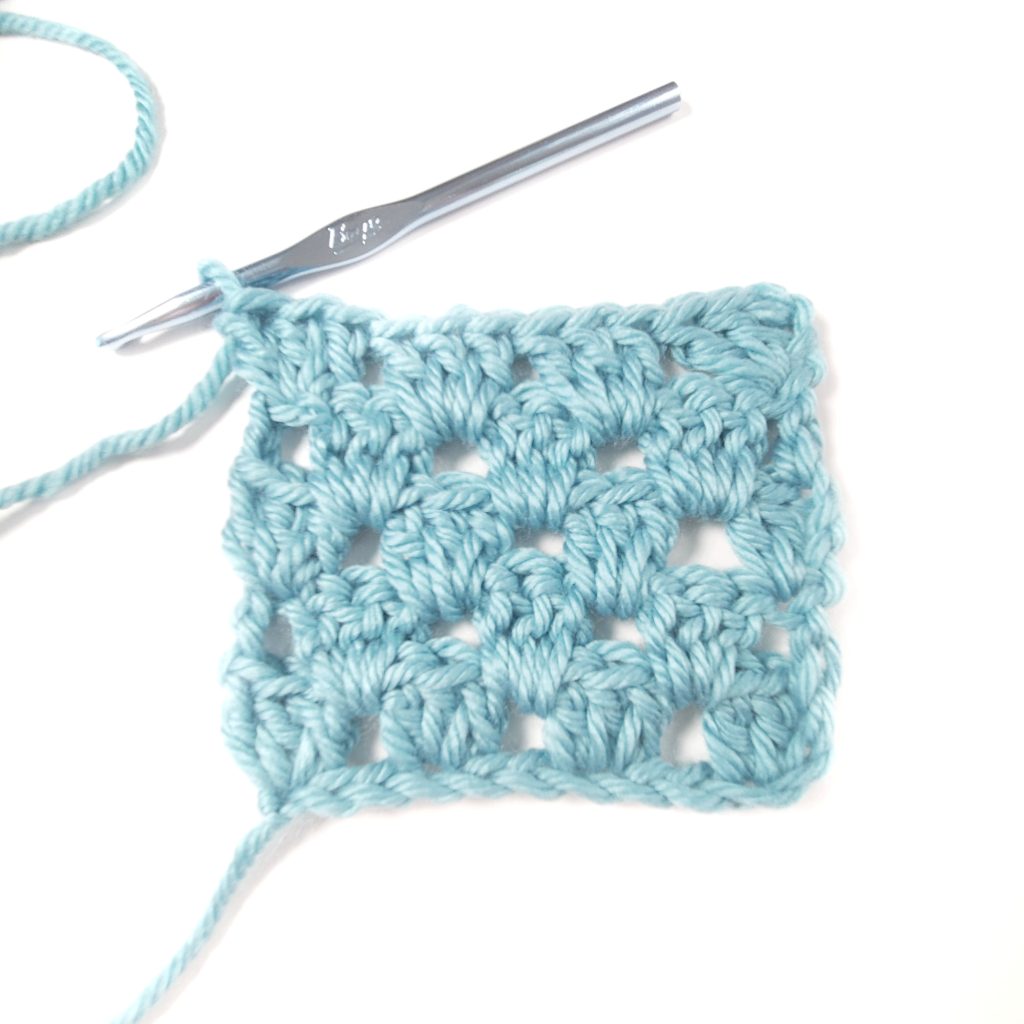
Step 16
Rep steps 6-15 for the remainder of the pattern until you reach your desired length.
Granny Stitch in Rows Chart

Crochet Patterns using the Granny Stitch Row
Granny Baby Blanket Pattern
If you’d like to give this stitch combination a try in a pattern then you might want to take a look at the Easy Crochet Modern Granny Blanket which is a free pattern here on the blog. This easy granny stripe stitch blanket is perfect for newer crocheters who want to try something a bit more than a single stitch blanket.
Granny Stitch Scarf Pattern
I have also used the classic granny stitch in other crochet patterns, like the easy-to-make granny row scarf. It is a beginner-friendly design that is a shorter version of the granny blanket pattern mentioned above.
Common Questions about the Granny Stitches
What are some other crochet patterns that use the Granny Stitch?
You will find the granny stitch used in traditional granny squares the most often, but they can also be used in other designs like blankets, scarves, and even hats. When crocheting a granny stitch in a square, you will want to start your square with a magic ring because it will be crocheted in the round instead of in rows.
More Crochet Stitch Tutorials
- Crochet Puff Stitch Tutorial with Photos
- Whip Stitch Crochet Seaming Technique
- Half Double Crochet Slip Stitch (hdc slst) for Beginners
- Single Crochet Increase Tutorial (sc inc)
- Creating Seams Using the Mattress Stitch
- Single Crochet Two Together (Single Crochet Decrease)
- How to Crochet a Cable Stitch
Free Crochet Patterns to Make
- Free Heart Crochet Patterns for Valentine’s Day
- Best Easy Crochet Patterns for the Holidays
- Easy Crochet Patterns That are All Cozy
- 5 Minute Crochet Patterns
- 8 Favorite Spring Crochet Tops
- 14 Free Crochet Leg Warmer Patterns
- 25 Warm Weather Crochet Patterns To Make
- 18 Cute Crochet Cow Patterns