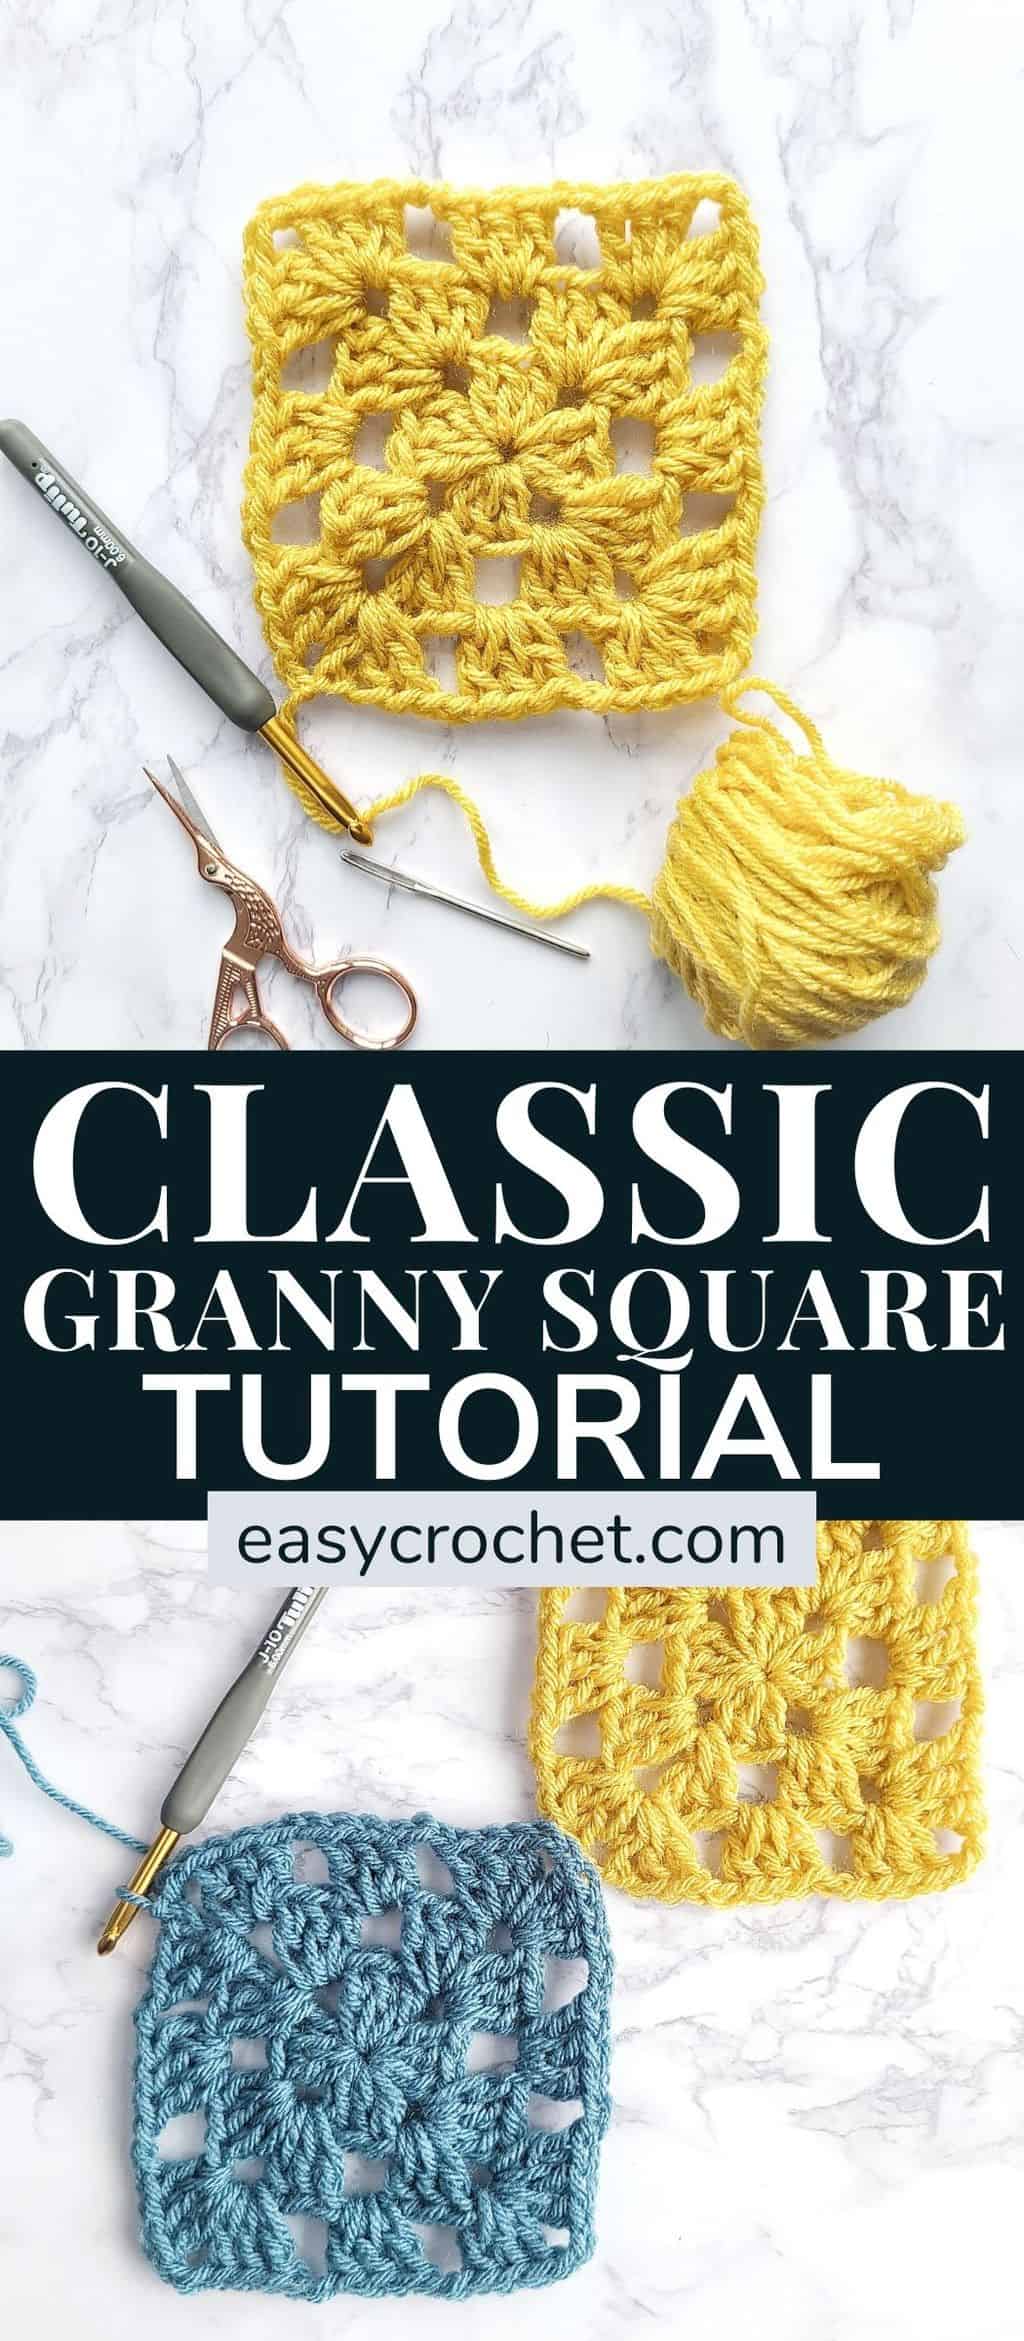
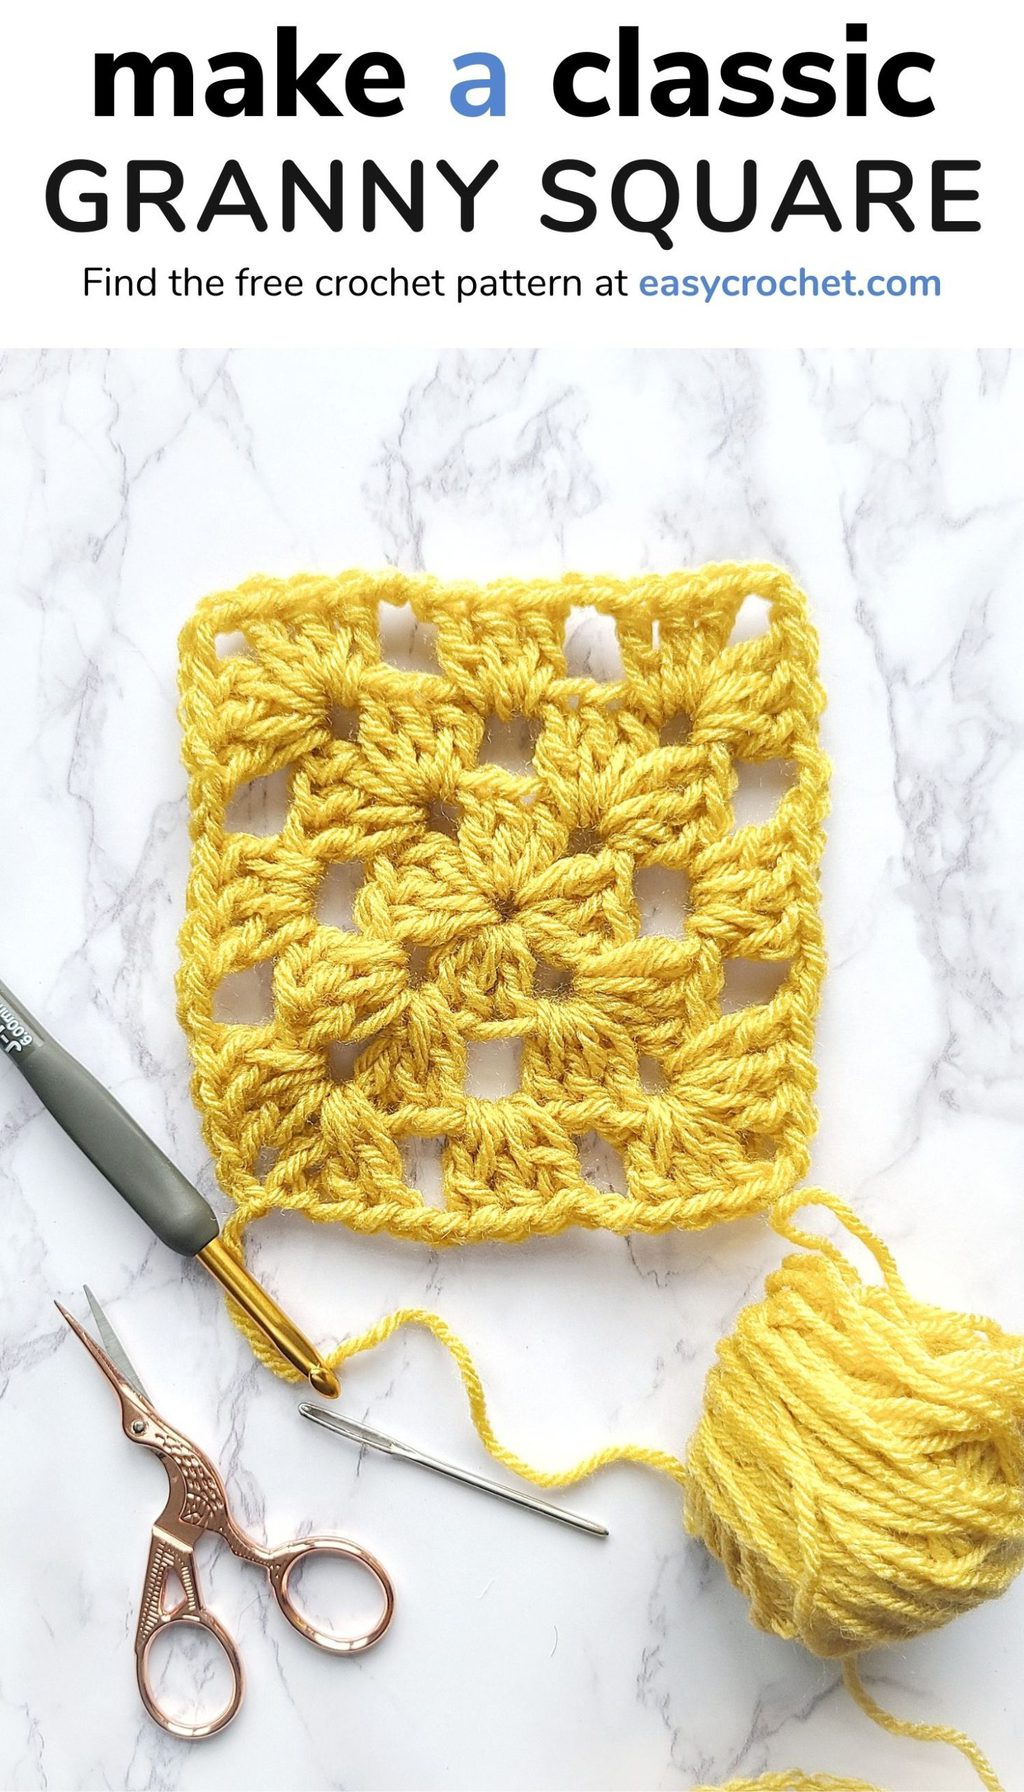
Basic Granny Square Pattern for Beginners
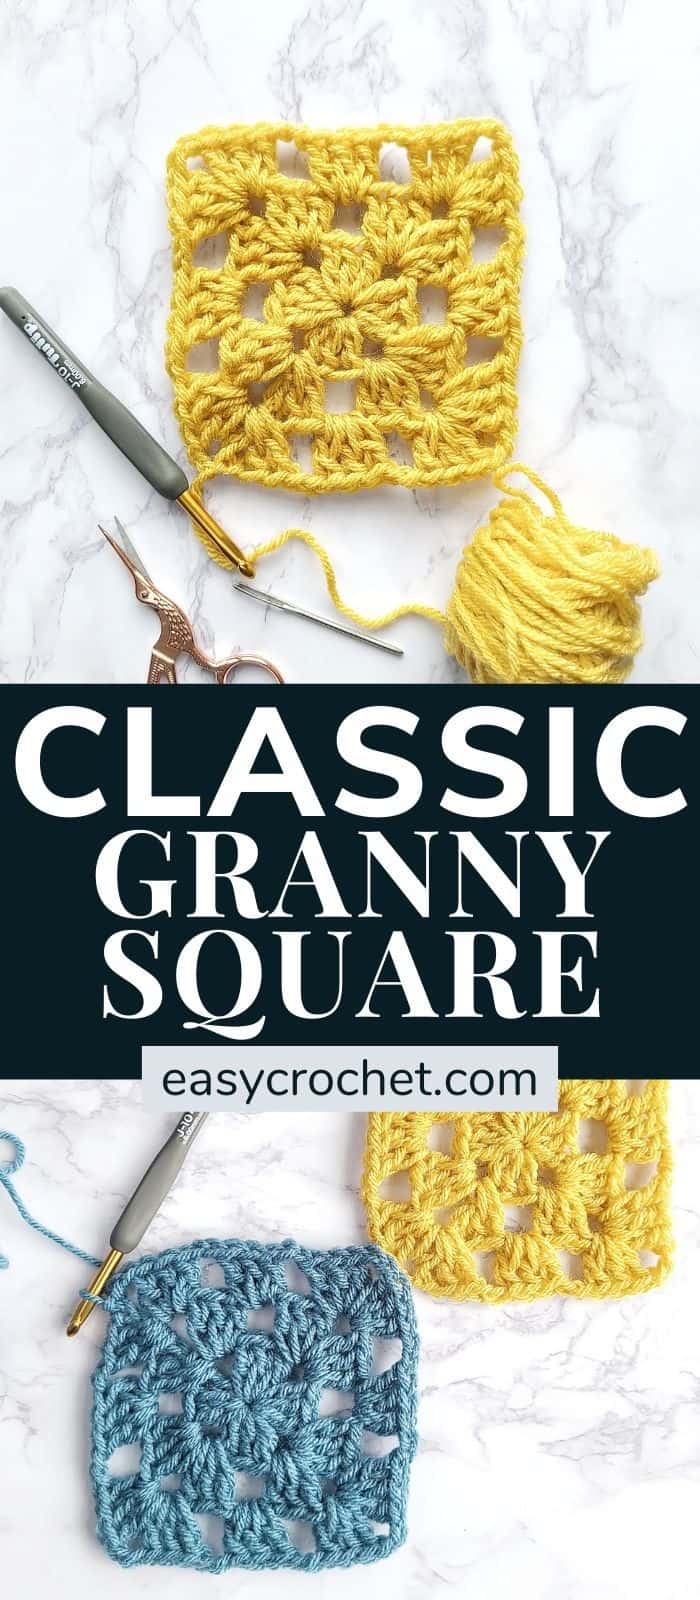
Do you want to learn how to crochet a granny square? Don’t worry, I can help, and I promise it’s not as hard as it looks! In this square tutorial, I’ll show you how to make a granny square that is perfect for beginner crocheters.
If I am being honest, my first granny square was not pretty (think sideways and definitely not a square shape!), but I remember the feeling of actually finishing it, and it was wonderful. So, if you are worried about starting this square, don’t be, while it may not be beautiful at first, you’ll get there!
What is a Granny Square?
Basically, to begin a square, create the center of the motif and connect rounds by repeating a pattern of granny clusters and chains. A granny cluster is just three double crochet stitches worked into the same space, which is what creates the classic granny square look. It’s that easy!
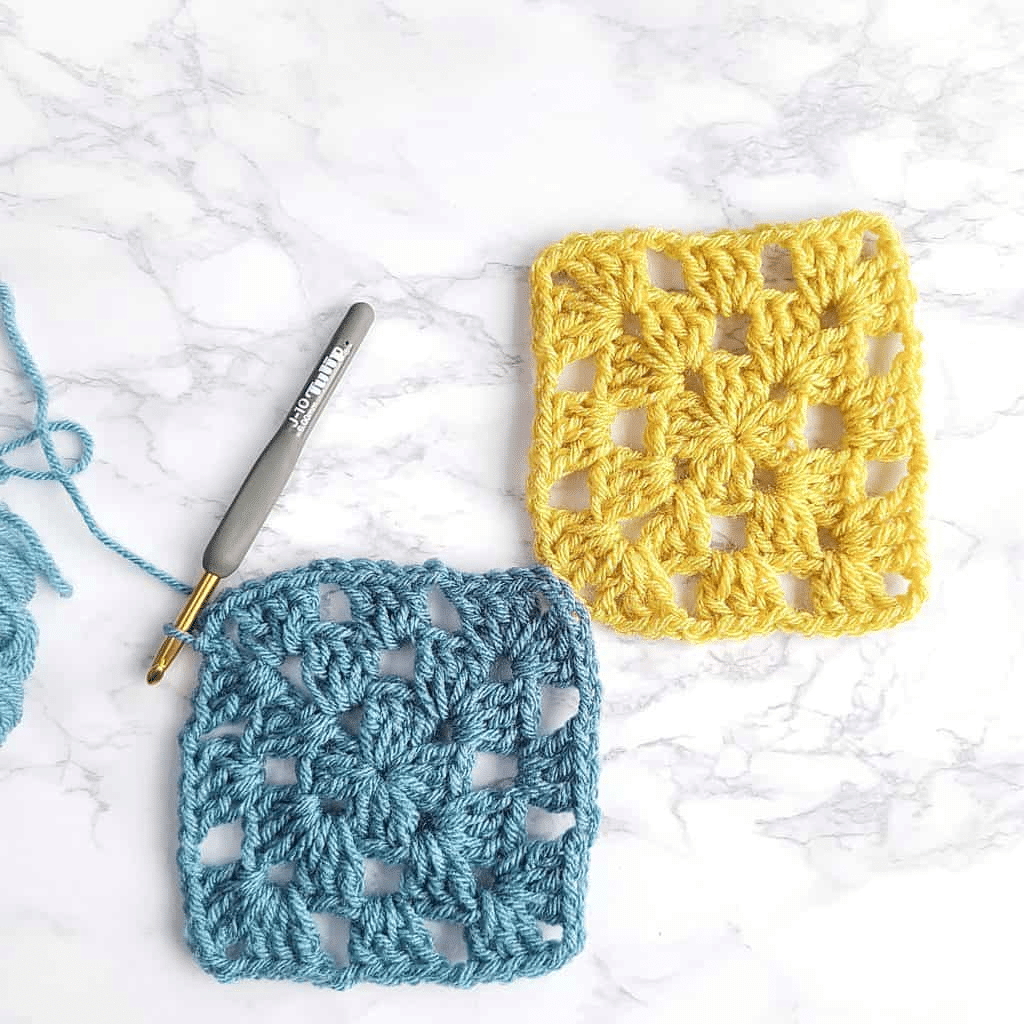
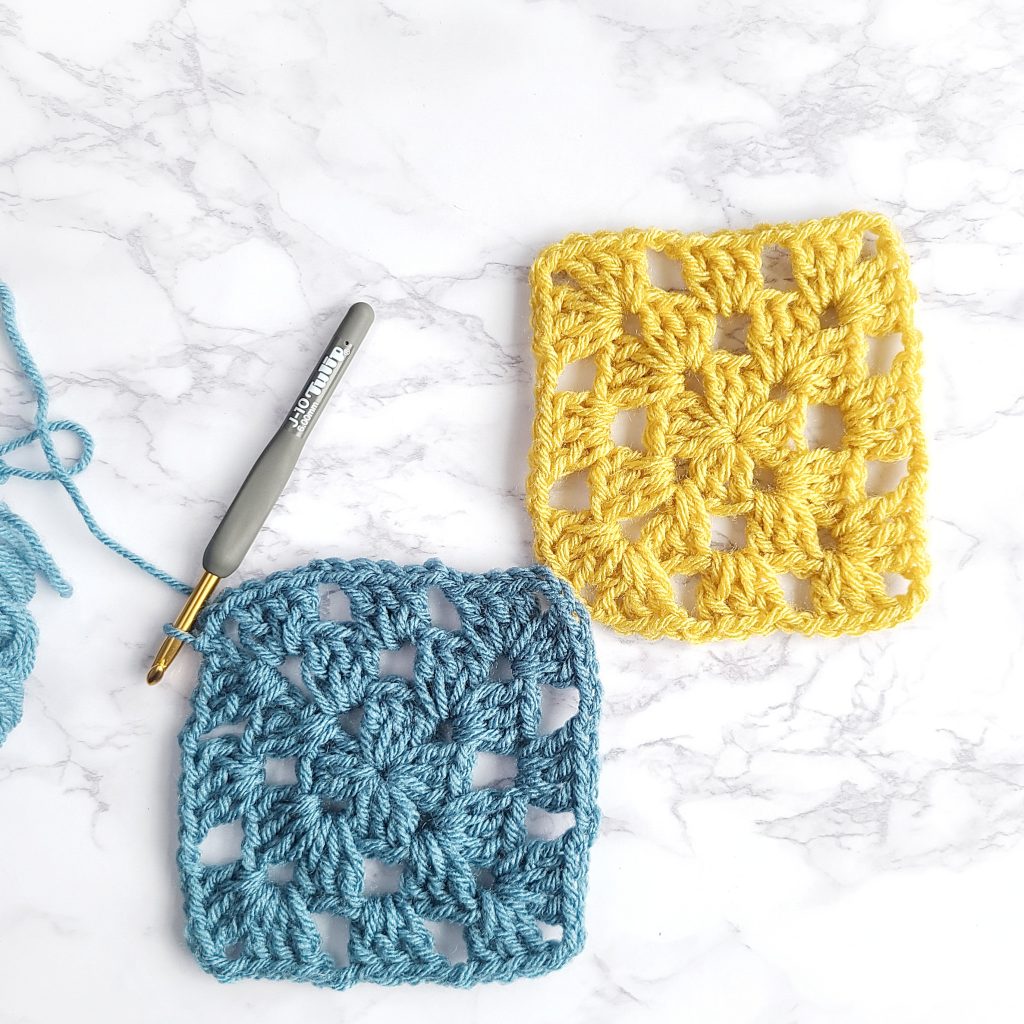
Granny squares are small projects, so they are a great way to use up leftover scraps of yarn. You can make a traditional granny square in one solid color like I did here, or use a different color of yarn for each round.
Usually, the first step of creating a granny square project is to just start making countless granny squares, which I’ll show you how to below!
Building a Project with Crochet Granny Squares
But there are some important things to remember when making these crocheted granny squares.
The Steps
- First, each one should have a uniform size. If you build a 4″ x 4″ granny square, they should all be that way.
- Second, it may be critical to block them, so each square has defined corners and sides.
The idea that a crochet granny square project needs to have all the squares in the same pattern is a common misconception. This is untrue, and creatively, by using different stitches, colors, and square variations, your granny square project can be entirely unique to you!
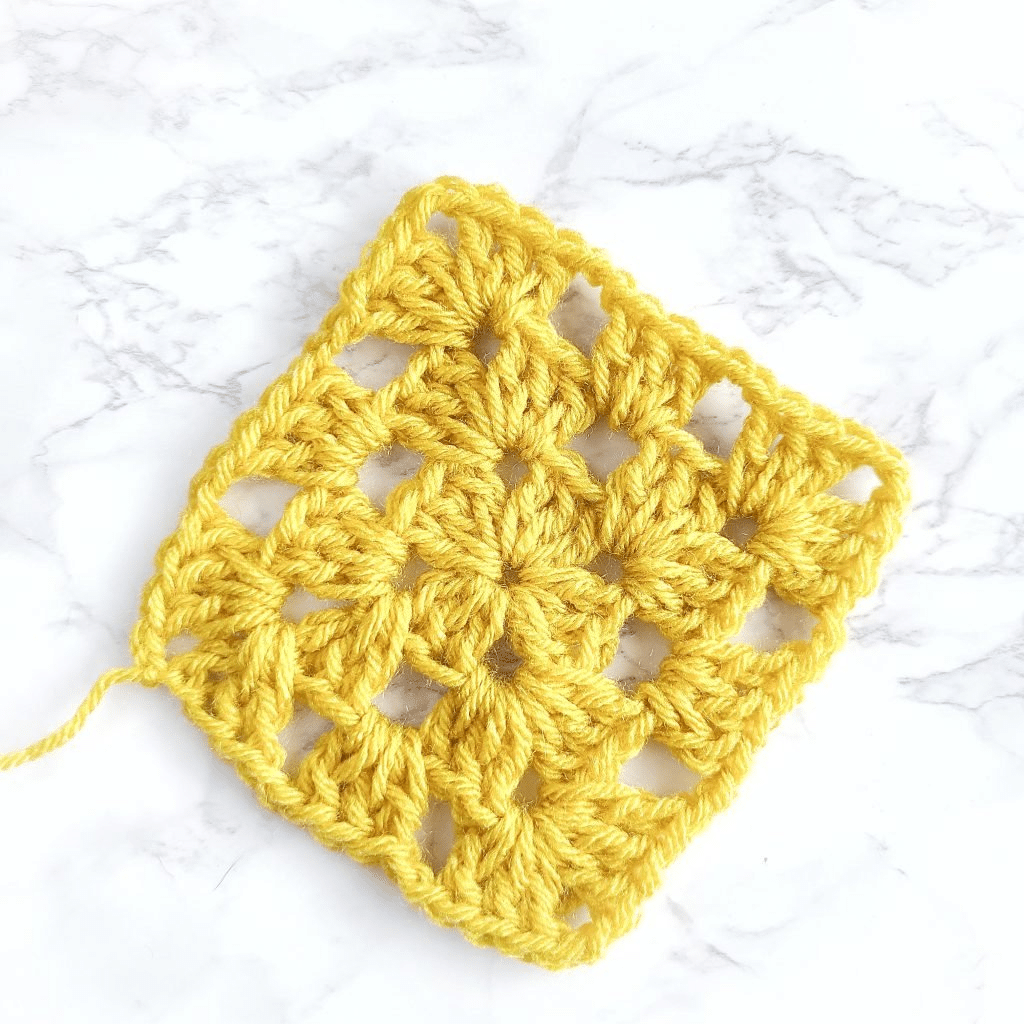
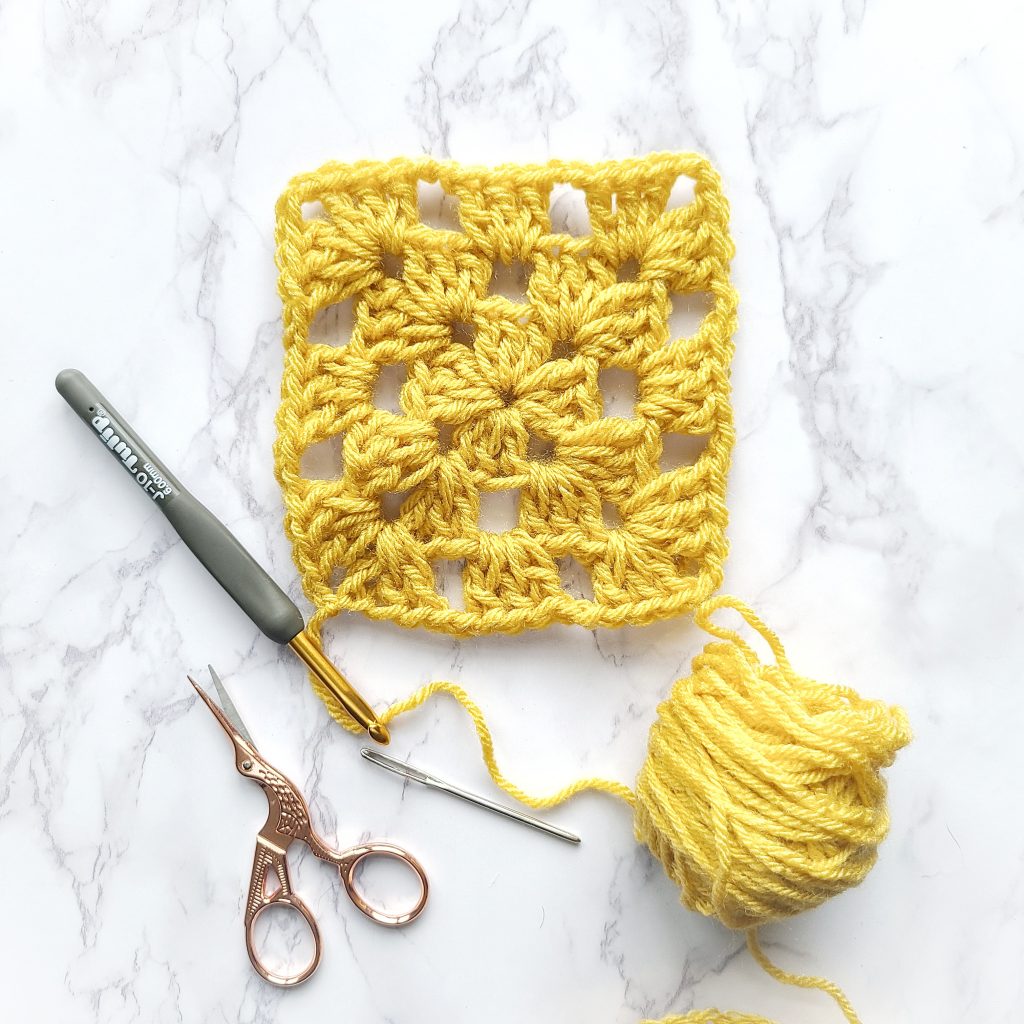
The pattern below is a classic square design that is easy to make and great for beginner crocheters who are eager to learn to make an easy granny square.
How to Crochet a Granny Square
A basic granny square is one of the first patterns a beginner-level crocheter learns because it uses simple crochet stitches, it’s easy to learn, and it works up quickly.
The basic granny square motif is worked from the center out in joined rounds. The first round and additional rounds of a granny square are made from a repeating pattern of granny clusters and chain stitches.
Traditional granny squares are worked in the round, which means you’ll be joining yarn to form a continuous round without turning, rather than working in rows as you would with a crochet blanket.
Learn more below about the easy crochet stitches that will make up a granny square below.

The Stitches to Crochet a Square Pattern
You’ll only need to know how to double crochet and make a chain stitch to complete this easy granny square pattern. Double crochet stitches are one of the basic stitches a beginner learns when they are first starting to crochet, and are the most common stitch used when making granny squares.
This granny square pattern is worked with clustered double crochets, which is referred to as granny clusters or double crochet clusters. A double crochet cluster refers to a set of three double crochet (dc) stitches worked into the same space.
Once you’ve built your first crochet granny square, you can build your next one in any crochet stitch you’d like!
Using different stitches in your granny projects will allow you to make a unique crochet project that is one of a kind, but if you do prefer the traditional granny square design, then make that instead.

Basic Stitches of This Simple Granny Square
Double Crochet (dc):
- Wrap the yarn over (yo) the hook, insert the hook into the specified st.
- Yo the hook again, draw the yarn through the st, so there are 3 loops on the hook
- Yo the hook again draw it through 2 loops, so there are 2 loops on the hook
- Yo the hook, draw it through the final 2 loops.
Chain Stitch (ch):
A simple crochet stitch that often forms the foundation of what crochet stitches are worked into during projects. Learn all about chain stitches below.
- Make a slip knot.
- Insert hook into slip knot point first, bring yarn over the shaft of the hook from back to front and grab it with the throat of the hook.
- Draw hooked yarn through slip knot and onto the hook. This movement will make one chain stitch
- Repeat steps two and three until you have the desired number of stitches for a pattern. One loop will remain on the hook.
Slip Stitch (sl st):
- Insert the hook into the designated stitch.
- Yo and pull back through the st and through the loop on the hook.
The Special Stitch in This Granny Square
- Granny Cluster (aka Shell Stitch): The granny cluster in this pattern is 3 stitches worked into the same space.
Let’s Get Started
Now that you know all the stitches required for this square, it’s time to start! Below are the basic steps on how to make a classic crochet granny square, with a full step-step tutorial pattern.
With this easy pattern, your squares will lay flat, work up fast and beautifully! Enjoy!
How to Crochet A Granny Square
Skill Level: Basic
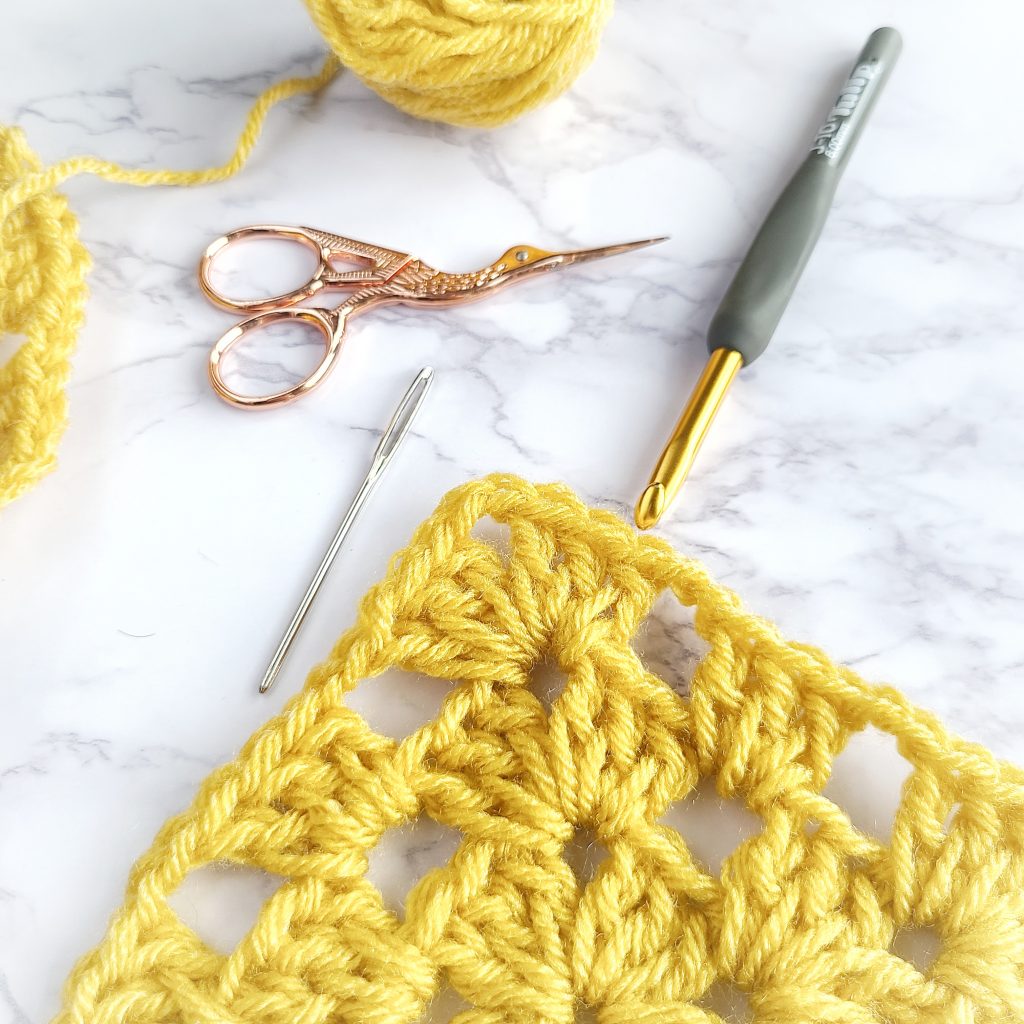
Materials
- Use any type of yarn of any weight. For my square example, I’m using a four weight medium yarn aka worsted weight yarn (Vanna’s Choice)
- A crochet hook that corresponds to the yarn you are using. I am using a J-6 mm crochet hook.
- Yarn needle
- Scissors

Crochet Stitch Abbreviations
- ch = chain
- sp = space
- dc(s) = double crochet(s)
- ch sp = chain space
- sl st = slip stitch
- x = times
- rep = repeat
Notes
- This pattern for a crochet granny square is written in standard US terms
- The size of the granny square will depend on the size crochet hook and weight class of yarn used. You are welcome to make a few different granny squares with a few different hook sizes to see what works best for you, so you can achieve the desired size needed.
- You can use a magic circle (aka magic ring) to start this granny square instead of the chain 3 (ch 3). If you do this, you will need to make 3 double crochets into the center ring and then follow along with the pattern as written.
- A dc cluster in this square pattern refers to a group of double crochets.
- Tip: This granny square project is great to use scrap yarn on, since it takes very little yarn to make this granny square.
The Free Granny Square Crochet Pattern
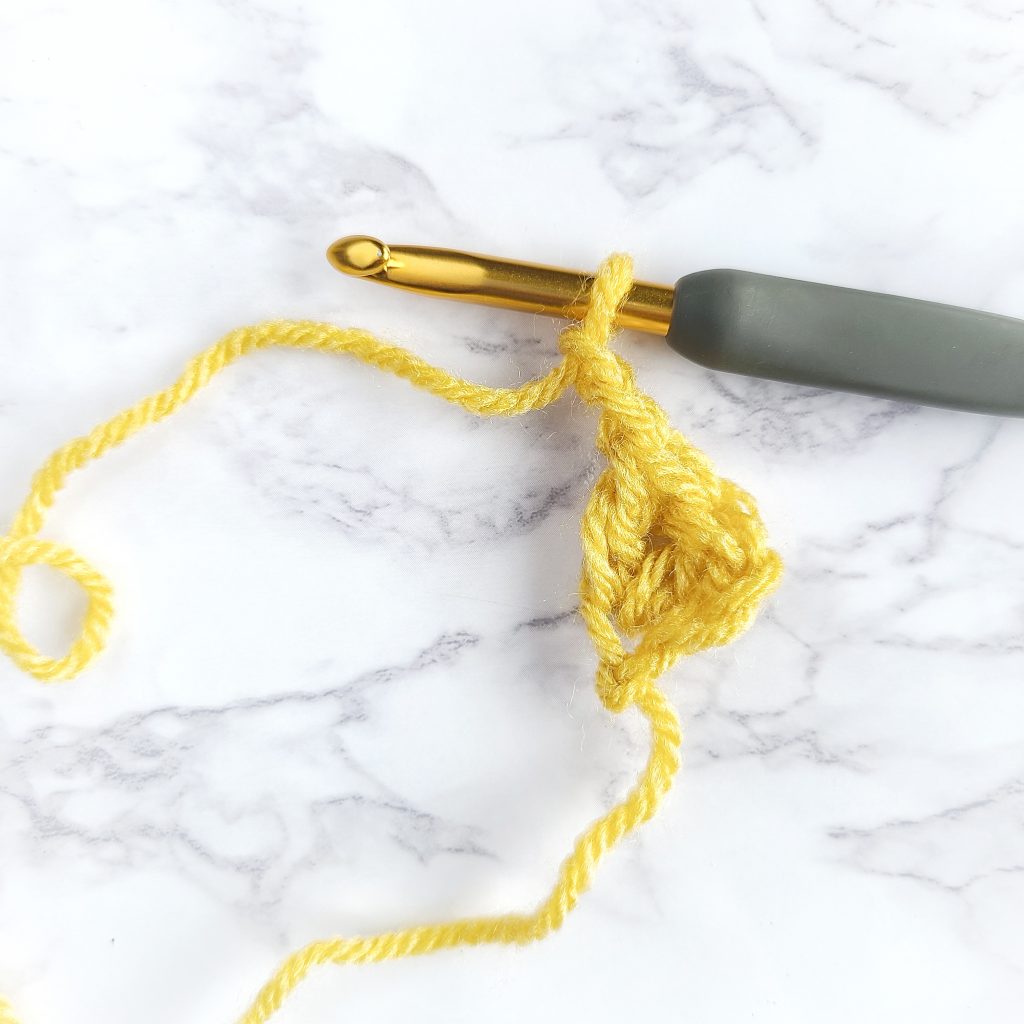
Round 1 of a Granny Square:
- Ch 3 (counts as the 1st dc)
- In the 3rd ch from the hook, dc twice (1st dc cluster group)

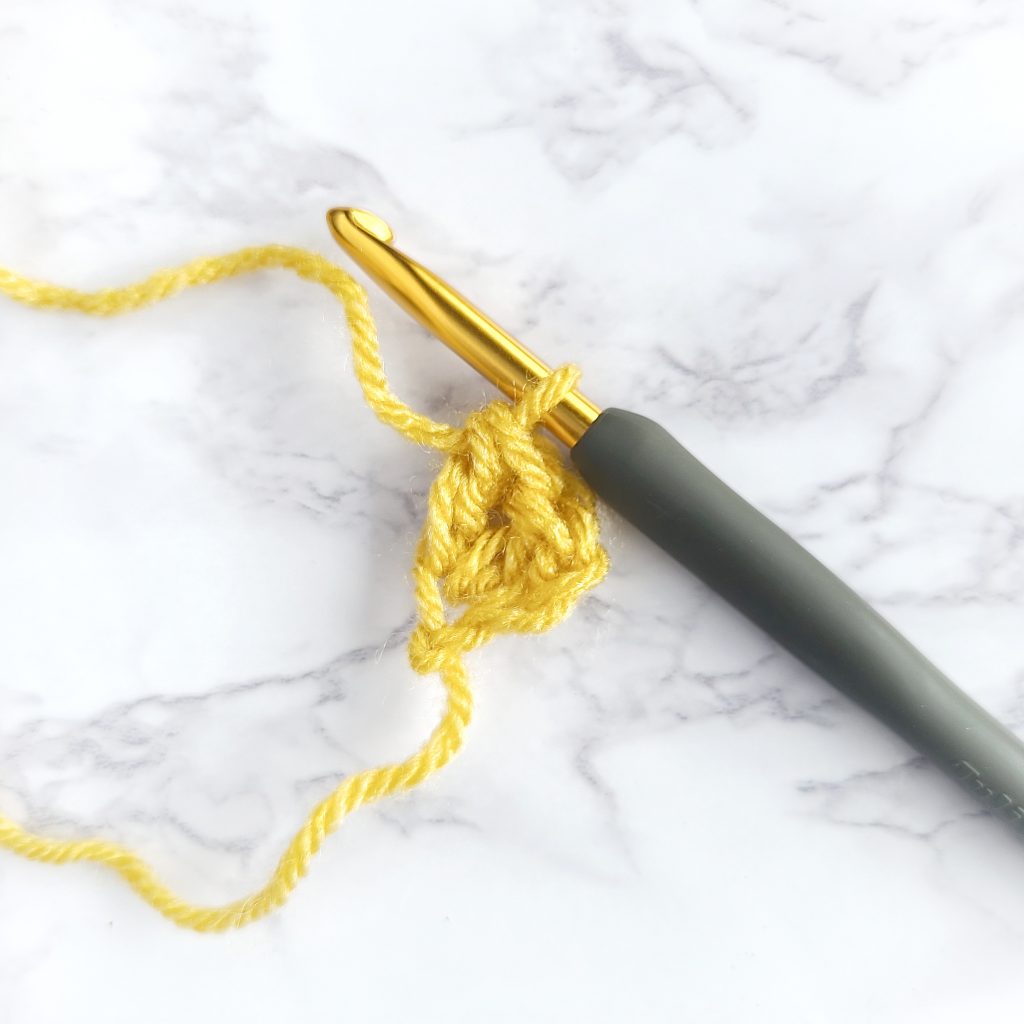
- Ch 2 (first corner), 3 dcs into the same sp as the previous dcs (2nd dc cluster)
- Ch 2 (second corner), 3 dcs into the same sp as the previous dcs, (3rd dc cluster)
- Ch 2 (third corner), 3 dcs into the same sp as the previous dcs (4th dc cluster)
- Ch 2 (fourth corner), sl st to the top of the ch 3 from the first cluster to finish the end of the round.
Round 2 of a Granny Square:
- Ch 3 (this counts as a dc)
- 2 dcs into the last ch 2 sp from the round before. It is the one directly below the ch 3.
- Ch 2, in the next ch 2 sp dc 3 x, ch 2, and dc 3 x in that same space
- Ch 2, in the next ch 2 sp dc 3 x, ch 2, and dc 3 x in that same sp.

- Ch 2, in the next ch 2 sp dc 3 x, ch 2, and dc 3 x in that same sp
- Ch 2, you will be at the beginning ch 2 corner space, next dc 3 x and ch 2
- Sl st to the top of the ch 3 to complete round 2
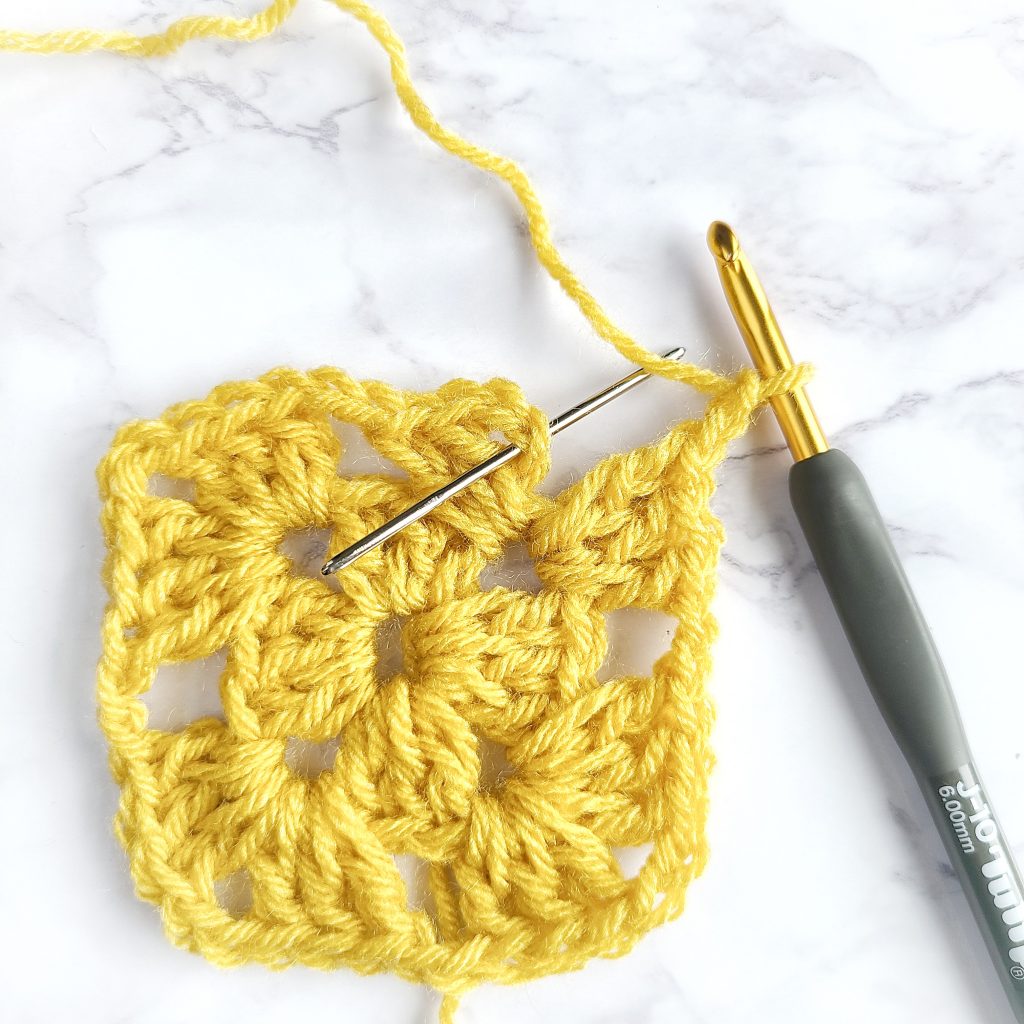
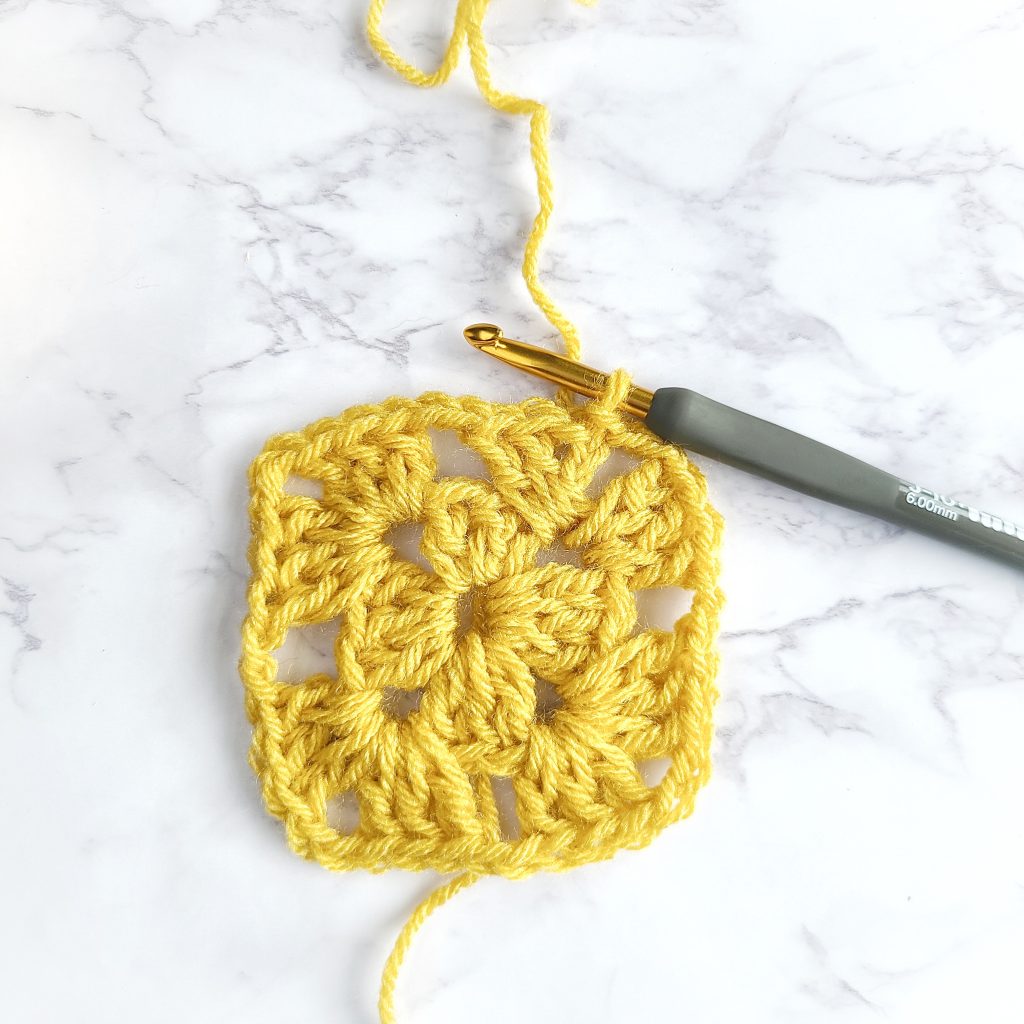
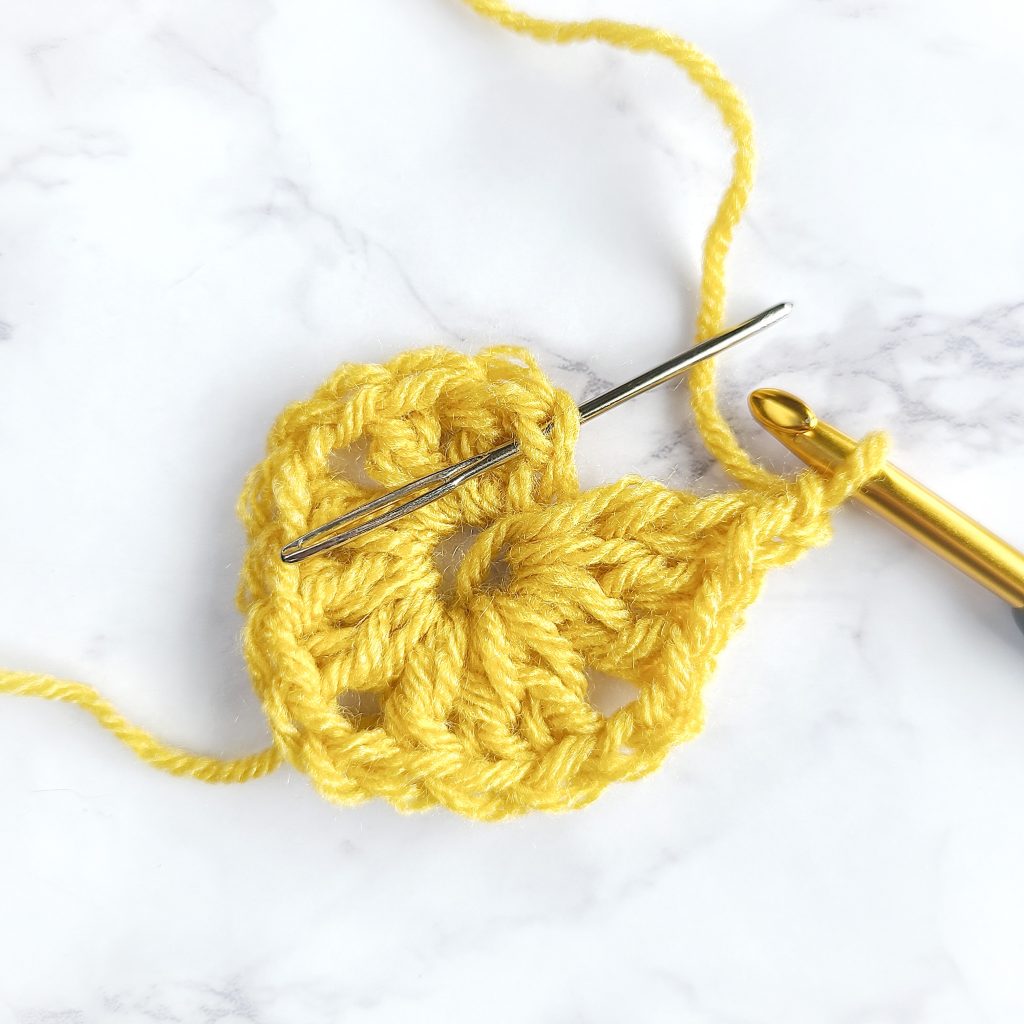
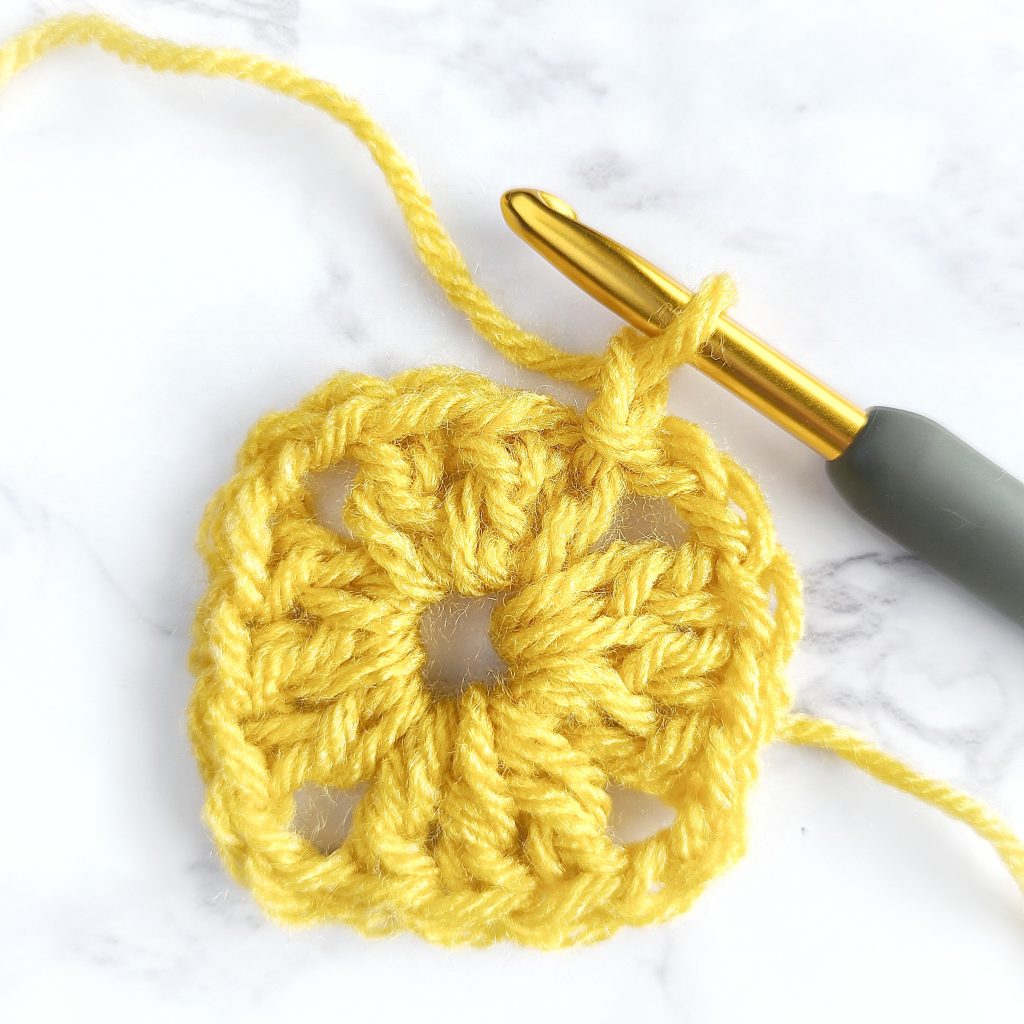
Round 3 of a Granny Square:
- Ch 3 (this counts a dc)
- 2 dcs into the last ch 2 sp from the round before. It is the one directly below the ch 3
- * Ch 2, In the next ch 2-sp 3 dcs
- Ch 2, in the next ch 2 sp over dc 3 x, ch 2, and dc 3 more x in that same sp
- Rep from * around until you reach the corner you started with. Ch 2, dc 3 x and ch 2
- At the final corner, sl st to the top of the ch 3 to complete round 3.
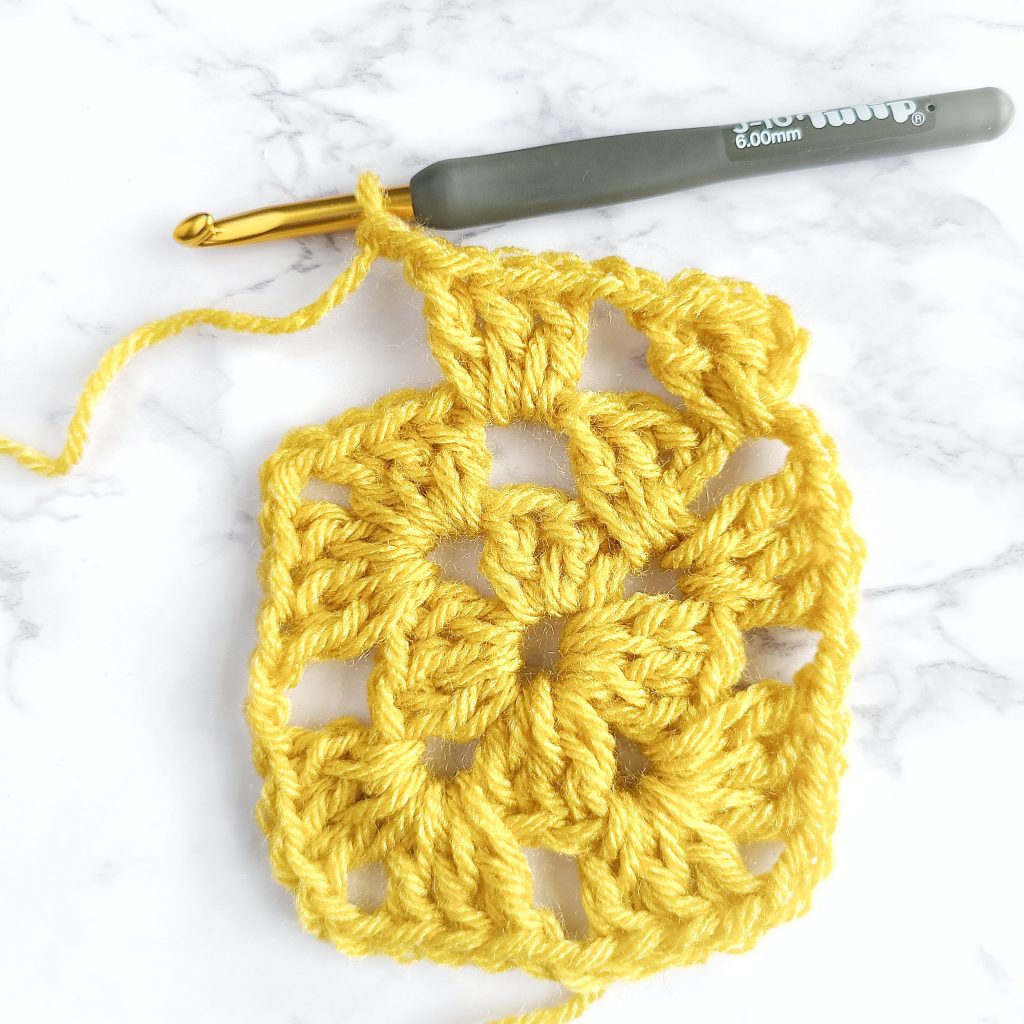
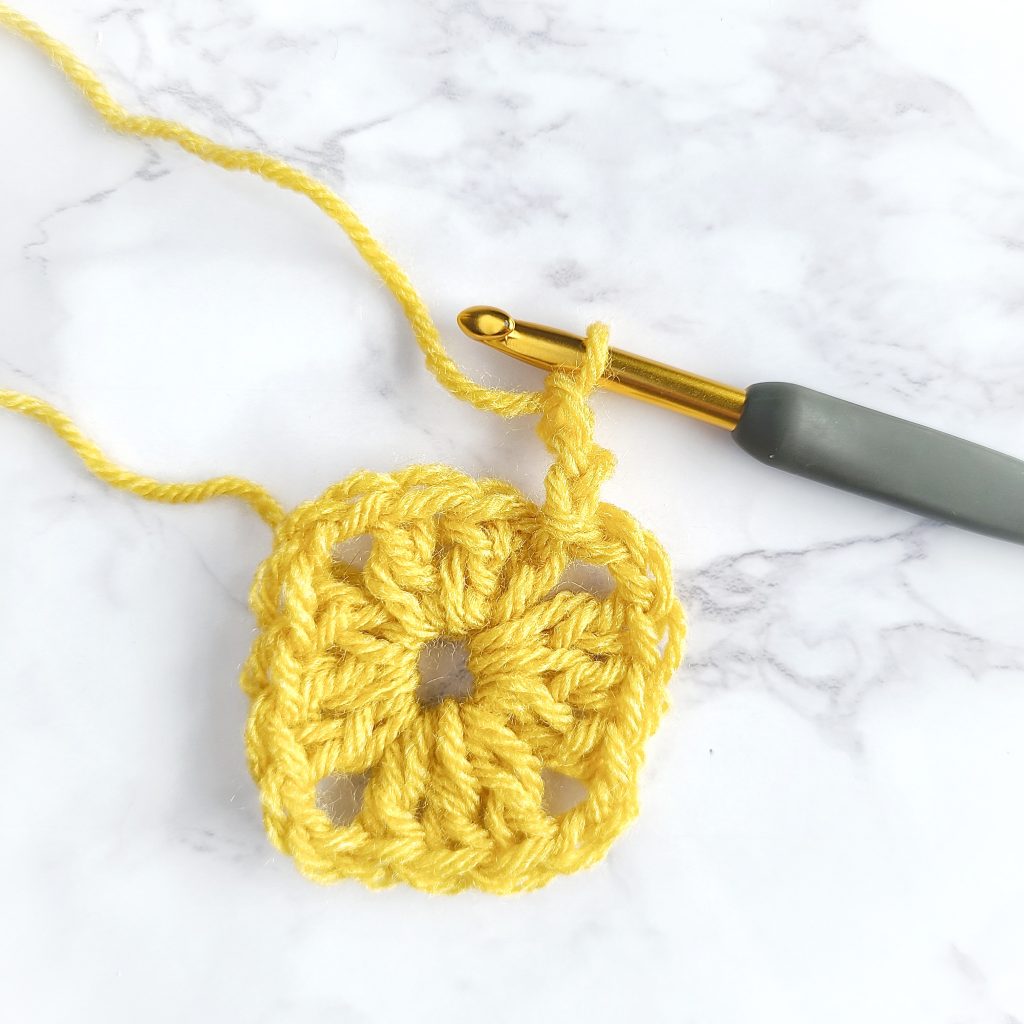
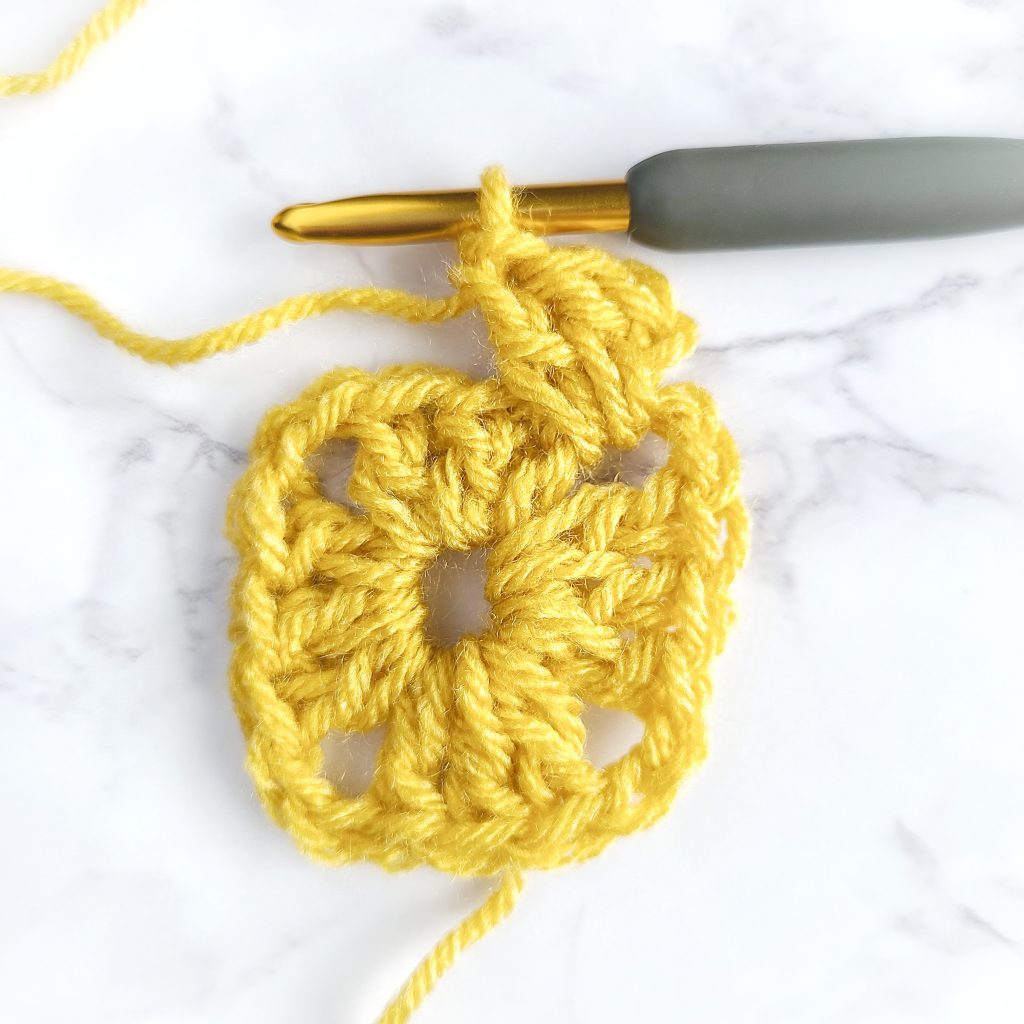
Finishing a Granny Square:
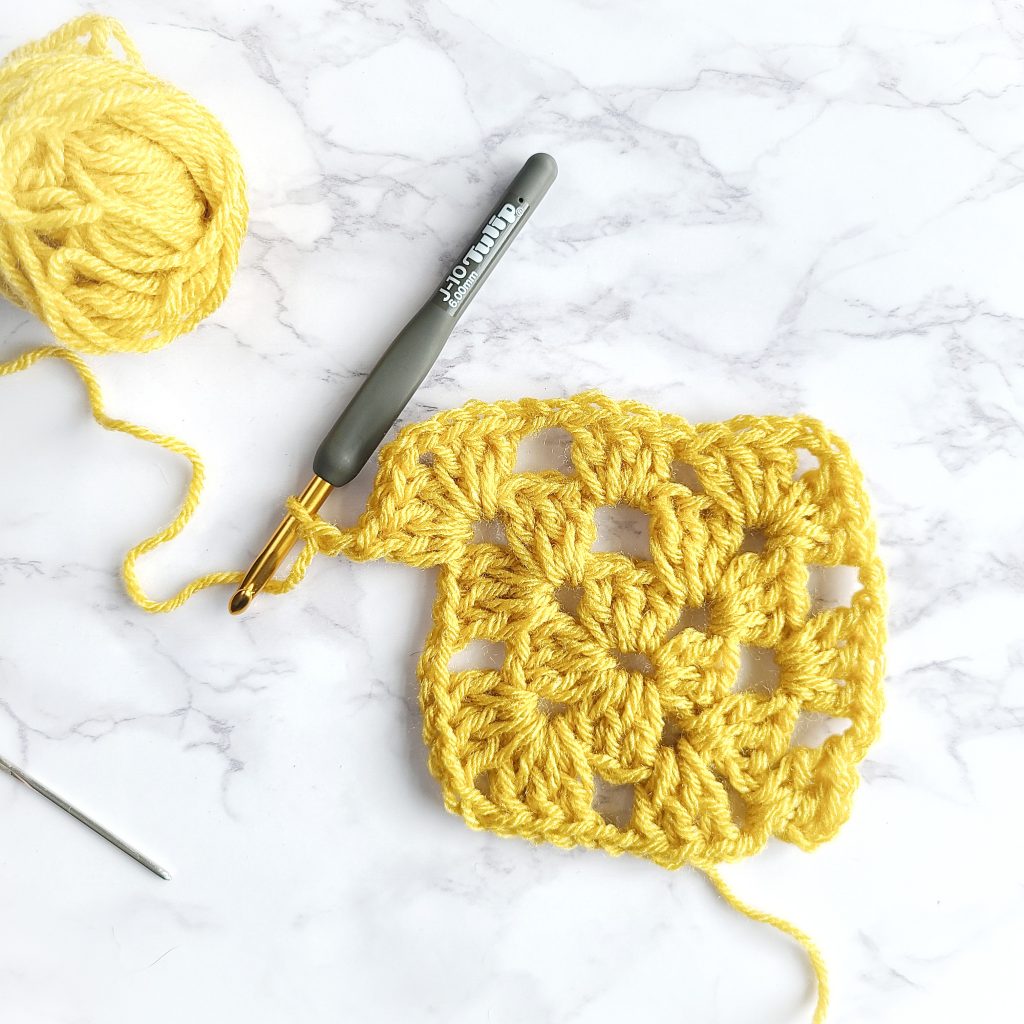
- To make your granny square larger, you can continue on to make additional rounds.
- To finish a granny square, pull the yarn through the last loop leaving a six-inch tail, then cut with scissors. Weave in the loose ends with a yarn needle.
Tip: You may wish to block your granny square so it even the whole way around and has a true square shape.
Learn more about blocking in crochet to see which method is right for you.

Granny Square Tips for Beginners
As you feel more confident as a beginner crocheter, you may wish to expand your granny square skills. Below are a few ways to customize a granny square to your liking.
How to Make a Granny Square Bigger
Making a granny square bigger is easy to do! You’ll just continue the same granny cluster patterns but with each round, working along the edges and into each corner, but there will be more spaces along the edges to double crochet in.
You can continue crocheting a granny square until it turns into a blanket if you’d like! I found this granny square blanket that did just that, and it turned out beautiful.
Different Ways to Start a Granny Square
In the tutorial above, I used a chain 3 method, but there are other ways to begin a granny square.
- Chain 3: This method was shown above and is the most common technique used to make a classic granny.
- Magic Ring / Circle or Adjustable Ring: This is a method that allows you to begin crochet in the round and close the hole tightly when done working in it, so the hole doesn’t show. Basically, it gives you a more solid square.
- Chain 4: This is similar to the chain 3 method, but you will be working the beginning round in the chain 4 instead of the chain 3. This works well, but will leave a slightly bigger hole in the center of your granny square.
Change Color in a Granny Square
At the beginning of each round, you can change yarn colors to make your granny square unique. This is easy to do by dropping your current color on the last stitch and then picking up the new color (putting over the hook) to finish the stitch.
How to Crochet Granny Squares Together
There are three joining methods that can be used to connect granny squares or any crochet square together. Learn how to connect granny squares below:
- Slip Stitch Seam: Use a slip stitch crochet stitch to join squares together. This is the quickest way to join squares.
- Single Crochet Seam: This is similar to the method above, but you will use single crochets to join instead of slip stitches. I have this tutorial about joining that may help with both methods above.
I hope you enjoyed this easy crochet granny square pattern tutorial and learned a new crochet technique! If you need any clarification, please feel free to join the Easy Crochet Facebook Group! We’d love to have you in our community.
More Crochet Patterns using the Granny Stitch
The granny stitch is a favorite for those making afghan blankets and (of course) granny squares. However, it can be used on any type of project. Below are some modern crochet projects we used this classic stitch on.
- Granny Scarf Pattern
- Granny Stitch Ripple Blanket
- Modern Granny Blanket
- Baby Granny Stitch Ripple Blanket
- Granny Shawl Pattern
Other Free Granny Square Patterns
We’ve created a lot of free granny square patterns throughout our crochet lifetime. We’ve used them to make a crochet pillow, crochet blanket and more! Take your new-found skill of making granny squares and turn it into something beautiful!
- 29 Easy Crochet Squares for Beginners (Granny, Motifs and more)
- Almost Solid Granny Square Pattern (2 Sizes)
- WUA Simple Crochet Rectangle #5
- WUA Puff Crochet Rectangle Pattern #4
- Warm Up America Alissa Crochet Rectangle Pattern #3
More Free Crochet Patterns
Here are some more free crochet patterns that you may be interested in. All of these crochet projects utilize something you learned when making the granny square above.
- 30 Free Crochet Baby Blanket Patterns
- Primrose Crochet Baby Blanket
- 10 Cozy Crochet Blanket and Afghan Patterns You’ll Love
- Easy Moss Stitch Crochet Baby Blanket
- Rainbow Crochet Blanket Pattern
Enjoy your site very much. Love the patterns and all the tips you give. Thank you.
You’re welcome!
Nice
Thank you very much! I am so glad you enjoyed this granny square tutorial! 🙂
-Krista
I only have Red Heart Super Saver yarn to crochet with
Hi, Red Heart Super Saver would work perfectly for these squares! 🙂
Happy Crocheting!
-Krista