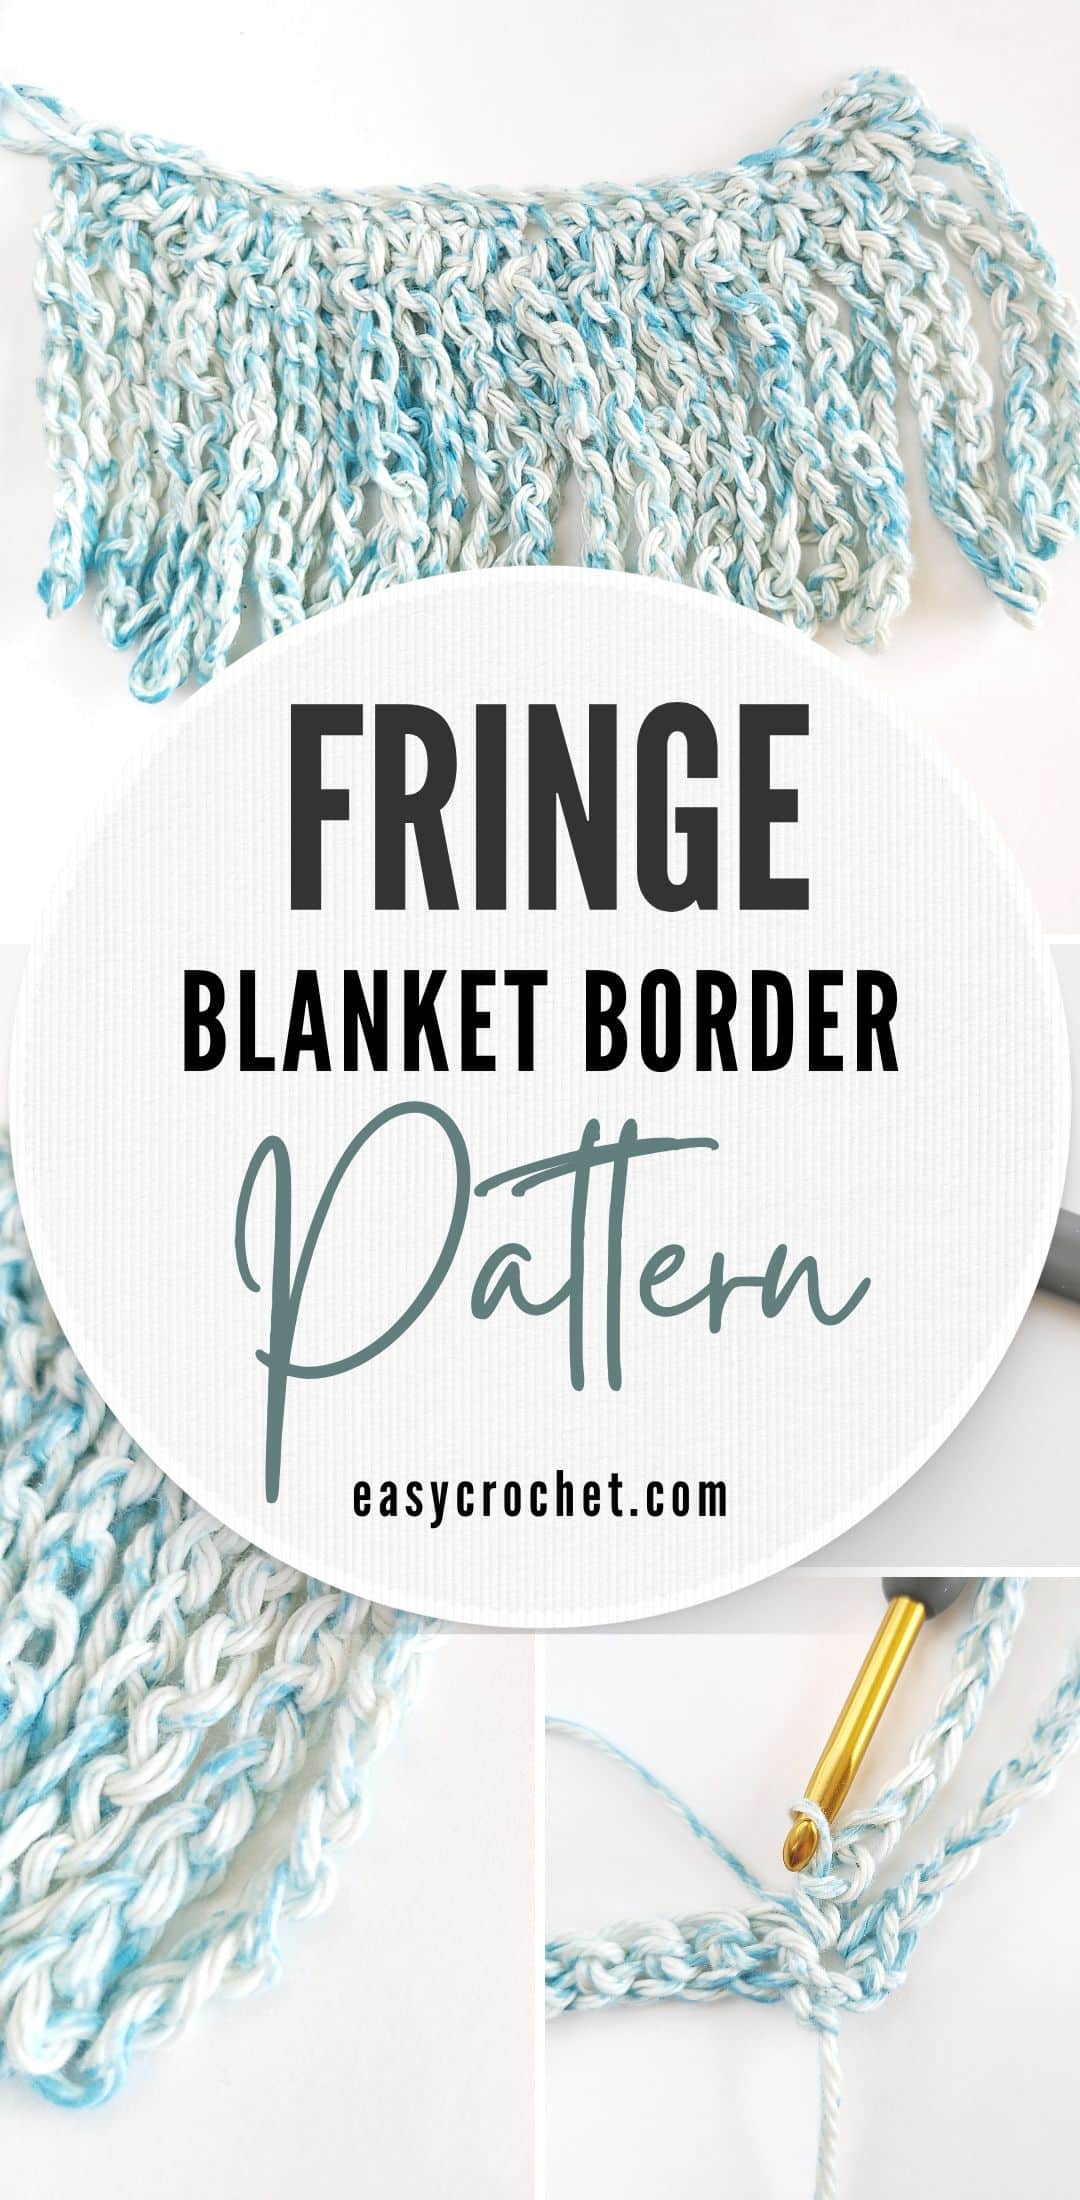
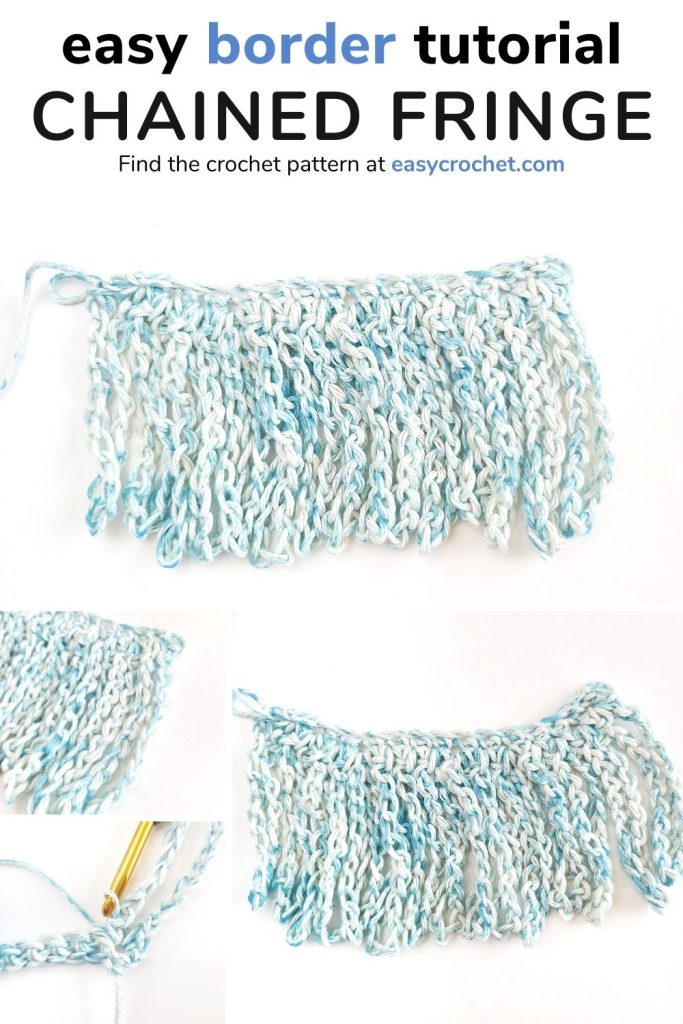
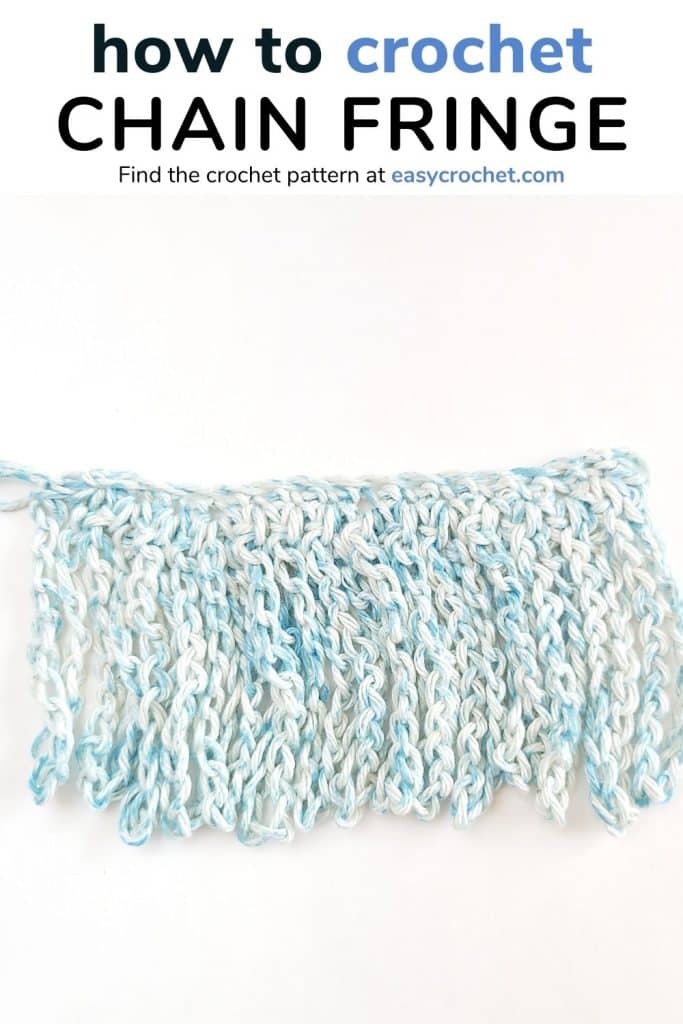
Crochet Fringe Edging (With Chains!)
A crochet fringe edging is a great way to add a beautiful finish touch to scarves, blankets and more. This easy edging pattern, It is made with just two basic stitches and is a fun way to add a little something extra to your finished crochet projects.
Use our step-by-step border tutorial to learn how to make this easy crochet edging pattern and add a bit of fun as your blanket border!
How to Make a Fringe Crochet Border
To be able to crochet a border with chained fringe, you will need to know how to crochet a chain stitch and also be able to single crochet.
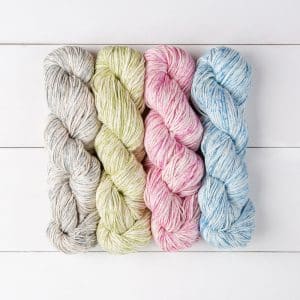
For this tutorial, I will be using We Crochet / Knit Picks Comfy Color Mist yarn and a 1-9 5 mm crochet hook, which I’ll explain a bit about below.
Stitches to Make a Fringe Border
Single Crochet (sc):
- Insert hook from front to back in the second chain from the hook or designated stitch
- Bring the yarn over (Yo) the hook and pull the yarn back through the chain (or stitch) from back to front (2 loops on hook).
- Yo and pull through both loops on the hook.
Chain Stitch (ch):
A simple crochet stitch that often forms the foundation of what crochet stitches are worked into during projects.
- Make a slip knot.
- Insert hook into slip knot point first, bring yarn over the shaft of the hook from back to front and grab it with the throat of the hook.
- Draw hooked yarn through slip knot and onto the hook. This movement will make one chain stitch
- Repeat steps two and three until you have the desired number of stitches for a pattern. One loop will remain on hook.
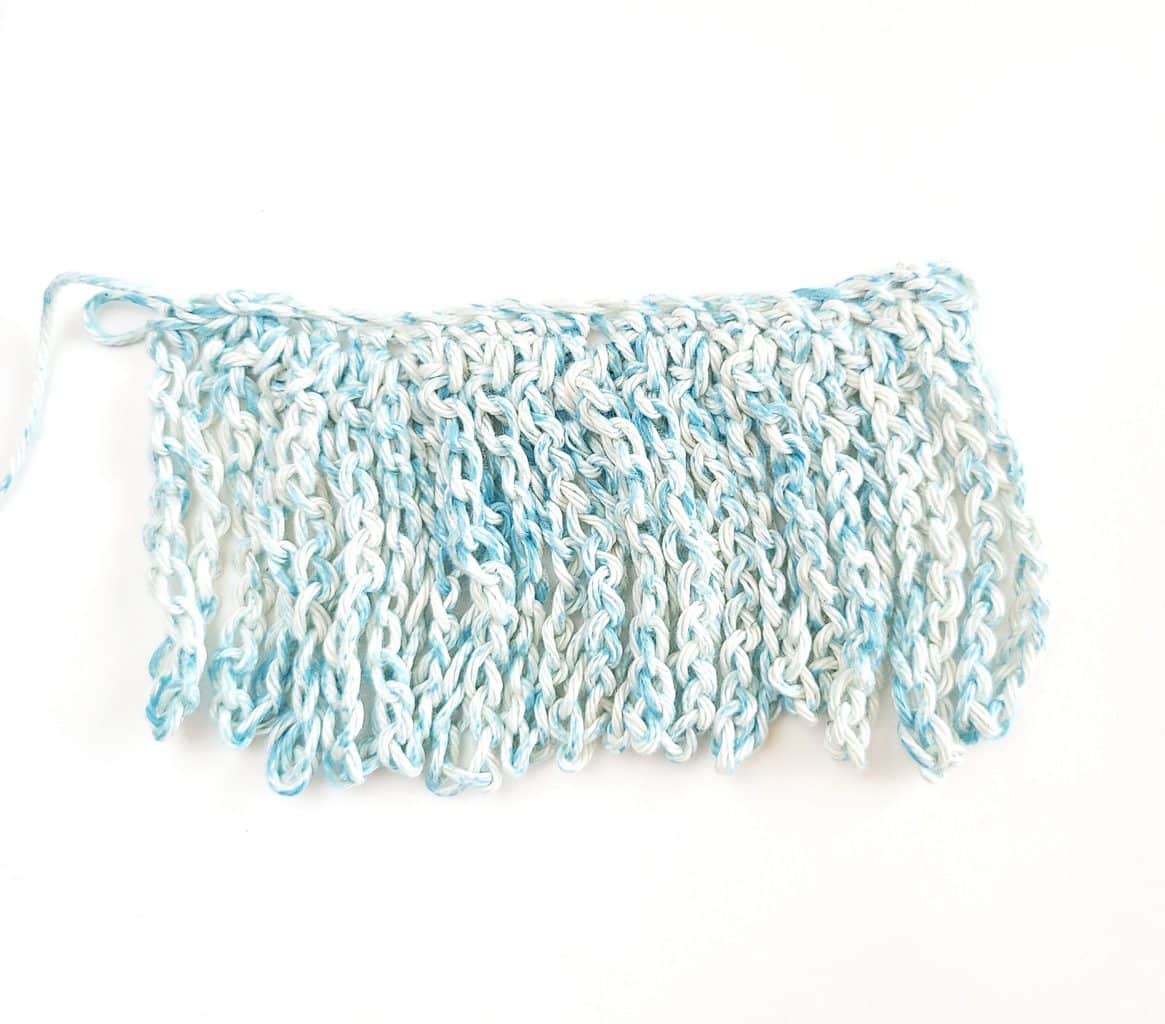
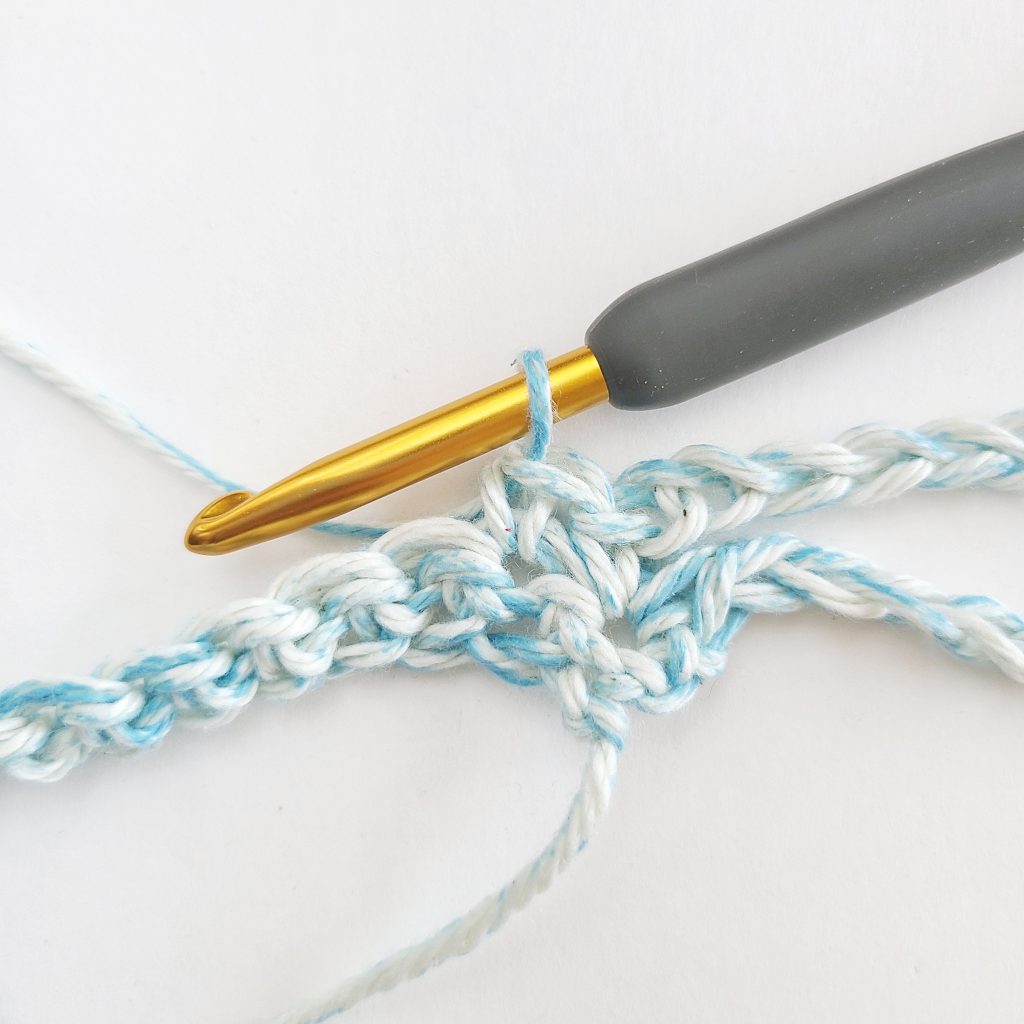
The fringe is created by single crocheting in a stitch, following by a length of chains, and then finished by single crocheting back into that same stitch.
This creates a loop of chains or chained fringe as your border. The length of the chain can vary from project to project and your personal preference, so feel free to be creative with that choice.
Materials to Make a Fringe Border
To create this fringe border, you will only need a few crochet supplies! There isn’t a specific type of supply that is required, so this border will work with what you have on hand. You will need yarn, a crochet hook, scissors, and a yarn needle.
Yarn: I am using Comfy Color Mist (color Jean Jacket) from We Crochet / Knit Picks which is a Pima cotton / acyclic blend four weight yarn for this tutorial. You can use any yarn weight for your border, and it will work out the same as this tutorial.
Crochet Hook: I am using an I-9 5.5 mm crochet hook size to go with the yarn I picked. You will need to use whatever hook size the yarn you choose recommends.
Other Materials: You will also need a nice pair of scissors to cut the yarn ends after you create your edging and a yarn needle to weave in the loose ends of the fringe.
Let’s Get Started
Now that you’ve gone over the stitches, yarn and other materials you’ll need to make this edging, you are ready to start crocheting this border!
Scroll on down to find the free fringe border tutorial (written and photo) and have fun learning a new technique to add a unique edging to crochet projects! Enjoy.
Fringe Crochet Edging (or Border) Tutorial
Skill Level: Easy
Materials
- Yarn: Any yarn weight will work. I am using Comfy Color Mist (We Crochet / Knit Picks) for this example.
- Crochet Hook: Any hook size that corresponds to the yarn that is used. I am using an I-9 5.5 mm hook for this example.
- Yarn needle
- Scissors
Crochet Stitches & Abbreviations
- sc(s) = Single Crochet(s)
- ch(s) = Chain(s)
- st = stitch
Notes
- You can add this chained fringe to scarves or blankets by simply starting with a base of single crochets as a border, then follow along with the tutorial below. This border will work with any size project you are planning to use it on.
- This tutorial is written in standard US terms.
Fringed Chain Border Pattern
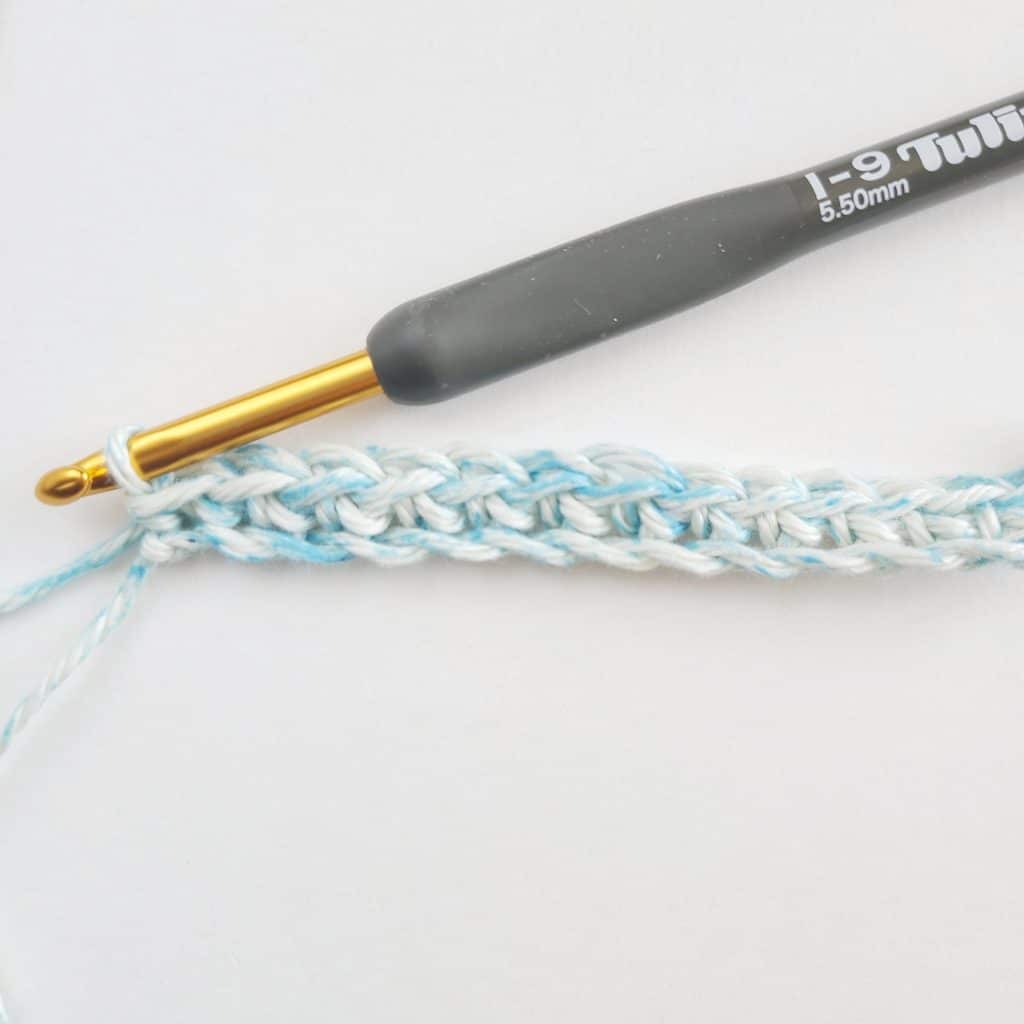
Step 1
Start with a base of sc stitches (half double crochets (hdc) or double crochets (dc) would work too!) on your border edge.
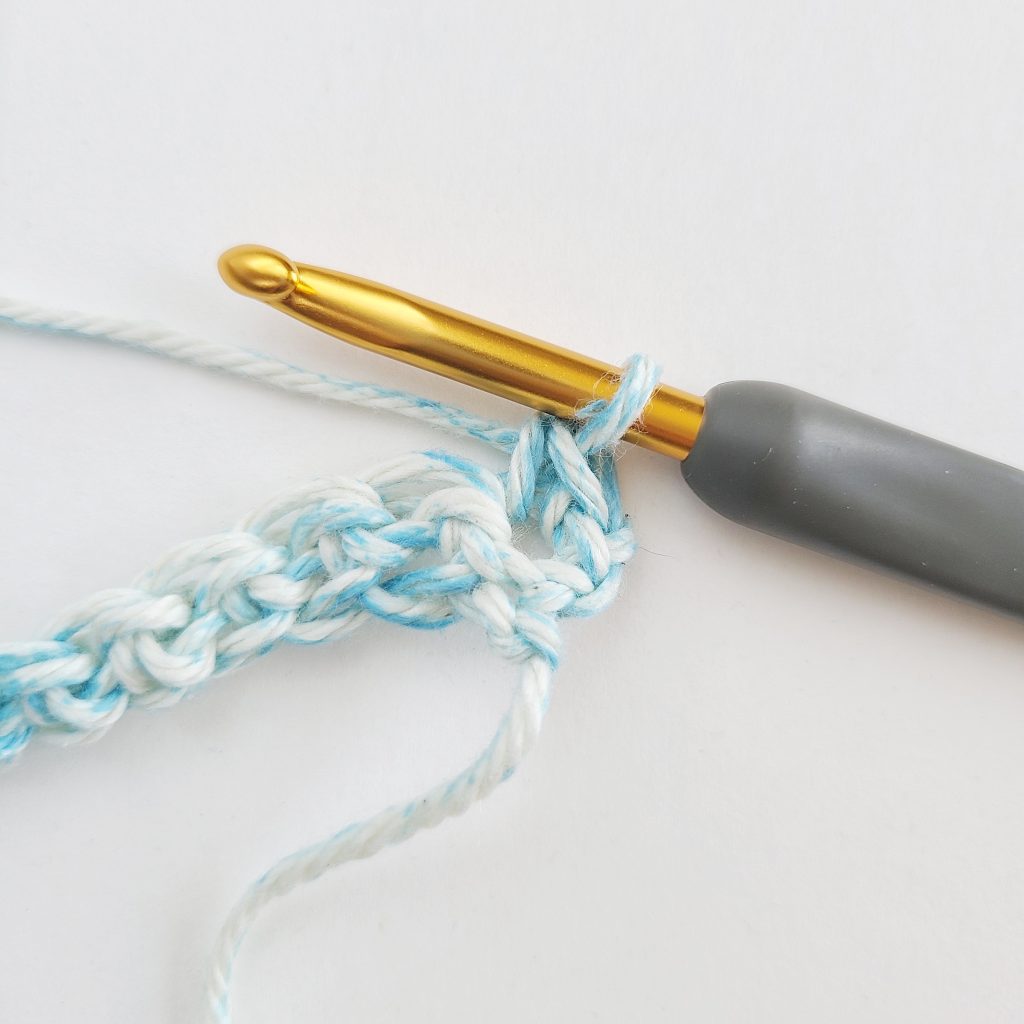
Step 2
Sc into the next st
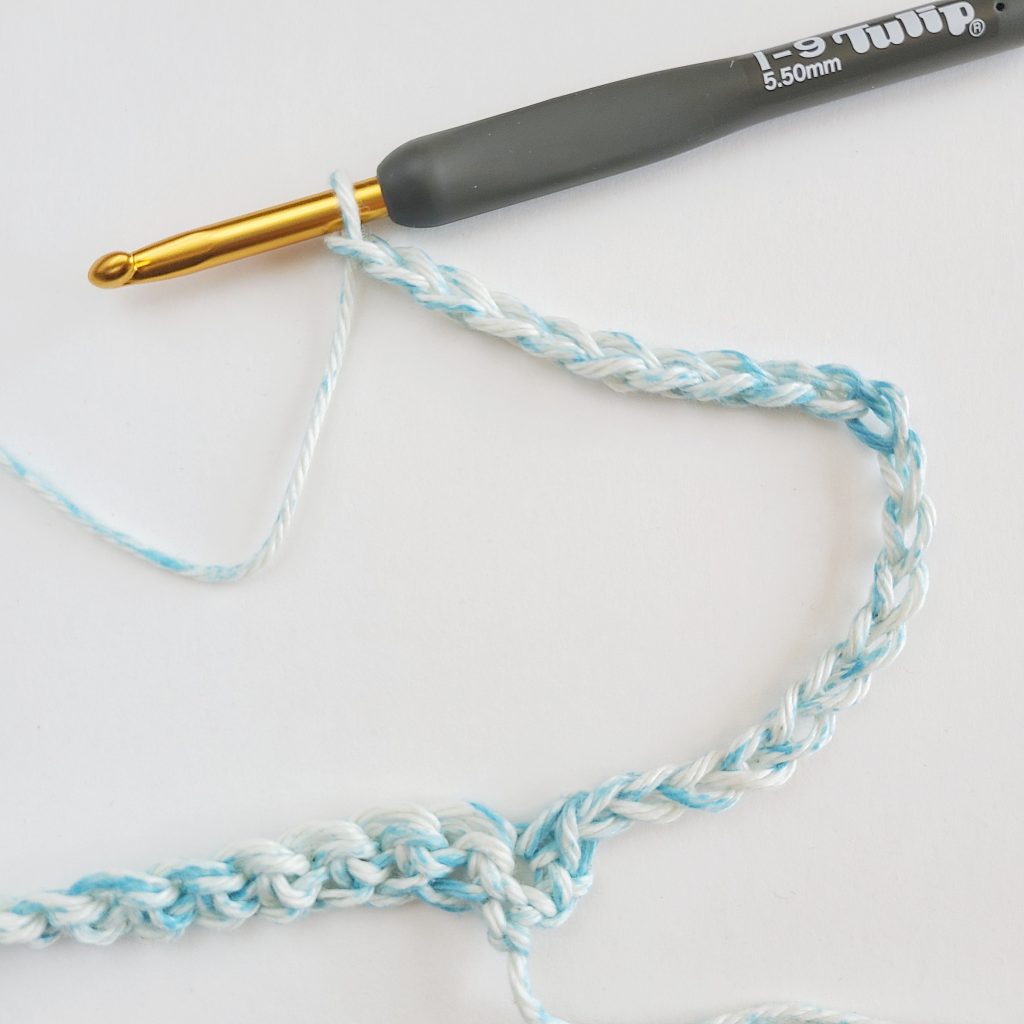
Step 3
Ch any given number at this step. I did 20 for this example. You can change the amount chained depending on how long or how short you want your chained fringe to be.
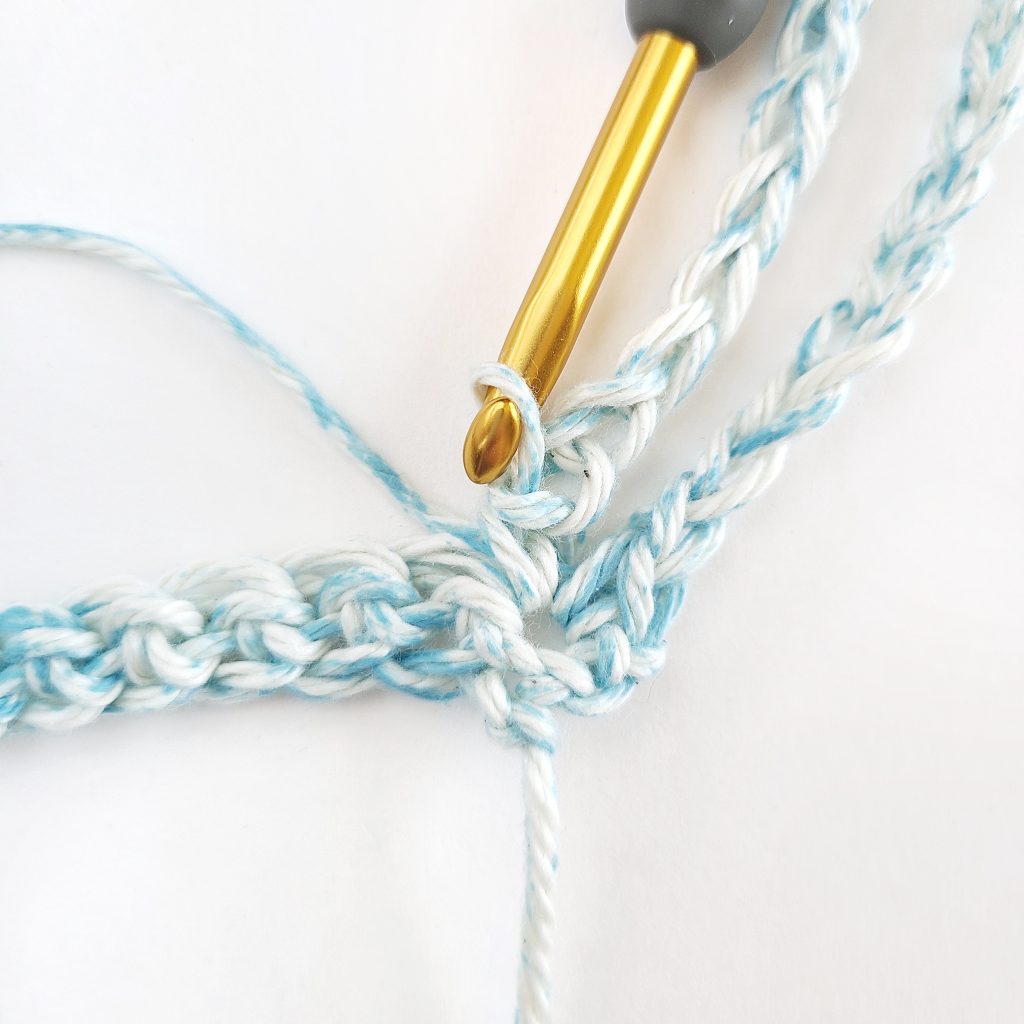
Step 4
Sc into the same st you previously sc into.
Step 5
Sc into the next st. Repeat Steps 3 & 4.
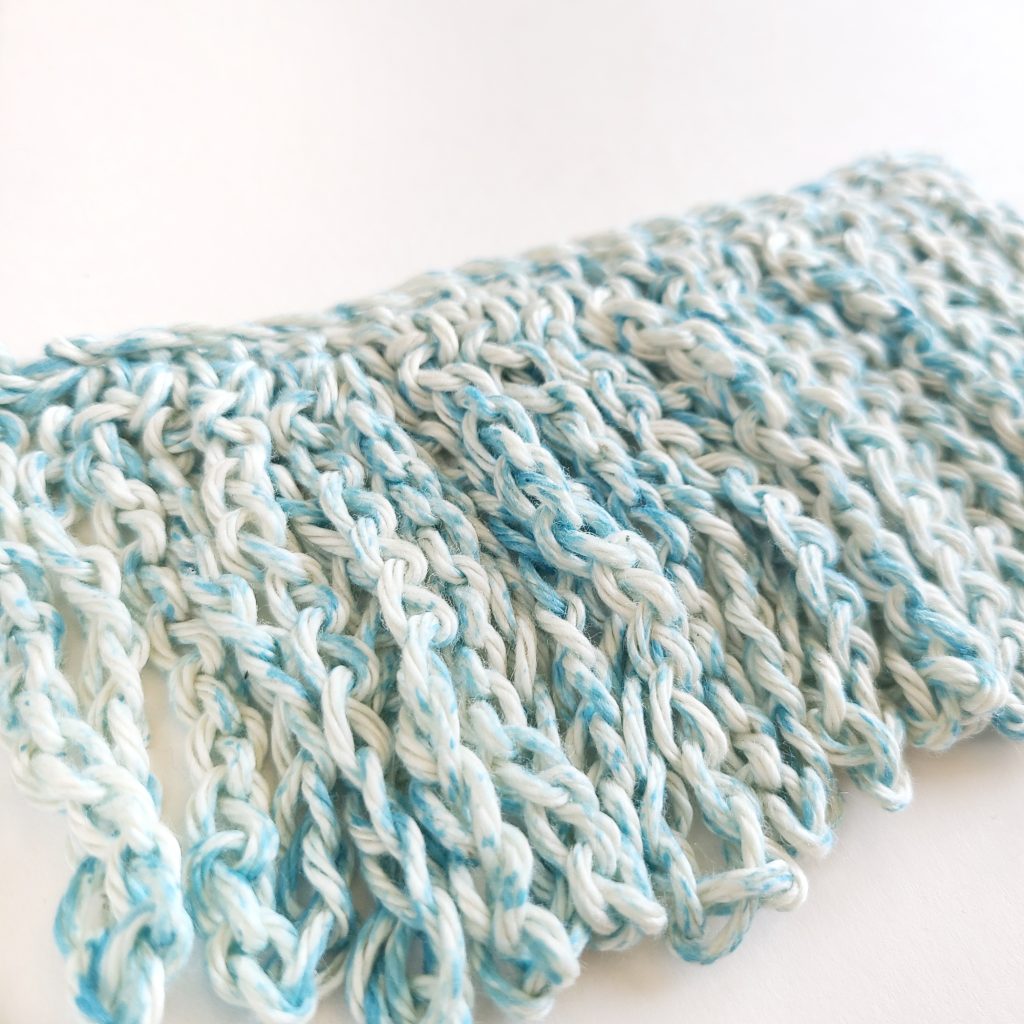
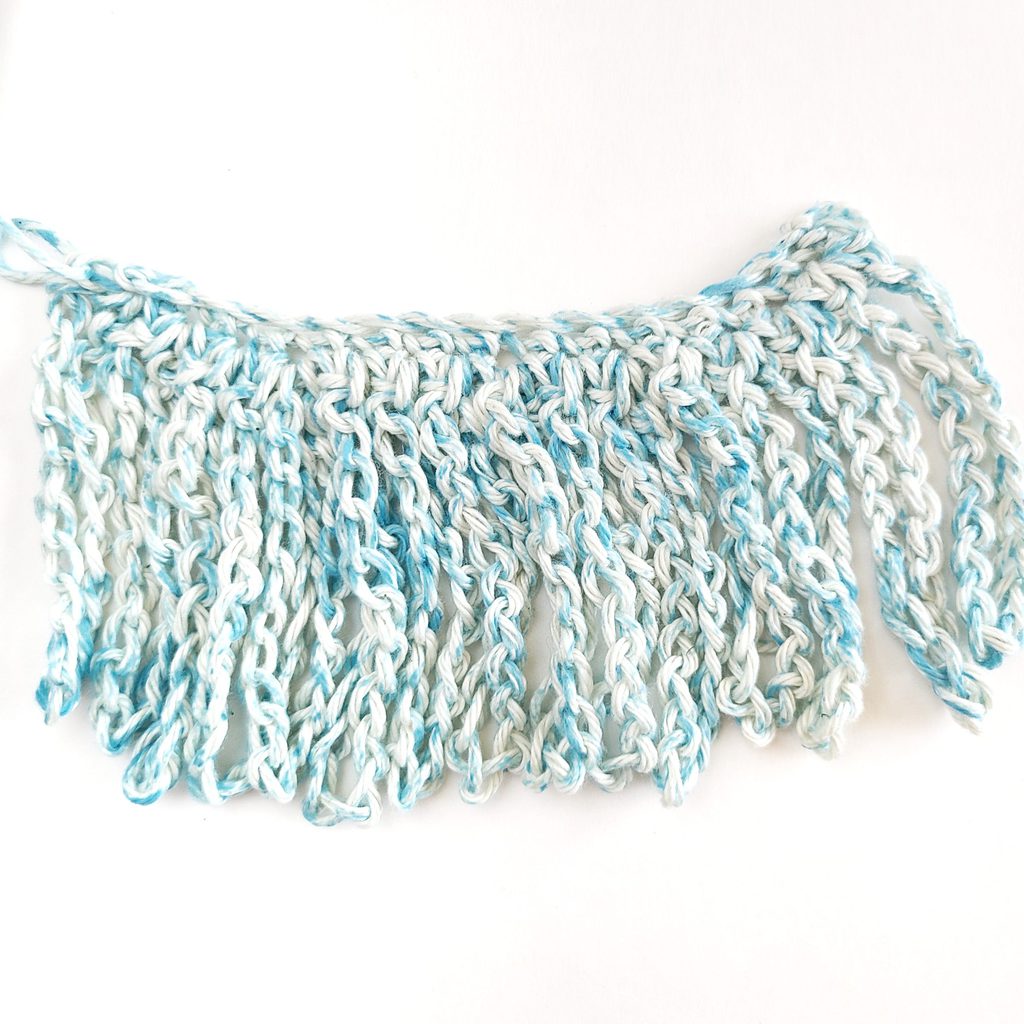
Step 6
Continue following along with steps 2 through 4 until the entire row is complete. Fasten off, cut yarn with scissors and weave in loose ends with a yarn needle to complete the border.

More Free Crochet Stitch Tutorials
If you liked this border tutorial, here are some other stitch patterns you may enjoy too!
- Crochet Puff Stitch Tutorial with Photos
- Whip Stitch Crochet Seaming Technique
- Half Double Crochet Slip Stitch (hdc slst) for Beginners
- Single Crochet Increase Tutorial (sc inc)
- Creating Seams Using the Mattress Stitch
- Single Crochet Two Together (Single Crochet Decrease)
- How to Crochet a Cable Stitch
- Crochet Moss Stitch Tutorial (Written, Photo and Chart)
- How to Crochet a Granny Stripe in Rows
- How to Make a Crochet Rib Stitch (Photo Tutorial)
Free Crochet Patterns for Blankets
Explore a few of our blanket crochet patterns, roundup collections and more to find a new crochet project to start.
- 30 Free Crochet Baby Blanket Patterns
- Primrose Crochet Baby Blanket
- 10 Cozy Crochet Blanket and Afghan Patterns You’ll Love
- Easy Moss Stitch Crochet Baby Blanket
- Rainbow Crochet Blanket Pattern
- Easy Crochet Afghan Pattern (8 Sizes)
- Easy Crochet Shell Stitch Baby Blanket
- Mountain Pine Crochet Tree Blanket
- American Flag Crochet Patterns for Blankets
- Free and Easy Crochet Graphgan Patterns using C2C
- 8 Festive Free Christmas Crochet Blanket Patterns
- Textured Crochet Afghan Pattern (+7 Sizes!)
- Modern Square Crochet Blanket Pattern
- Crochet Ghost Halloween C2C Blanket Pattern
How do you attach the chain fringe to a scarf?
Hi Donna,
You can add this chained fringe to scarves starting with a base of single crochets as a border, then follow along with the tutorial.
Happy Crocheting!
Krista