Free and Easy Crochet Headband Pattern for Winter
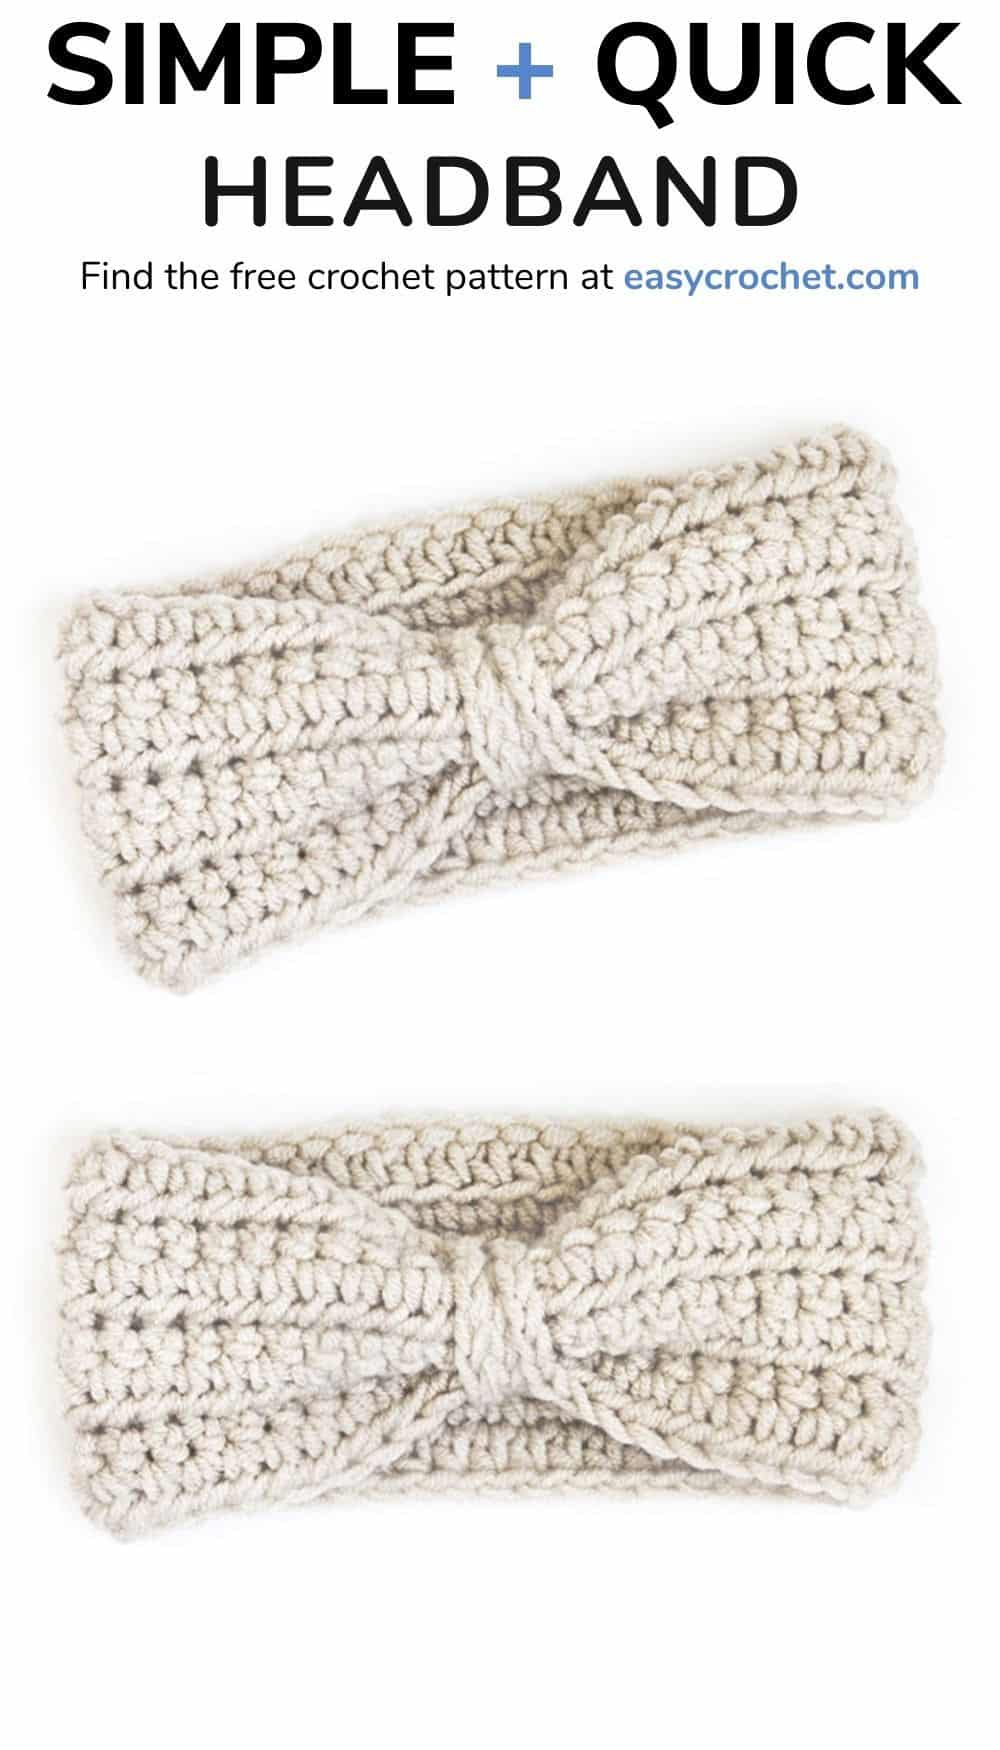
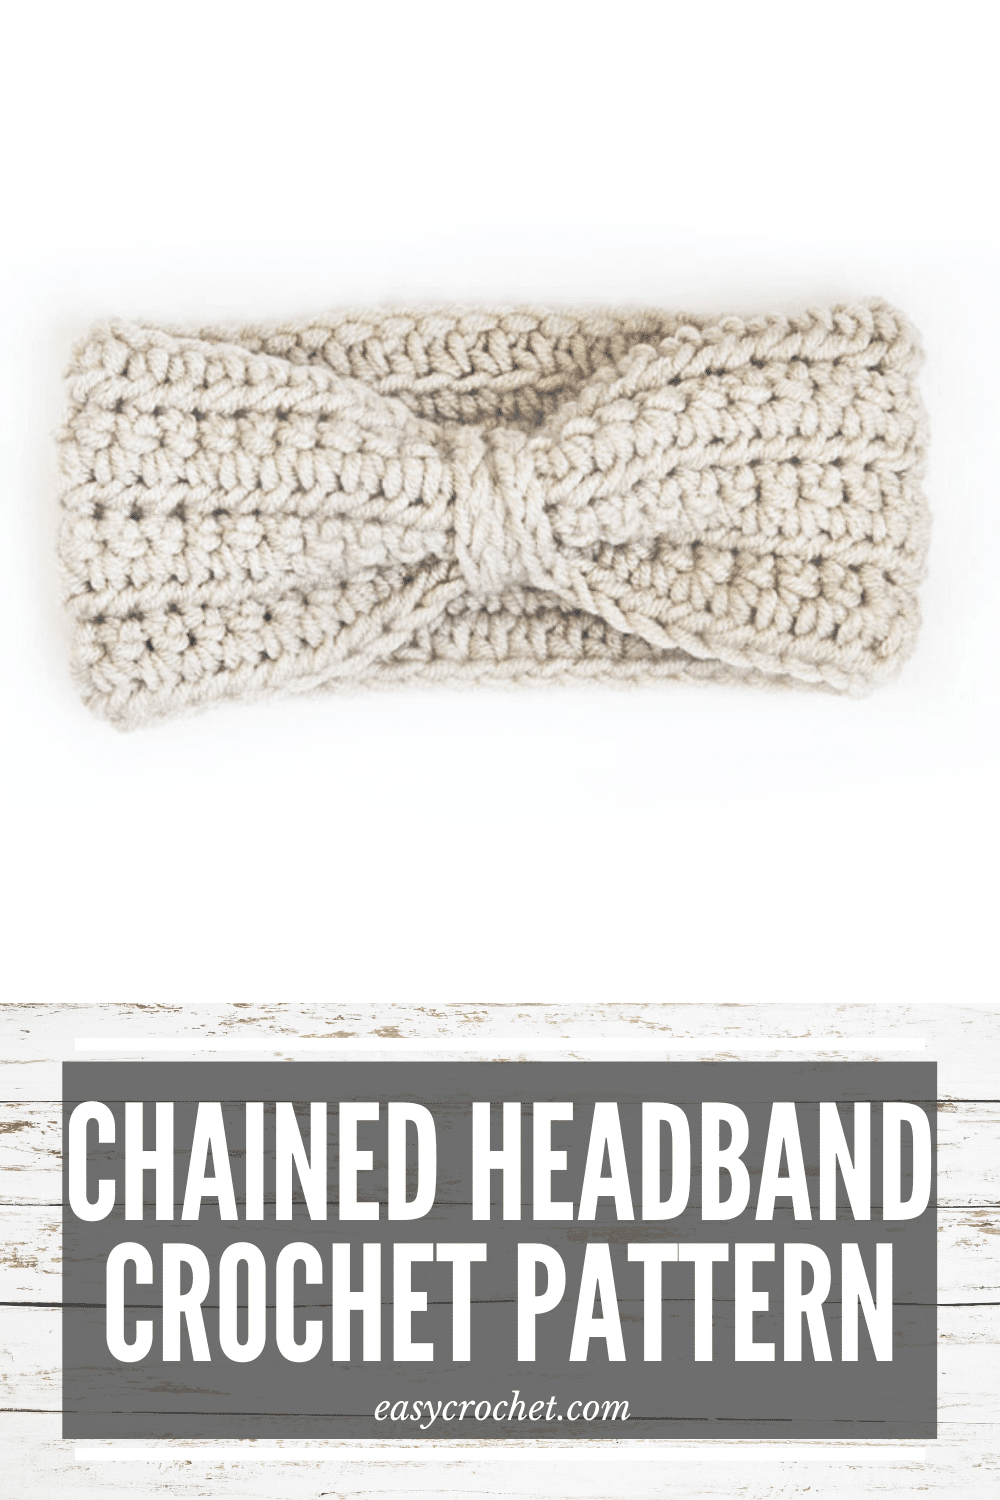
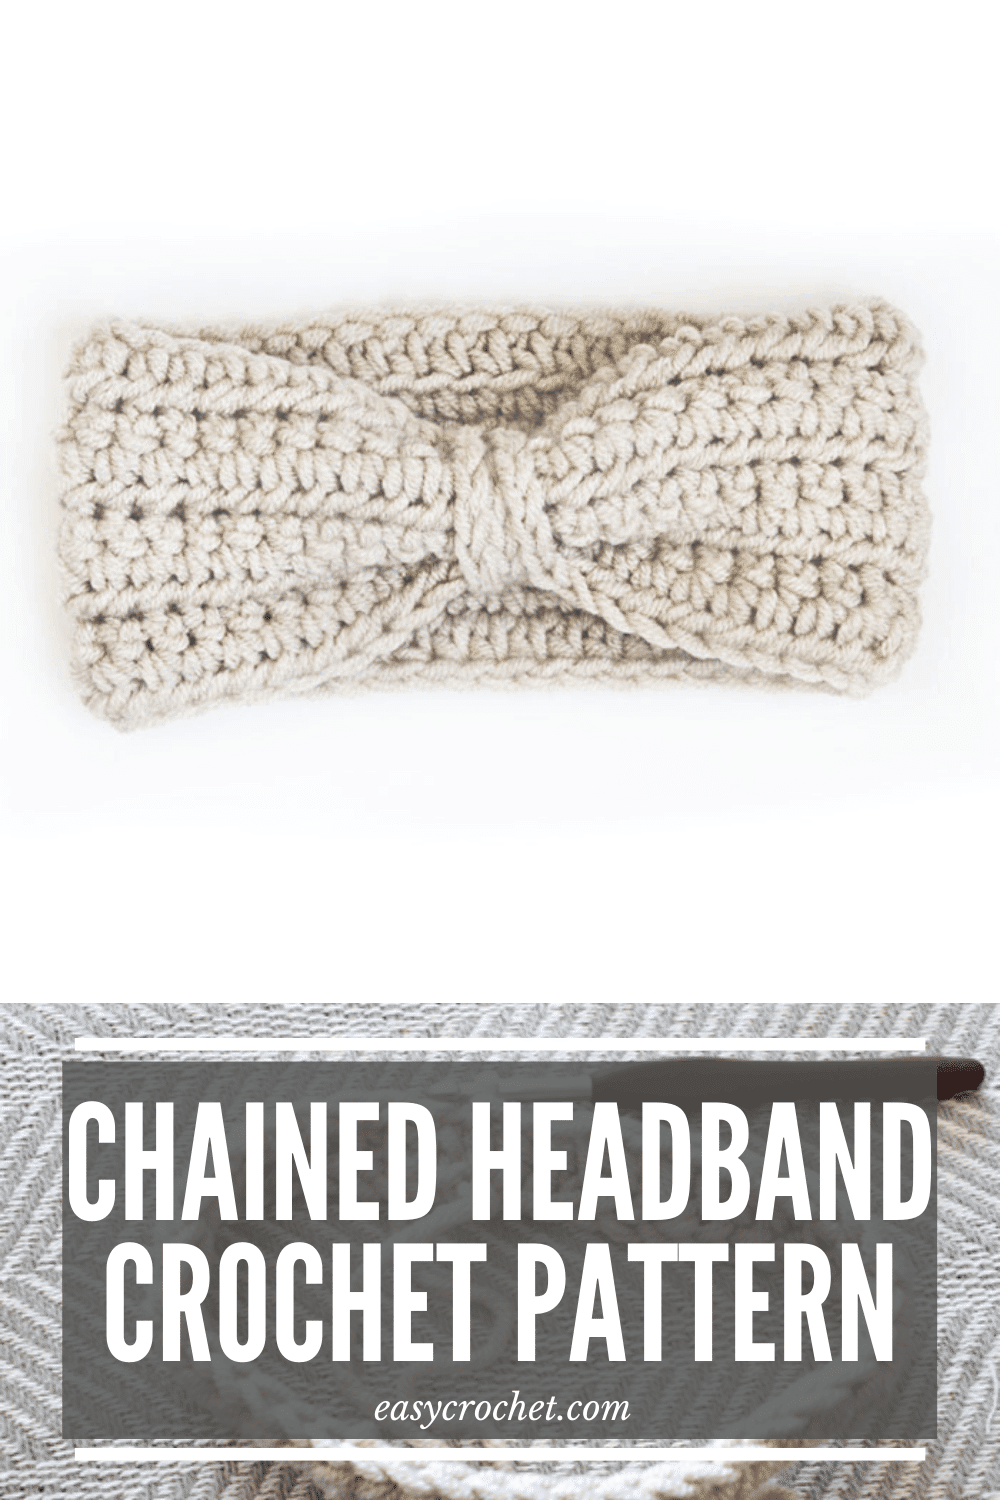
If you’ve been looking for an easy-to-make headband crochet pattern for Fall, football or soccer games, then you have come to the right place! This headband pattern is one of my favorites to crochet, is simple to make and perfect for the chilly Fall and winter weather.
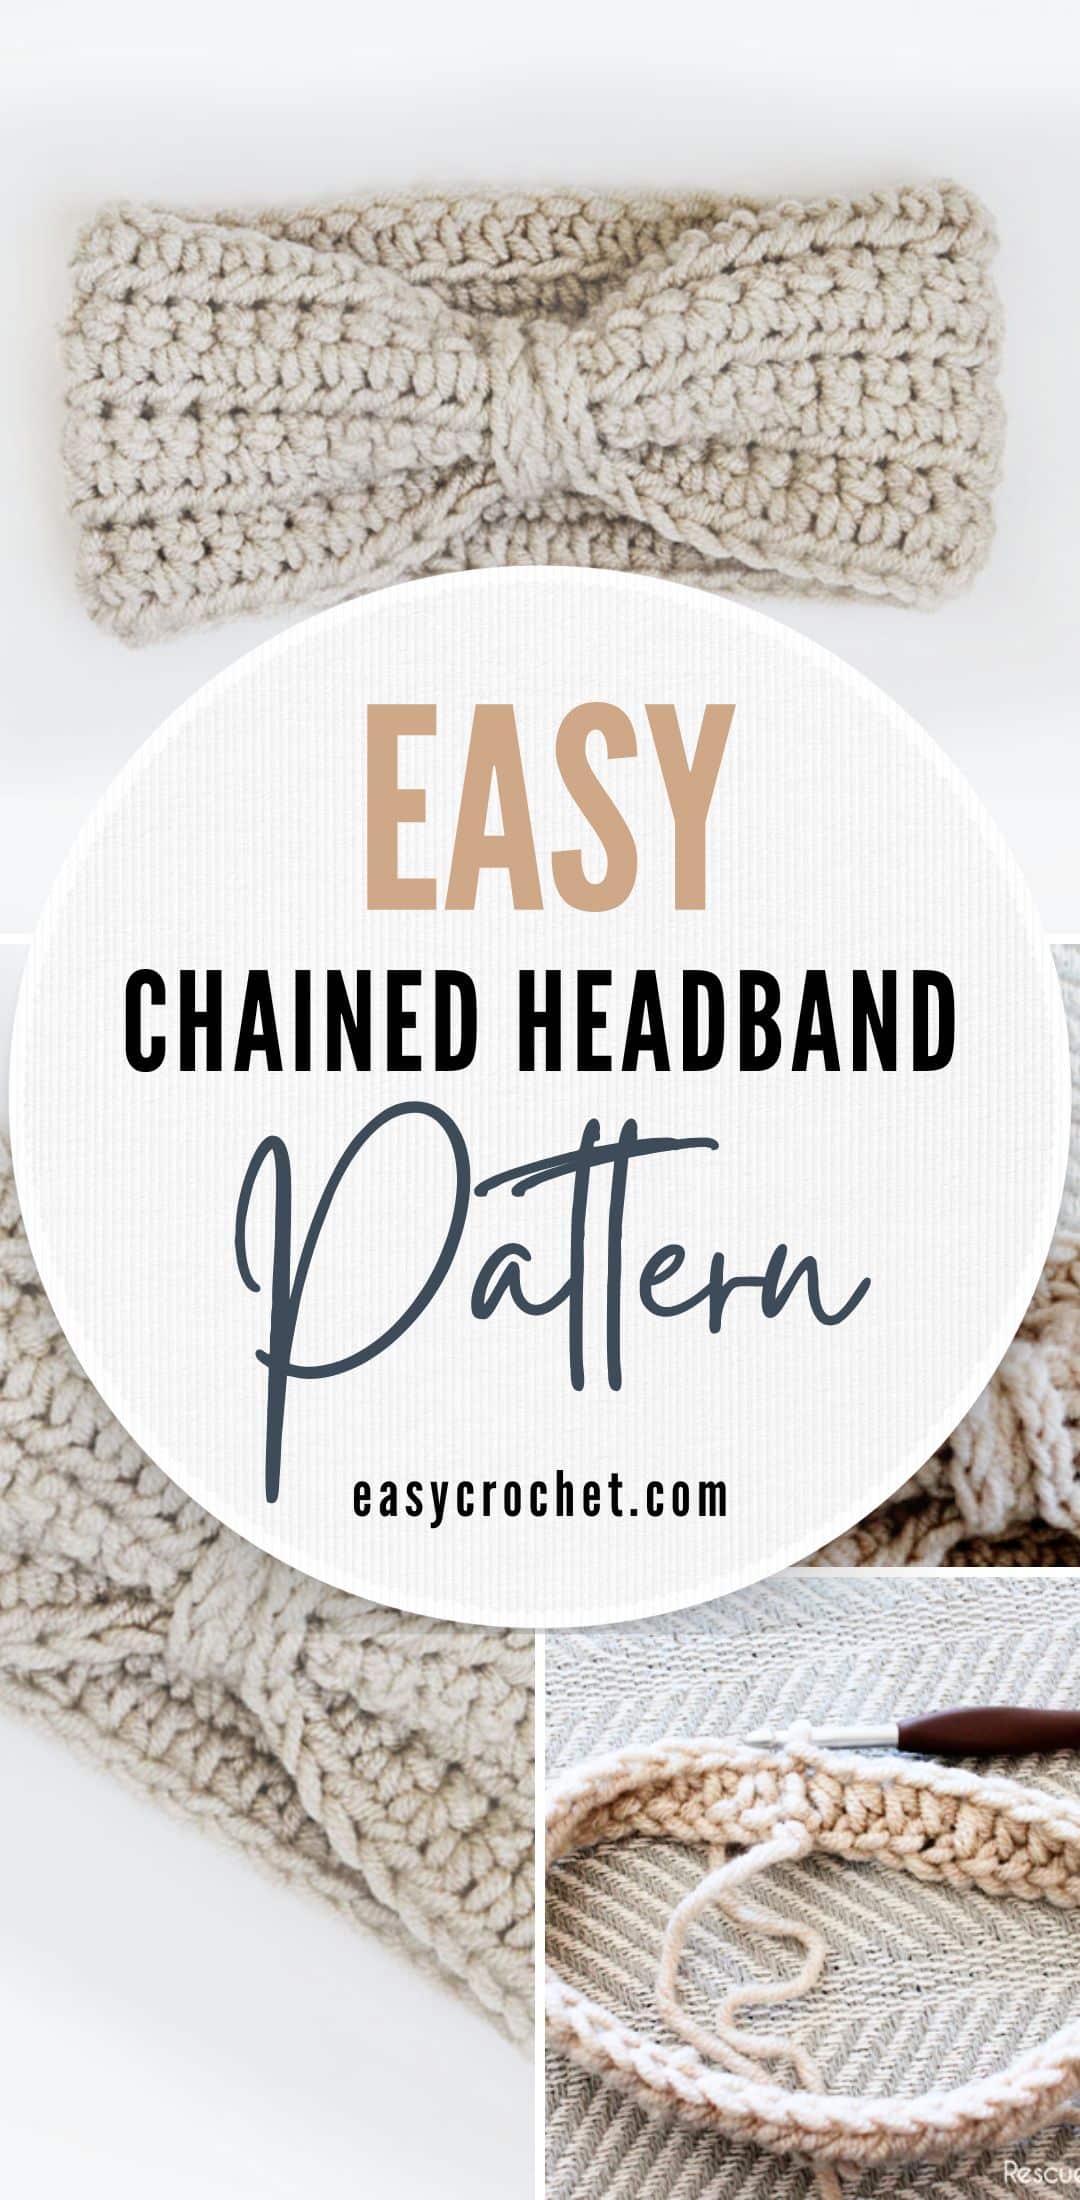
Also, you can crochet one for everyone you know or even make these for a craft fair since they can be crocheted up so quickly. Keep on reading to find the free crochet pattern in seven headband sizes to get started today.
How to Crochet a Headband
Crocheting a headband is easy since they can be made quickly with easy stitches and bulky yarn. See the basic steps below.
- Chain a given number of stitches for the size headband you want to make (see chart)
- Connect the chain together to form a circle
- To start the first round, work the stitch indicated in the pattern
- Continue working the pattern until down.
- Fasten off and weave in loose ends with a yarn needle.

My Favorite Yarn for This Crochet Headband
The cozy yarn used for this headband is warm enough to wear for a run in the morning or if you need to stay cozy during a football game.
The Yarn
When deciding on which yarn to use, I chose one of my favorites, Lion Brand Wool Spun because I wanted this to be the coziest winter headband! This yarn is soft, comfortable to work with, and comes in various beautiful colors. So, I felt that it was a perfect choice.
Woolspun
This yarn is made by Lion Brand, and is a Weight 5 – Bulky yarn.
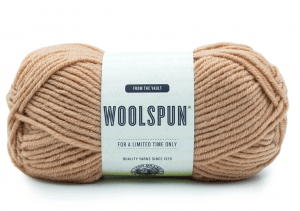
Fiber: 80% Acrylic, 20% Wool
Yardage: 116m / 127 yds
Hook: 6.5 mm (K-10.5)
Substitute: Lion Brand Hue & Me
This yarn is really great for a winter headband! I highly suggest using this yarn because it really is the best choice, so you can make a chunky crochet, winter headband pattern.
Substitute Yarn
If you are having trouble finding this yarn, then I recommend trying Hue & Me from Lionbrand, which is a very similar yarn. It has a lot of the same texture and is about the same thickness, so it would work great for this pattern. Plus, it has different colors available, so you’ll be able to get the perfect color for you.
Hue + Me
This yarn is made by Lion Brand, and is a Weight 5 – Bulky yarn.
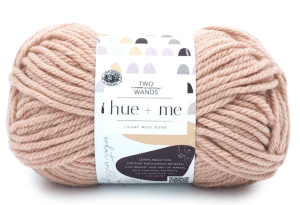
Fiber: 80% Acrylic, 20% Wool
Yardage: 137
Hook: 6.5 mm (K-10.5)
Substitute:
Have extra yarn leftover? As a bonus, there is enough yarn in each skein that you can make at least two ear warmers and maybe more if you are crocheting ear warmers in different sizes.
Being able to make more than one headband with a just one skein of yarn is always a win-win for any crochet project!
Crochet Stitches for a Headband
The simple stitches in this crocheted headband pattern make it a perfect, beginner-friendly project. I think it would be an ideal pattern to start with for someone who is just learning how to crochet in the round.
The Crochet Stitches
The pattern for this crochet ear warmer is simple to make because I only used the half double crochet stitch and single crochet stitch, which are basic crochet stitches. So, that means this ear warmer works up pretty fast!
If you’d like a refresher on these stitches before you start your headband, take a look at the stitch tutorials below.
Single Crochet
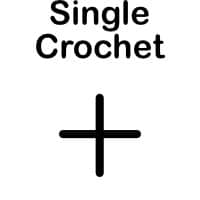
Abbreviation: sc
Difficulty Level: Easy
Learn this stitch →
Half Double Crochet
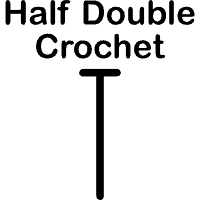
Abbreviation: hdc
Difficulty Level: Easy
Learn this stitch →
The simple crochet stitches plus the row repeats make this project a great headband pattern for beginners to try, especially for those who want to make something in the round.
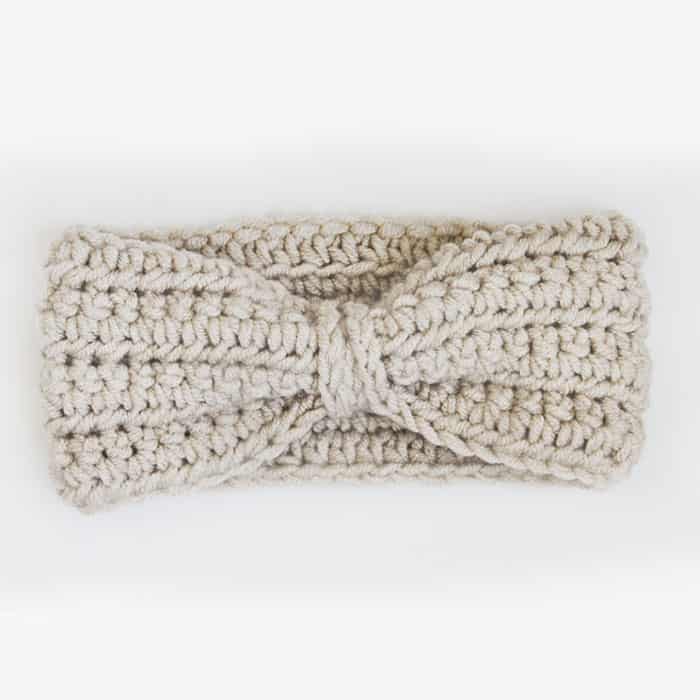
Crochet Headband Size Chart
Take a look at the headband sizes you can crochet as well as the easy to use chart for reference.
- Baby
- Toddler
- Child
- Woman
- Man
The ear warmer size chart below will help you figure the perfect headband size you need. I recommend making a headband about 2 inches smaller than the actual head circumference to allow for stretch.
| Head Circumference (inches) | Headband Size (inches) | |
|---|---|---|
| Baby | 14 | 12 |
| Toddler | 16 | 14 |
| Child | 18 | 16 |
| Woman | 21 | 19 |
| Man | 23 | 21 |
Headband Crochet Sizing Tips
There are a few important tips you can follow to make sure your headband fits and crochets up perfectly, so you make a great project every time!
- Follow Gauge: The crocheted ear warmer is a great first project to try when you are beginning to learn how to work in the round. However, I would recommend using the correct gauge, or stitches per inch, for the proper fit. This is a critical step for this project. If this ear warmer is crocheted too loosely, it will be too big.
- Additionally, if the ear warmer it is crocheted too tightly, it will be too small. You can learn more about gauge here, if you would like a refresher or are new to crochet.
- Measure, Measure, Measure: As for the width, that can be adjusted by adding or subtracting rows too, so you can get the perfect fit. For example, when you are crocheting a baby headband you will more than likely not want it to be 4 inches wide, so you could subtract rows until you get the width you prefer.
- I recommend a width of 2 inches for a baby headband, and these should only be worn for photos and under proper supervision. If you follow these tips, you’ll on your way to making cute crochet baby headbands!
- if you intend to make crochet headbands for adults or an adult size, you will need to measure the circumference of their head first, since the size can vary so much from person to person. This way, you will ensure the crochet headband size fits the person it is intended for.
- Use the Correct Yarn Weight: I also suggest using the suggested five bulky weight yarn to make this headband design. If you attempt to make this headband with a worsted weight yarn (medium #4 weight) then it will turn out different regarding size and coziness.
Are you ready to learn how to crochet a headband to keep those ears warm? Then, scroll down to find my FREE easy pattern and photo tutorial!
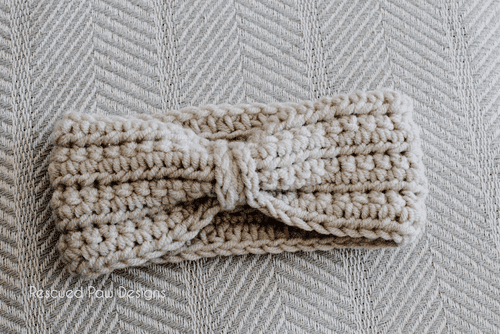
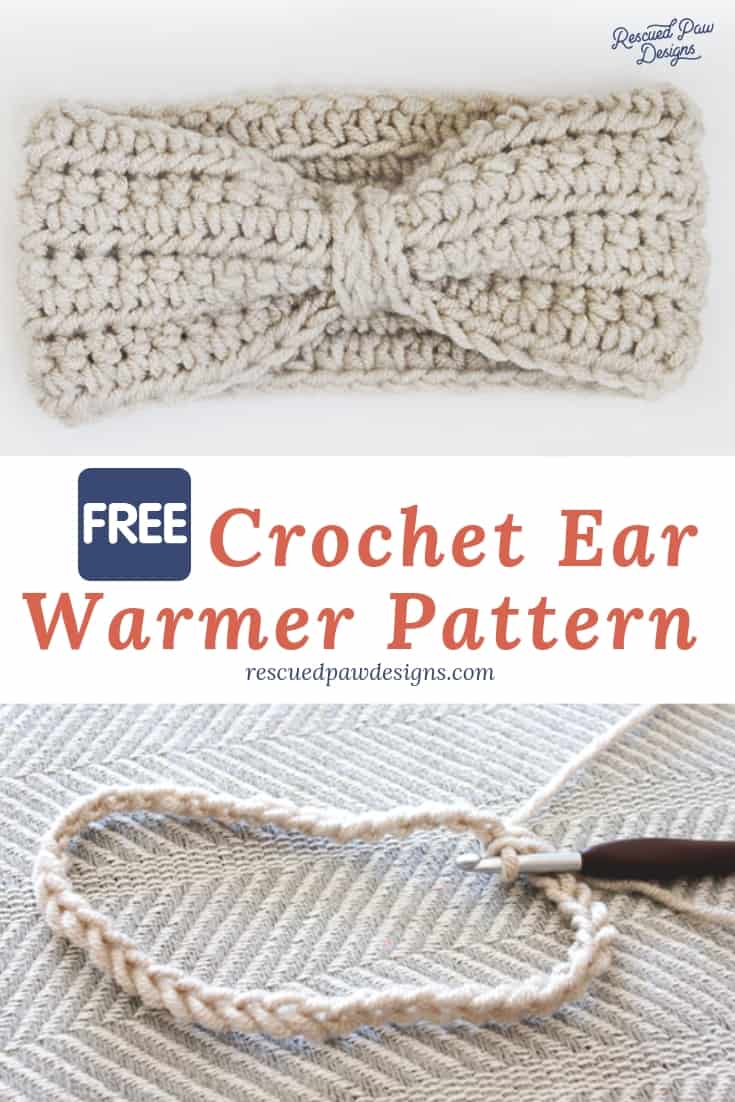
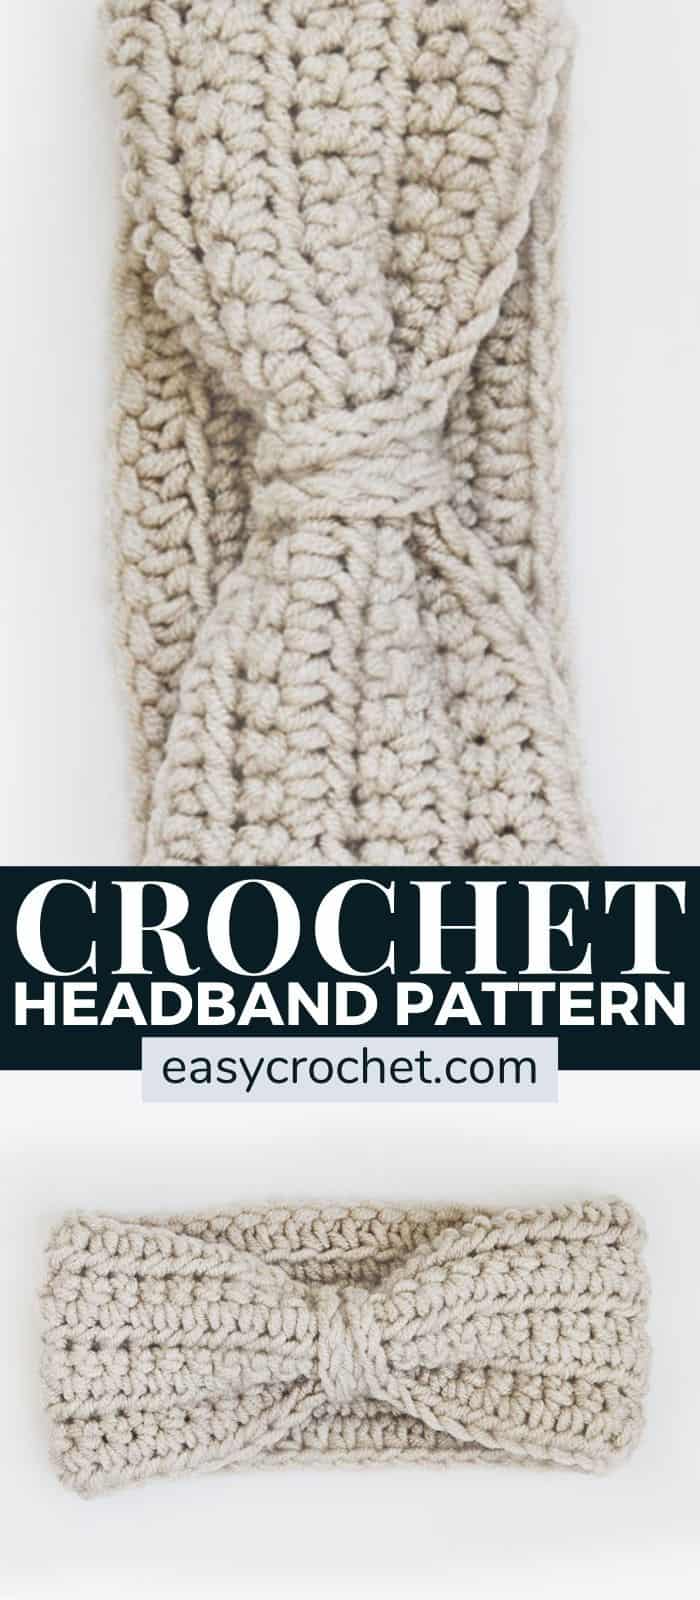
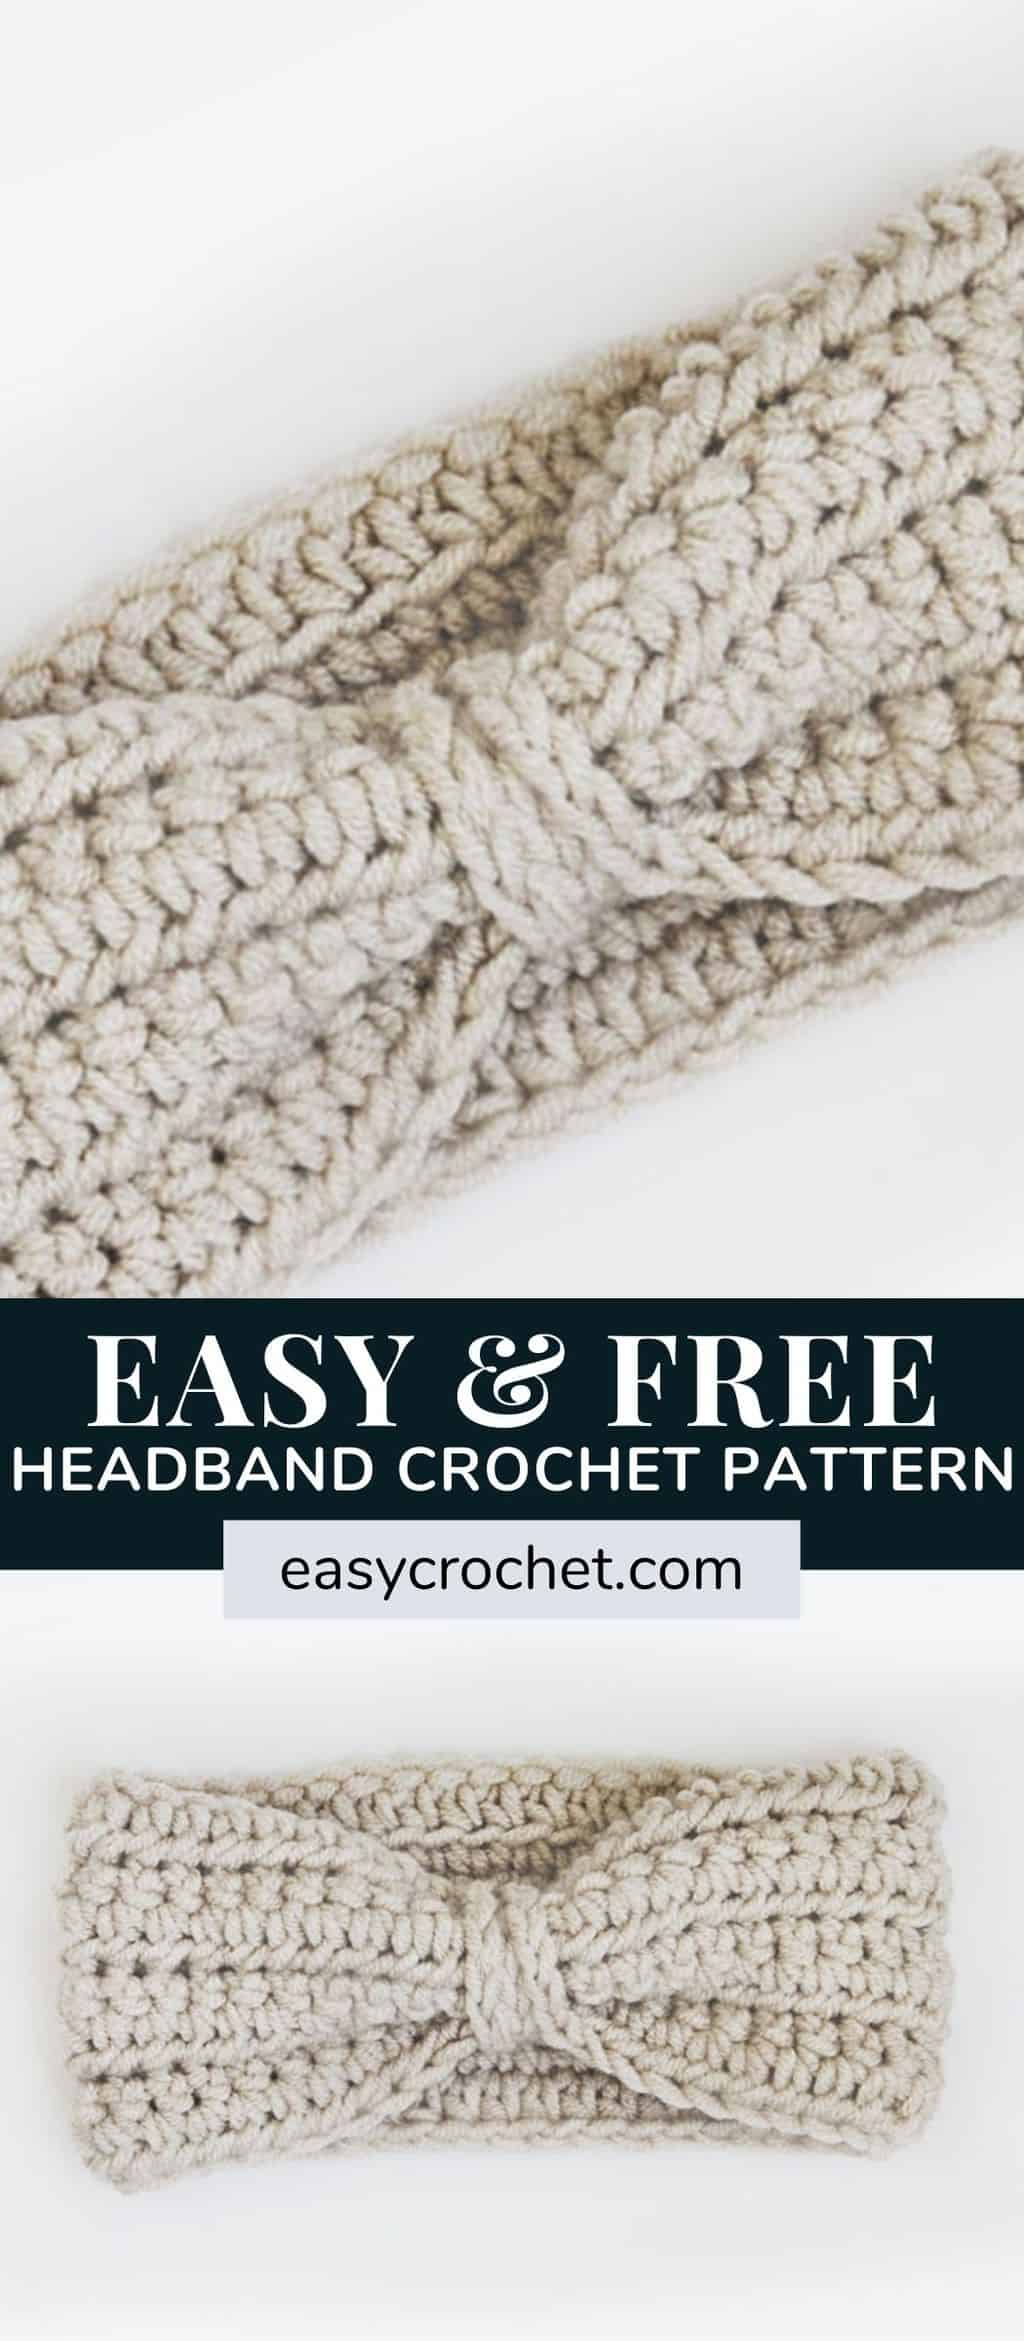
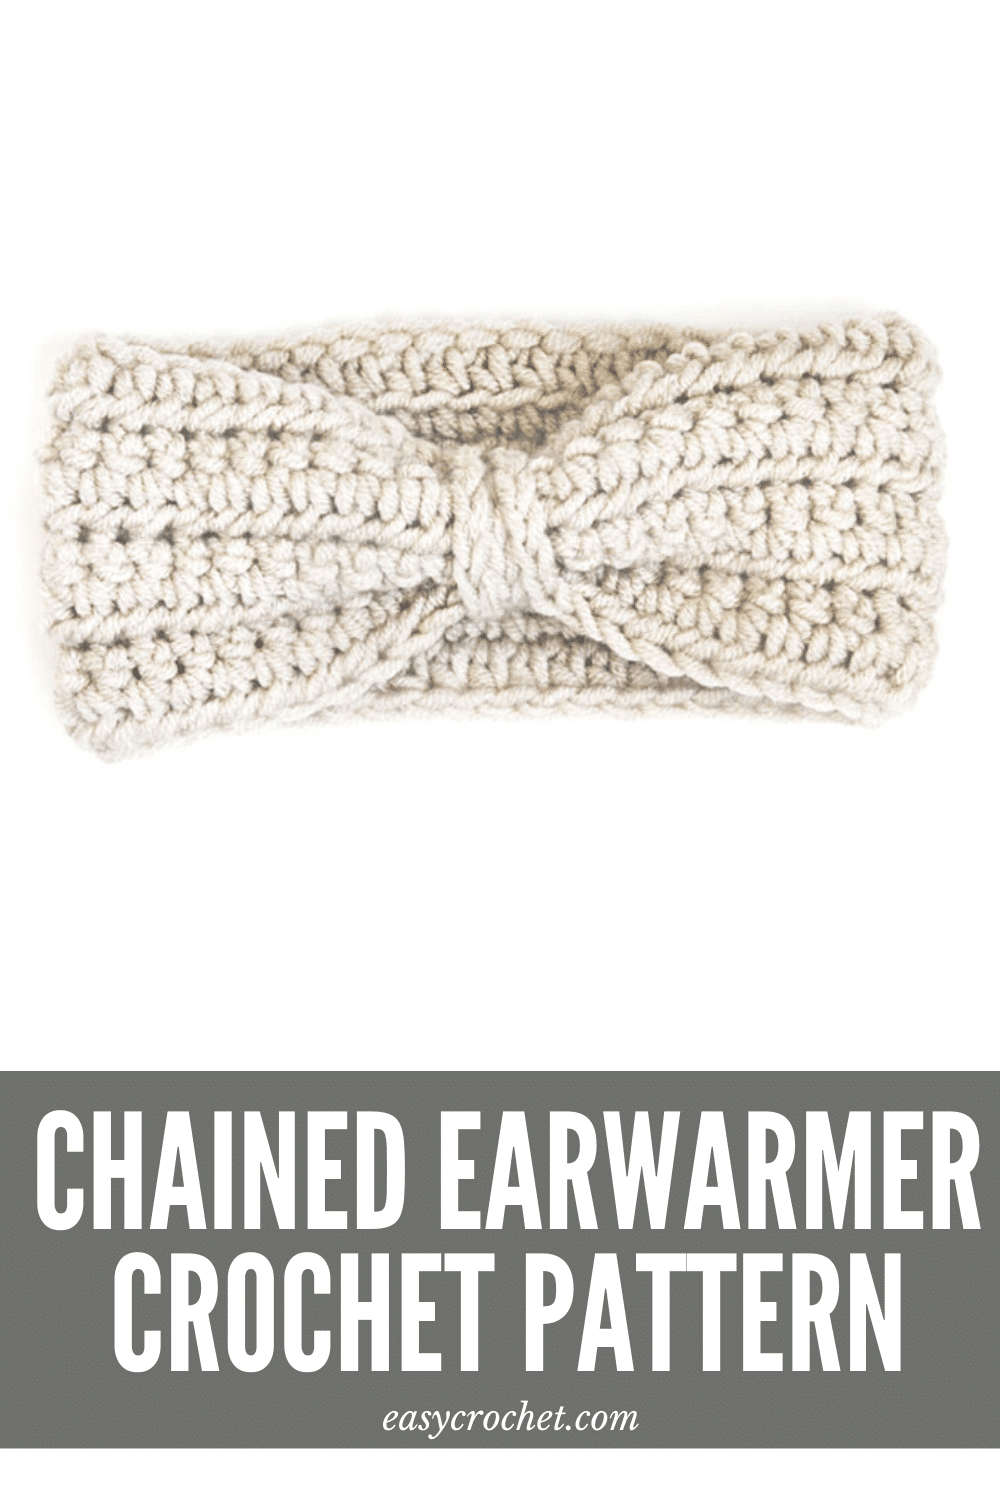
Crochet Chained Ear Warmer Pattern
Skill Level: Easy
Materials
- Crochet hook J 6.00 and I 5.5 mm
- Lion Brand Wool Spun in Linen, Color Made Easy by Lion Brand, or any bulky yarn (5). See yardage chart below for each size.
- Yarn needle (tapestry needle)
- Scissors
- Measuring tape
Notes
- Tip: If you would like a more in-depth look at the stitches used in the pattern, then be sure to check out my tutorial on how-to crochet.
- Each size is listed after the end of each round in ().
- Written in standard U.S. terms.
Crochet Abbreviations
- sc = single crochet
- hdc = half double crochet
- sl st = slip stitch
- ch = chain
- rep = repeat
- st = stitch
- bl = back loop
Sizing
- This pattern is written in 7 standard sizes, but it can easily be customized for any size by subtracting or adding any # of stitches.
- The ad-free ear warmer PDF has these sizes listed for your convenience.
- See headband size chart below for exact sizes to make.
Gauge
- Gauge is IMPORTANT!
- 12 stitches x 9 rows = 4” (work pattern as written using hdc, sc alternating for rows)
- You will need to make sure you have 12 stitches for every 4 inches of the headband for the correct fit.
- Gauge is very important for proper sizing. Need a refresher on gauge? You can learn more about what gauge is and why it is so important here.
- I receive many messages saying this headband is too small or too big. In order to guarantee that the headband fits as it is written, the correct gauge and proper weight of yarn must be used, as listed in the pattern.

Crochet Headband Size Chart & Yardage
Use the size chart below to make the pattern in a crochet baby headband to a womens ear warmer size.
| Height | Circ. | Starting Chs | Yardage | |
|---|---|---|---|---|
| Preemie | 4 | 9 | 36 | 42 |
| Baby | 4 | 14 | 42 | 56 |
| Toddler | 4 | 16 | 48 | 70 |
| Child | 4 | 18 | 54 | 85 |
| Tween | 4 | 20 | 60 | 99 |
| Woman | 4 | 21 | 63 | 106 |
| Man | 4 | 22 | 66 | 113 |
The Crochet Headband Pattern Steps
The headband sizes listed are as follows: preemie, baby, toddler, child, tween, woman, man.
Round 1: With the 6 mm hook ch 36 (42,48,54,60,63,66), sl st to first ch forming a circle, making sure not to twist ch.

Round 2: With the 5.5 mm hook, ch 1, hdc in every st around, sl st to the top of first hdc NOT the ch. 36 (42,48,54,60,63,66)

Round 3: ch 1, sc in every st around in the bl only, sl st to the top of first sc, not the ch 1. 36 (42,48,54,60,63,66)
Round 4: rep round 2.
Round 5: rep round 3.
Round 6: rep round 2.
Round 7: rep round 3.
Round 8: rep round 2.
Round 9: rep round 3. Do not fasten off.
Finishing:
- First, without fastening off ch 25 (this is still connected to the ear warmer).
- Secondly, wrap the ch 25 around the seam of the ear warmer 3 times, sl st to the top of the first st of last round.
- Next, fasten off (secure the yarn, so the stitch will not unravel) by cutting yarn, leaving a few inches of yarn tail.
- Then, with your hook, draw the tail through the loop on your hook.
- Finally, weave in loose ends throughout the headband with a yarn needle!

I hope you enjoyed making this crochet ear warmer pattern. I feel it is the perfect pattern for any level of crocheter. However, now that you’re a pro at headband making… why not whip up some of these quick crochet ear warmers for everyone you know?
Connect with Us!
For any clarifications about this free crochet headband pattern, please feel free to contact me on my Facebook page. If you liked this headband design, then you might also like my other patterns below that are quite similar.
More Free Crochet HeadBand Patterns + Crochet Ear Warmer Patterns
Are you planning on making a few different types of ear warmers? Maybe you have already crocheted an ear warmer but want to try a new pattern?
If so, I would suggest that you try the free knotted headband, the wrapped ear warmer, or explore the Easy Crochet archives for more free patterns.
- Ponytail Headband Crochet Patterns
- Chunky Crochet Ear Warmer Pattern
- Crochet Twist Headband Pattern
- Ear Warmer Headband Crochet Patterns
- Crochet Velvet Headband Pattern
- Free and Easy Crochet Headband Pattern for Winter
- Free Puff Crochet Headband Pattern
- Free & Easy Crochet Headband Pattern
- How to Crochet a Pumpkin Earwarmer
- Ear Warmer Crochet Pattern for Beginners
- Free Knotted Headband Crochet Pattern
- Wrapped Crochet Headband Pattern
- Cabled Ear Warmer Crochet Pattern
- Crochet Headband Pattern Frozen Snowflakes
- Crochet Button Heart Headband
- Simple Fall Crochet Headband Pattern
Other Crochet Favorites
The following list is full of other awesome crochet projects from crochet designers apart from myself. Be sure to check them all out!
- Crochet X Pillow Pattern | Persia Lou
- Learn To Crochet eBook | Twin Dragonfly Designs
- Crochet On Edge Fleece Blanket Tutorial | The Friendly Red Fox
- Fabulous Free Crochet Patterns | Seven Thirty-Three
- Cozy Striped Crochet Infinity Scarf | Flamingo Toes
- Crochet Hooded Cowl | Sugar Bee Crafts


Love this design and pattern! Can you recommend how wide I should make this for a baby as an ear warmer? I’ve done a few that are 3cm wide as a headband but I don’t know how wide to make it as an ear warmer? Thank you
Hi, Thank you so much Zoe!
For a baby headband, I’d do two inches or fewer, but it can be made in any size you prefer by adding or subtracting rows. Hope this helps!
Happy Crocheting
Krista
Thank you for such a cute, easy pattern to follow. Your gauge instructions, graph for the sizes and directions were spot on. I wish everybody else could do as good a job writing directions that are so easy to follow as you do. I made this to go with an adorable little poncho that I created myself without a pattern for my four year old granddaughter’s birthday with variegated pink yarn. I am so happy with the whole thing and can’t wait to see it on her!
Thank you so much Mary for taking the time to leave a comment!
I am so glad that you liked the pattern and I bet it looks adorable with the poncho.
Have a great rest of your day!
Krista
What stitch do you use when you are doing the gauge? Sc, dc, hdc?
Hi Debi,
The gauge is worked using hdc, sc alternating for 9 rows like the pattern is written. There are no double crochets in this pattern, so that would not be used.
Happy Crocheting,
Krista
I love this pattern I was able to get a perfect fit for my head. If you follow the directions using the yarn that is suggested & the right size hook you should get it I right. I had no problem thank you so much for the detailed description. I do have problems reading patterns… not this one.
Thanks, Dee! I am so glad you liked it!
Happy Crocheting!
Krista
Hello there! Thank you for this pattern! 🙂 It’s so easy and quick.
Have a nice day,
Lucie
Thank you! First thing I’ve crocheted for about 3 years since I became a mum for the second time and discovered how much free time I had with just one child! Will definitely be doing more now I’ve rediscovered the joy of yarn and a hook 🙂
You are welcome Abi! Have fun crocheting once again! 🙂
How do you think this is for beginners? I do not know any of the stitches.
Hi Dianna,
Inside the pattern in the abbreviation section, there is a link to each stitch with a tutorial. If you’d like to join the RPD crochet group to ask questions or share your work we’d love to have you. https://www.facebook.com/groups/RescuedPawDesigns/
Krista
Hi
I purchased a pdf of the ear warmer pattern yesterday but have yet to receive it in my email. Please could you send it ASAP as I have a couple that need to be made and I work better with a paper pattern on my lap
Hi Judy,
I found your order and sent another email with the pattern. I’d suggest checking the spam folder since it sometimes ends up there.
Happy Crocheting!
Krista
If you’d prefer to email me about the order, you can send me a message at yarnmamas@easycrochet.com
Hi so I’m having so trouble about the sl st but not into ch 1. When I finish the next round it seems the slip stitch is further away than the last and I’m left with this weird look going at an angle of the pattern. Would attach a picture for better explanation but I cant. Just wondering if anyone else is having this problem
Hi Angel,
This unfortunately happens when working into the round. When you make the chain at the end and wrap it around it will cover that and it will not be noticeable.
Happy Crocheting!
Krista
Hi, Thank you for sharing this headbandaearwarmer. pattern. I made this pattern with red heart yarn siz4 yarn, not for sure what size of hook I used but I most generally use a size H hook, I made this earwarmer for my granddaugher who is 21 and has a small head as I do, I measured the chain around my head and ears before begining to make it. After making the headband and wrapped the cinch around it I crocheted a swatch in the same color of yarn and using the same stich pattern, abour 4 or 5 rows and about 3 to 4 inches long and slid it under the cinched part to kinda of make it look like a bow, then add some white pearl looking beads on the extra piece that I made and a few beads on the main body of the earwarmer I used 2 sizes of pearl looking beads and just sewed them on with neddle and thread, it really turned out so cute. Thank you for sharing your pattern. Anyone can add there own personnal touch, like I did, One that I made with bulky yarn for my sister I added a large unique shaped wooden button..
Great pattern! So easy to follow. I’m not the best at crochet (I much prefer knitting) but I wanted to try it out again. I made one during the time it took me to watch a movie! Absolutely love it!
My first go was too small, but once I got my gauge right it fit perfectly! I’m making these for everyone this Christmas!
Thanks Allie! I am so glad you liked it and hope that everyone likes their gifts for Christmas too!
I sent the first one to my 17 yr old grandaughter that I mentioned in the above message. She sent me a picture of her wearing it. The 55 stitches was perfect.She love it. So everyone just needs to try it on their own heads if they are making it for an adult size head and adjust accordingly. As several ppl mentioned everyone’s crocheting is not the same so either add stitches or use a larger hook.If making it for a child, there are charts available online that tell you how many inches you need for various ages. I’ve been busy so have just started the second one…now have only 14 more to go…lol
I am so glad you like it Ruth and thank you for taking the time to write to me to let me know! I really appreciate it!
Happy Crocheting!
Krista
cute ear warmers
Thank you!
Oh and I meant to say that I have 9 grandaughters and one baby great grandaughters and will be making these for all or at least most of them and will also make this without the chain to wrap around for the men in the family.I think it would be great for them also without the clenching in the middle
Is there any way I can get the Headband ear warmer patterns condensed on one or two pages.each?
Hi Terrill,
I have an Ad-Free PDF available for purchase here that may help! 🙂
Happy Crocheting!
Krista
Which side should face outward, the ribbed side or the smooth side?
The ribbed side. Happy Crocheting!
I need a child’s size her head measures 19 inches. How many chains do I start with.
Came across your pattern in hopes of finding a nice simple ear warmer pattern that could easily be modded to a custom piece for one of my friends. This was perfect! Was super easy to add my extra details to and great to tech my little cousin how’s to was a pattern! Thank you so much!
I am so glad you like it Danielle! Happy Crocheting! 🙂
I just crocheted the chained crocheted headband pattern and it can out perfect. I used bulky yarn that the pattern called for but to get the gauge to come out right for me as I crochet tight I had to use a N hook. Came out perfect!!! Thank you for the pattern!
I am so glad you liked it Kathy! Happy Crocheting! 🙂
I made one and it looks great but I didn’t notice, until I was done, that the foundation chain row was very tight, unlike the other side. I’ve just learned to crochet this year and I have done well reversing what I see, I’m left handed, but how do I make sure that first row doesn’t get too tight? I’m not sure what I’m doing or not doing because some projects come out fine and others are tight?
An easy trick is to use one hook size bigger than recommended for the foundation row then switch back to the hook size that the pattern calls for. Happy Crocheting!
This is a quick and easy pattern. I ended up doing 56 stitches and I also added 2 more rows because I wanted it to be a little wider. Thank you for sharing!
Hi Michelle,
Great Idea! I love how you changed it up!
Krista
I think it’s funny that you said gauge is important to the amount of stitchs you wrote for the pattern…but obviously no one checked thiers before they started. Gotta love when people complain but don’t read the instructions!
I just completed the pattern, and I love it!! Thank you 😉
Hi Patti! I am so glad you loved it and you are welcome! 🙂
Krista
A student brought your pattern to class tonight. I really enjoyed it. Thank you for creating a beginner pattern that is well written and includes several different techniques. I’ve had students bring in patterns far beyond them or patterns labeled as beginner that clearly aren’t and leave out crucial steps the writer has forgotten aren’t general knowledge forcing me to rewrite the pattern in class so they can follow it.
Thank you.
Fun and easy (and quick) snow day project! Thank you!!!
You are welcome Katie! I am so glad you liked it! 🙂
Made it! I love it. So easy to make too. I am all about crocheting and rescuing dogs awareness. Your page couldn’t be better.
Thank you Pri! So glad you liked it! 🙂
Krista
A lifesaver this Christmas, and they’re turning out wonderfully! I used a 5.00mm hook to get a child size, great and easy to read pattern!
Thanks Kelsi! So glad you liked it!
Krista
Lovely pattern! Simple and cute! 🙂
Thank you Jane! <3
Great pattern! Thank you!
You are welcome Kat! 🙂