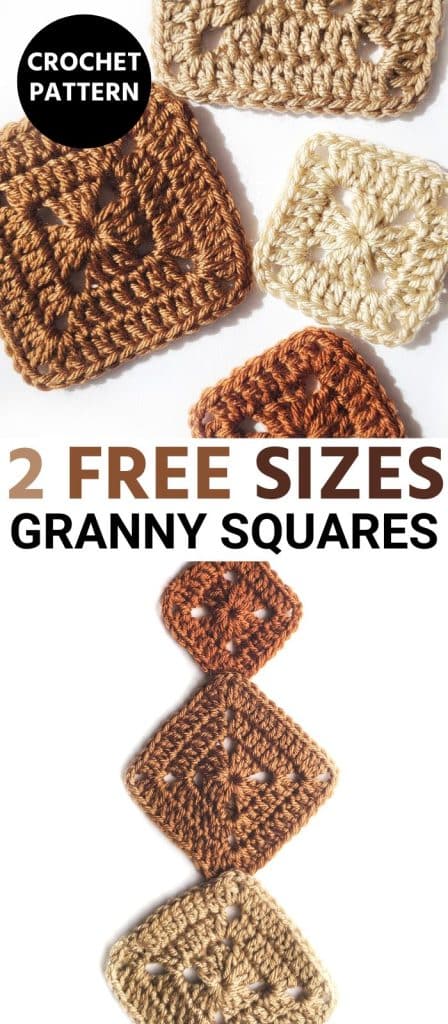
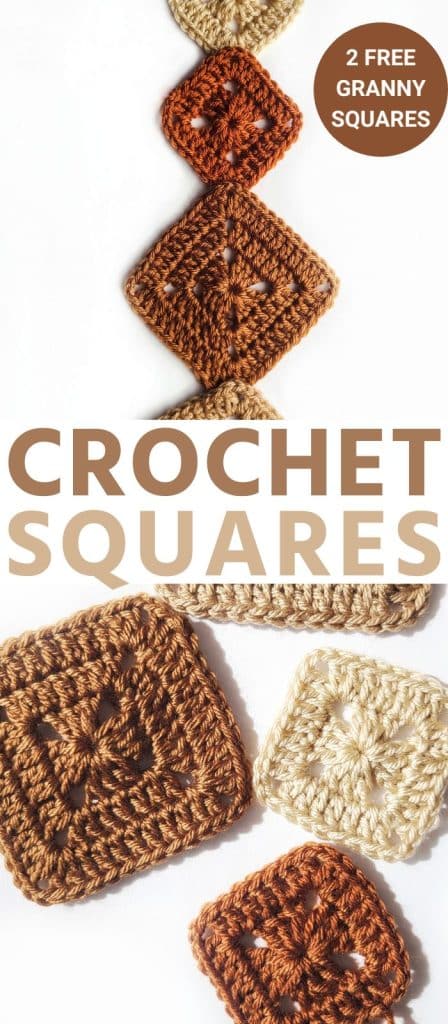
Almost Solid Granny Square Pattern (2 Sizes)
If you love crocheting squares, then you’ll love this free crochet pattern for an almost solid granny square in two sizes!
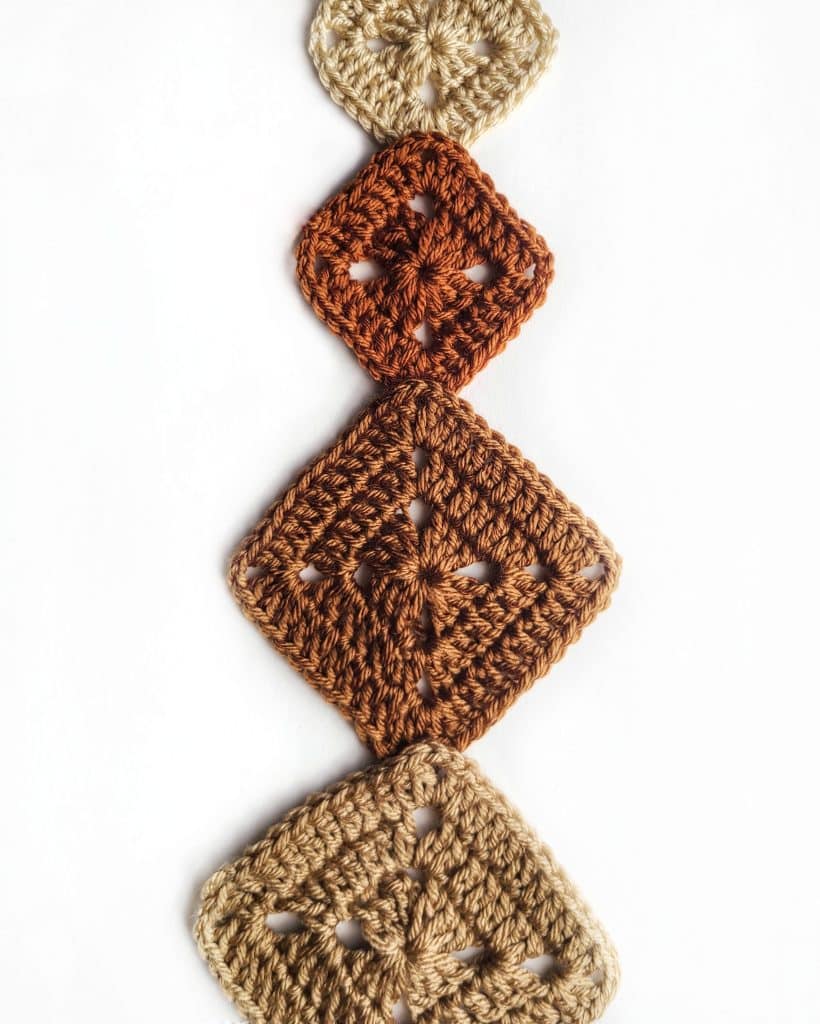
While a traditional crochet granny square is made with more gaps, these two square patterns have minimal gaps and are solid, which makes them perfect for all types of different crochet projects.
So while, not truly a solid crochet square pattern, they are pretty close!
Are you ready to get started crocheting? If so, read on down to find the perfect solid granny square pattern in two sizes!
How to Crochet Solid Granny Squares
Most often, granny squares are crocheted in the round, which means you’ll be joining yarn to form a continuous round instead of working in rows.
The two solid square patterns below are crocheted in the round with minimal gaps, so while not completely solid, they are much more solid than a classic granny.
These two squares sizes also use simple stitches and easy to find crochet supplies, so they are great for beginner crocheters to make. Learn more about each of these below.
Stitches in a Granny Square
To be able to crochet solid granny squares you will need to know how to make double crochet stitches, chain stitches and slip stitches, all of which are easy to learn.
The squares are worked in groups of double crochets to create the edges and chains which establish the corners.
- Double Crochet
- Chain Stitch
- Slip Stitch: The slip stitch will be used in these solid granny squares for joining the rounds as well as in the project.
Once you make your first granny square, you can branch out and experiment with other crochet stitches as well when building a square.
This will make the square unique and truly your crochet project.
Supplies for a Granny Square
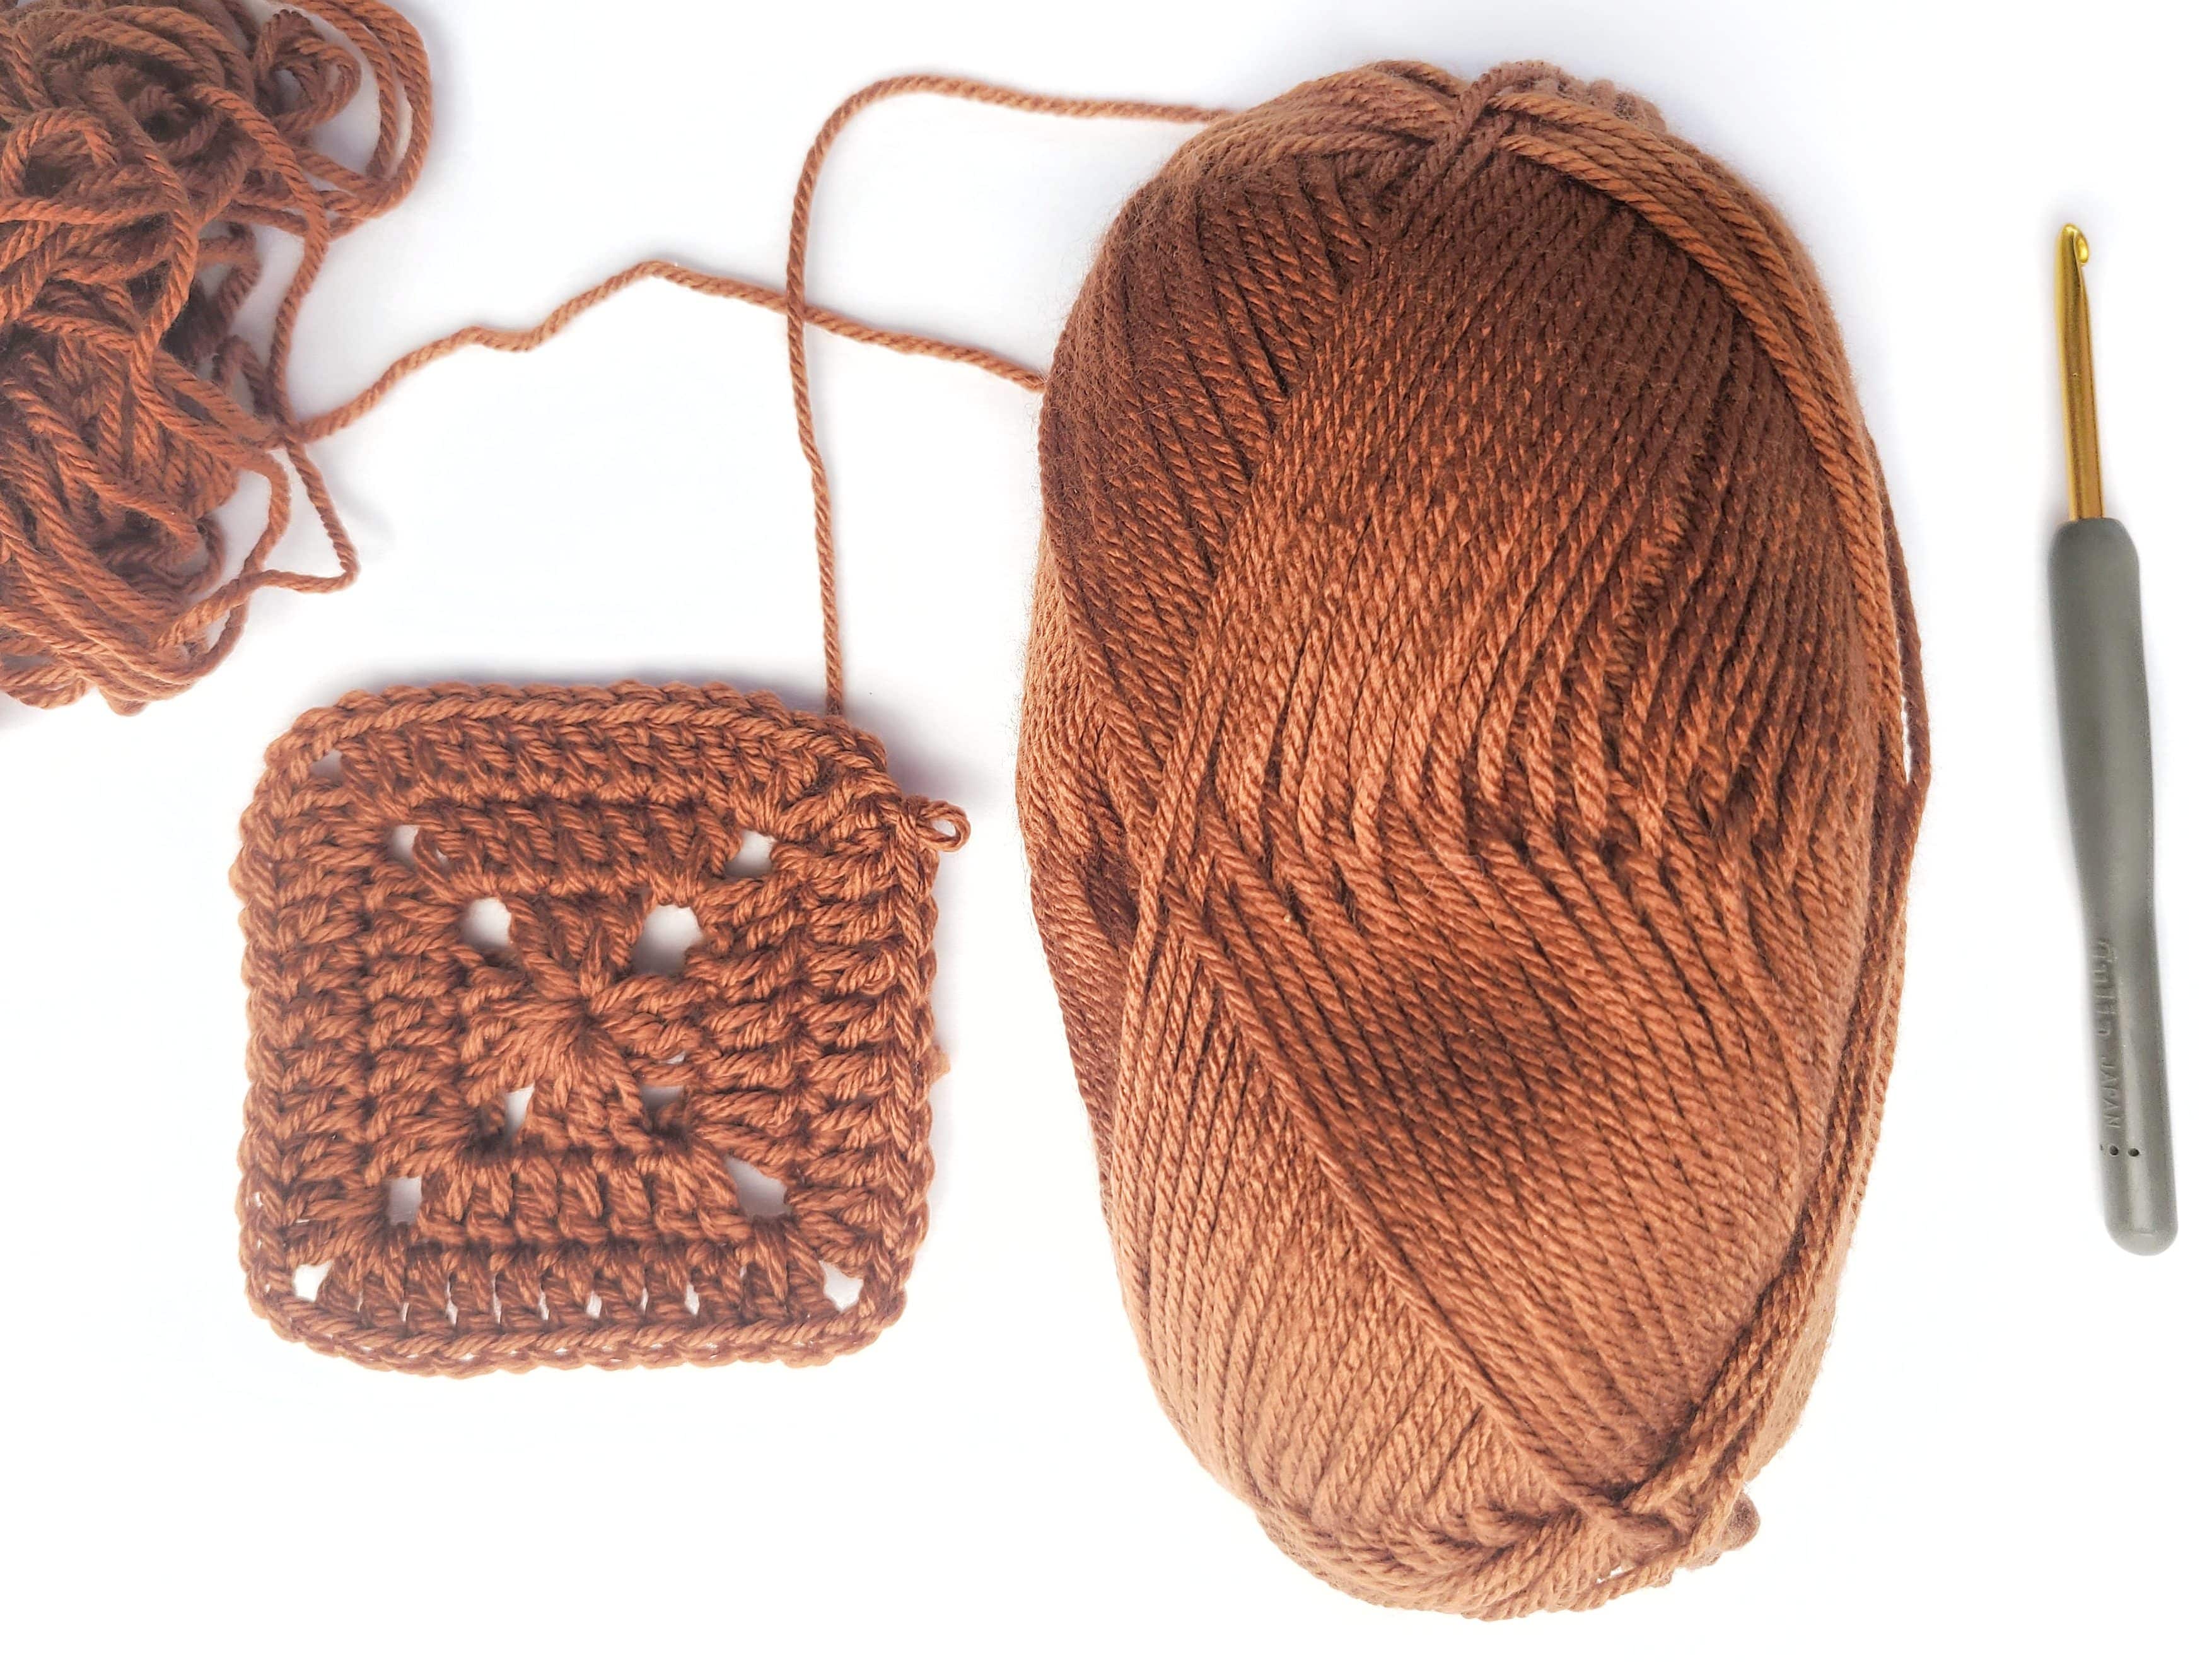
The two most common tools needed to make a granny square crochet pattern are yarn and a crochet hook.
- Yarn: Any yarn brand, yarn fiber or yarn weight will work to create a solid granny square. For this example, I am using Skein Tones from Lion Brand 100% acrylic four weight yarn.
- Crochet Hook: Make sure the crochet hook size used matches the yarn that you have chosen. You can usually find the recommended hook size on the yarn label, but you may need to adjust the hook size to meet gauge.
You will also need a few more notions such as well on hand to make the completion of the square easier.
- Extra Notions: It would be beneficial to have a pair of good yarn scissors, a tapestry needle (yarn needle), blocking mat and pins as well to make these grannies.

Sizes of Granny Squares
There are two important steps to know when crocheting granny squares and using them in projects.
First, you will want to keep all the squares a uniform size. For example, If you decide to make a 2″ x 2″ or a 4″ x4″ granny square, then all the squares you crochet should also be that size.
Secondly, It is essential to block granny squares. Blocking will give the squares definite corners and sides, which makes the squares even and easier to use in projects like granny square blankets or granny square pillows.
My favorite tools for blocking are blocking mats and pins, which help the squares lay flat. I linked up my favorites above in the tools section above.
Let’s Get Started
Once you have looked over the tools and crochet stitches, you’ll need to know to make a solid granny, you are ready to start crocheting the squares below.
The first written pattern shown is the small or mini granny square, followed by the classic granny square size. Both of these patterns will make a perfect solid granny square, are easy beginner-friendly patterns.
Enjoy and happy square crocheting!
Easy Solid Granny Square Crochet Patterns
Skill: Easy
Materials
- Any yarn or yarn weight. I used a four weight yarn (aka worsted weight yarn) called Skein Tones by Lion Brand.
- Any crochet hook size. I used a 4.5 mm (7) crochet hook.
- Yarn needle
- Measuring tape
- Scissors
- Blocking mat
- Pins
Crochet Stitches & Abbreviations
- sl st(s) = slip stitch (es)
- dc(s) = double crochet (s)
- ch(s) = chain (s)
- rep = repeat
Finished Sizes
Finished sizes of the granny squares below are using a four weight yarn and a 4.5 mm crochet hook. If you use a different weight yarn and hook size, your results will vary.
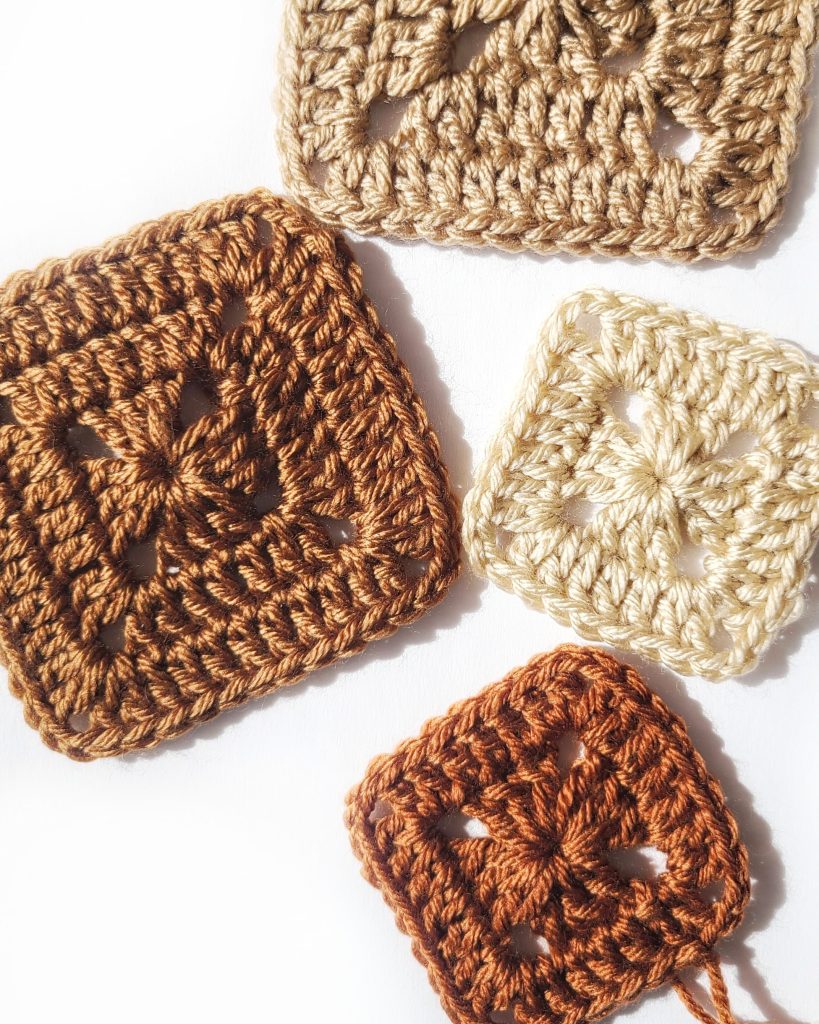
- Small Granny Square: 3 inches x 3 inches
- Classic Granny Square: 4 inches x 4 inches
Notes
- The granny square free patterns are written in standard US terms
- St counts are in parentheses at the end of each round.
- Chs and sl sts do not count a st in this granny pattern unless stated
- If you’d prefer a traditional granny square pattern, have a look at the Easy Crochet pattern.
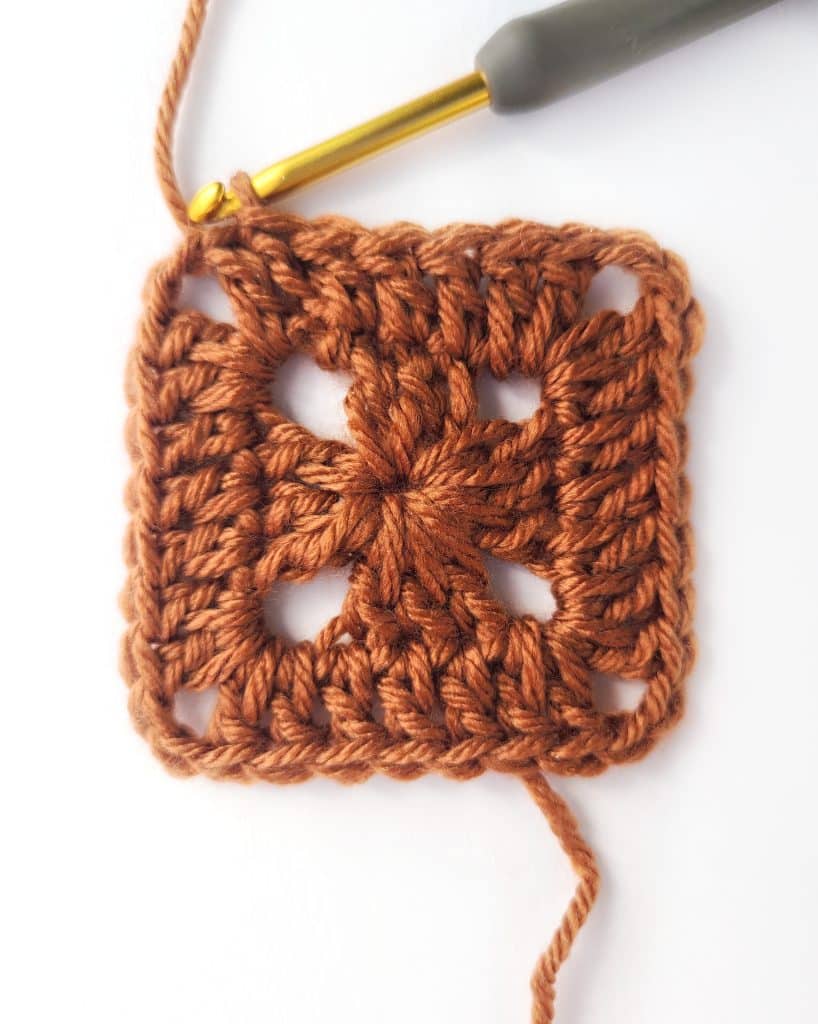
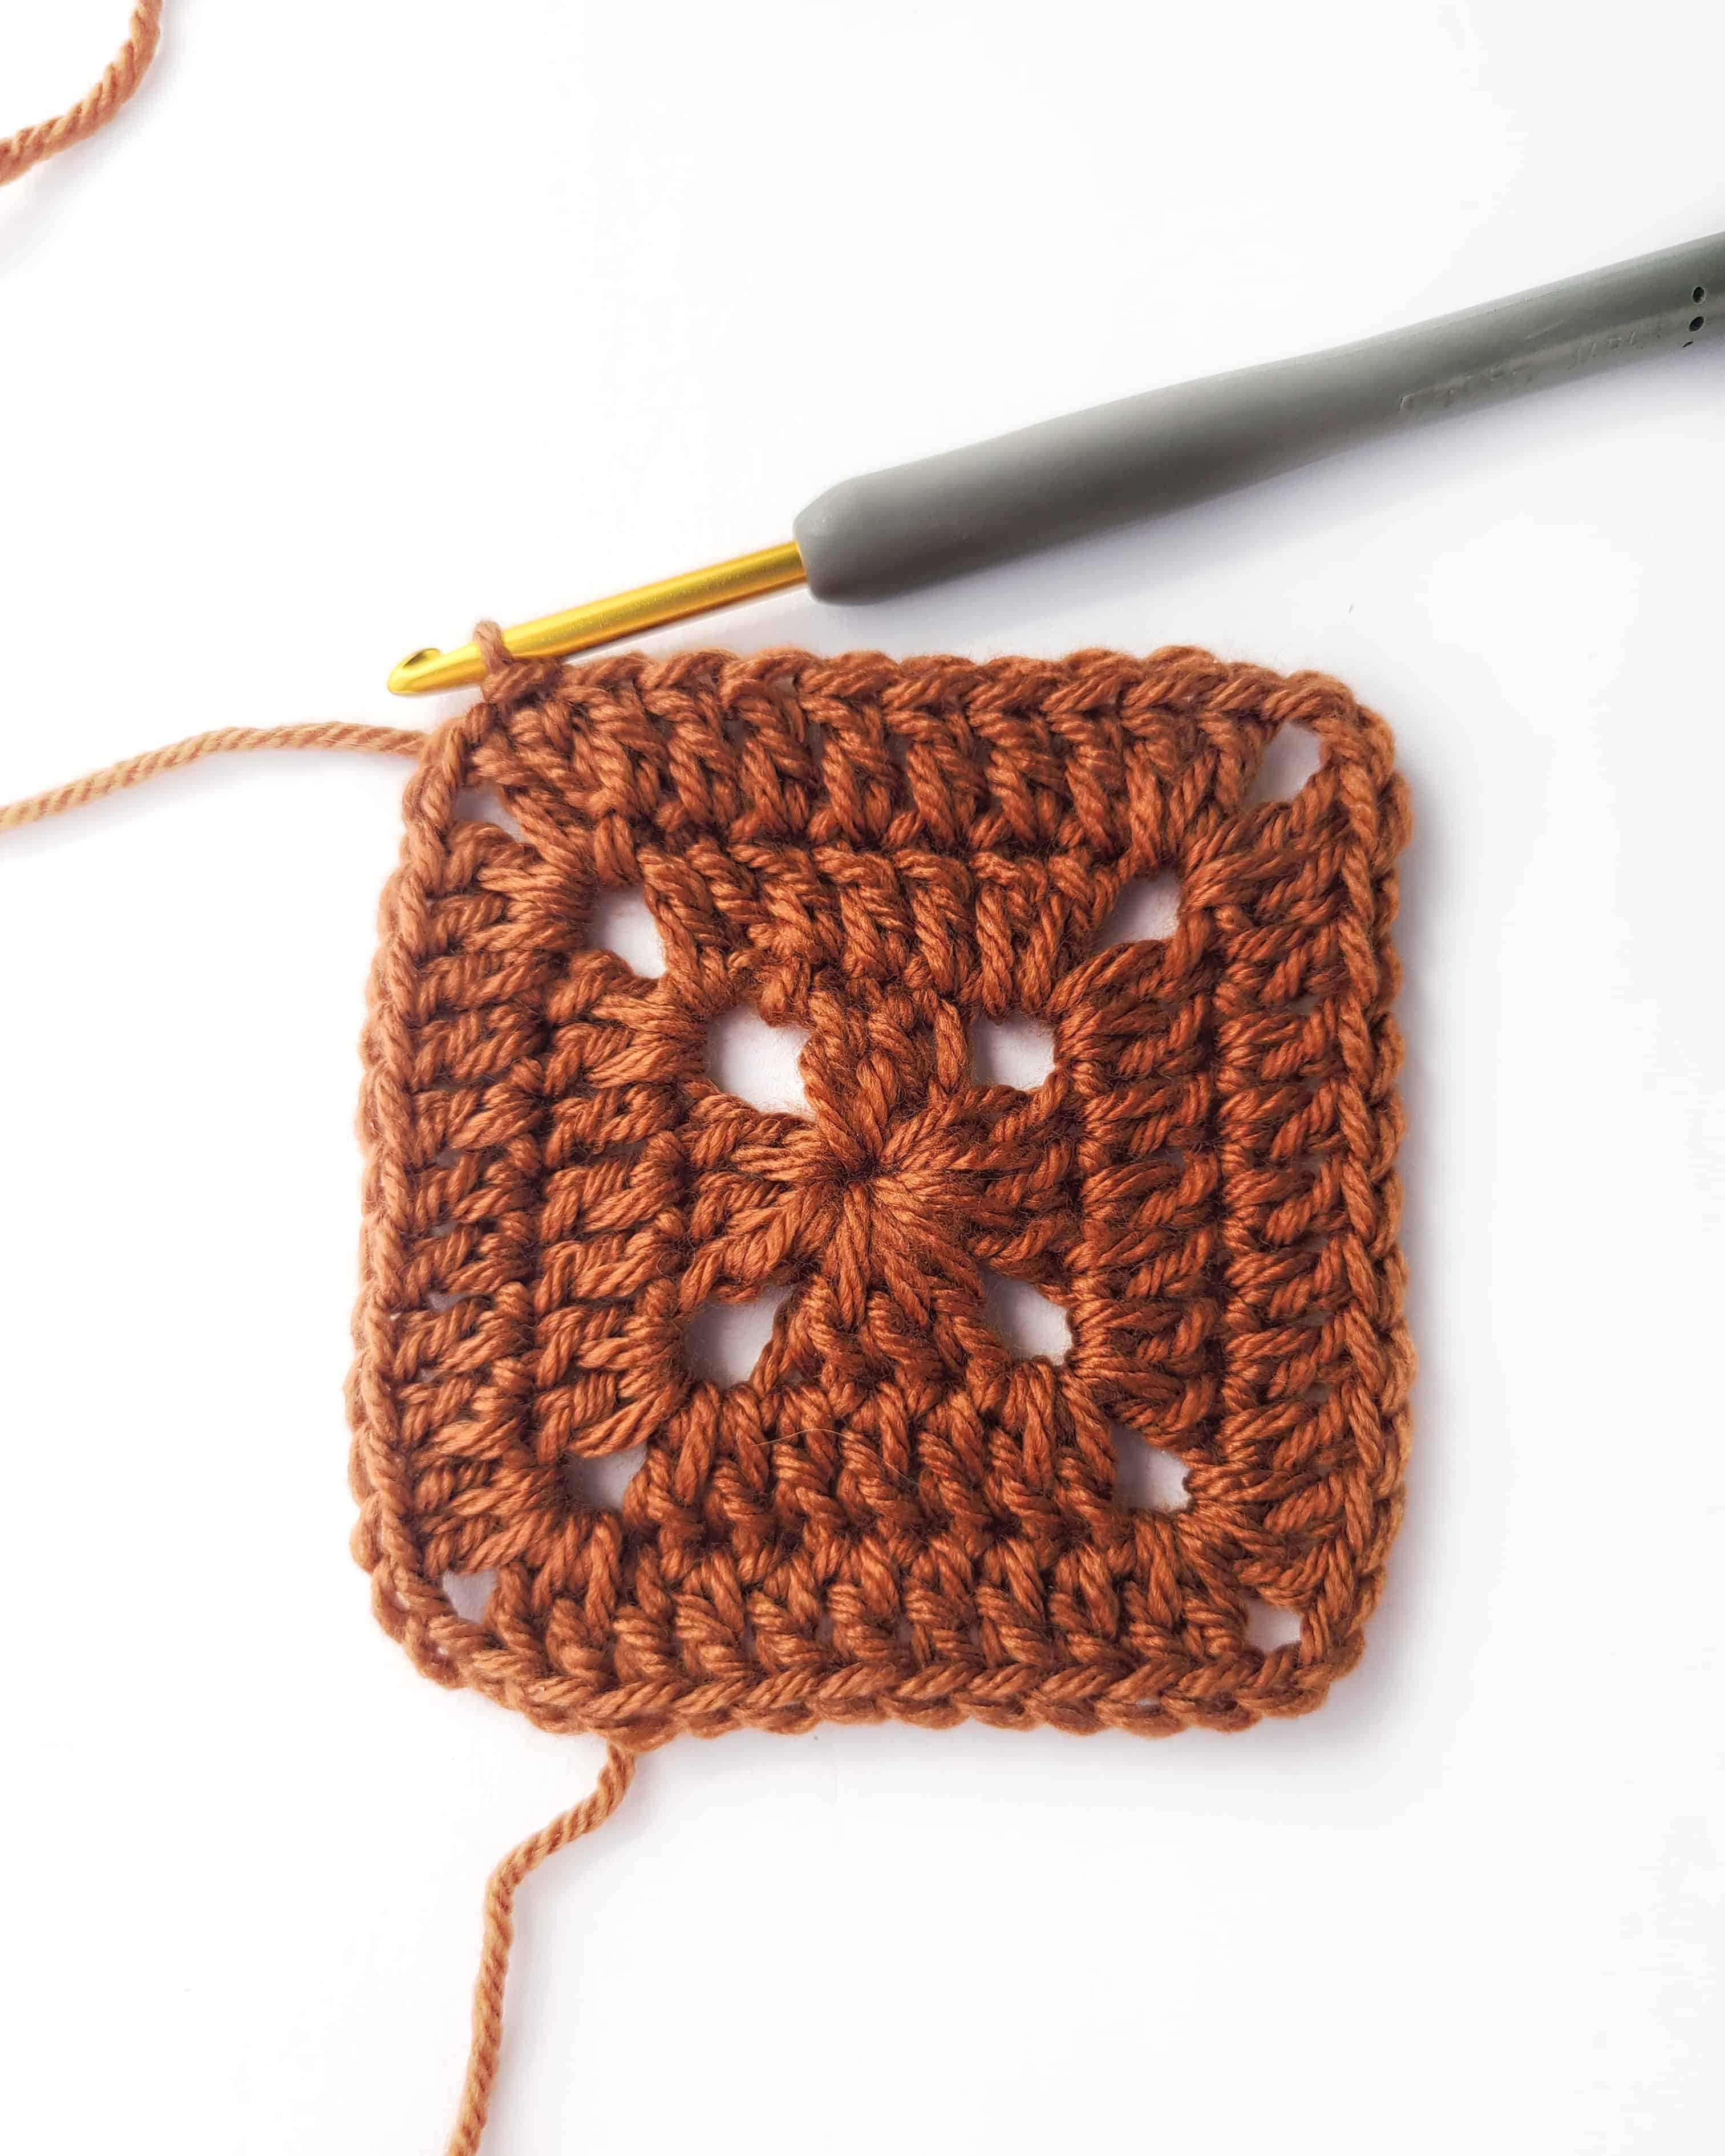
- Follow along with the small square picture tutorial for the large square for rounds 1 – 3.
Small Granny Square
Finished Size is 3″ x 3″
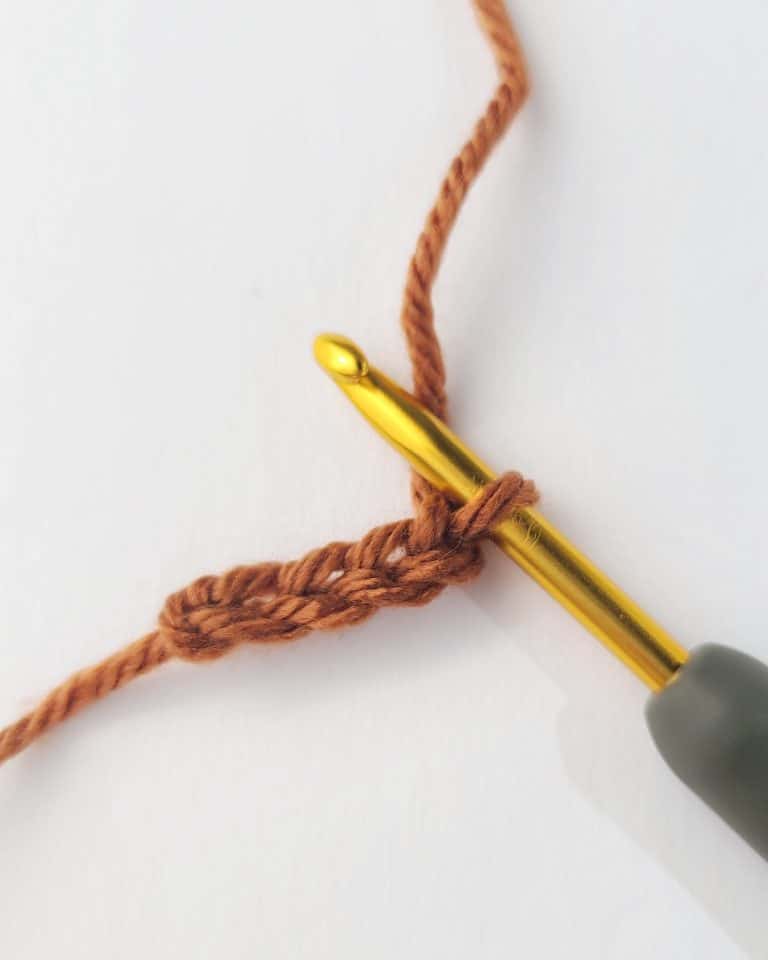
Round 1: Ch 4, sl st into the first ch to form a ring (or use a magic circle instead)

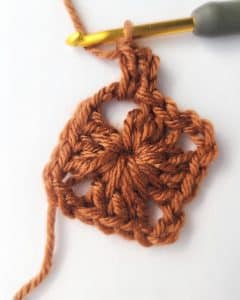
Round 2: Ch 3 (counts as dc), 2 dc into the ring

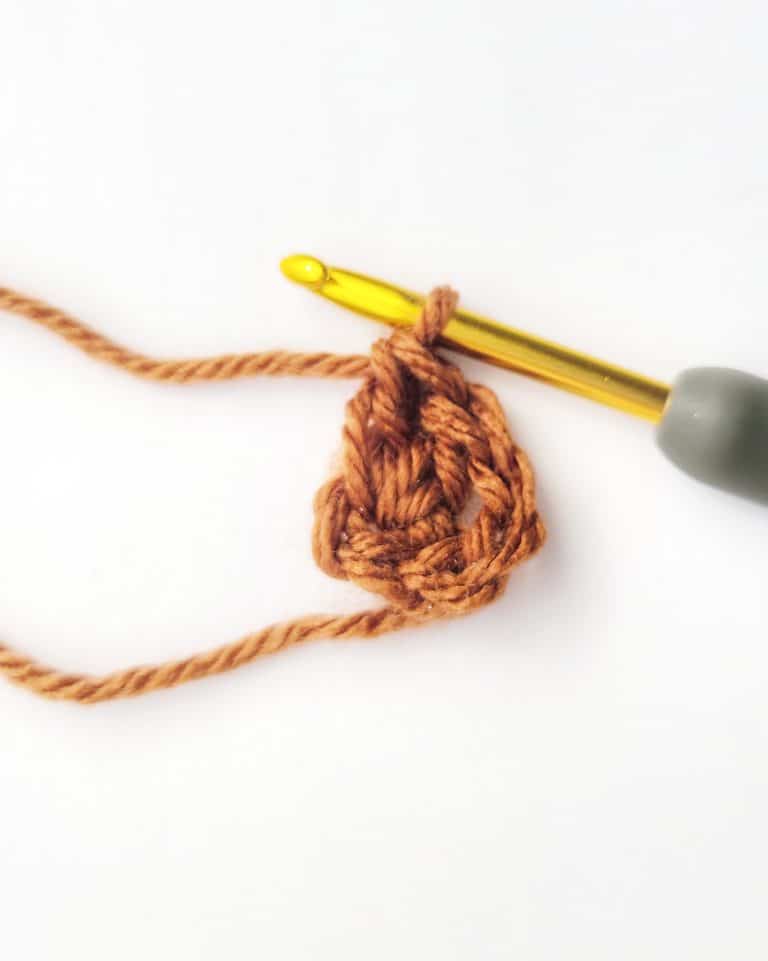
Ch 3, 3 dcs into the ring
Ch 3, 3 dcs into the ring
Ch 3, 3 dcs into the ring
ch 3, join with a sl st to the top of the ch 3 (12)


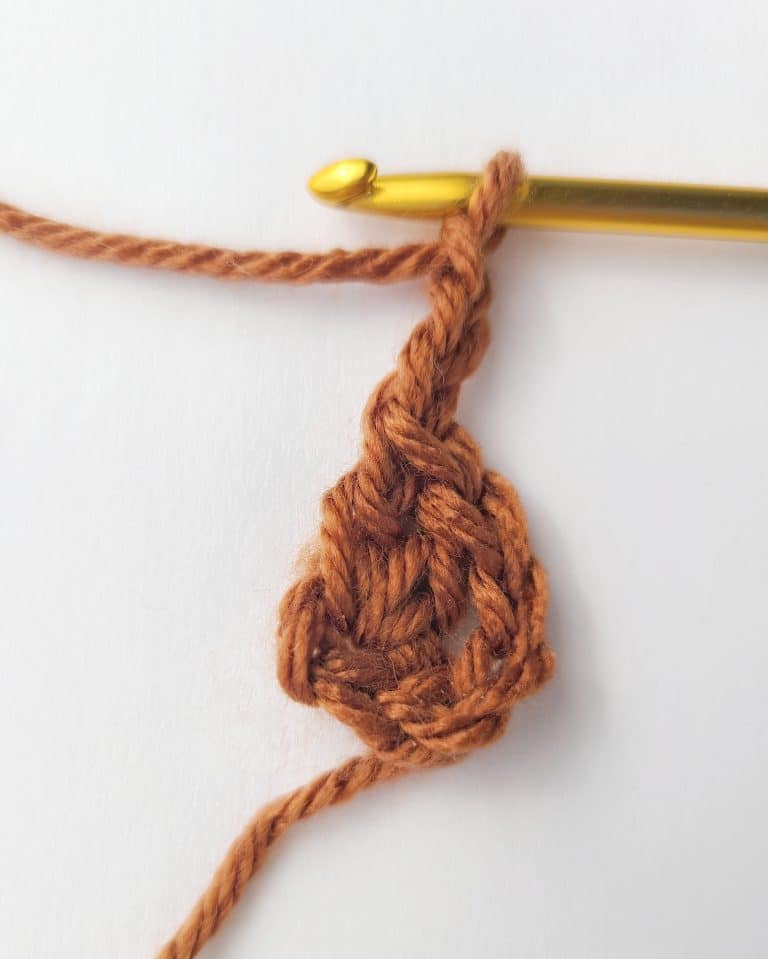
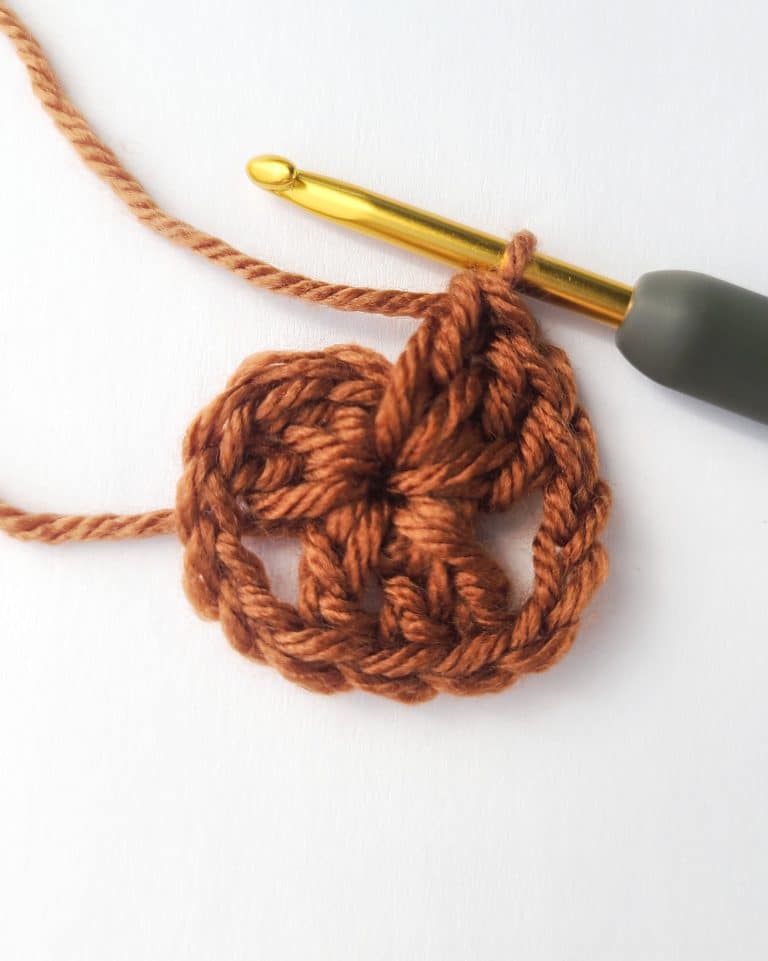
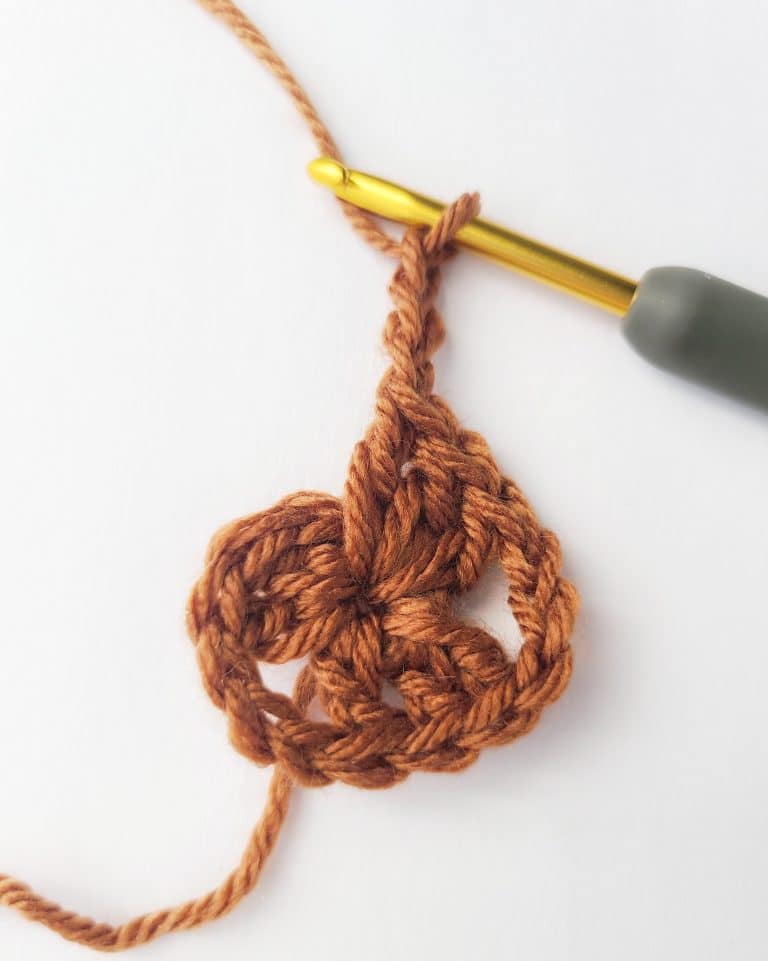
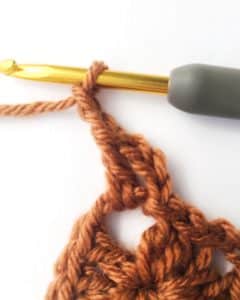
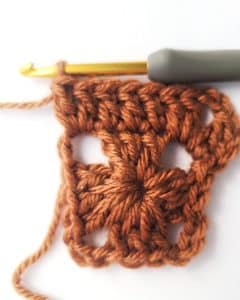
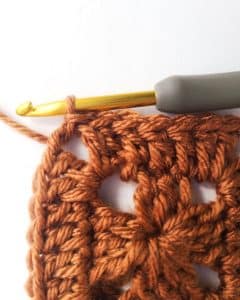
Round 3: Sl st along the top of the 2 dc’s from the round before until you reach the corner ch 3 space from the previous round. Ch 3 (counts as a dc)
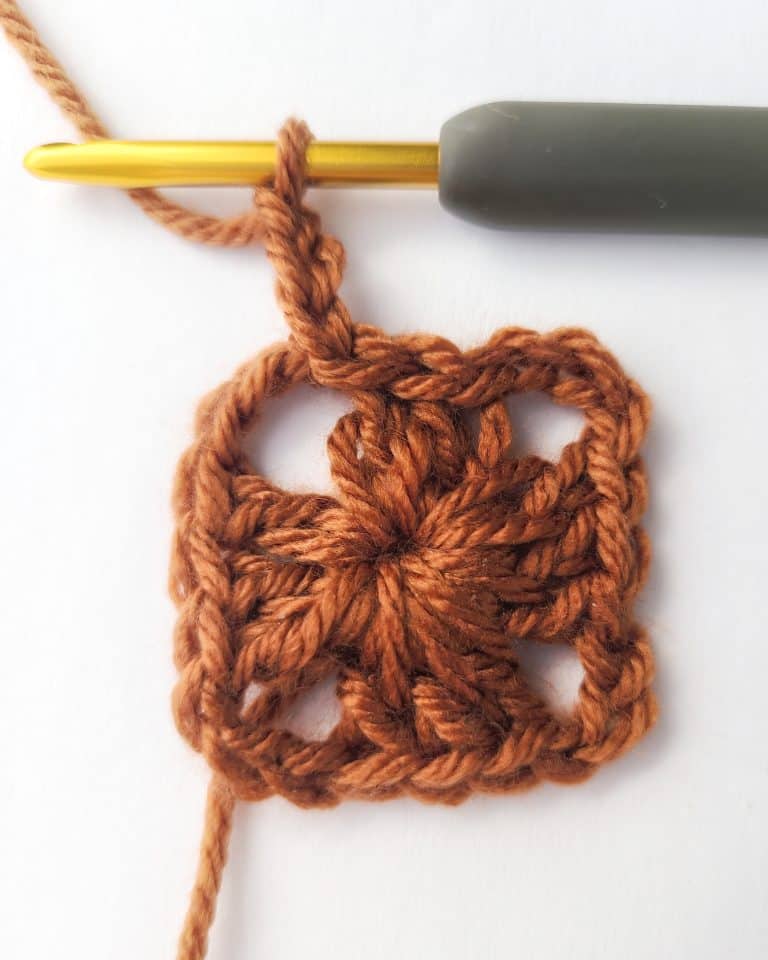
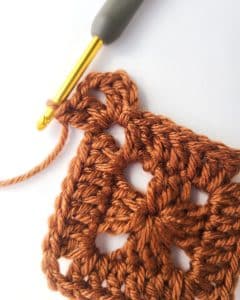
1 dc into the ch 3 space, ch 2, 2 dcs into the same ch 3 space,1 dc into each of the next 3 sts
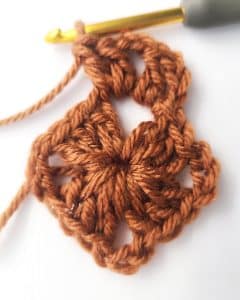
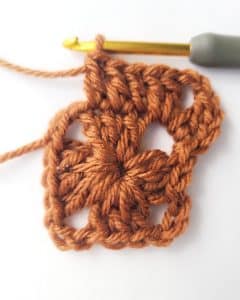
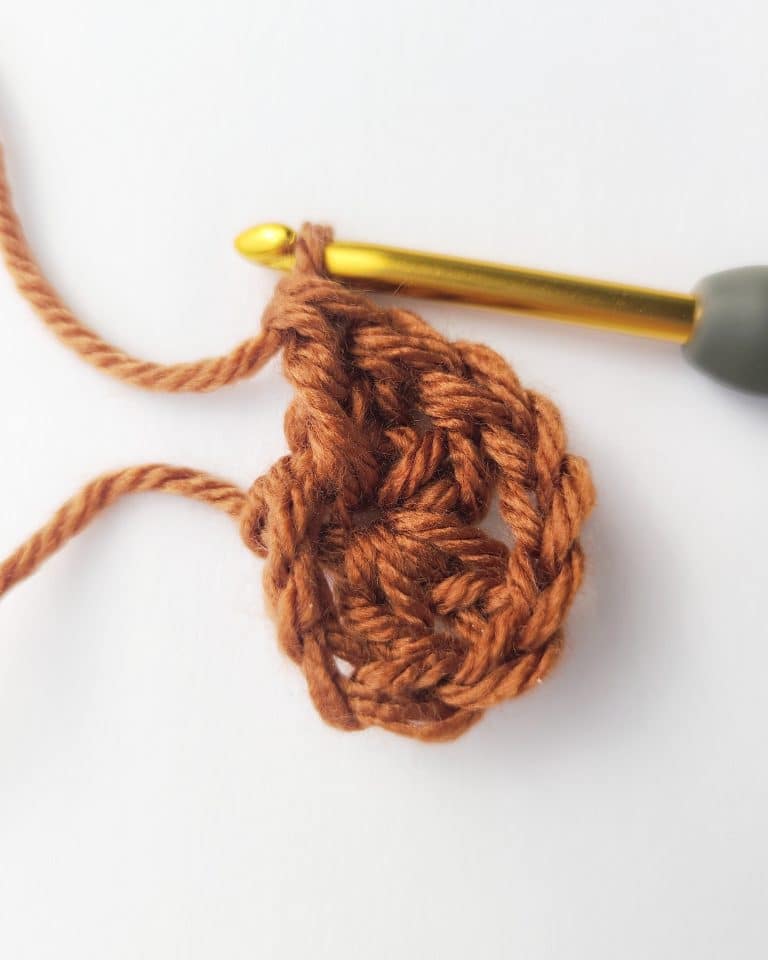
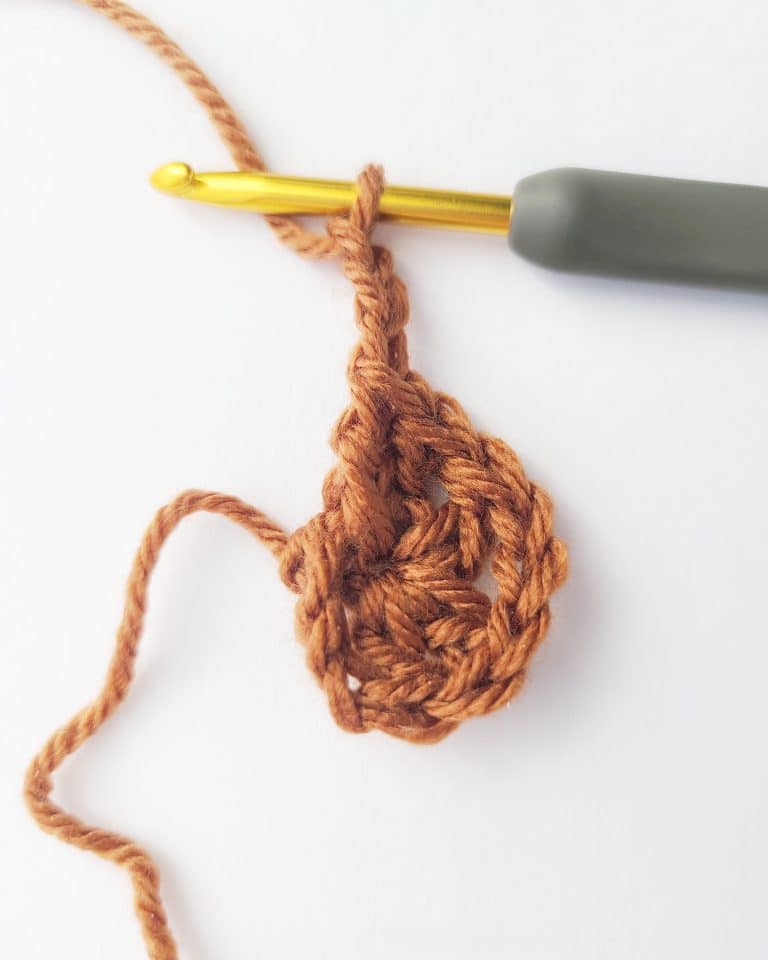
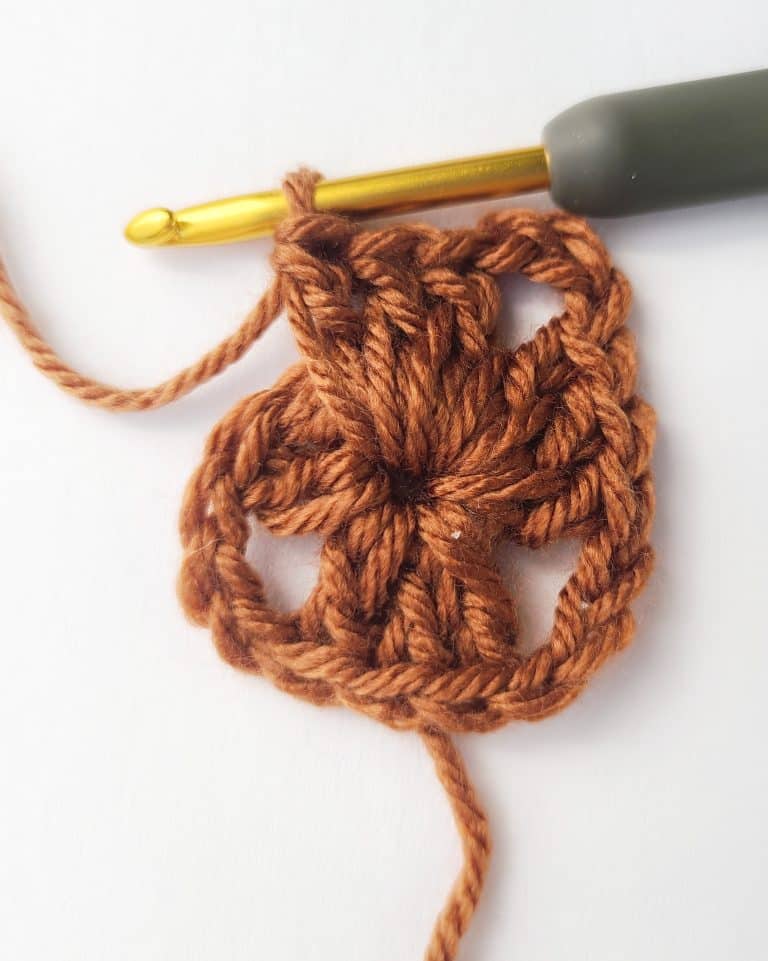
*2 dcs into the next ch 3 space, ch 2, 2 dcs into the same ch 3 space, 1 dc into the next 3 sts, rep from * 2 more times ending with a sl st to the top of the first ch 3. (28)
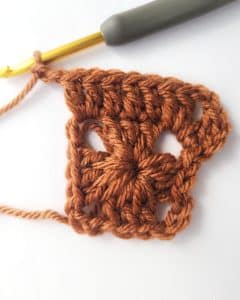
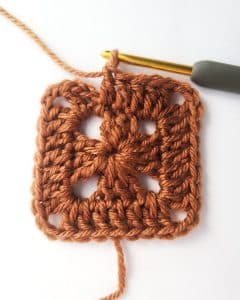
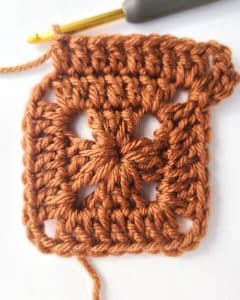
Finishing: Cut the yarn with scissors, leaving a 3-4 inch tail. Weave in the ends securely throughout the square with a tapestry needle or yarn needle.
Regular Granny Square
Finished Size is 4″ x 4″
Round 1: Ch 4, sl st into the first ch to form a ring
Round 2: Ch 3 (counts as dc), 2 dc into the ring, ch 3, 3 dcs into the ring, ch 3, 3 dcs into the ring, ch 3, 3 dcs into the ring, ch 3, join with a sl st to the top of the ch 3. (12)
Round 3: Sl st along the top of the 2 dc’s from the round before until you reach the ch 3 corner space from the previous round. Ch 3 (counts as a dc), 1 dc into the ch 3 space, ch 3, 2 dcs into the same ch 3 space, 1 dc into each of the next 3 sts, *2 dcs into the next ch 3 space, ch 3, 2 dcs into the same ch 3 space, 1 dc into the next 3 sts, rep from * 2 more times ending with a sl st to the top of the first ch 3. (28)
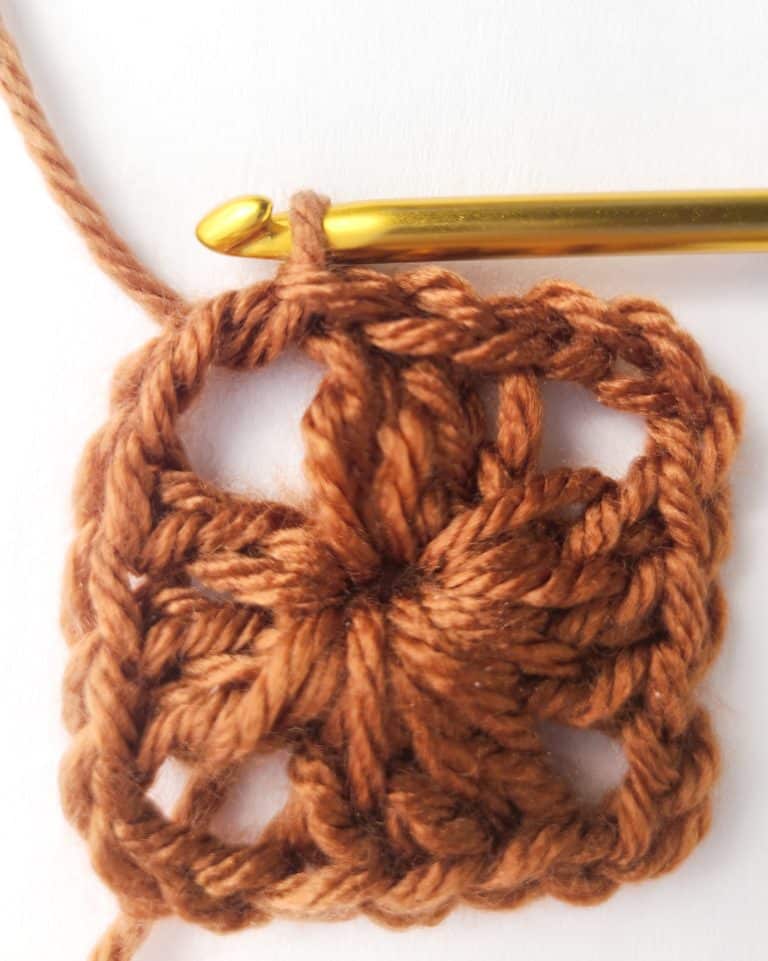
Round 4: Sl st along the top of the dc from the round before until you reach the ch 3 corner space. Ch 3 (counts as a dc)1 dc into the ch 3 space, ch 2, 2 dcs into the same ch 3 space, 1 dc into each of the next 7 sts
*2 dcs into the next ch 3 space, ch 2, 2 dcs into the same ch 3 space, 1 dc into the next 7 sts, rep from * 2 more times ending with a sl st to the top of the first ch 3. (44)
Finishing: Cut the yarn with scissors, leaving a 3-4 inch tail. Weave in the ends securely throughout the square with a tapestry needle or yarn needle.

I hope you enjoyed crocheting these beautiful granny squares with my basic pattern. If you enjoyed this crochet tutorial, please share it on social media with the images below.
Common Questions About Crochet Granny Square Patterns
Why is my granny square wavy or curling?
More than likely, if your granny square is wavy or curling, it is because your stitches are too tight. Adjust your tension when crocheting your granny square to see if that helps.
How do you crochet solid granny squares together?
There are a few beginner-friendly options when it comes to learning how to join granny squares. The mattress stitch is always one of my favorites, but there are plenty of other joining options.
Can I use any yarn weight to crochet a granny square?
Yes! You can crochet a granny square with any yarn weight or yarn brand you’d like. When you use different yarn weights with a granny square pattern, the finished granny square size will vary.
More Free Crochet Patterns
- 29 Easy Crochet Squares for Beginners (Granny, Motifs and more)
- Almost Solid Granny Square Pattern (2 Sizes)
- WUA Simple Crochet Rectangle #5
- WUA Puff Crochet Rectangle Pattern #4
- Warm Up America Alissa Crochet Rectangle Pattern #3
- Warm Up America Crochet Rectangle #2
- Warm Up America Textured Crochet Rectangle #1
- Basic Granny Square Pattern for Beginners
- 40+ Easy-to-Make Crochet Granny Square Patterns for Beginners and More