Crochet Popcorn Stitch Pattern
Check out our simple popcorn stitch tutorial to learn this fun and textured stitch! With step-by-step photos, it’s easy to follow and perfect for trying something new. Let’s get started!
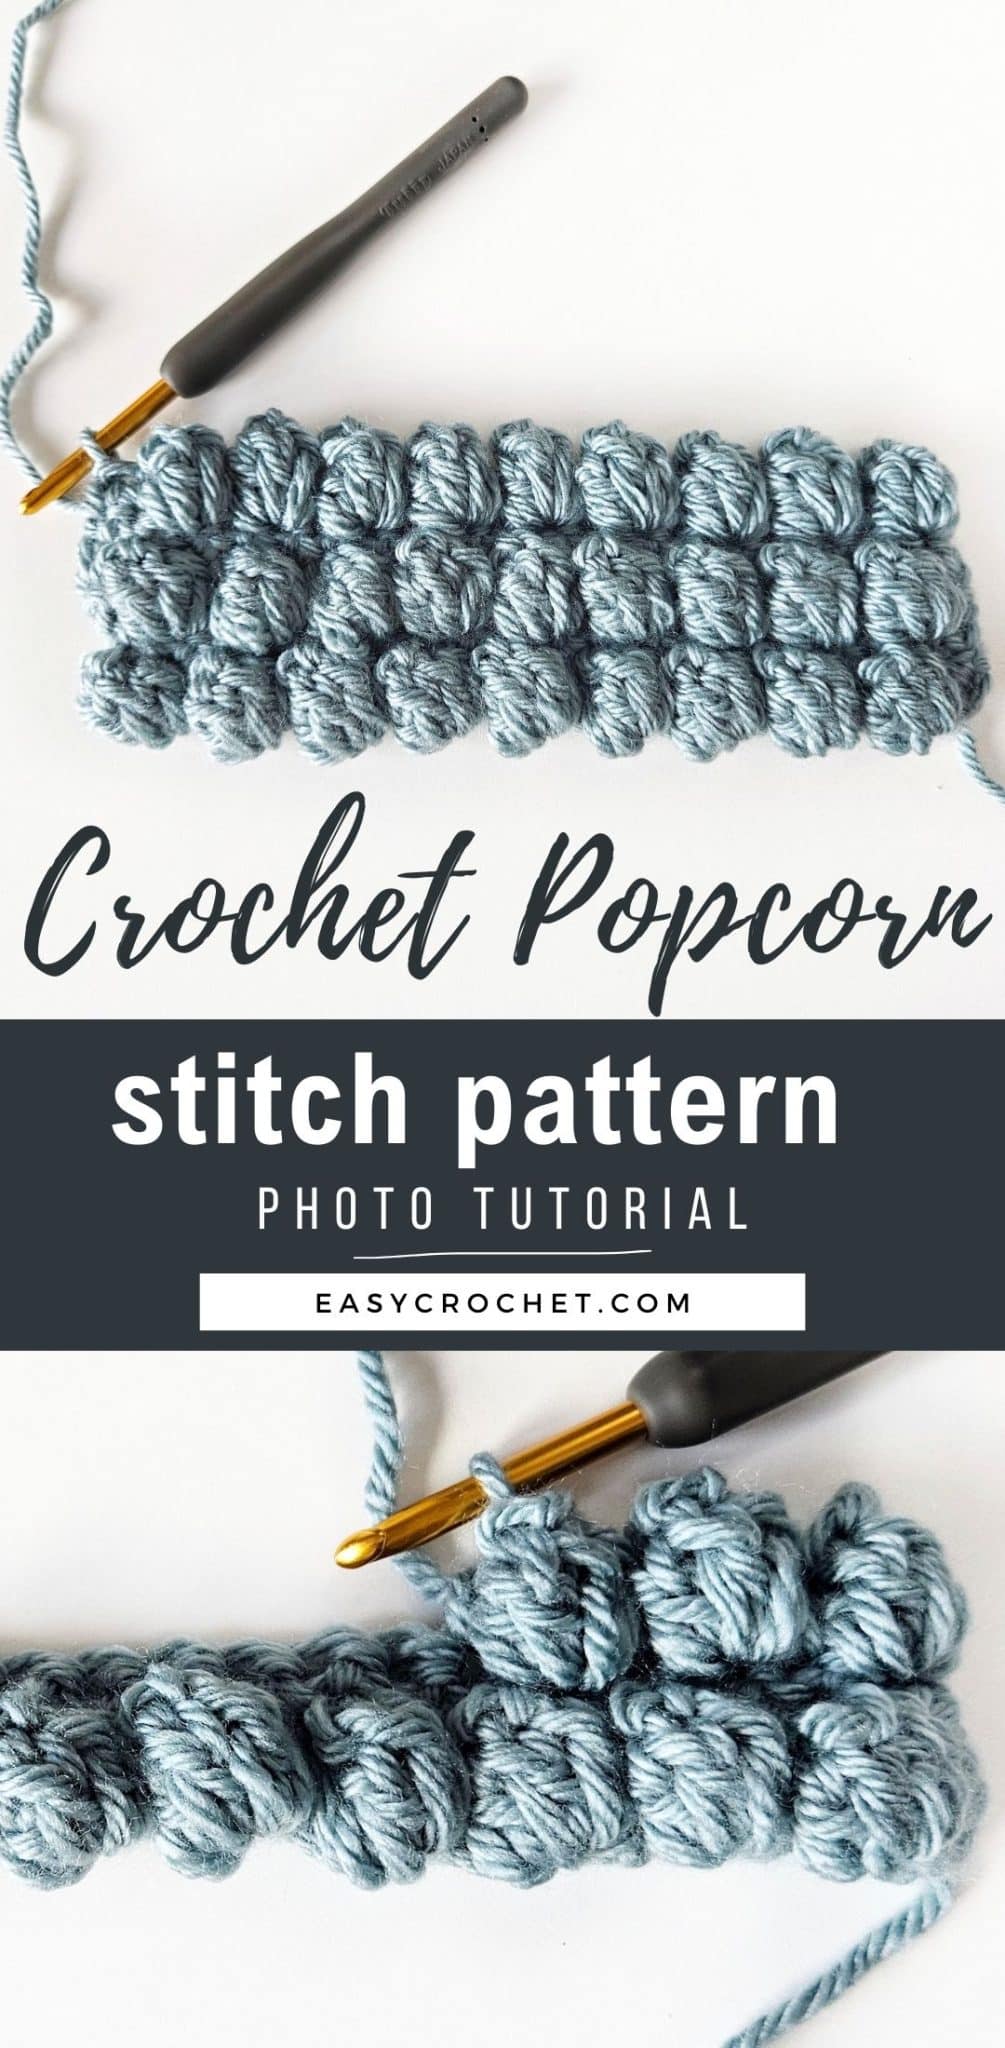
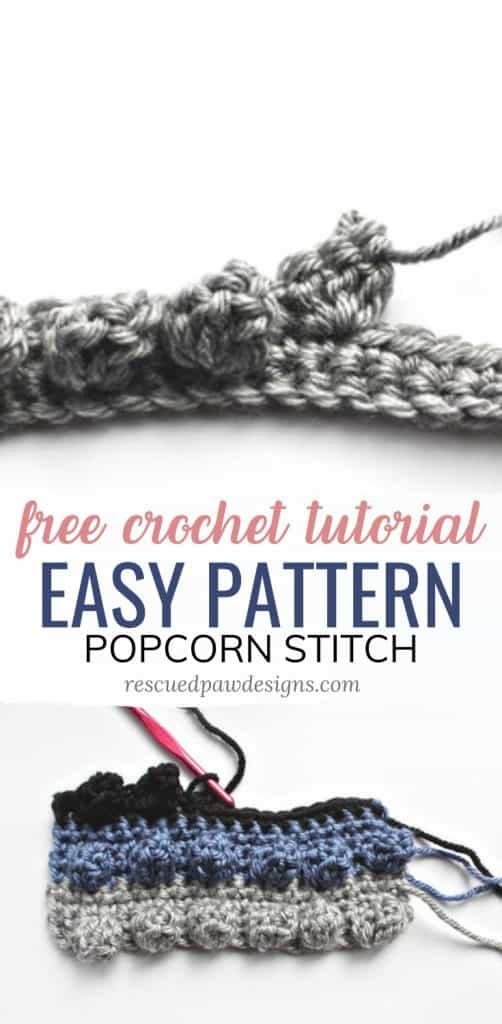
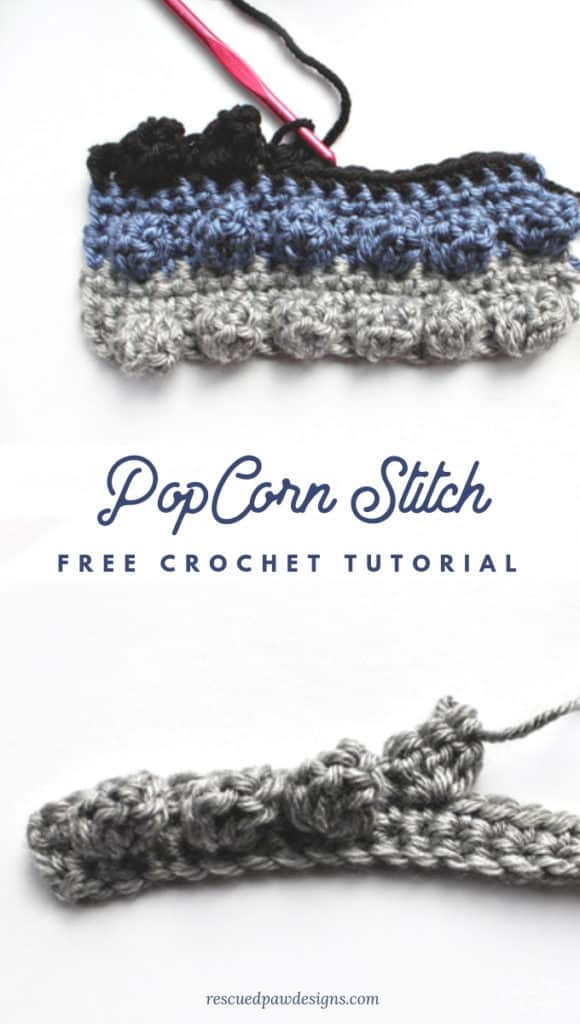
Here’s an example of what we are trying to achieve… rows of popcorn stitches! If you can single crochet and double crochet, then you’ll be able to create a popcorn stitch easily.
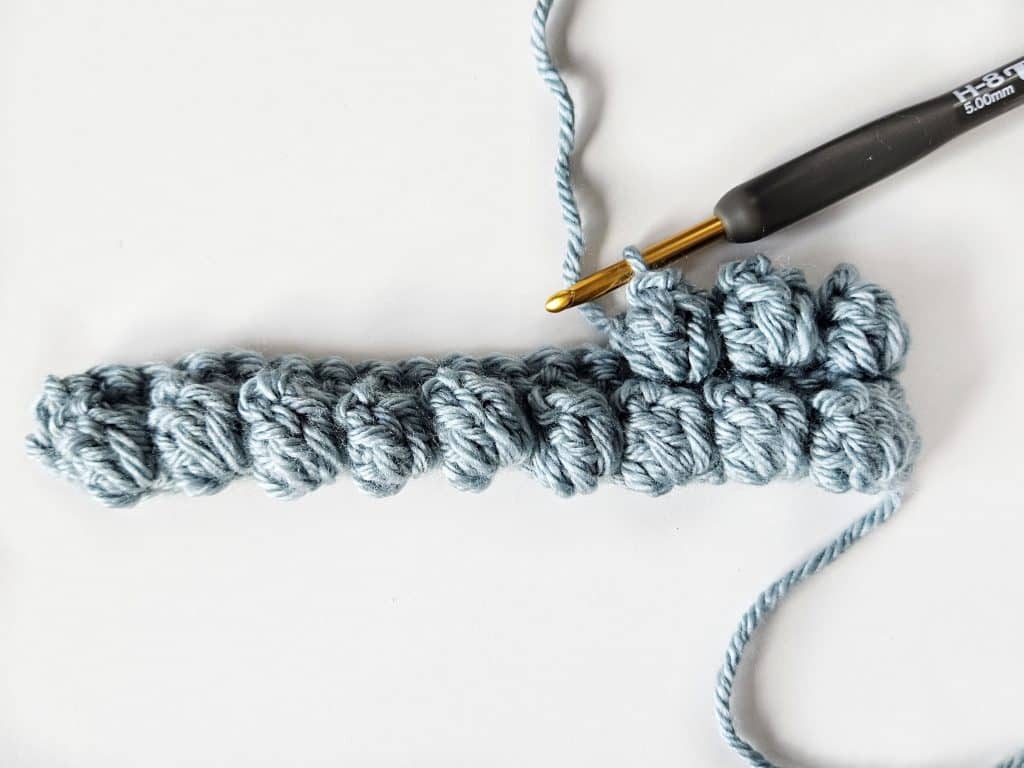
How to Crochet the Popcorn Stitch
A crochet popcorn stitch is fun to work up and simple to crochet once you get the hang of it! I hope this step-by-step picture tutorial of this easy stitch helps you out.
I promise you will learn how to crochet a popcorn stitch with this tutorial.
Skill: Easy
Materials
- Any yarn or yarn weight (I used #4 weight Lion Brand Heartland Yarn in Conagree)
- A crochet hook that corresponds with the yarn (check the label to be certain)
Crochet Abbreviations
- sc = single crochet
- dc(s) = double crochet(s)
- ch(s) = chain(s)
- st(s) = stitch(es)
Notes
- I did a starting chain of 21 for my popcorn stitch sample, then did 1 row of SC to give it a nice base. You don’t have to do this, but it spaces the popcorn stitches out a bit.
- Use a starting chain in any odd number
- If you want to make a bigger project like a popcorn blanket keep going with your starting chain until you reach the blanket size you’d like.
Crochet Popcorn Stitch Tutorial
Foundation Row
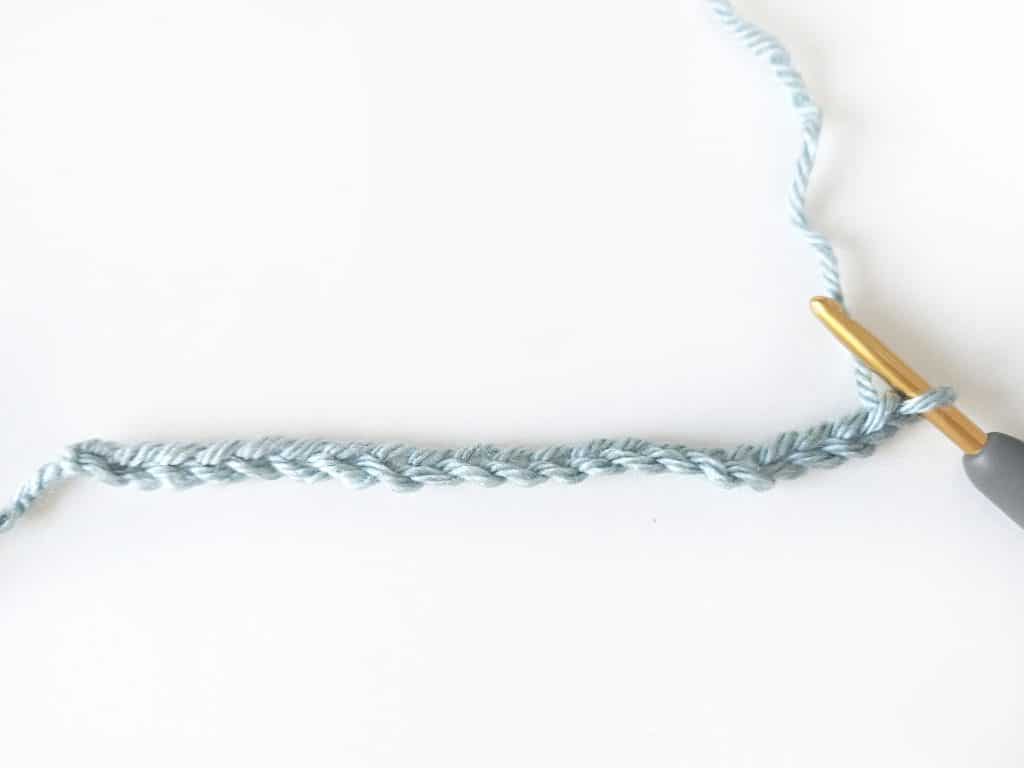
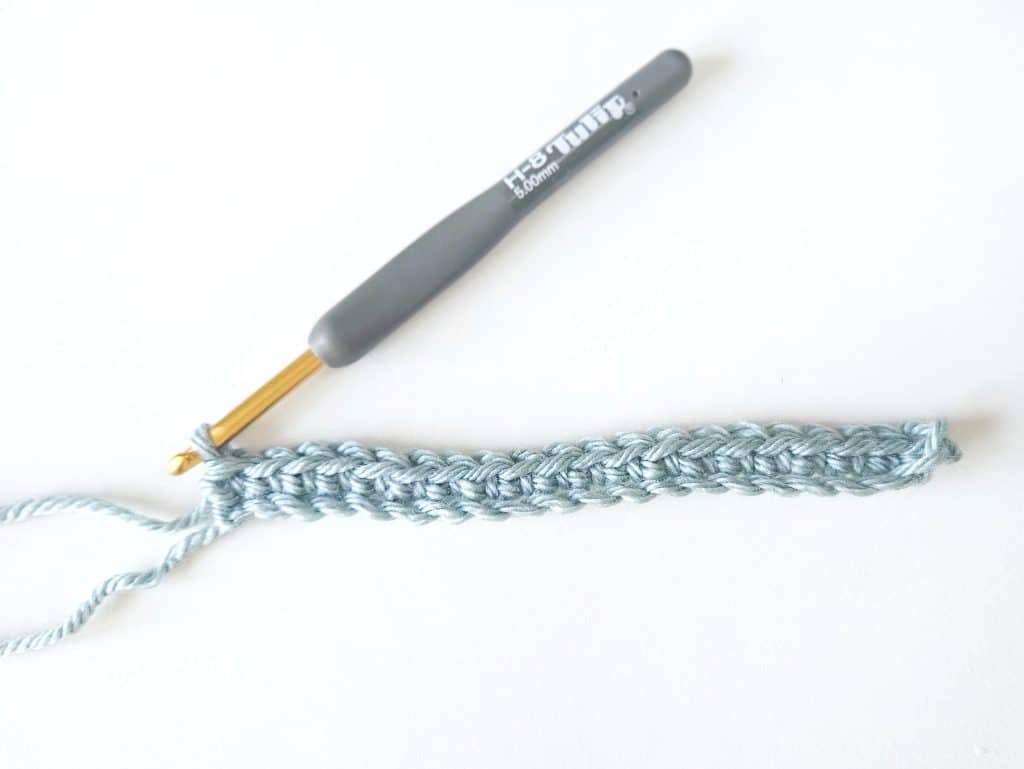
Chain 21, in the second chain from the hook sc, sc into each ch across, turn.
Row 1
Ch 1, in the first st sc
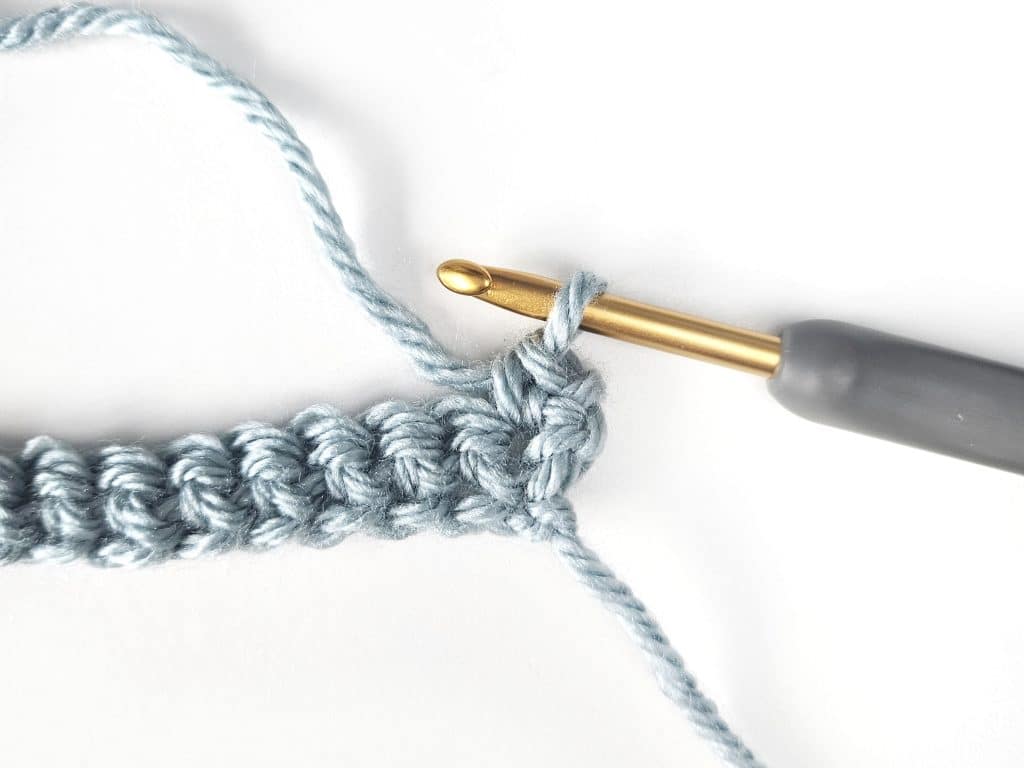
Forming the Popcorn
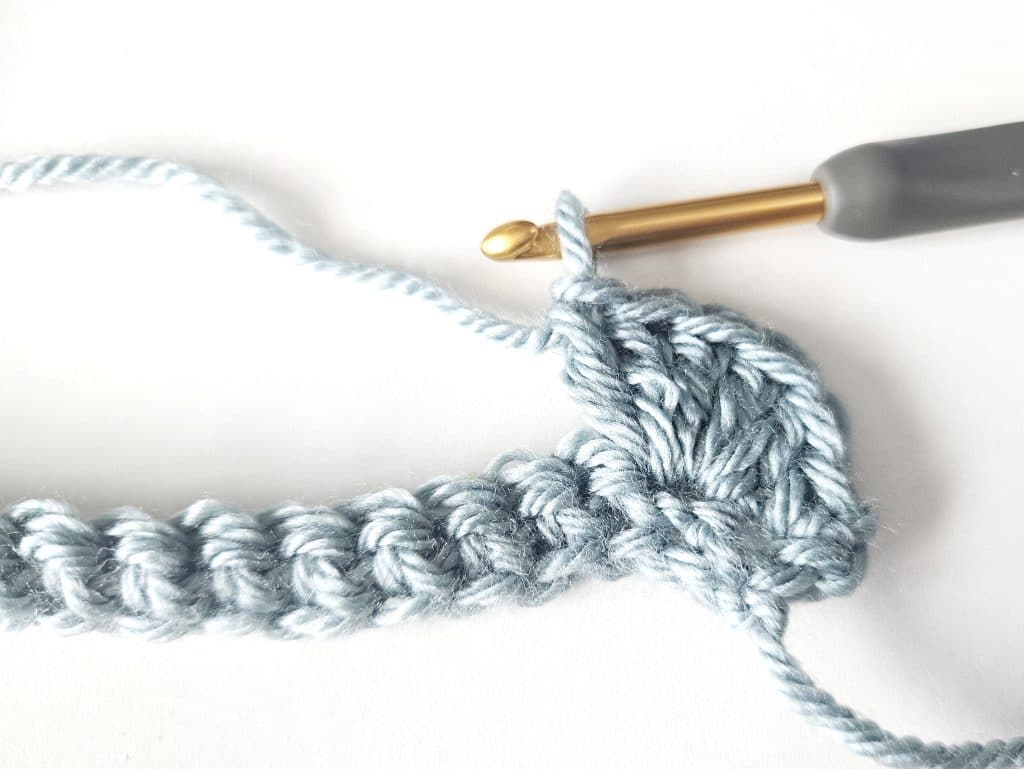
The next part is what forms the popcorn stitch… 5 dcs in the next st, remove the loop from the hook insert it into the first dc of the cluster of 5 from front to back.
Closing the Popcorn
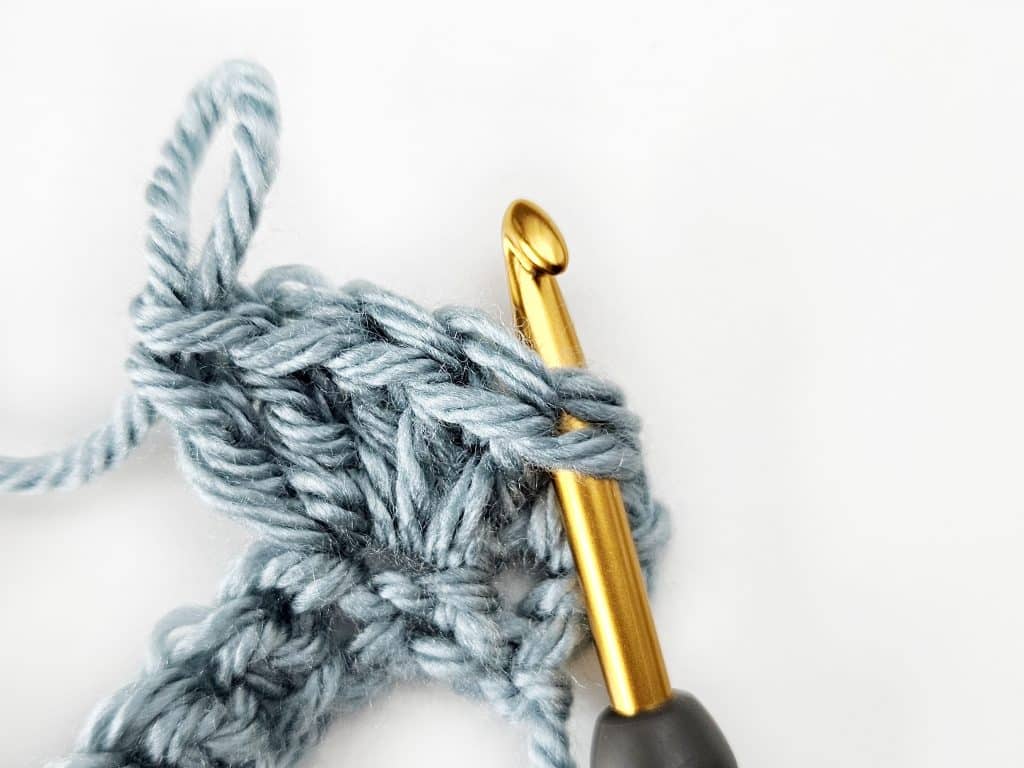
Now pick up the loop you dropped with your hook and draw it back through the first dc of the group.
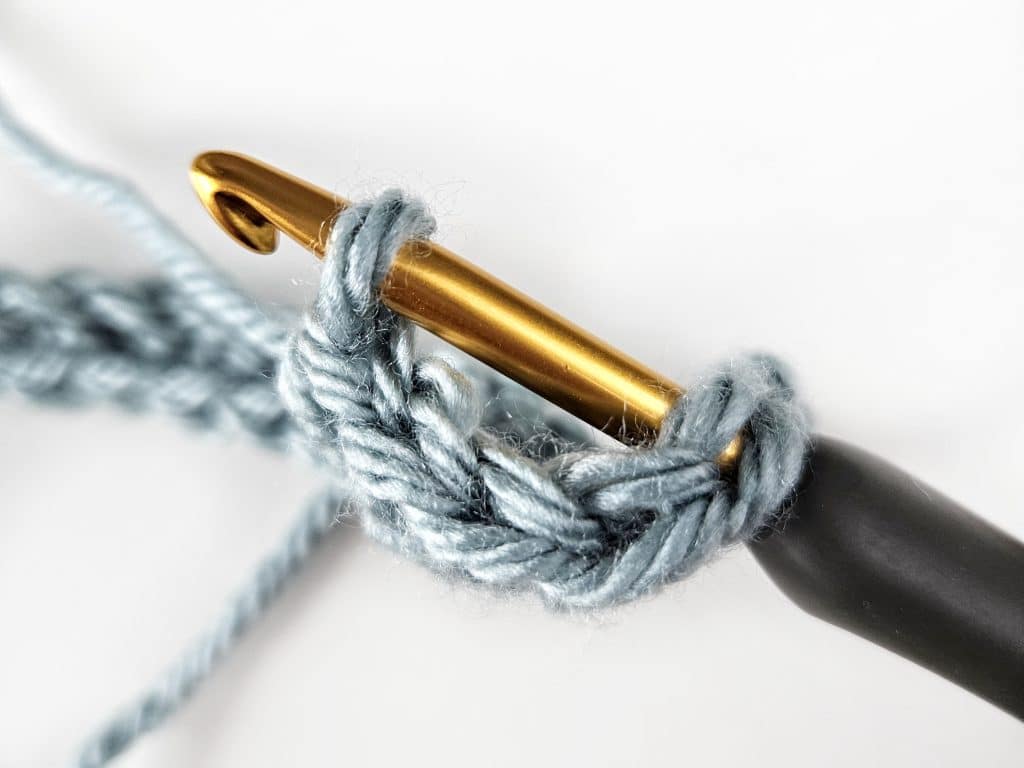
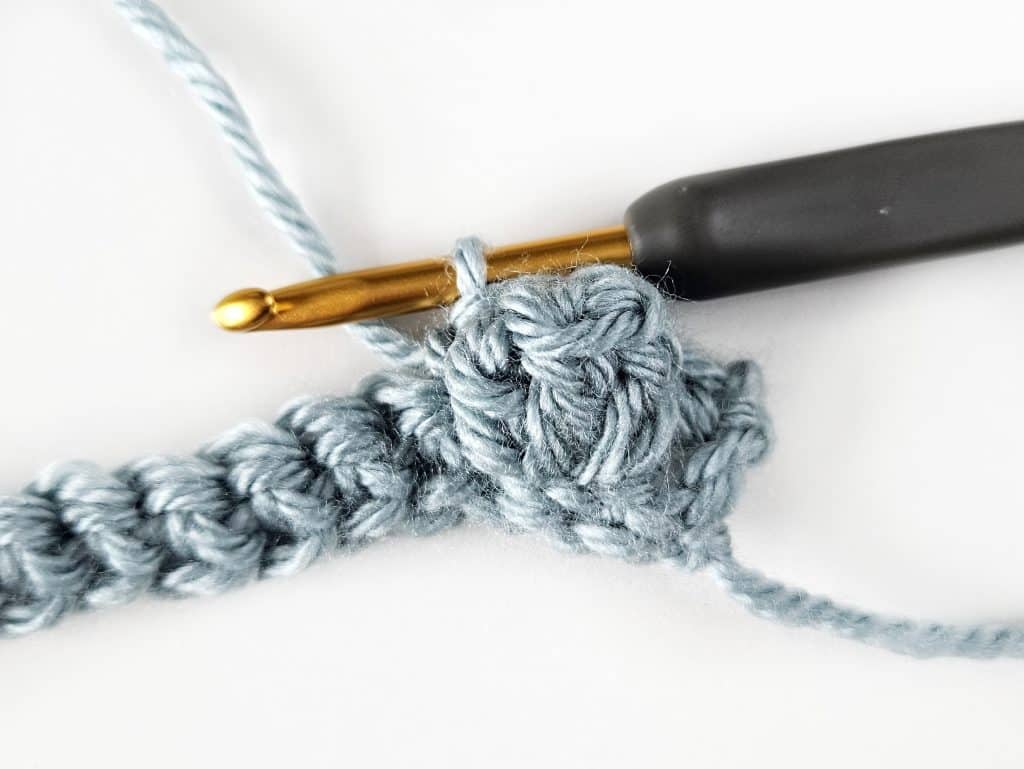
A popcorn stitch is complete!
Finishing the Row
sc in the next st, *popcorn stitch, sc in the next st, repeat from * across ending with a sc in the last st, turn.
This completes your first full row of popcorns! You are ready now to continue on increasings your rows and building up the popcorns.

Row 2
Make the Single Crochet Row
ch 1, sc into each st across, turn.
Row 3 and Beyond
Repeat row 1and 2 for each row until you reach your desired length.
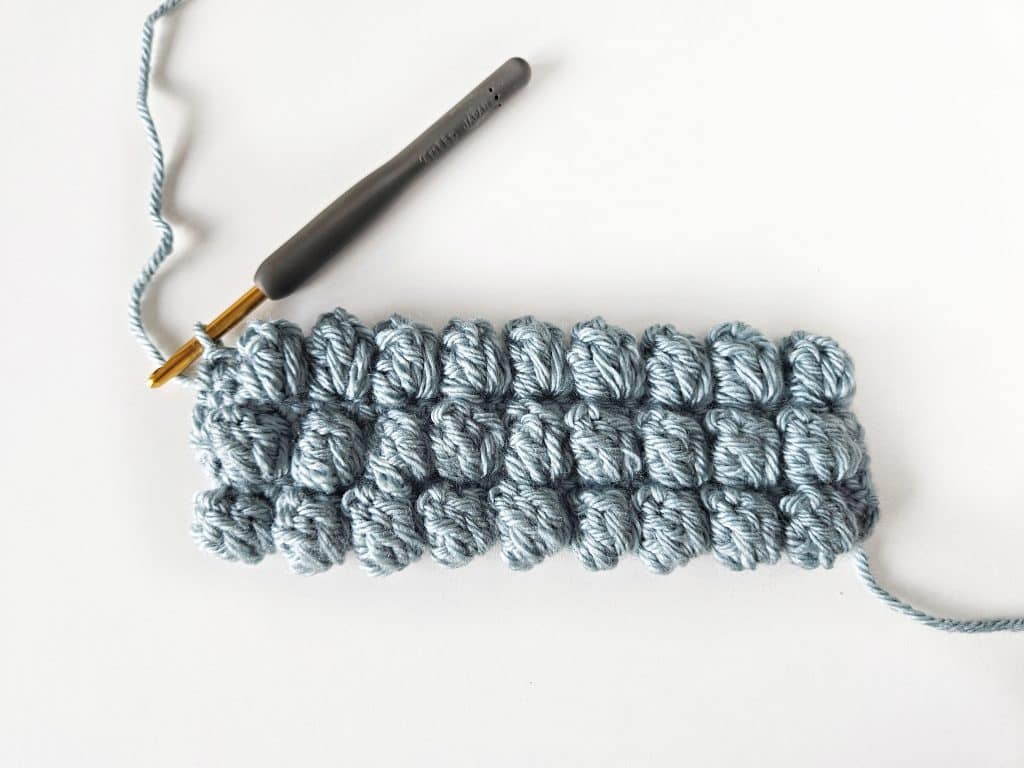
The Compact Tutorial of The Popcorn Stitch
- Ch 21, in the second ch from the hook sc, sc into each st across, turn. (20)
- Ch 1, sc, Popcorn Stitch, sc, *Popcorn Stitch, sc keep repeating from * until the end of the row, finshing with a sc in the last st, turn.
- Ch 1, sc in each st across, turn.
- Repeat steps 2 and 3 to make the popcorn bigger.
- Feel free to change colors for each row of the popcron stitch or keep it a solid color. If you need a reference on how to change yarn colors, take a look at my tutorial.
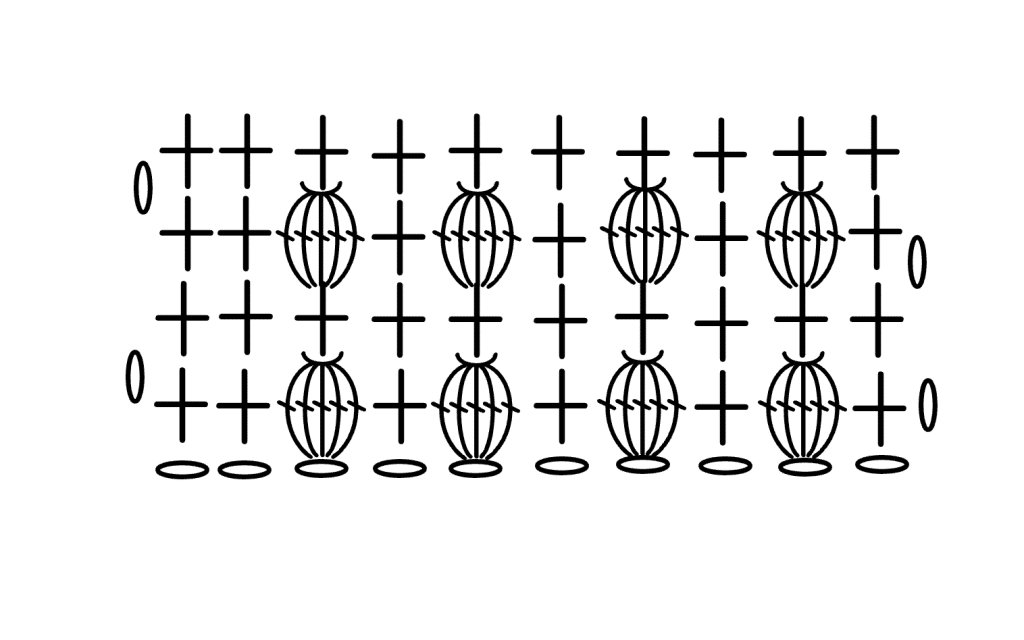
Popcorn Stitch Chart
If you are familiar with symbols then this stitch chart may help you with forming the popcorn stitch.
Tips for the Popcorn Stitch
- When working with the popcorn stitch, you might run into a few hiccups. If your popcorns aren’t popping, make sure you’re pulling the stitch tight enough when closing it.
- You can also push any of the popcorn (aka cluster of 5 stitches) to the front side of the work if they don’t look puffy enough.
- If the rows are starting to bunch up or curl, try using a larger hook or loosening your tension a bit. It’s also common for beginners to miss a stitch after completing a popcorn, so always count your stitches to keep track. Stitch markers can help with this.
- To make your popcorn stitch projects look extra polished, pay attention to the edges. Keep them neat by working a border of simple stitches like single crochet. This frames the popcorn texture nicely.
- When weaving in ends, be careful not to flatten the popcorns. It’s best to weave along the backside of the work, following the path of the stitches to keep it secure and invisible.
Common Questions about the Popcorn Stitch
What is the difference between the popcorn Stitch and the puff stitch?
The popcorn stitch and puff stitch both add lovely texture to crochet projects, but they’re quite different in how they look and are made.
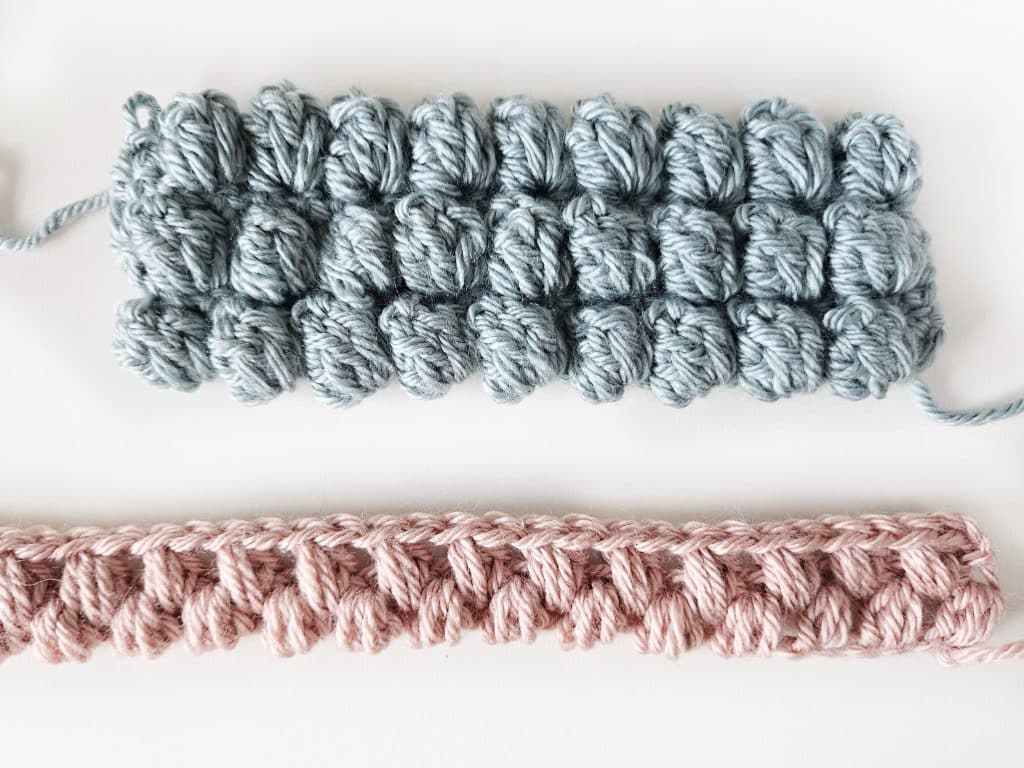
- Popcorn Stitch: This stitch is all about creating a distinct, raised ‘popcorn’ shape. You crochet multiple stitches (usually five) into the same stitch. Then, you remove your hook from the loop, insert it into the first of these stitches, grab the loop again, and pull it through. This pulls all the stitches together into a tight little cluster that stands out from the other stitches around it.
- Puff Stitch: The puff stitch is softer and less defined than the popcorn stitch. To make it, you half-close several half-completed stitches (usually half-double crochet stitches) all in the same stitch, then yarn over and pull through all loops on the hook at once. This creates a puffy, soft texture that’s more blended with the surrounding stitches.
So, depending on the look and feel you’re going for in your project, you can choose between these two fun stitches!
Note: It is also worthwhile to look over the bobble stitch as well since it looks very similar to the popcorn but is quite different.
More Easy Crochet Stitches and Tutorials to Learn
- Crochet Puff Stitch Tutorial with Photos
- Whip Stitch Crochet Seaming Technique
- Half Double Crochet Slip Stitch (hdc slst) for Beginners
- Single Crochet Increase Tutorial (sc inc)
- Creating Seams Using the Mattress Stitch
- Single Crochet Two Together (Single Crochet Decrease)
- How to Crochet a Cable Stitch
- Crochet Moss Stitch Tutorial (Written, Photo and Chart)

I have always wanted to learn this stitch. Thanks so much for sharing! It was much easier than I thought it would be!
You are welcome Dj! Happy Crocheting! 🙂
This is so good love the popcorn effects