Free and Easy Crochet Bath Mat Pattern
If you are looking for a cozy crocheted bath mat (rug) that you can easily make, then you’ll love this pattern.
This bathmat works up quickly, uses simple stitches and will add the perfect homemade touch to a bathroom! I can’t wait for you to make this simple bath mat! Happy Crocheting!
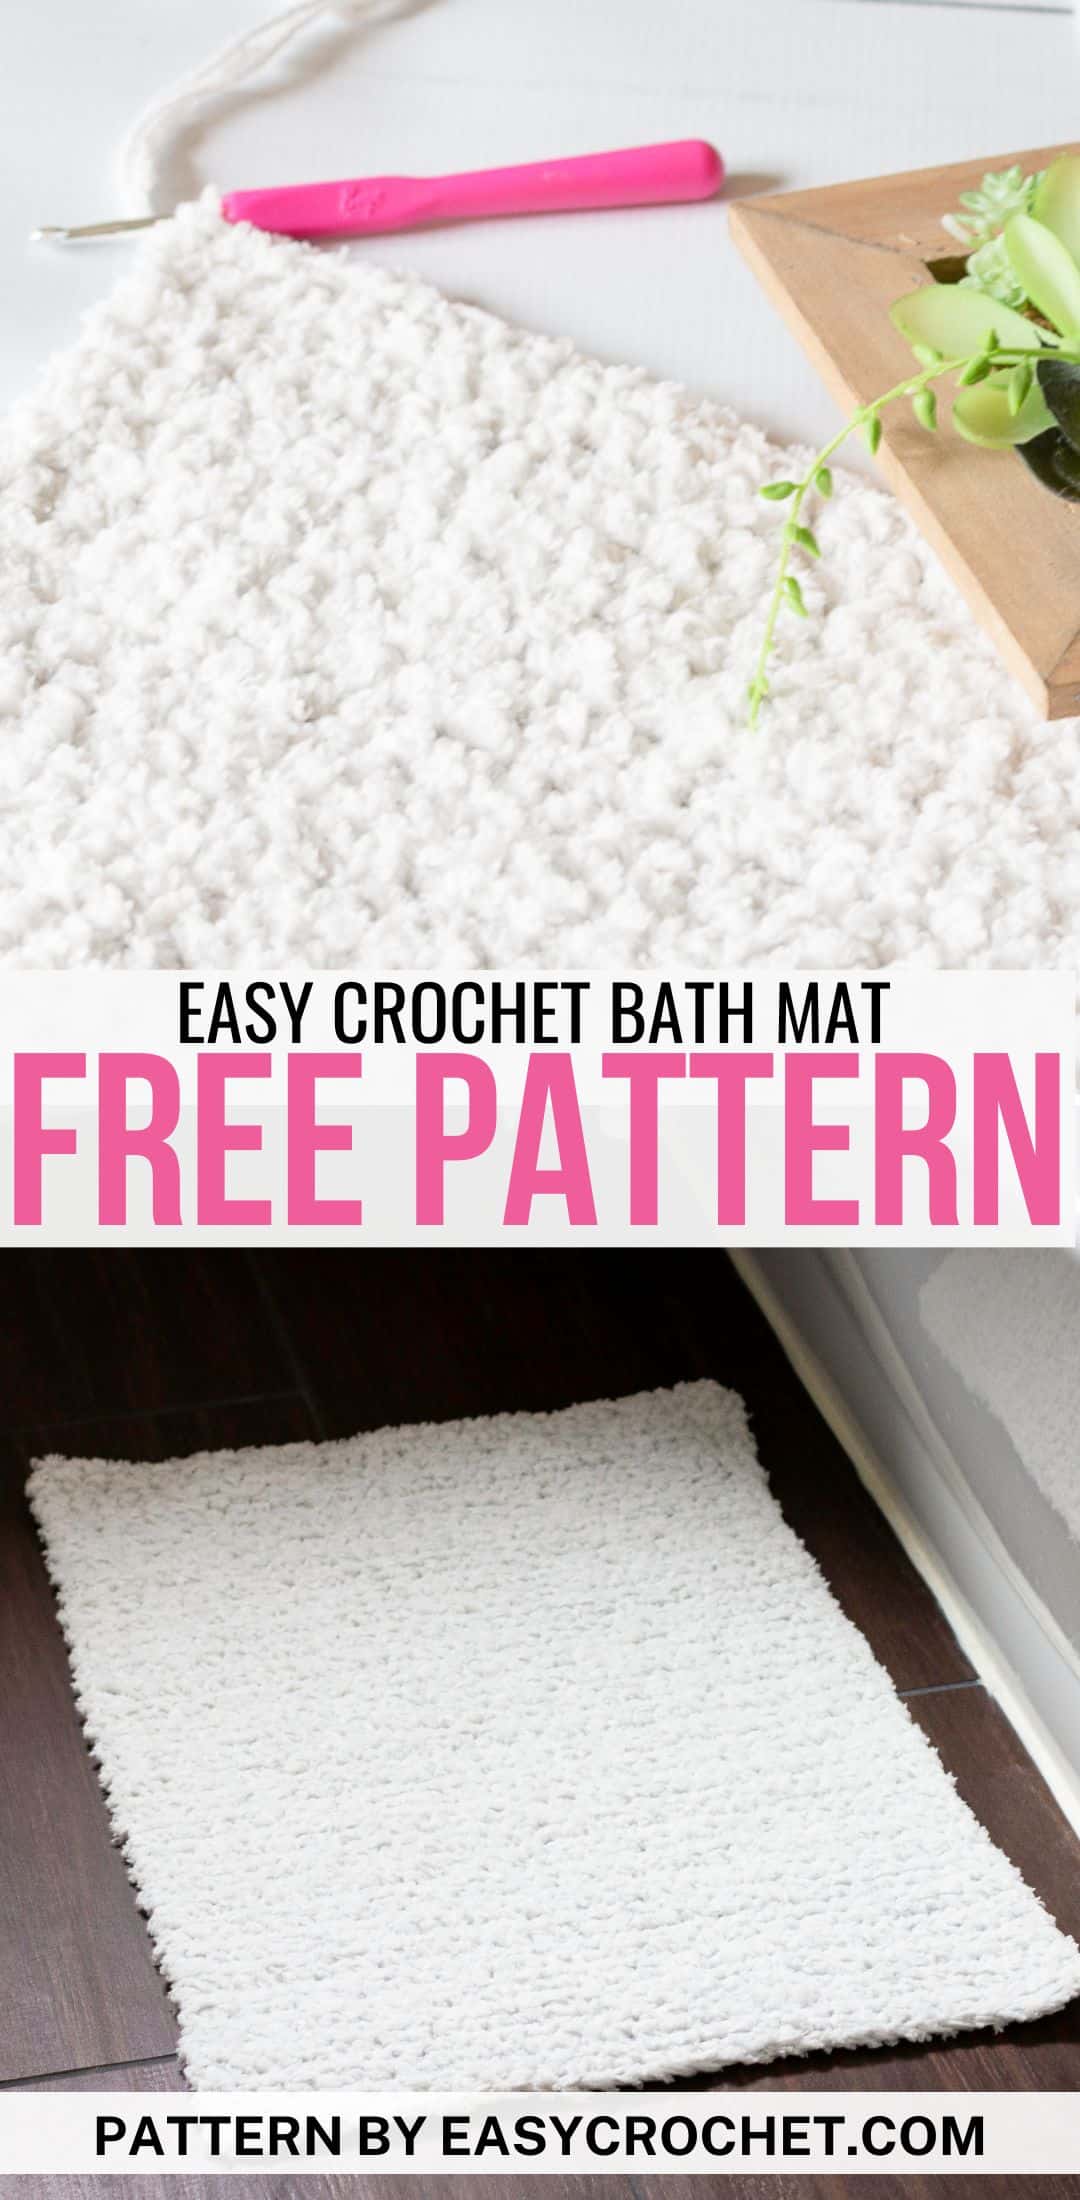
Beginner Crochet Bath Mat
This bath mat is perfect for beginner crocheters because the whole crochet pattern uses just single crochets, which means it’s easy to work up. If you can single crochet then this you can make this mat.
I wrote all about single crochets in a previous post if you’d like a reminder of how to crochet this stitch, so you’ll be all set to make this bathmat. Now that we know about the stitch we’ll use, let’s talk about the yarn next!
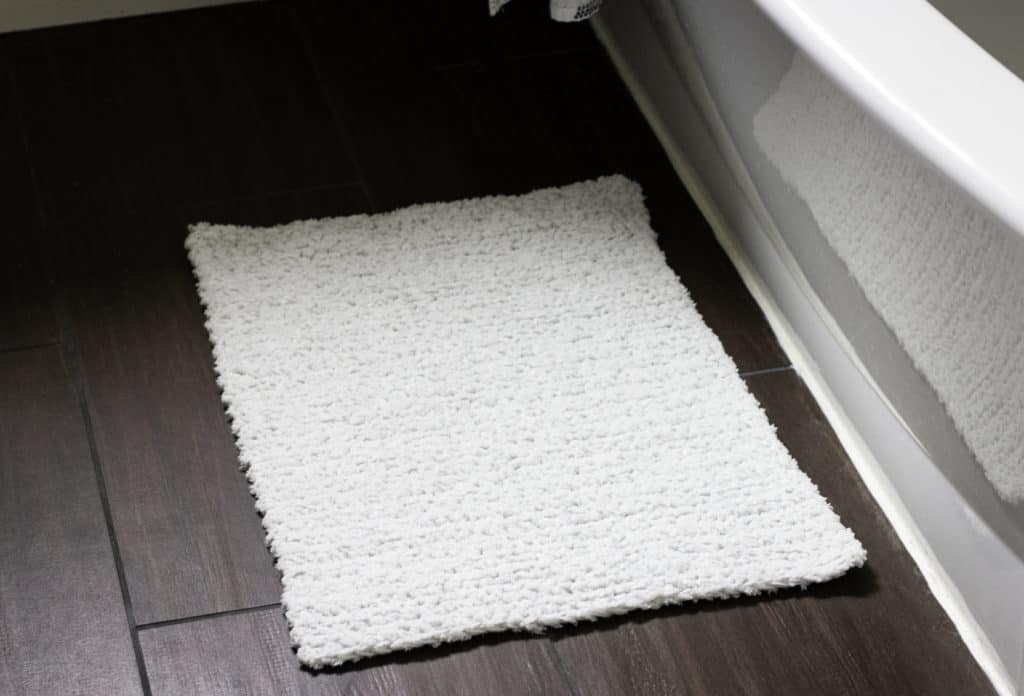
The Yarn To Use For a Crochet Bath Mat
When considering making a crochet bath mat, you need yarn that holds up well to constant use and water. For this particular, bath rug, I used three different kinds of yarn.
The yarn I picked was Feels Like Butta in White & Pale Grey as well as Terry Spun in Ice, which are all from Lion Brand Yarn (my favorite yarn company)!
Feels Like Butta
This yarn is made by Lion Brand, and is a Weight 4 – Medium yarn.
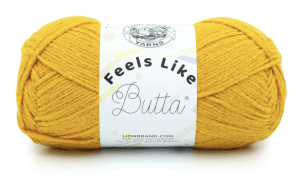
Fiber: 100% Polyester
Yardage: 218yds / 199m
Hook: 5 mm (H-8)
Substitute: Red Heart Amore
The Terry Spun yarn almost gives the mat a fleece like fuzzy feel, which is perfect for your feet.
I had previously used Feels Like Butta for my pretty in pink scarf and a baby blanket chevron design, so I knew that it would be amazingly soft crocheted into a bathmat.
Do You Need a Substitute Yarn?
If you are looking for a different yarn to use that will be comparable to Terry Spun, then Red Heart Fleece Hugs is perfect to try. Take a look at it below and click the through the image to shop or learn more.
You could even use scrap yarn to make a fun design to add a little something extra to your bathroom design.
How to Crochet a Fuzzy BathMat
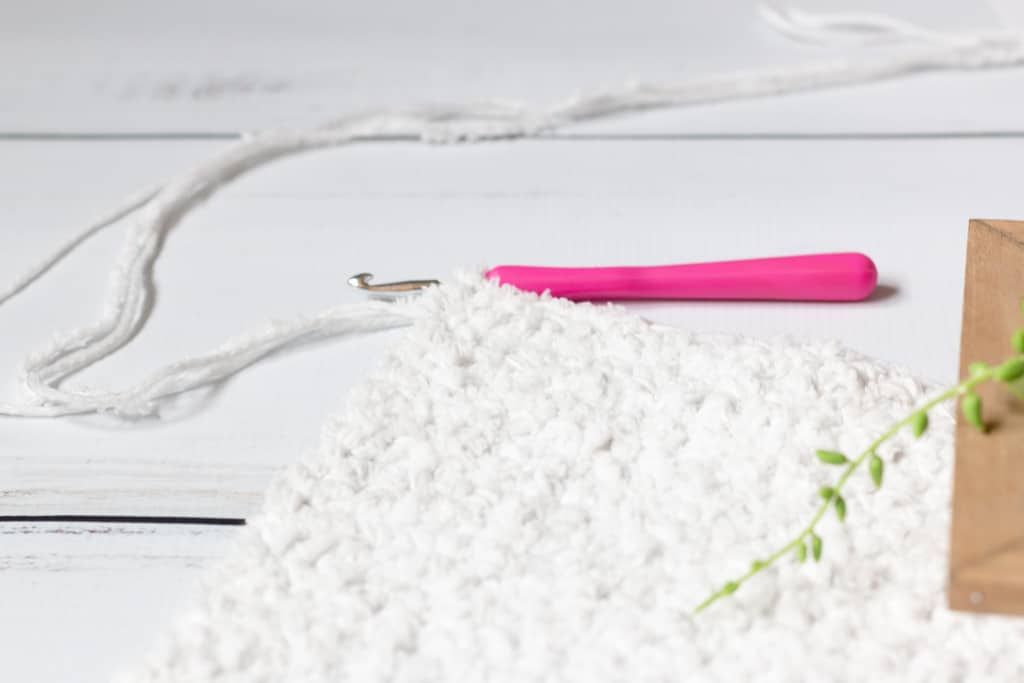
To get the fuzzy feel of a bath rug, I used three skeins of yarn (I mentioned that before) and held them all together simultaneously. So, I crocheted single crochets while holding all THREE skeins of yarn together at once.
- Chain number of stitches recommended while holding three strands of yarn together at once.
- Single crochet into the second ch from the hook, single crochet into each chain across, turn.
- Chain 1, continue single crocheting in each stitch, turn.
- Repeat step 3 until you reach the end of the mat.
This technique is super easy to achieve, and you crochet like usual, but it almost feels like you are using a bulky yarn because of how many skeins you are holding.
Take peek at the picture below to see what I mean.
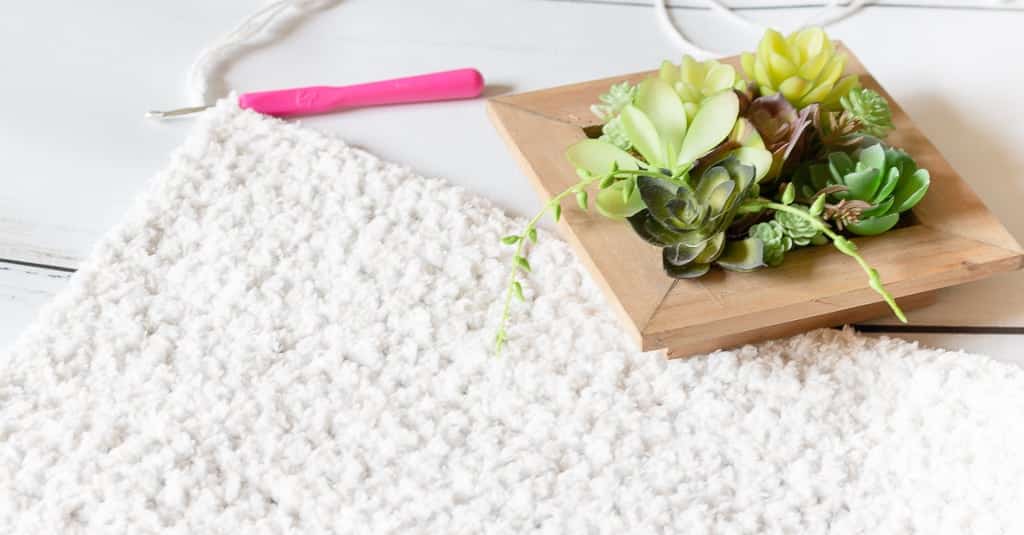
I’ll how you how to finish up the bath mat below using a cool technique.
Make a Non-slip Crochet Bath Rug
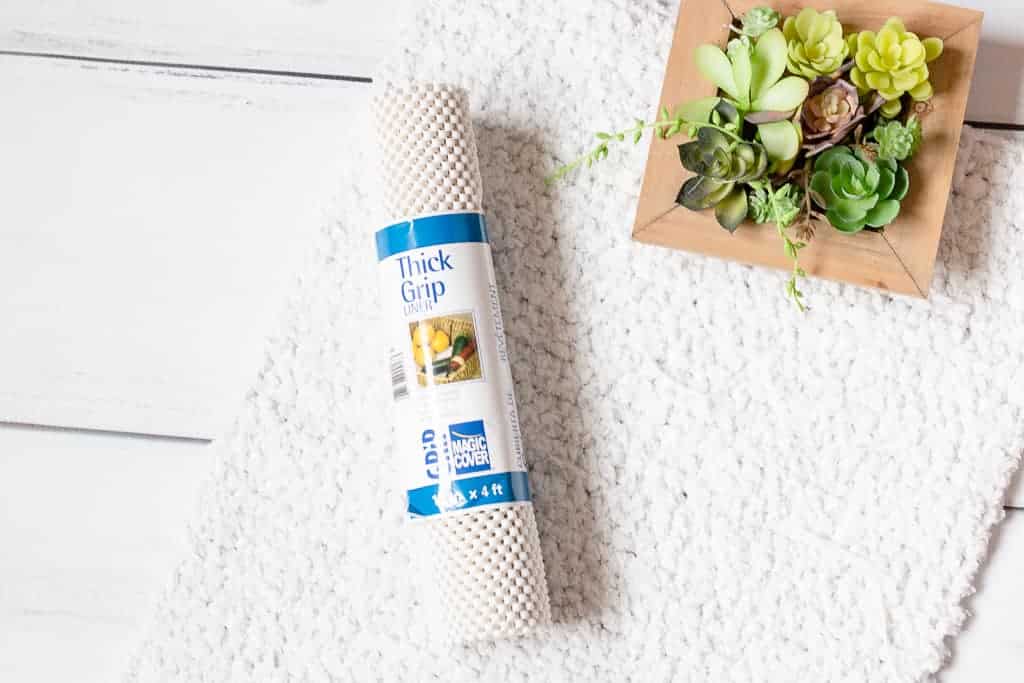
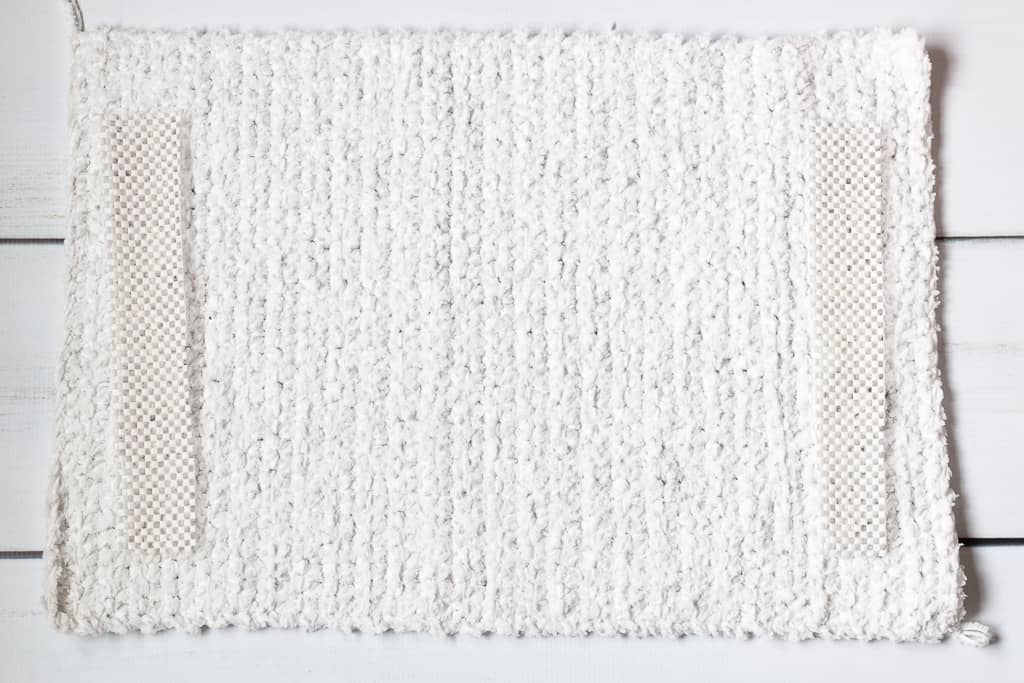
To make my crochet bath rug non-slip, I added some grip liner I got from the dollar store! I cut off long rectangular pieces and sewed them to the bottom of the mat using a large yarn needle and some yarn.
This part is optional, but I think it would be beneficial to add this for safety.
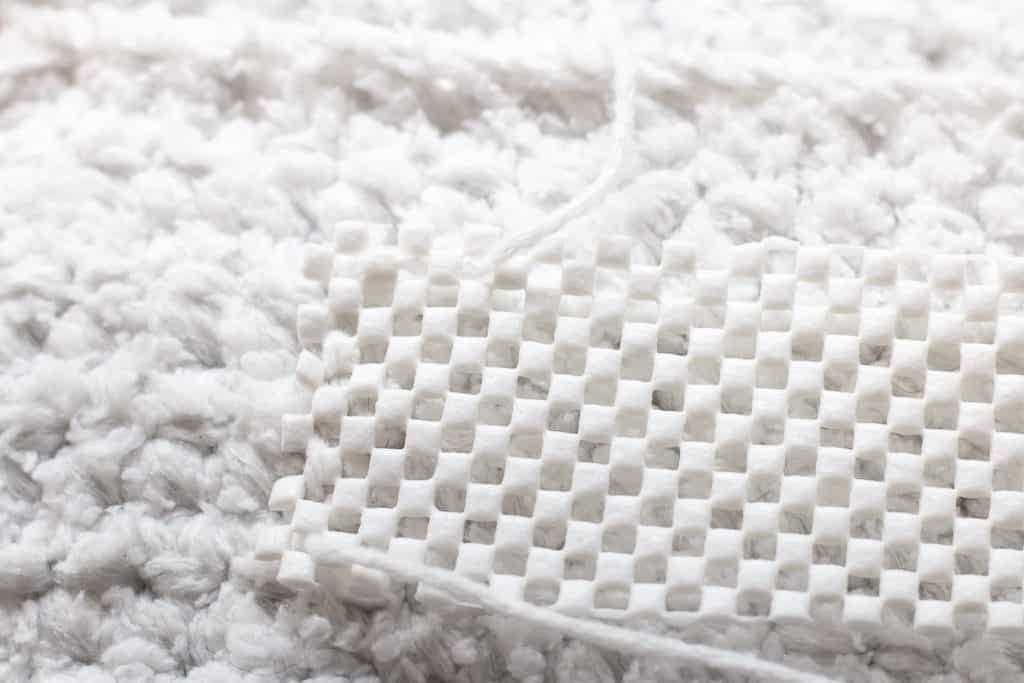
If you are ready to start on your new crocheted bath mat, then read on down for the full free crochet pattern and…
Happy Crocheting!
Free Crochet Bath Mat Pattern
Skill Level: Basic
Materials
- Yarn: less than a skein of yarn per color for the size written below
Terry Spun by Lion Brand – Ice
Feels like Butta by Lion Brand – Pale Grey
Feels like Butta by Lion Brand – White
or any worsted weight 4 yarn
- Crochet hook H 5.0 mm
- Large yarn needle
- Scissors
- Non-slip grip liner
Crochet Abbreviations
- ch = chain
- sc = single crochet
- rep = repeat
- st = stitch
Notes
- Hold all three skeins of yarn together at the same time
- Gauge is not relevant
- Change the size by chaining any # to begin
- Finished Size as written below is 24″ L X 17″ W
- Written in Standard US terms
The Bath Mat Pattern
Hold all three skeins of yarn together and work the entire pattern.
To start: ch 35
Row 1: in the second ch from the hook sc, sc in every ch across, turn. (34)
Row 2: ch 1, sc into the first st, sc in every st across, turn. (34)
Row 3 – 56: rep row 2
To finish: fasten off the yarns and weave in the loose ends with a large yarn needle
Cut the non-slip liner with scissors into long rectangular pieces, attach with yarn and a yarn needle to the bottom of the rug.

You Are Done!
Now you are ready to use your new crocheted bath mat. Put in your bathroom and be sure to tell everyone that you made it yourself too.
More Free Crochet Patterns
- 10 Easy Crochet Beginner Washcloth Patterns
- 5 Easy and Free Bathroom Crochet Patterns to Make this Spring
- Apple Crochet Coaster Pattern for Fall
- 7 Free Patterns for Crochet Fall Decor
- Top 5 Crochet Fall Coaster Patterns
- 25 Easy and Free Crochet Bookmark Patterns
- Top 20 Free Easy Crochet Dishcloth Patterns You’ll Love
- Easy Crochet Hot Pads with Handles
- 17 Crochet Garland Patterns for Every Season
- 27 Free Crochet Keychain Patterns You’ll Love
- Scrubby Yarn Crochet Patterns
- Waffle Stitch Crochet Dishcloth Pattern
- 17 Best Mandala Crochet Patterns
- Thanksgiving Table Runner Crochet Patterns
- 37 Free Crochet Coaster Patterns That You’ll Love
- The Ultimate List of the Best Crochet Table Runner Patterns
- Easy Beginner Crochet Coaster Pattern


Hi
How many skeins did you use?
Hi Stephanie,
I used less than a skein of each color for this bathmat.
Krista
I love this pattern but looks like the Terry Spun yarn has been discontinued. What would you suggest using in its place?
Hi Erica,
Red Heart Fleece Hugs is a great substitute yarn to use. Happy Crocheting!
Krista
I put velcro on my rubber backing so that I could remove it before washing.
Great idea, Penny!
How well did it hold up to use and washing? Eg how did it she under normal bath mat use?
Hi Ann,
We have used and washed it quite a bit and it has lasted well.
Krista
What about laundering the bath mat? Once you attach the rubber backing…. how does that affect throwing it in the washer.
Hi! I’d wash on cold / gentle. Most of my bath mat’s that I’ve bought from the store have some kind of grip on it so I usually wash it on cold and lay flat or hang to dry. 🙂