Crochet the Perfect Temperature Blanket Guide (+ Free Patterns)
Are you looking to learn about making temperature blankets or are ready to start one now? If so, you can crochet a keepsake blanket with this complete crochet temperature blanket guide for beginners.
Below, I’ll go over how to crochet a temperature blanket step by step and then show you some examples of free crochet temperature blankets, so you can get a good idea about what yours may look like.
Enjoy and Happy Crocheting!
What is a Crochet Temperature Blanket?
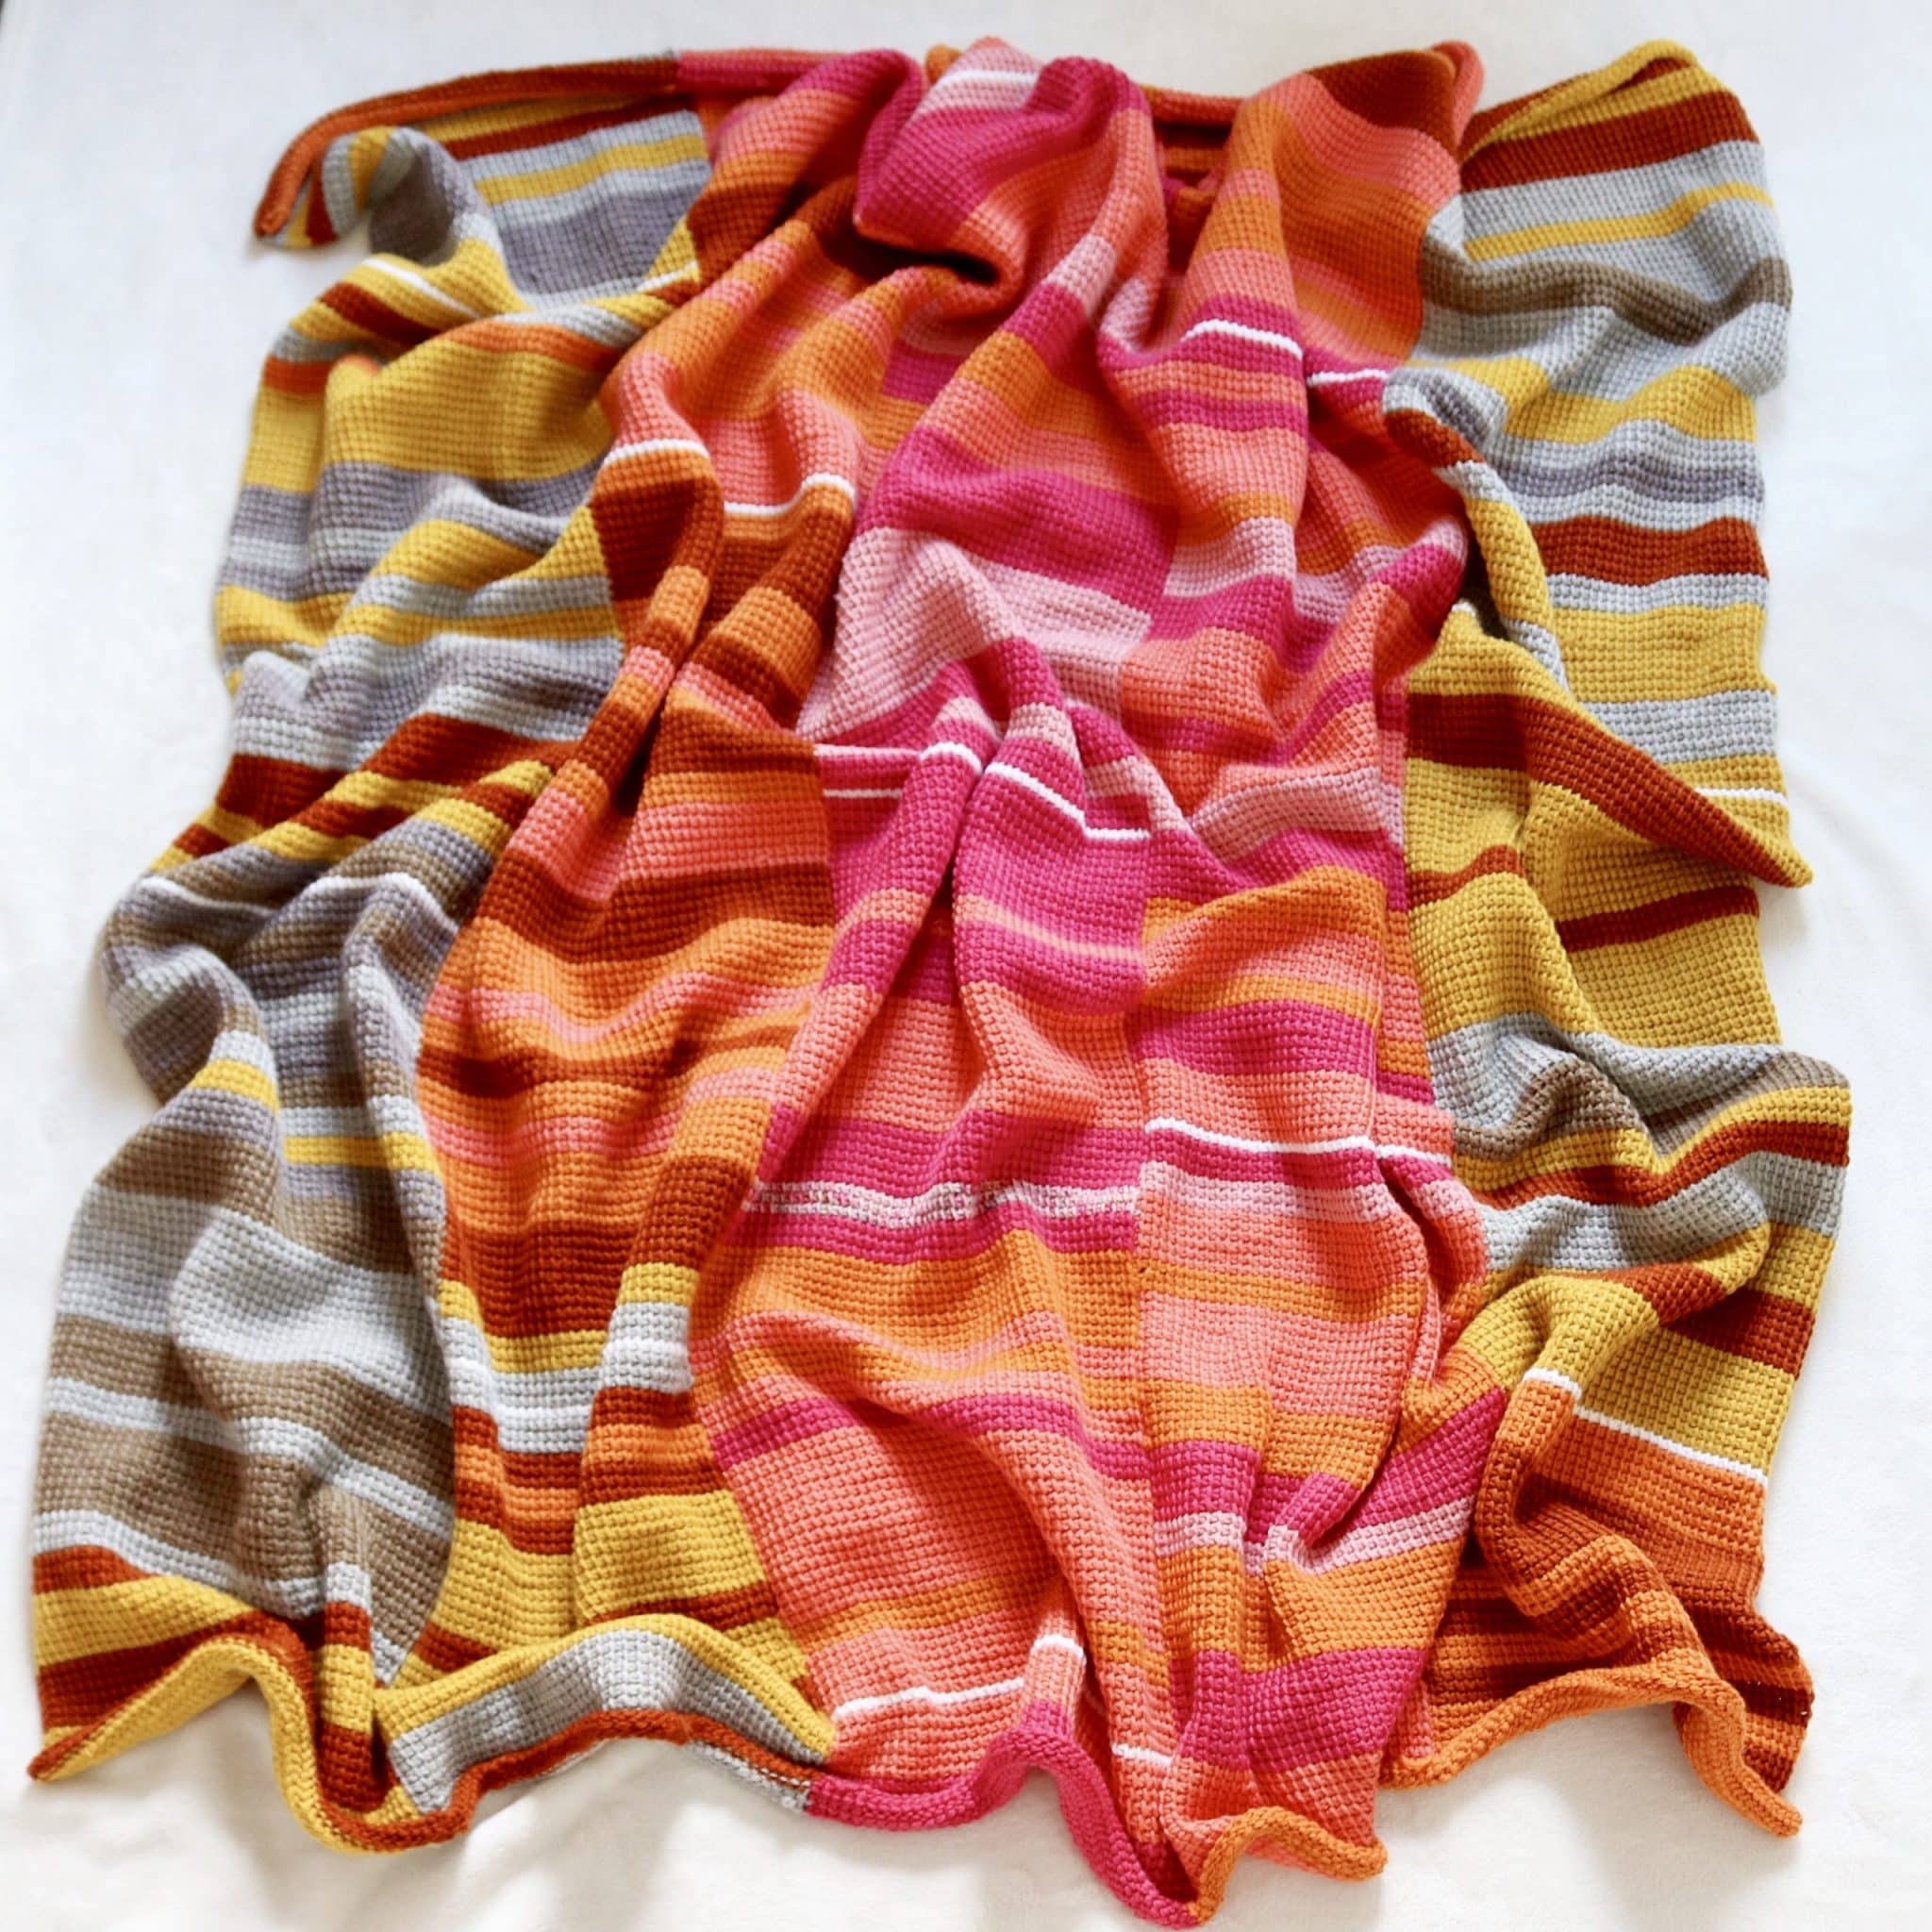
So, you may be wondering exactly what is a temperature blanket? Well, crochet temperature blankets are a fun and creative way to track the weather throughout the year. A temperature blanket is a unique kind of crochet blanket that reflects the temperature of a particular place over time.
The concept is simple: you select a color for each temperature range, and then crochet a row of the blanket in the corresponding color for each day’s high temperature. By the end of the year, you’ll have a beautiful, unique blanket that represents the changing weather patterns throughout the year in your area.
Guide to Crocheting a Temperature Blanket
Here’s a step-by-step guide to creating your own crochet temperature blanket:
1. Choose your temperature range
The first step in making a temperature blanket is to decide on your temperature range.
You can choose any range you like, but the most common ranges are 10-degree increments 50–59 degrees, 60–69 degrees, etc.) or 5-degree increments (e.g., 50–54 degrees, 55–59 degrees, etc.).
2. Decide on a color palette
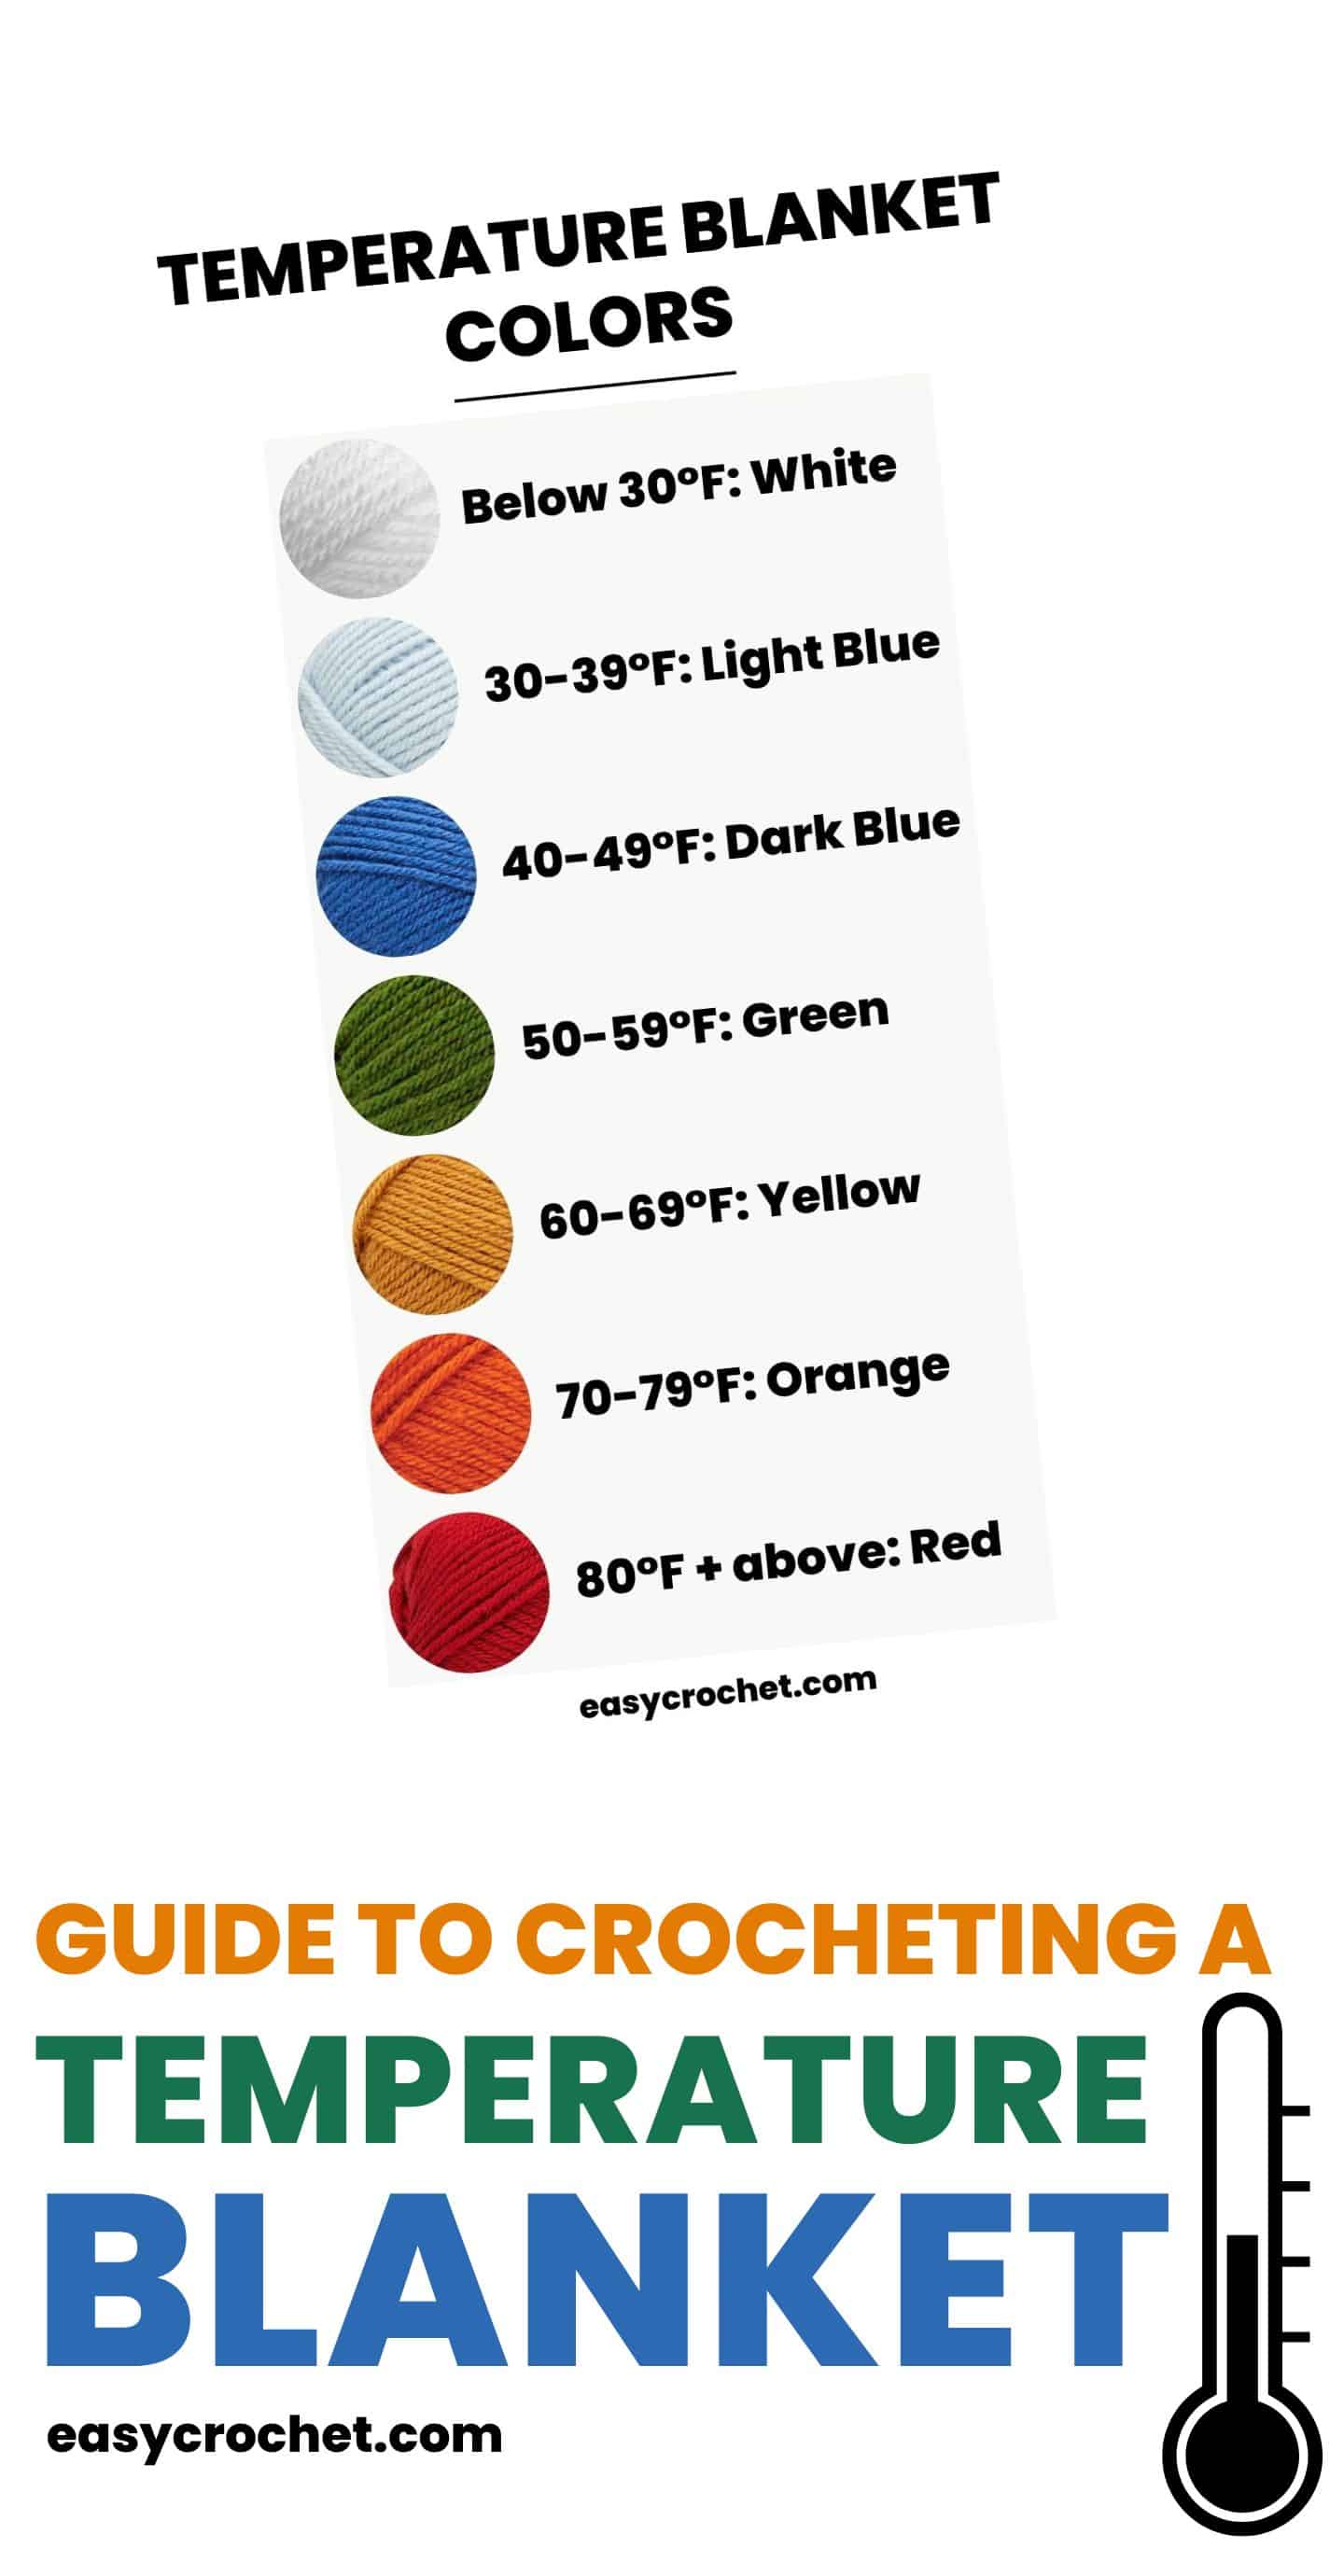
Choose colors that correspond to the temperature ranges for your area. For example, you might pick blue for temperatures below 40 °F, green for temperatures between 40-50 °F, yellow for temperatures between 50-60 °F, orange for temperatures between 60-70 °F, and red for temperatures above 70 °F.
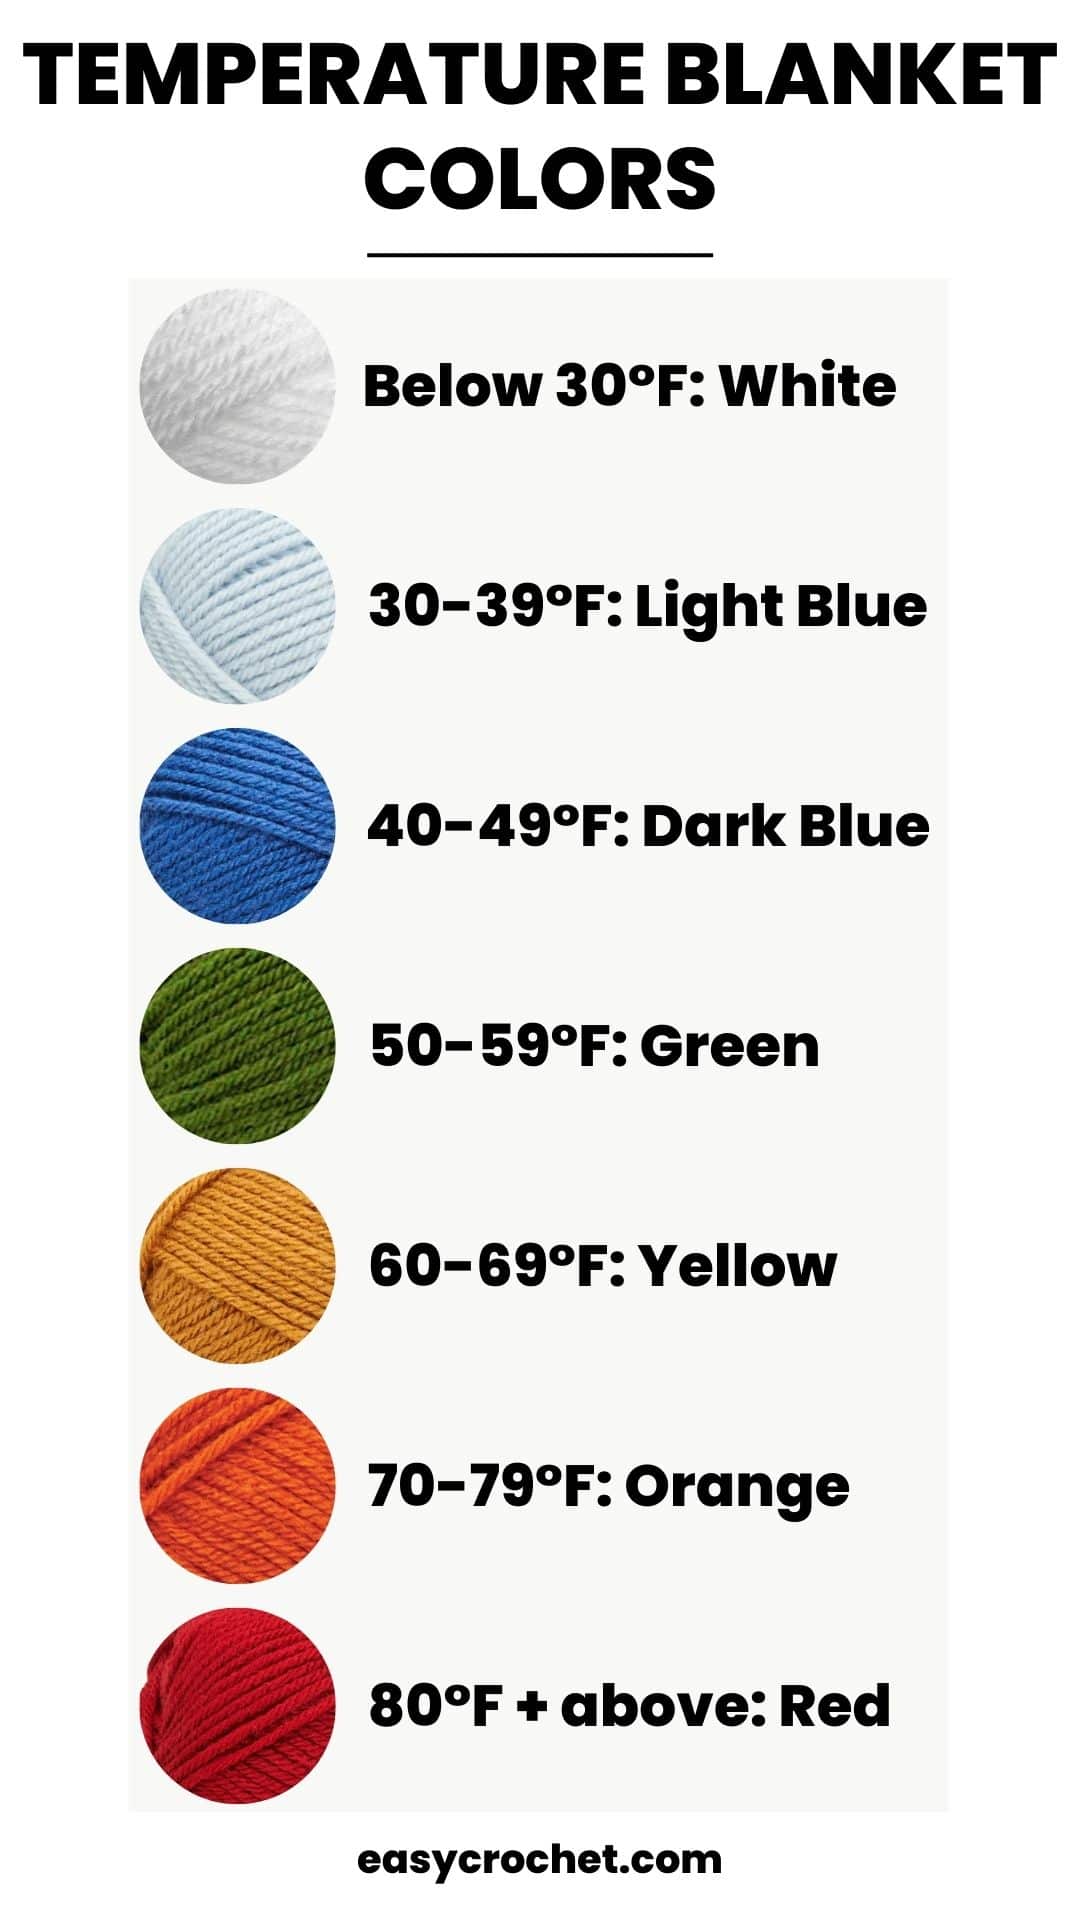
You can also pick different colors for different temperature ranges, or use shades of the same color. Above in the temperature blanket chart is an example of a range of temperatures with colors that you can use in a temperature blanket.
3. Pick your location
Decide on a location that you will use to record your temperatures. Will it be your home, cabin, or a special place that you love? Once you pick the place you want to use for your temperature blanket, then you can move on below to create a temperature chart for your blanket!
4. Create a temperature chart
Record the temperature ranges and corresponding colors on a chart. You can find temperature data from your local weather service or app, and then use a spreadsheet or paper to organize the data into temperature ranges and corresponding colors.
You can use temperature-blanket.com, which was specially created with these blankets in mind. This site gives you weather data for your area as well as yarn color suggestions as well.
5. Gather your materials
You’ll need a few supplies to make your temperature blanket, including:
Yarn
You’ll need a different color of yarn for each temperature range you’ve picked. The weight of yarn is up to you, so if you’d prefer a worsted weight yarn or a bulky 6 yarn, it would work for crocheting a temperature blanket. Keep in mind, this will change the finished size of your blanket.
Crochet hook
The size of the hook will depend on the weight of your yarn. You can find the recommended crochet hook size on the yarn label of the yarn you have picked.
Tape measure
You’ll use this to measure the length of your blanket as you go.
Optional Supplies & Tools
You may also need stitch markers, a yarn needle for weaving in ends, and a pattern or graph to keep track of your color choices.
Start Crocheting
Once you have your plan in place, it’s time to start crocheting! Begin by chaining the desired length of your blanket. Take a look at my blanket size chart to figure out the size you’d like, and then start crocheting a row for each day’s temperature.
As you crochet, make sure you keep track of the temperature for each day, so you can use the correct color yarn for each row.
1. Crochet the first row
Using the color that corresponds to the temperature for the first day, crochet a row of your desired stitches across the foundation chain. Remember to keep track of the temperature for each day and switch colors accordingly.
2. Decide on Stitches to Use
You can use any stitch you like, but the most common stitch for temperature blankets is the single crochet. The single crochet stitch is recommended because as you work up a blanket throughout a year, you can imagine it will be a big blanket when it is finished.
You may also see temperature crochet bankets made with…
- Moss stitch
- Half double crochet
- Double crochet (I do not recommend this stitch because you will end up with a HUGE blanket, but if you’d like to, then you can)
- Granny Squares & Motifs (see below for a free temperature blanket pattern using granny squares
3. Continue crocheting rows
Each day, check the temperature and switch to the appropriate color to crochet a row for that day. You can choose to crochet one row per day, or you can crochet several rows at a time and then switch colors as needed.
4. Weave in ends
As you crochet, be sure to weave in the ends of your yarn as you go. This will save you time and effort later on. You can use a yarn needle to weave in the ends, or you can use the crochet hook to weave in the ends as you crochet.
5. Finish your blanket
Once you’ve completed all the rows for the year, it’s time to finish your temperature blanket.
Add a border
Once you have crocheted enough rows to cover the desired length of your blanket, add a border. You can use a simple single crochet border or a more elaborate stitch pattern.
Block (optional)
After you have completed the border, weave in any remaining ends, and then block the blanket to even out the stitches and give it a finished look.
Tips for Crocheting a Temperature Blanket
- Keep your gauge consistent to ensure that your blanket stays the same size throughout.
- Choose a yarn that is easy to care for, as temperature blankets can be quite large and heavy. Four weight yarns are perfect for temperature blankets since they are not heavy, easy to find and come in various colors.
- Use a stitch marker or paperclip to mark the beginning of each row.
- Keep track of the temperature and color changes using a notebook or spreadsheet.
Free Crochet Temperature Blanket Patterns
Look no further than free temperature blanket crochet patterns! Whether you're a seasoned crocheter or just starting out, these patterns allow you to create beautiful and functional blankets while tracking the changing temperatures throughout the year.
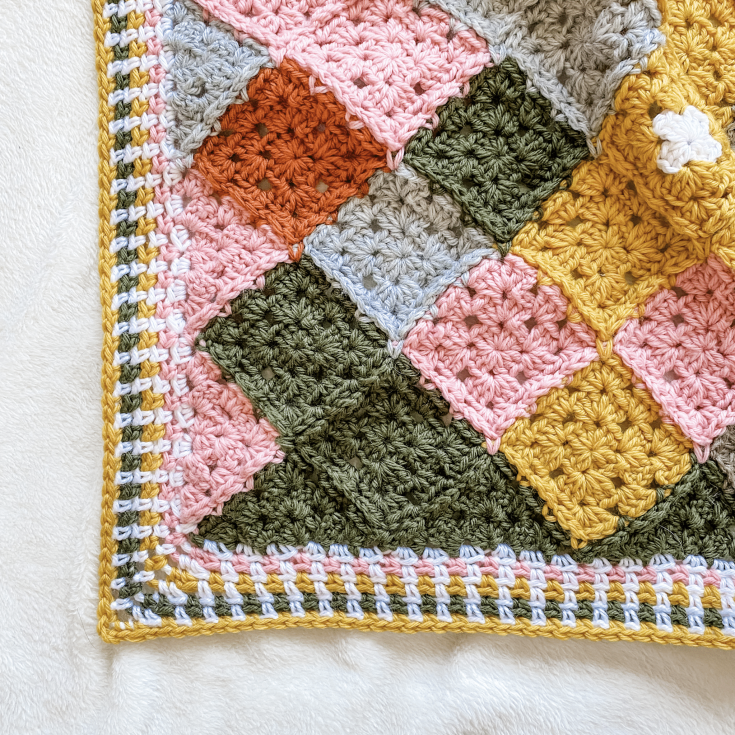
Granny Square Temperature Blanket
Follow along with the temperature blanket pattern that uses granny squares and join together to create a unique one of a kind temperature blanket. These motifs are easy to crochet and are beginner-friendly too.
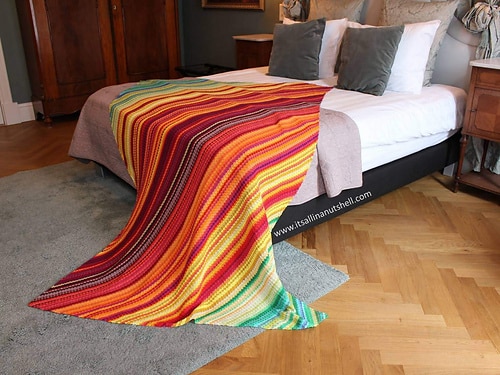
C2C Temperature Blanket
Use the c2c technique to create a gorgeous temperature blanket that works up quickly.
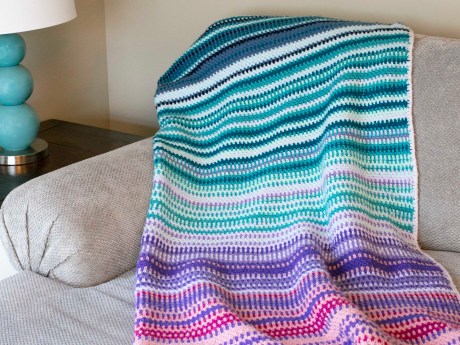
Moss Stitch Temperature Blanket
Take a look at this beautiful temperature blanket using the moss stitch for inspiration.
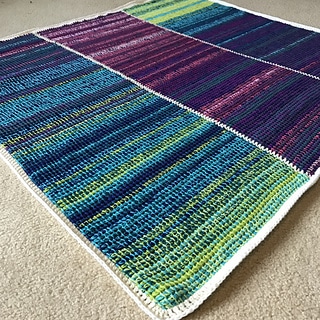
Tunisian Temperature Blanket Pattern
You'll love the look of this Tunisian temperature blanket, which is simple to make and quite stunning.
Tunisian Temperature Blanket
Learn how to crochet this gorgeous Tunisian temperature blanket with this free pattern!
More Free Crochet Blanket Patterns
Below are a few of my favorite crochet blanket patterns are all free and easy to crochet.
- 30 Free Crochet Baby Blanket Patterns
- Primrose Crochet Baby Blanket
- 10 Cozy Crochet Blanket and Afghan Patterns You’ll Love
- Easy Moss Stitch Crochet Baby Blanket
- Rainbow Crochet Blanket Pattern
- Easy Crochet Afghan Pattern (8 Sizes)
- Easy Crochet Shell Stitch Baby Blanket
- Mountain Pine Crochet Tree Blanket
