Easy Crochet Christmas Stocking Pattern
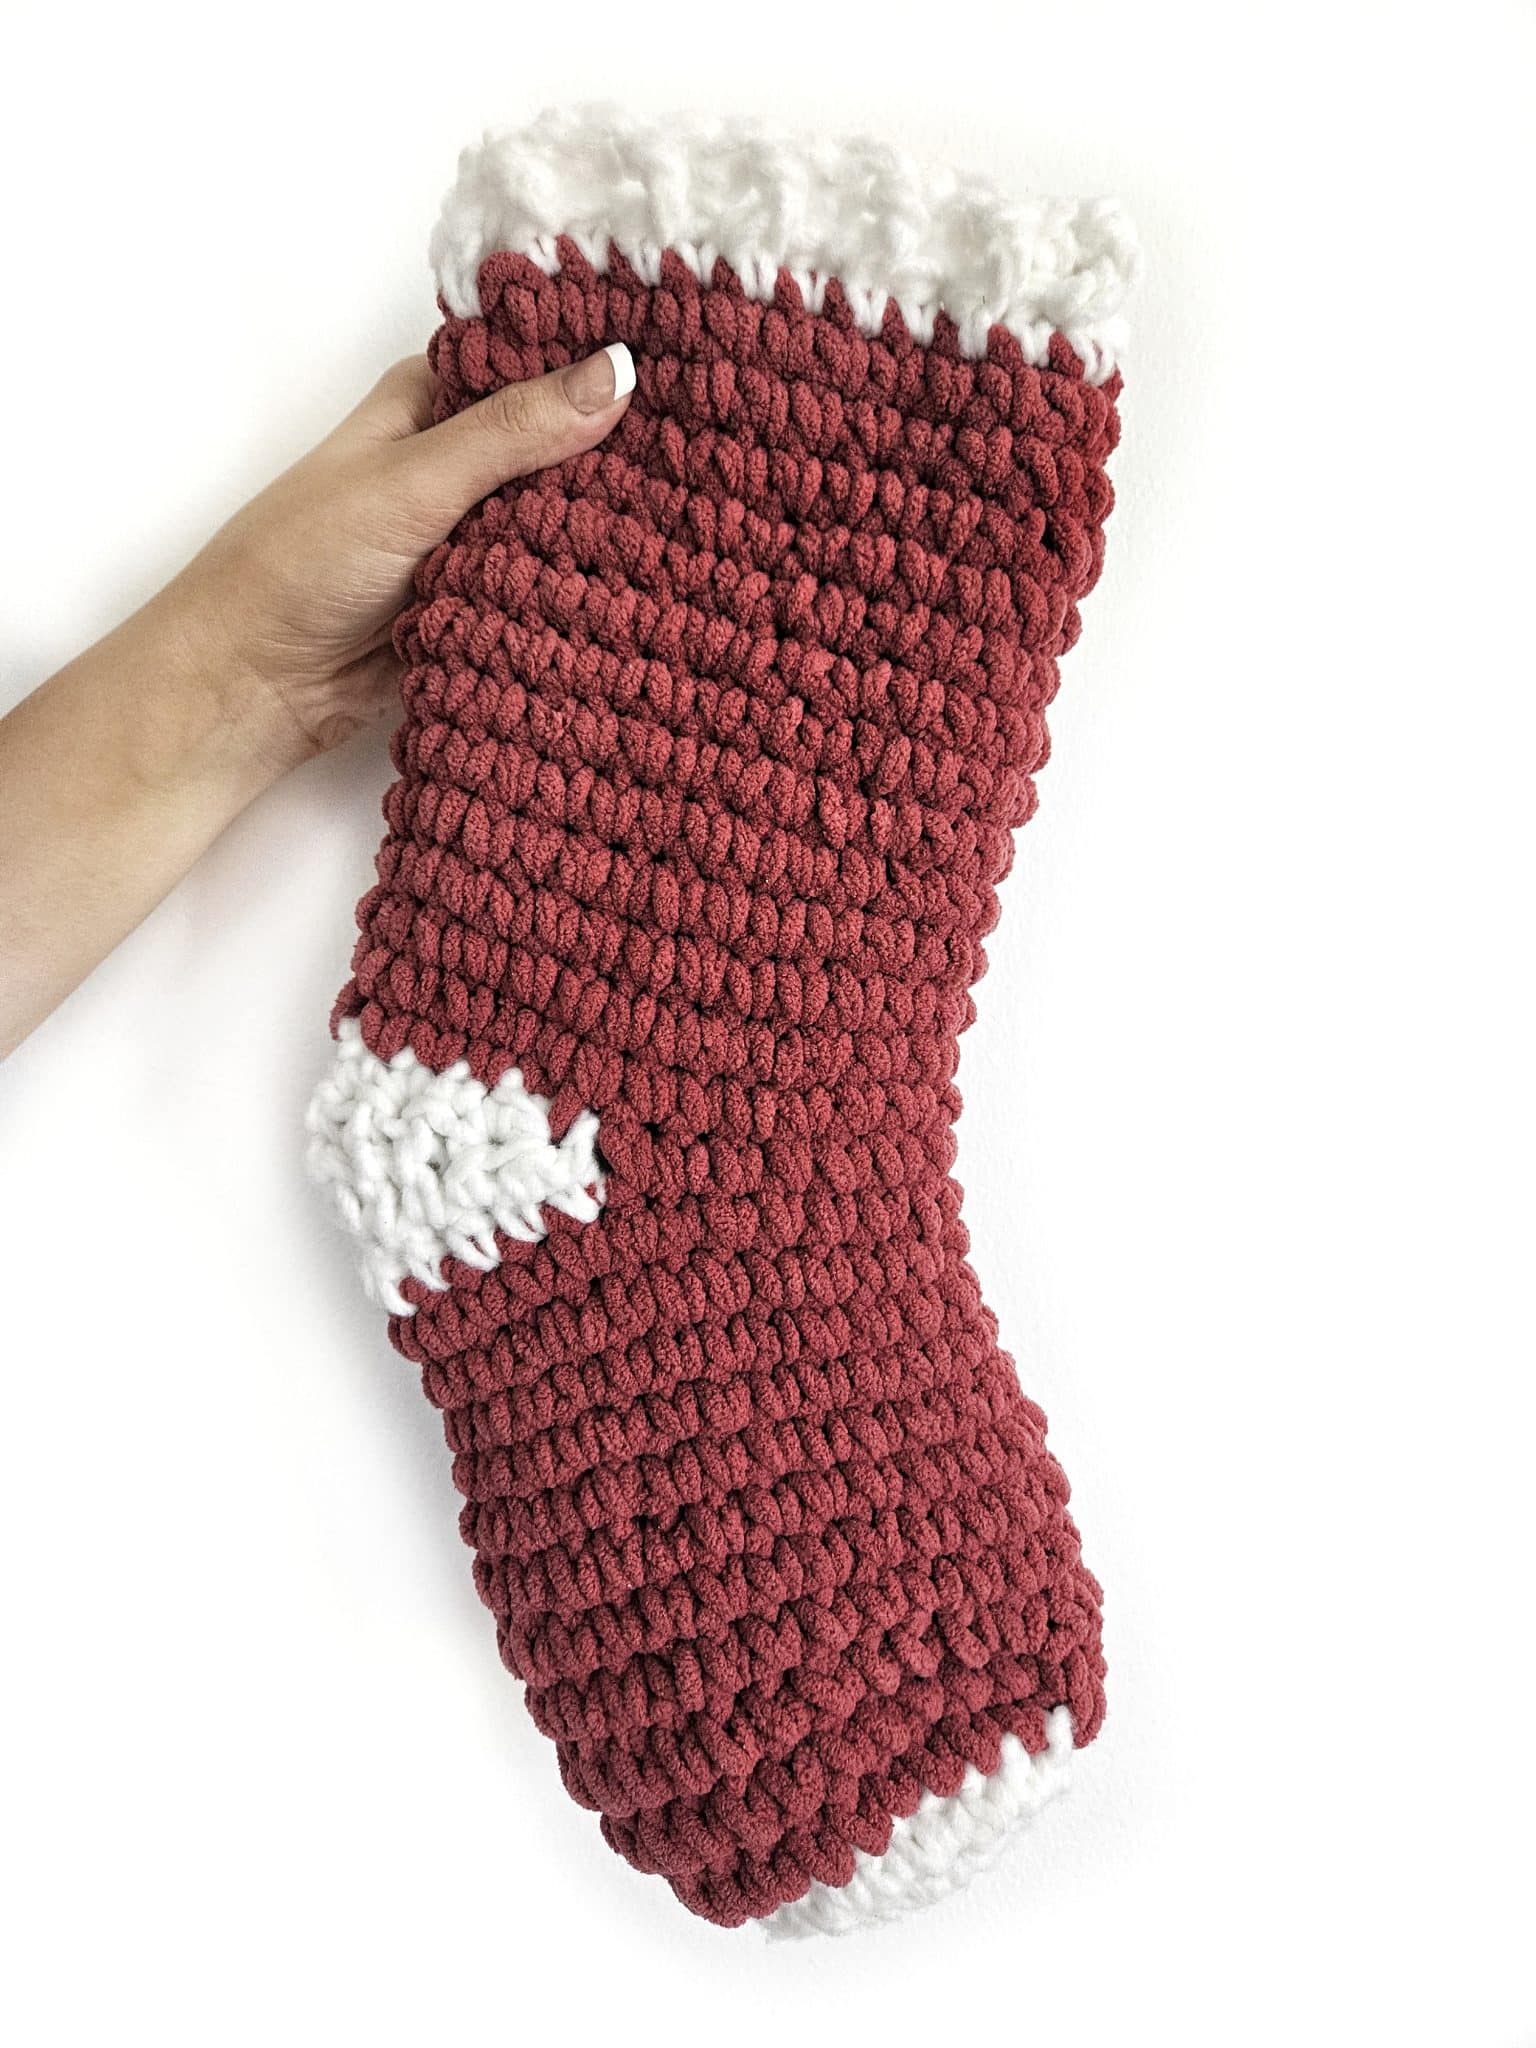
If you’ve ever wanted to try crocheting Christmas stockings, then this is the pattern for you to start with. I made sure to use simple stitches and a chunky yarn so it will work up quickly and easily for you.
Below, you’ll find the perfect crochet project for the holiday season with what, I think, is an easy and adorable stocking pattern. Scroll on down to find the free pattern, or use the skip to pattern button above.
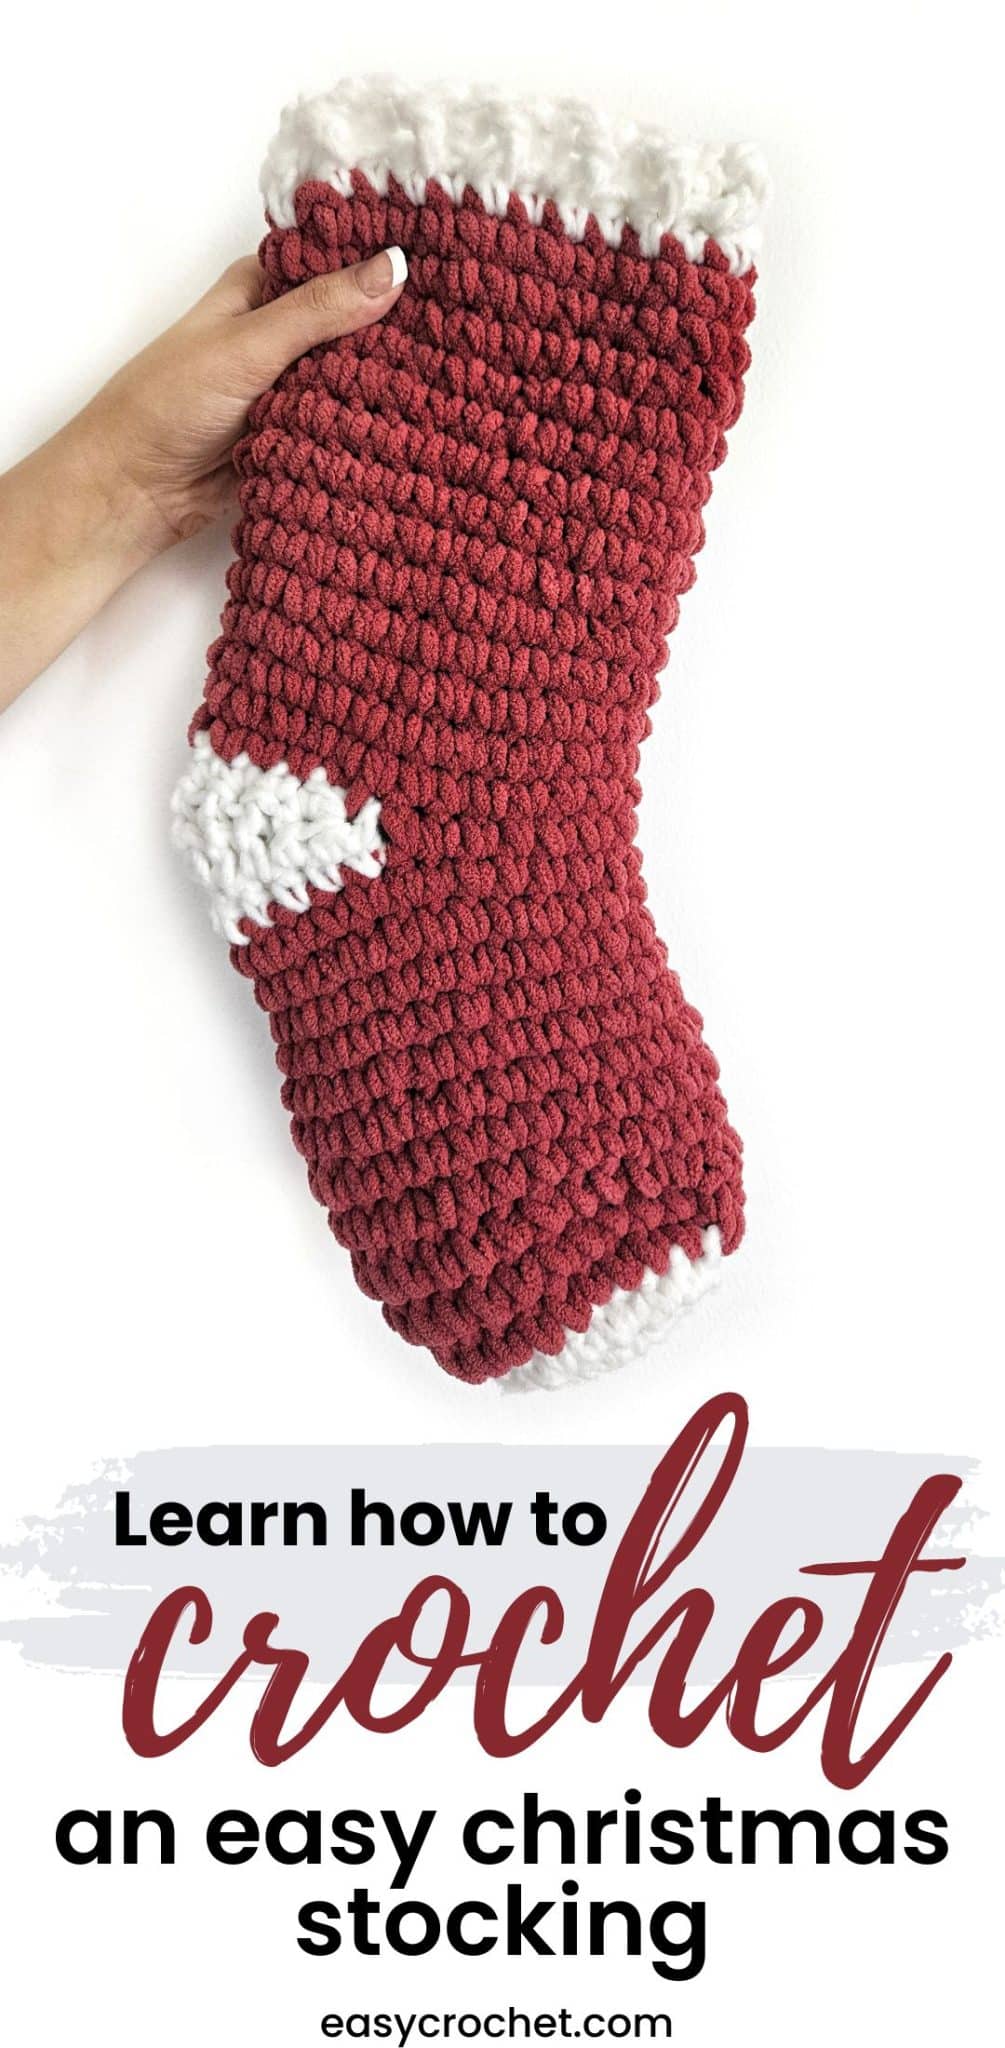
I also wanted to mention that this is a great pattern for those who love quick crochet projects! Like I pointed out before, this stocking design is made with super bulky 6 yarn, which means a fast and cozy crochet project for Christmas in just a bit of time.
Why You’ll Want to Crochet a Stocking
It was designed with all skill levels of crocheters in mind, which means anyone can make this easy crochet stocking to add to the mantle above your fireplace. You can easily make a cozy stocking that is as fun to make as it is to show off!
These stockings are a great way to give gifts.
- Great for Teacher Gifts
- Gifts for Christmas and the Holidays
- Or a Just Because Gift
If you need a gift bag for something you are gifting, make this easy crochet stocking instead! I am sure they will appreciate a handmade gift as well as the one that will be it in too. As for this one, I will be using mine as a teacher gift and will be filling it with gift cards, and little knick-knacks.
Supplies Needed to Crochet a Stocking
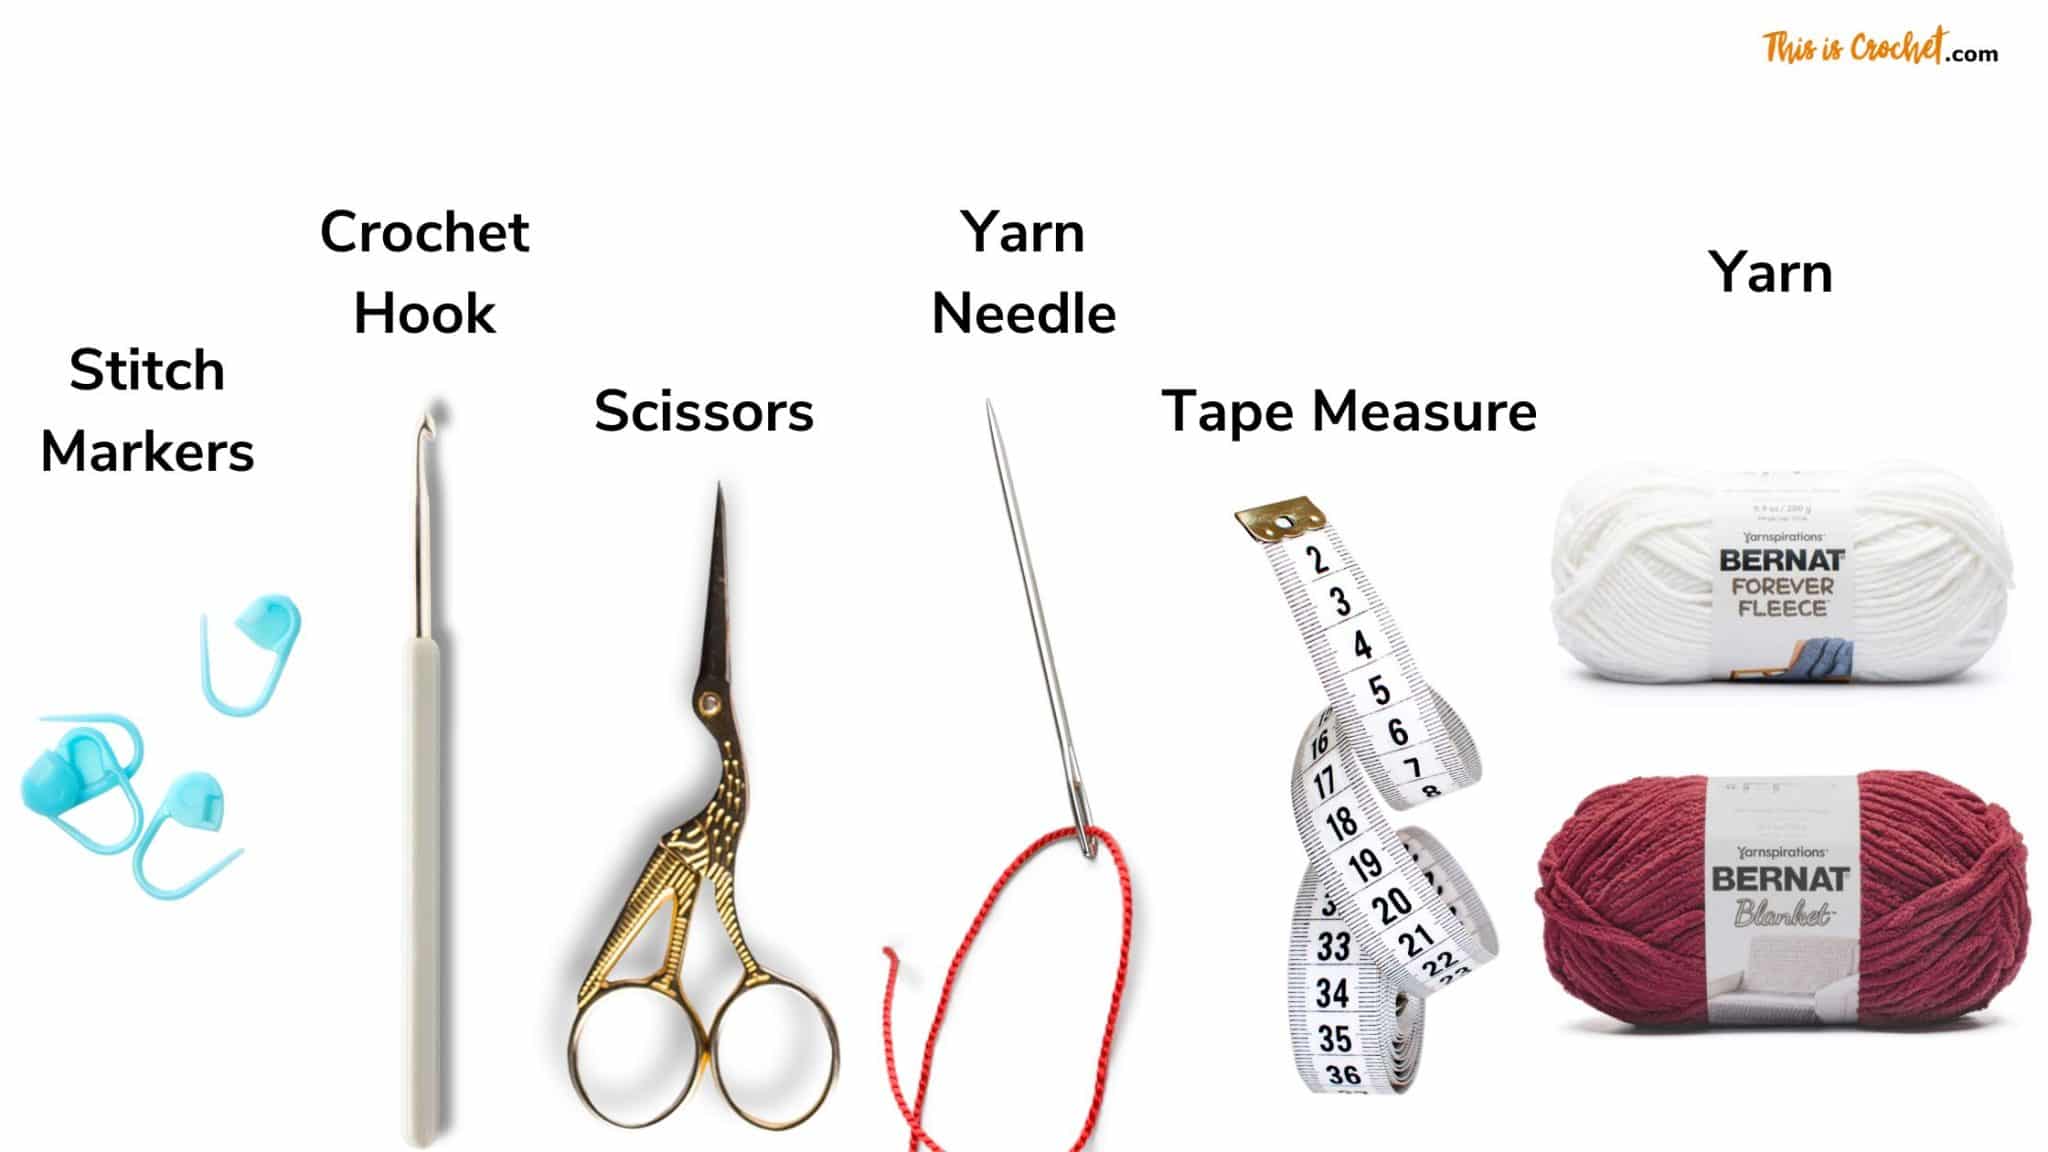
To crochet a cozy stocking, you’ll need a few supplies. Here’s a list to get you started:
The Yarn
- Bernat Blanket Yarn: This super bulky yarn is perfect for a warm and cozy stocking. It’s soft and works up quickly.
- Bernat Forever Fleece Yarn: Another great choice for a stocking. It’s plush and gives a luxurious feel to your finished project. Shop the yarn.
Blanket Yarn
This yarn is made by Bernat, and is a Weight 6 – Super Bulky yarn.
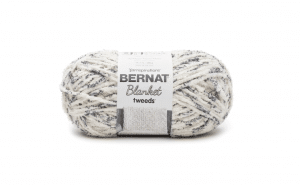
Fiber: 100% Polyester
Yardage: 201 meters / 220 yards
Hook: 8 mm (L-11)
Substitute: Red Heart Sweet Home
Other Supplies
- Crochet Hook: The size of the hook will depend on the yarn you choose. For super bulky yarns like Bernat Blanket or Forever Fleece, a larger hook (like a 9 mm) is usually ideal.
- Yarn Needle: A large-eye needle for weaving in ends and sewing parts together.
- Scissors: For cutting yarn.
- Stitch Markers: These are handy for marking the beginning of rounds or important stitches.
- Optional Extras: Consider adding embellishments like buttons, ribbon, or different colored yarn for stripes or patterns.
With these supplies, you’ll be all set to start crocheting your cozy stocking!
Let’s Get Started
I hope you enjoy this pattern! If you make one, be sure to share it with me in our the Easy Crochet Club Group on Facebook or on Instagram as well.
Happy Crocheting!
The Crochet Christmas Stocking Pattern
Skill Level: Easy
Materials
- Any Bulky 6 Weight Yarn
- Color A: Bernat Forever Fleece in White Noise
- Color B: Bernat Blanket Yarn in Crimson
- 9 mm crochet hook
- Scissors
- Yarn needle
- Measuring tape
Notes
The slip stitches and Ch 1’s do NOT count as stitches unless noted so.
Crochet Abbreviations
- dc = double crochet
- sc = single crochet
- ch = chain
- st = stitch
- tr = triple crochet
- fpdc = front post double crochet
- bpdc = back post double crochet
- Follow along with the tutorial for post stitches to fully understand.
Christmas Stocking Pattern
Crocheting the Toe
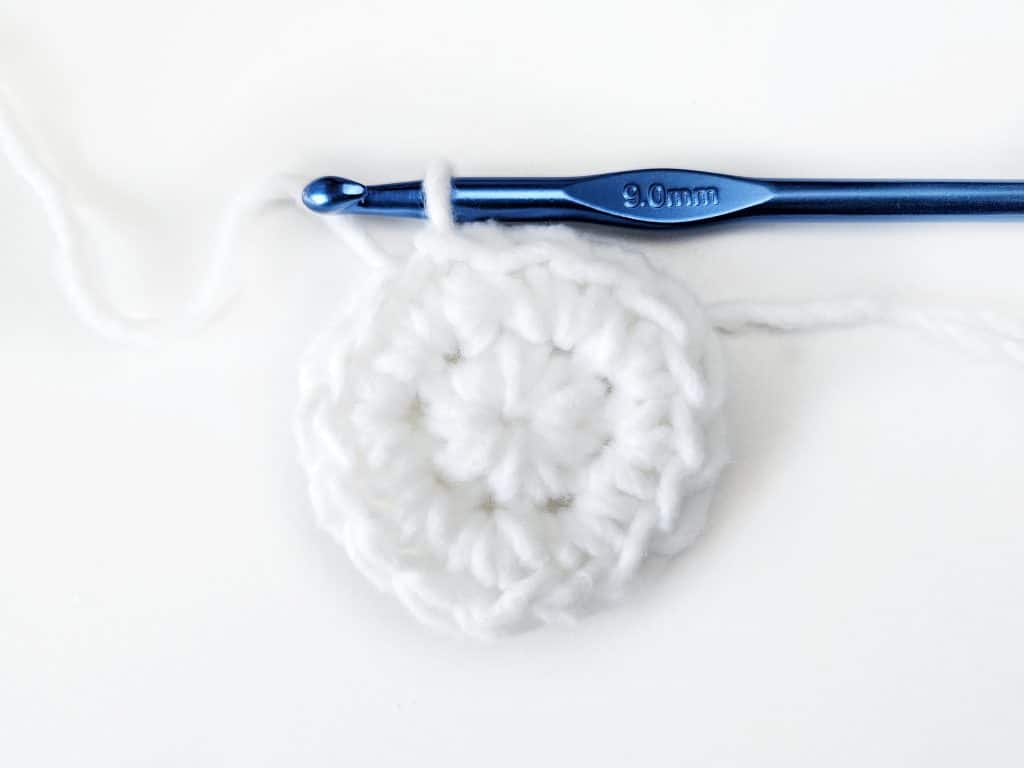
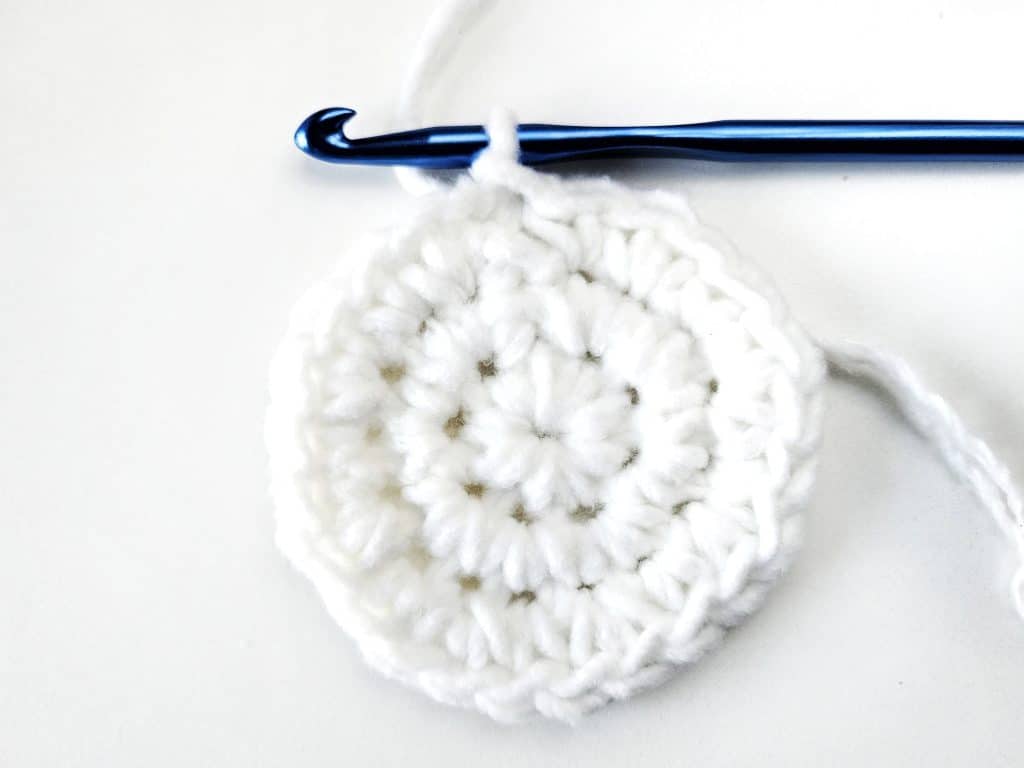
Round 1: Using color A, make a magic circle, sc 8 into the circle, join to the first sc with a slip stitch (8)
Round 2: ch 1, 2 sc into each st around, join to the first sc with a sl st. (16)
Round 3: ch 1, *2 sc into the first st, 1 sc in the next, rep from * around end with a sc in the last st, join to the first sc with a sl st. (24) cut the yarn.
Main Part of the Stocking
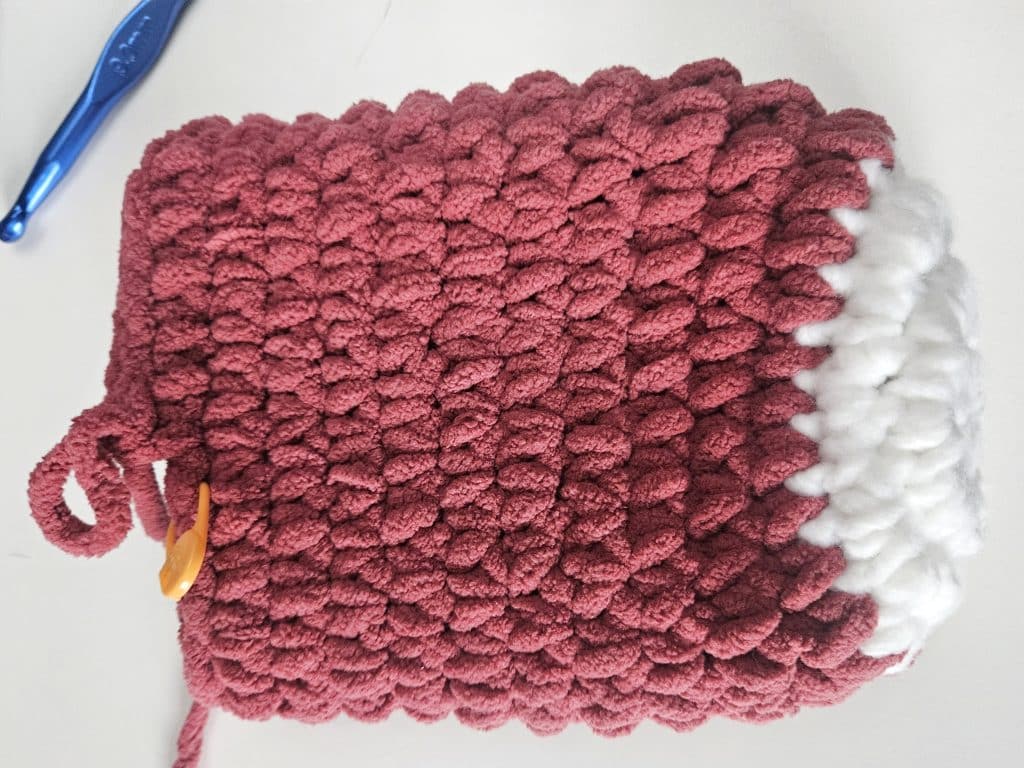
Next: Join in color B in the next st after the join, ch 1 (counts as a st) place a st marker into the ch 1 (st) to mark your first st, sc into the next st, * continue sc around in each st until you reach the st marker, remove the st marker,
sc into that st, place the st marker into the st you just made, repeat from * around until your stocking measures about 8 inches long, join to the next st with a slip stitch and break (cut) the yarn.
Heel
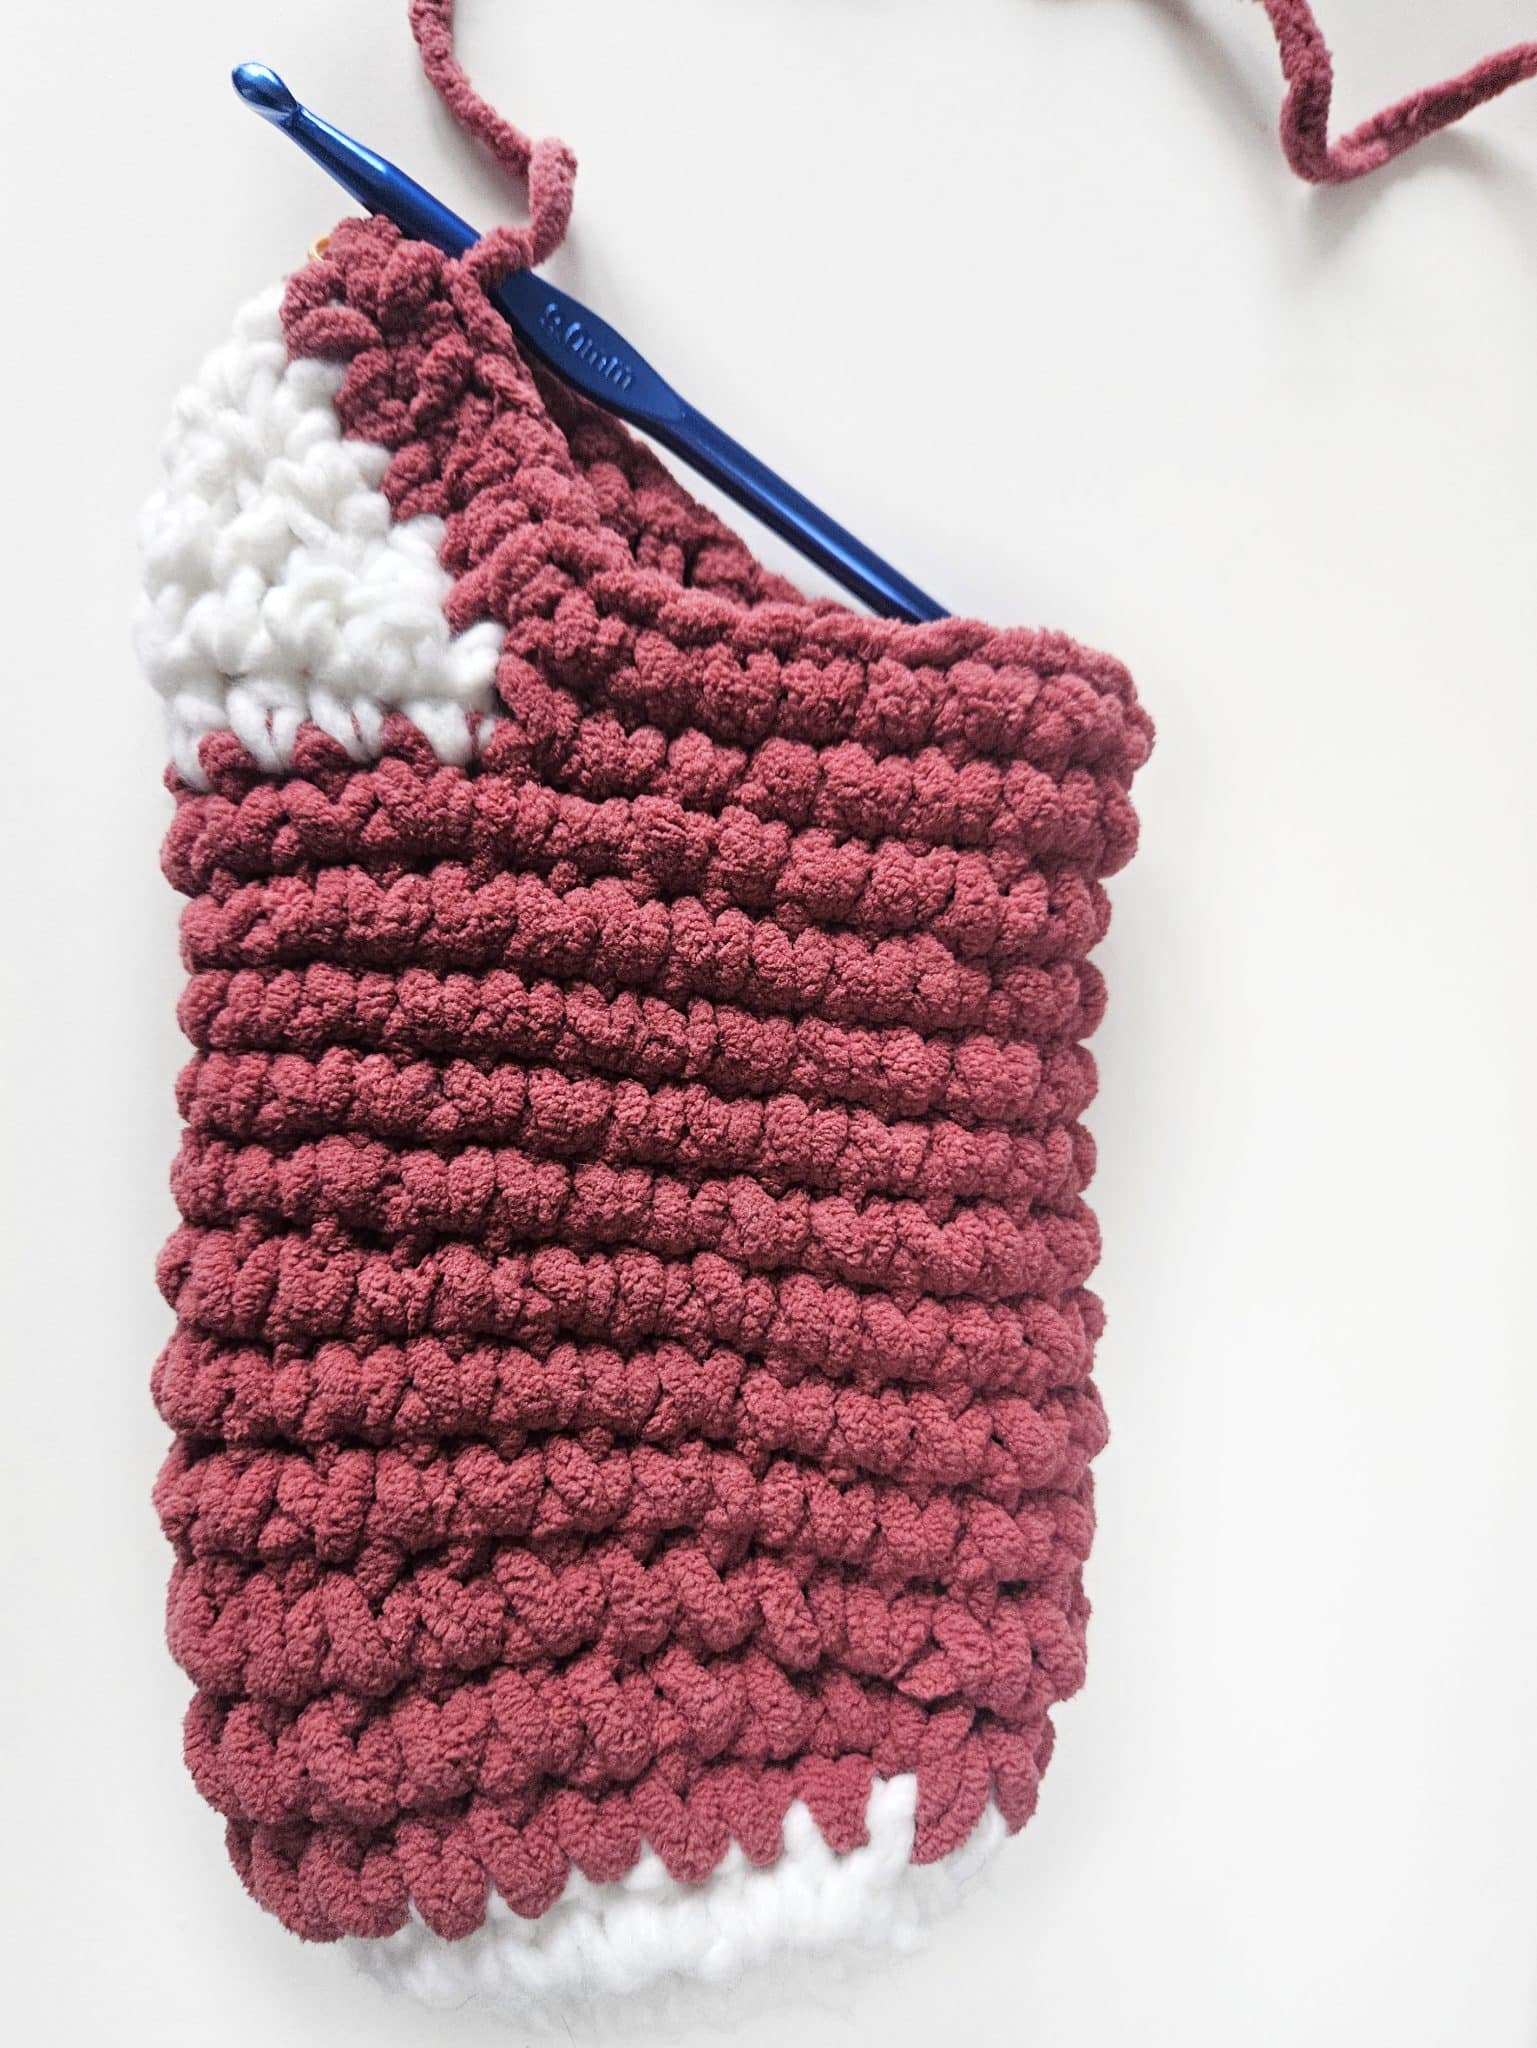
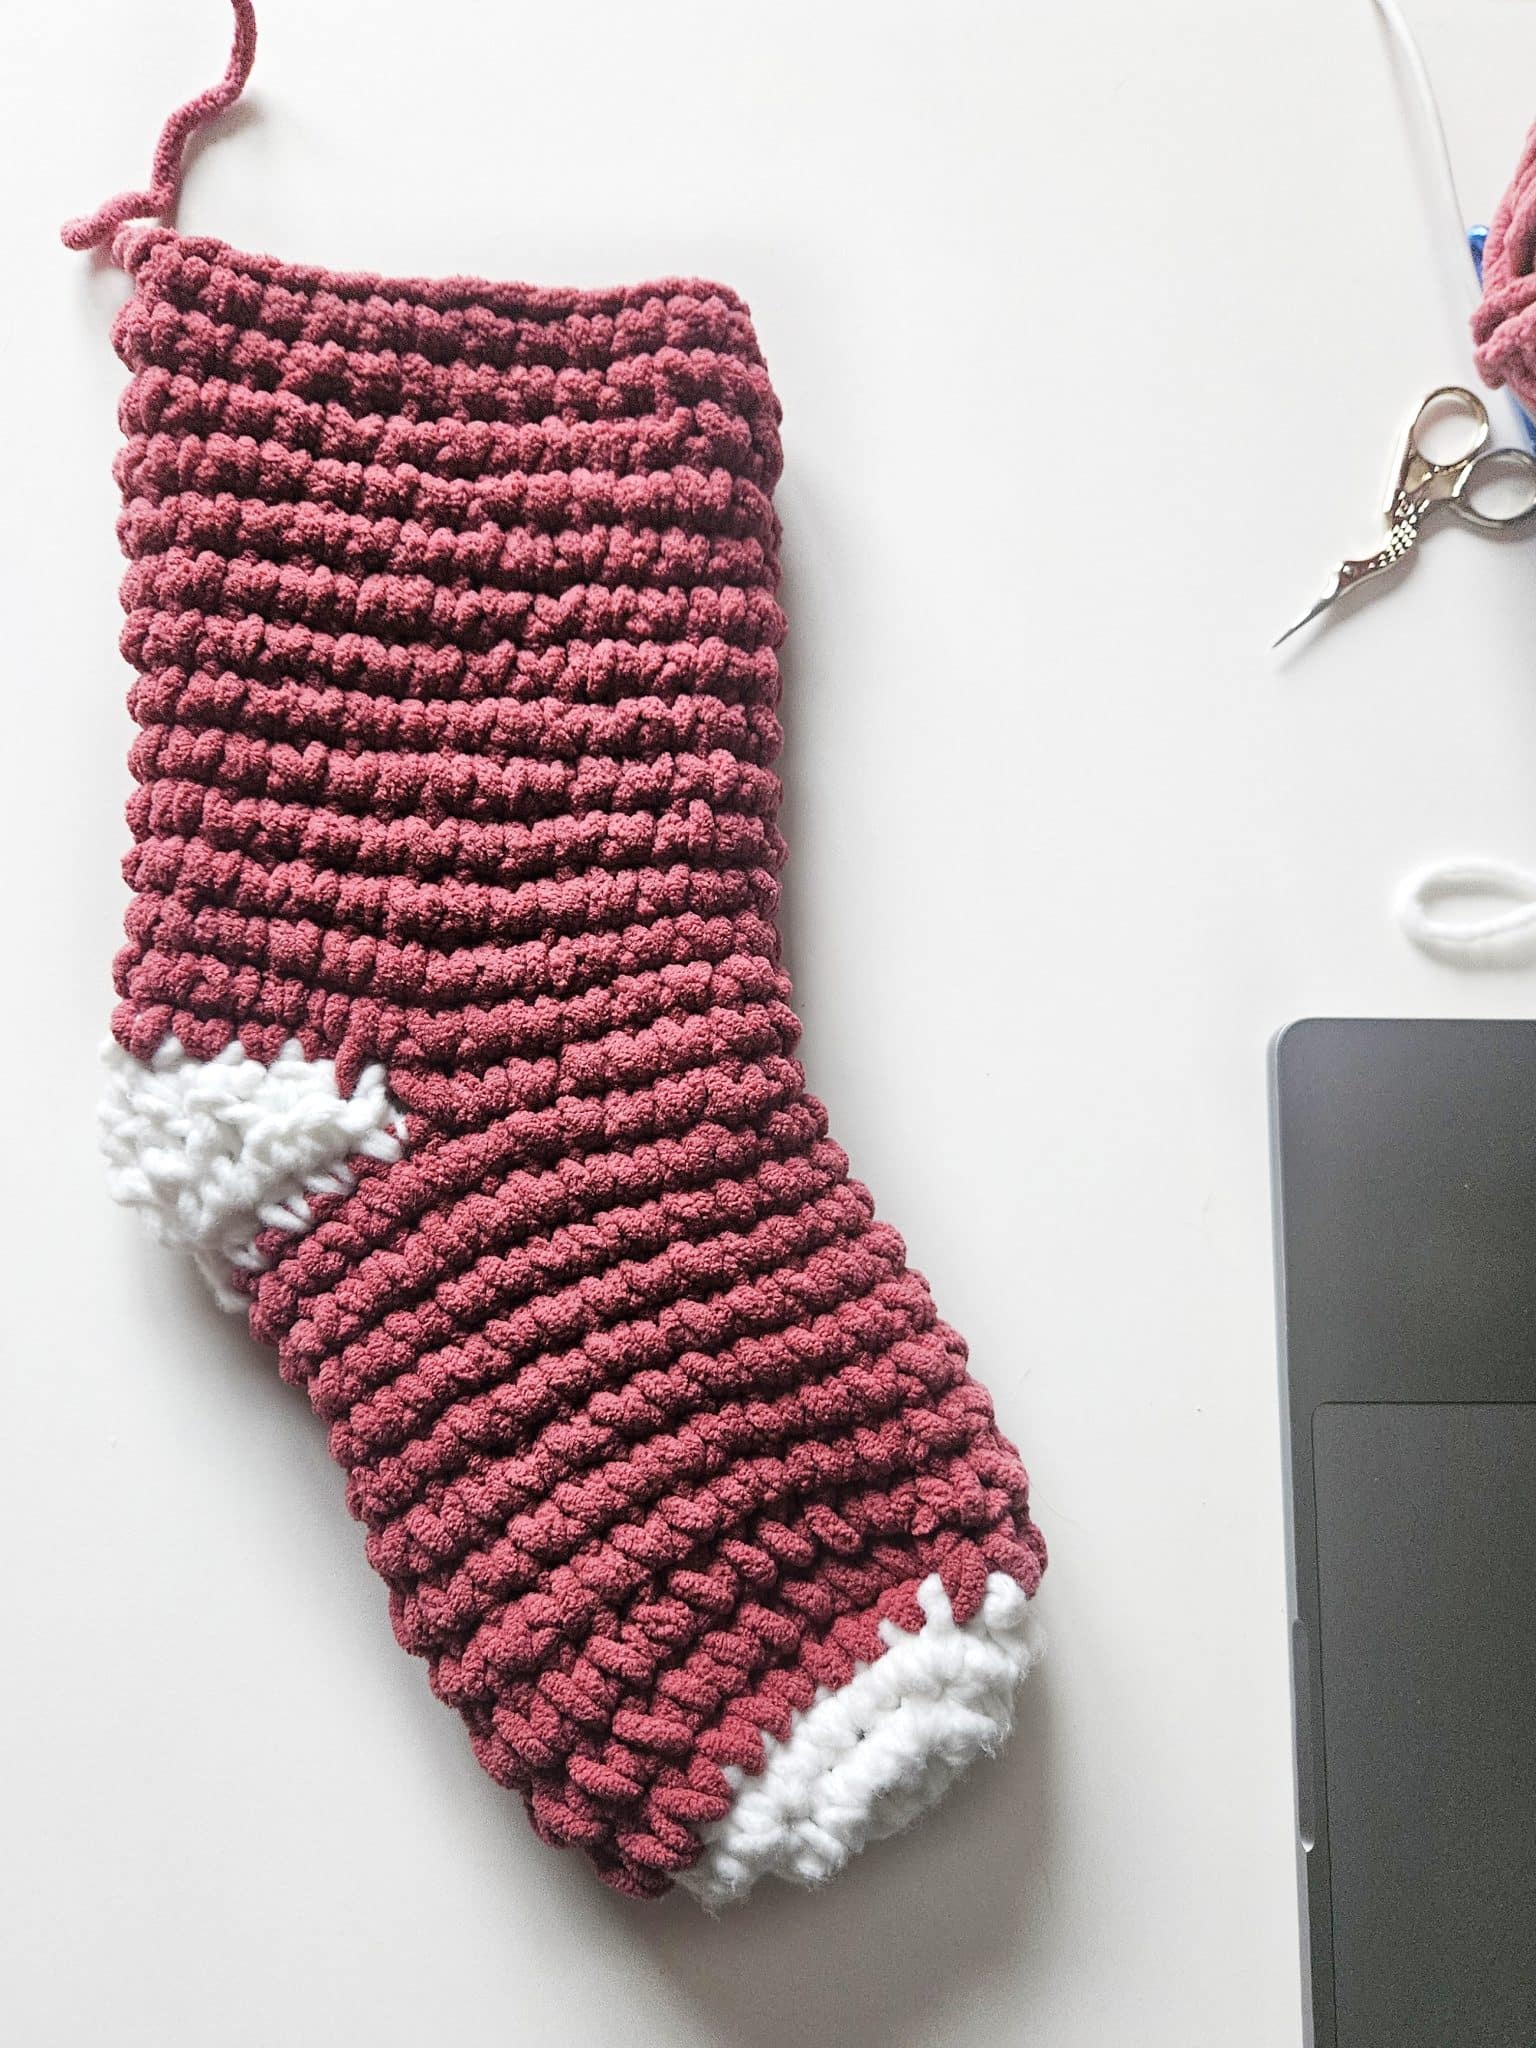
We are working in rows now. Count 12 sts over from the join to the right and join in Color A
Row 1: in the first st sc, next sc, hdc, hdc, dc, dc, hdc, hdc, sc, sc, turn. (10)
Row 2: ch 1, sc, hdc, hdc, dc, tr 2 times in the next st, tr 2 times in the next st, dc, hdc, hdc, sc, turn. (12)
Row 3: ch 1, sc2tog, sc, sc, sc, sc, sc, sc, sc, sc, sc2tog (10)
slip stitch into the next st and fasten (break) off the yarn.
Leg of the Stocking
We are working in continuous rounds again.
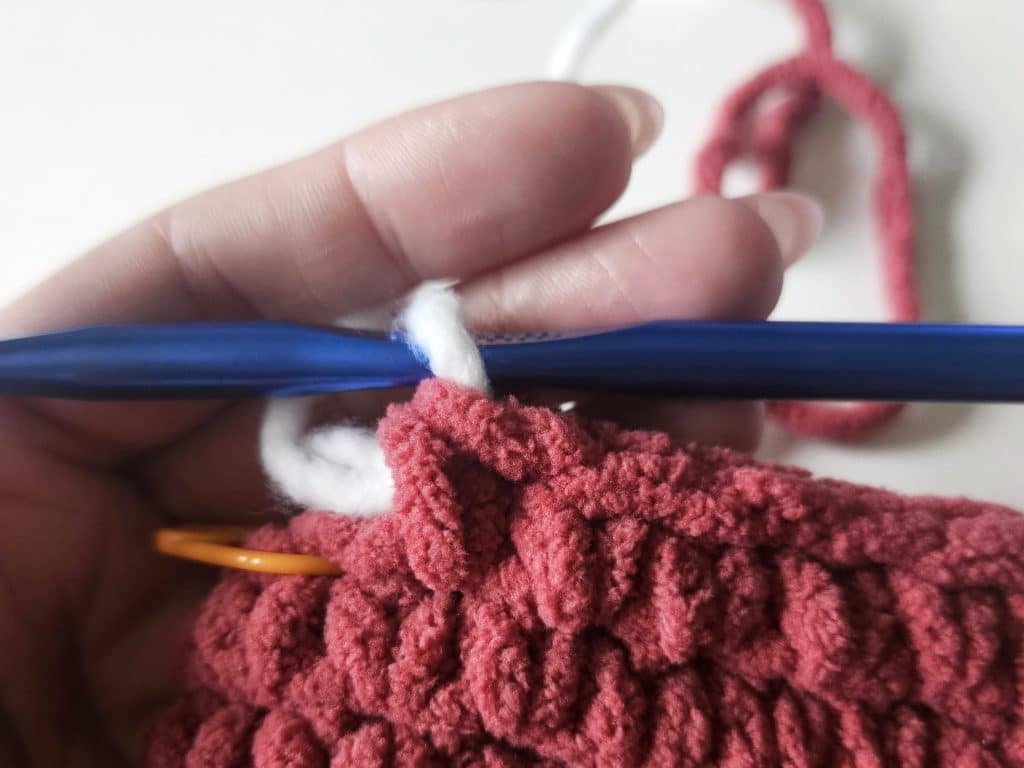
Join in color B halfway through the heel or 5 stitches in, sc, sc, sc, sc, sc, sc, sc into the same st as the sl st join, continue sc around continuously until the stocking leg reaches 8 inches
Slip stitch into the next st after you reach 8 inches in height.
Cuff
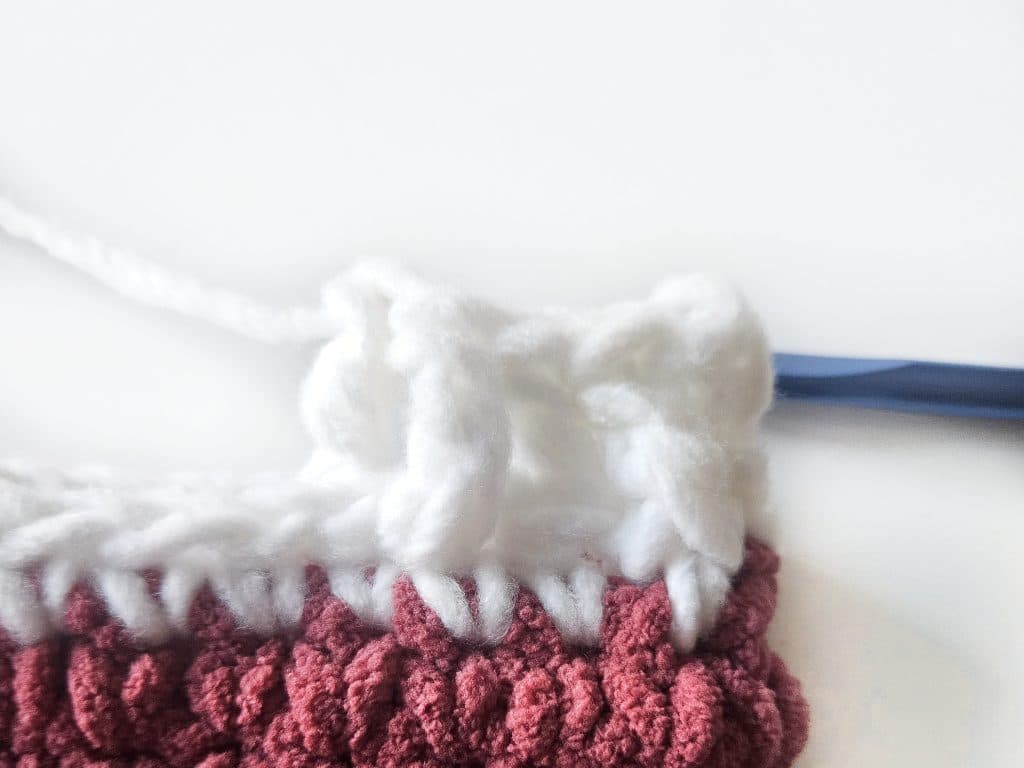
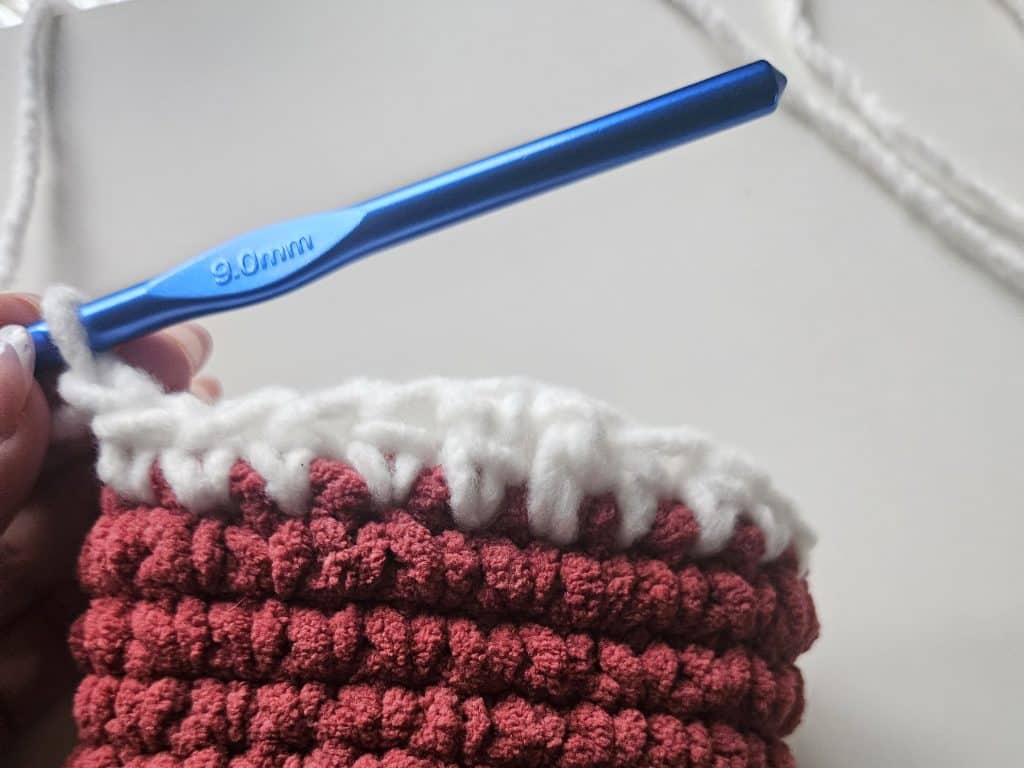
Round 1: Join in Color A, ch 2 (counts as a sc), sc into each st around, join with a slip stitch to the top of the first sc.
Round 2: Ch 3 (counts as a dc), *fpdc, bpdc, fpdc repeat from * around. (the slip stitch from the round before does not count as a st)
Final Touches
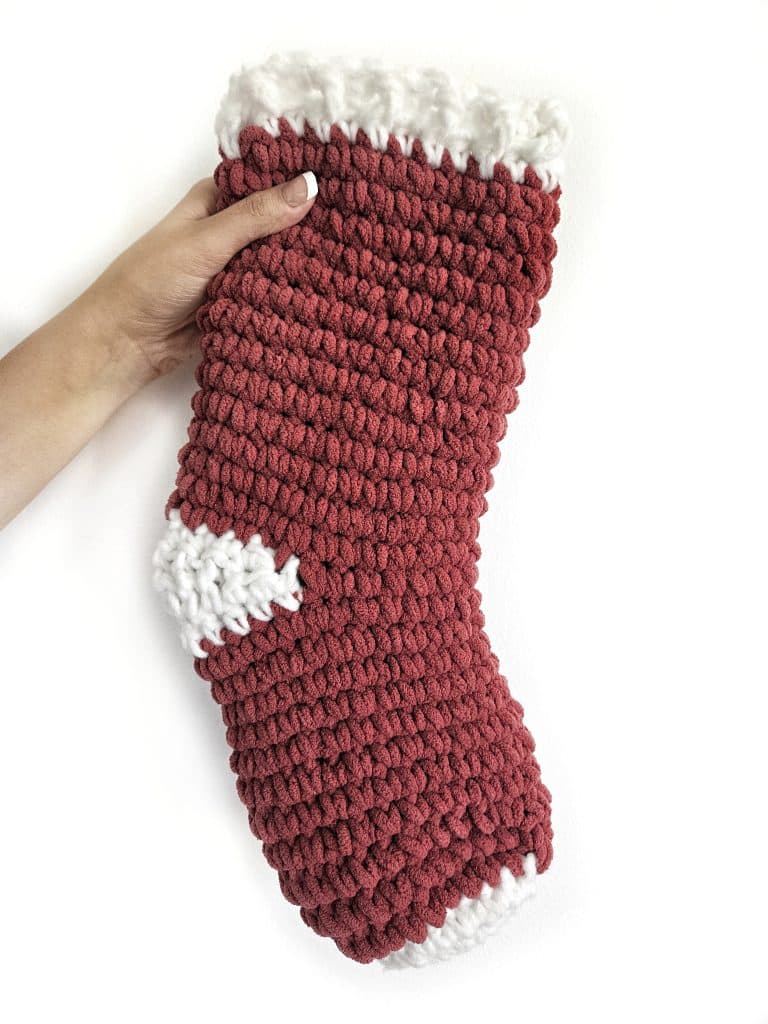
- Weave in all the loose ends with your yarn needle.
- You can add a loop of chain stitches at the top if you want to hang the stocking.
More Free Crochet Holiday Patterns
- Best Easy Crochet Patterns for the Holidays
- Easy Crochet Christmas Stocking Pattern
- 4 Easy Crochet Christmas Stocking Patterns for Beginners
- Easy and Free Christmas Crochet Patterns for Beginners
- Cozy Up This Winter With These Crochet Coffee Cozies
- Get Cozy with Our Pine Tree Crochet Pattern Collection
- 12 Fun Crochet Christmas Decorations To Make for Your Home
- 13 Simple DIY Ornaments for Christmas Using Yarn
Love your patterns!
Thank you so much!
-Krista