Easy Crochet Hat for Beginners
If you’re new to crocheting, and you’re looking to make something more than a washcloth or square, then this free crochet hat pattern is just for you! I remember the first time I crocheted a hat, and I was so happy I finished one. I want this tutorial to be like that for you!
Below, I’ll show you how to make a beginner crochet hat that’s simple to crochet and is something you can (and will want to) actually wear.

How to Crochet a Hat
You will need a few supplies and some basic crochet stitches to crochet a hat. Take a look below to learn all you’ll need to know about crocheting this easy hat pattern. You can do it! I promise!
Note: This hat is worked from the bottom up, which is a bit easier than hats worked from the top down using the magic circle method.
Supplies
Below are just a few of the basics that you’ll need on hand when you crochet this hat.
Yarn
First, let’s talk about yarn. I used a worsted weight yarn called Lion Brand Heartland for this design. I picked it because it’s great for beginners, easy to work with and works up quickly.
Heartland
This yarn is made by Lion Brand, and is a Weight 4 – Medium yarn.
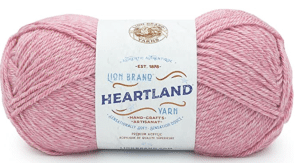
Fiber: 100% Acrylic
Yardage: 251yd / 230m (200yd / 183m in prints)
Hook: 6 mm (J-10)
Substitute: Lion Brand Vanna’s Choice
How much yarn will I need? About 200 yards should be enough for one adult-sized hat, which is about one skein of yarn.
Extra Materials & Tools
Next, don’t forget your accessories!
- Yarn Needle
- Scissors
- Measuring Tape
A yarn needle is a must for weaving in those loose ends when you’re all done. And of course, you’ll need a pair of scissors to cut your yarn. Make sure they’re sharp enough to give a clean cut so your work looks neat. Measuring tape will also be useful to make sure your hat turns out to the size it was intended.
Crochet Stitches
Lastly, stitches. Don’t sweat it; I tried to keep things simple with just three basic stitches. You’ll need to know how to chain (ch), single crochet (sc), and double crochet (dc).
You will also need to know how to double crochet decrease (dc2tog) to make the top of the hat not as wide as the bottom.
Even if you’re new to crochet, these stitches are easy to get the hang of. With these basics in hand, you’ll be all set to tackle the pattern.
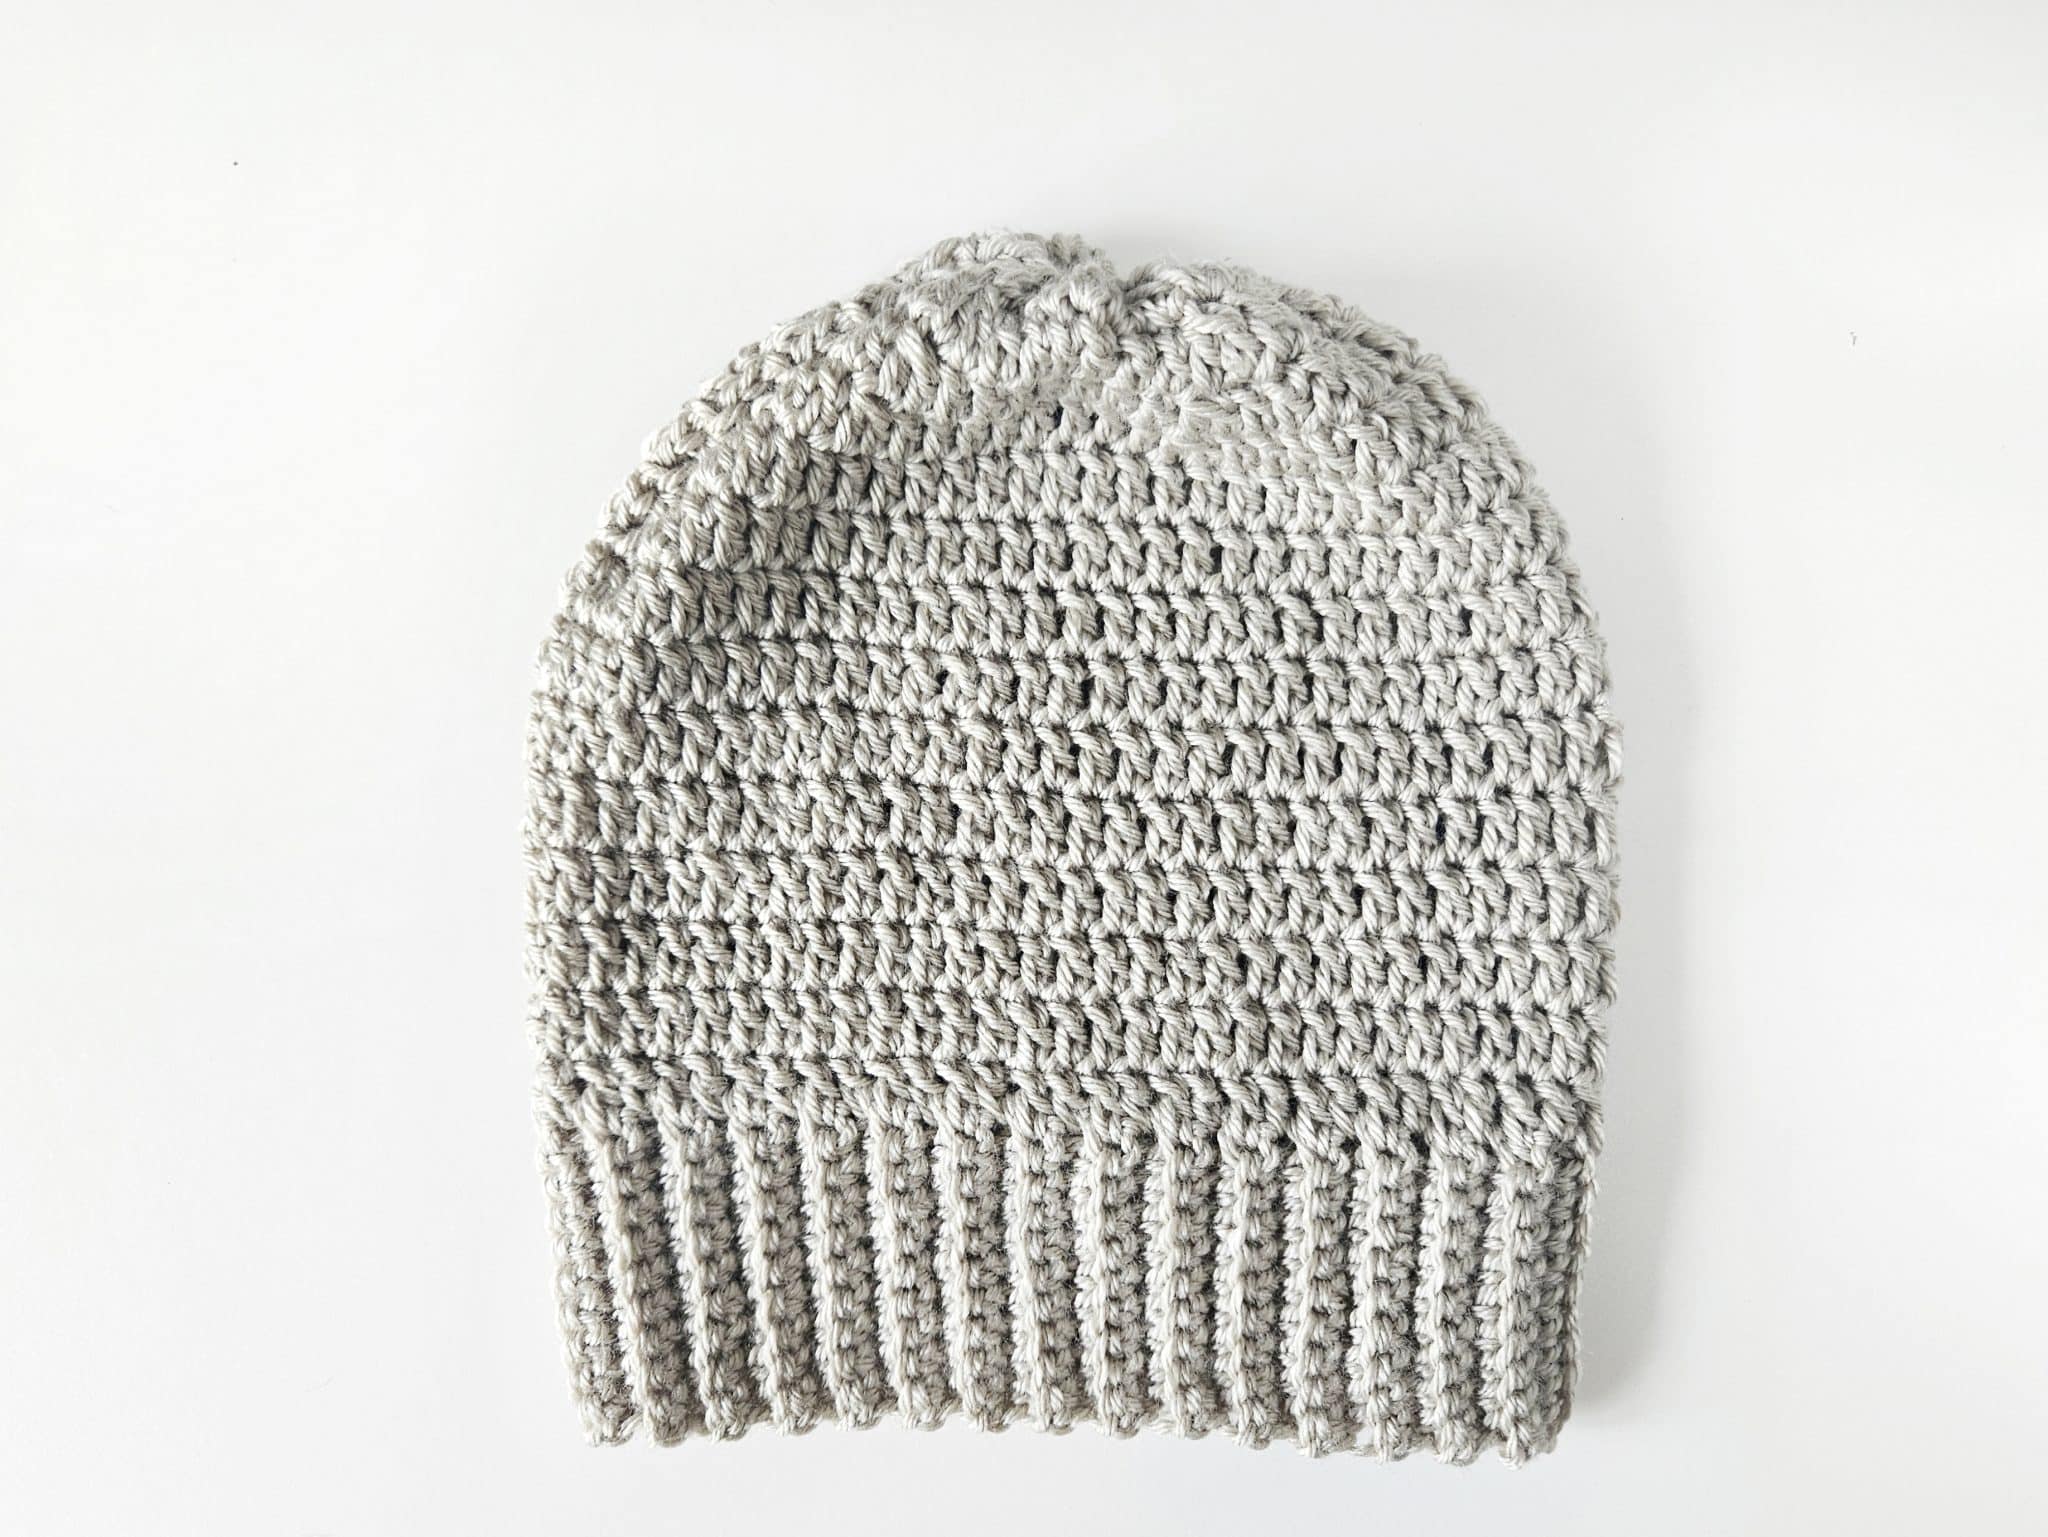
Let’s Get Started
Scroll on down to find one of the easiest crochet hat patterns that you can make yourself this winter!
This crochet hat tutorial includes a material list, stitches used, and the full detailed pattern with a photo tutorial to guide you through each step. Enjoy!
Easy Crochet Hat Pattern for Beginners
Skill Level: Easy
Materials
- Worsted weight yarn (about 200 yards)
- Hat shown uses Lion Brand Heartland in Dry Tortugus
- Size I (5.5 mm) crochet hook
- Stitch markers
- Yarn needle
- Scissors
Stitches Used
- Chain (ch)
- Single Crochet (sc)
- Single Crochet in the Back Loops
- Double Crochet (dc)
Size
- Adult (21-23 inch head circumference)
- If you’d like to change the size, just add more rows to the band and continue on with the pattern as written, considering the extra stitches needed with the widened band.
- 10 inches tall x 21 inch circumference, unstretched (as written)
Instructions
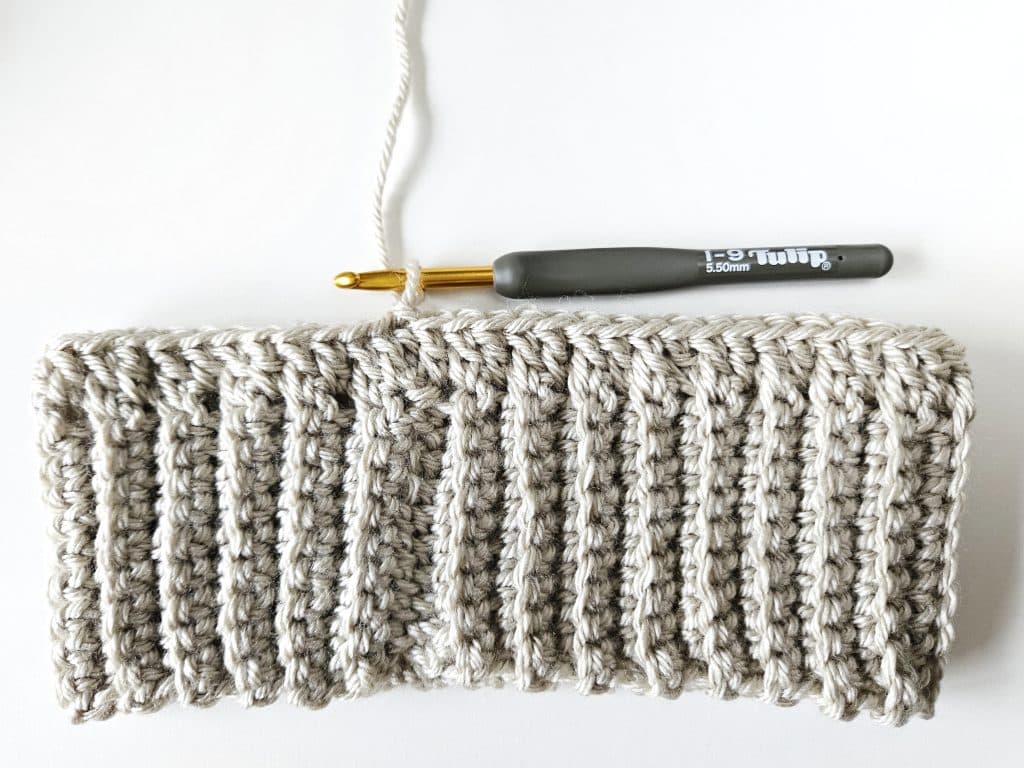
Ribbing
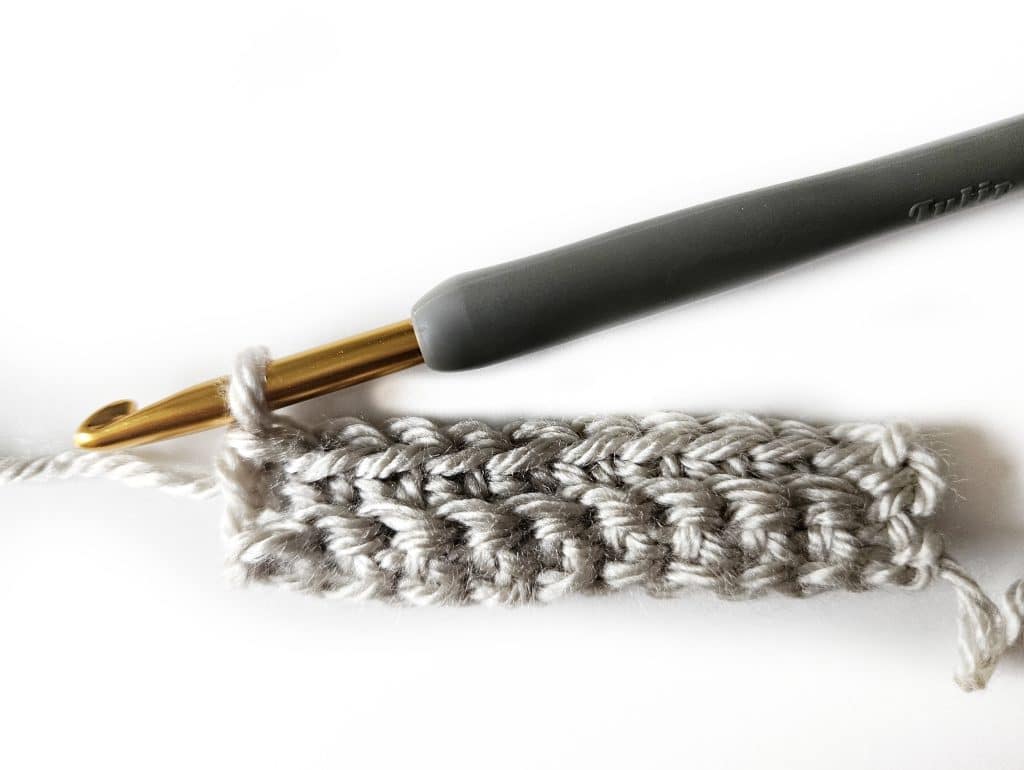
- Ch 11.
- Sc in 2nd ch from hook and across (10 sc). Turn.
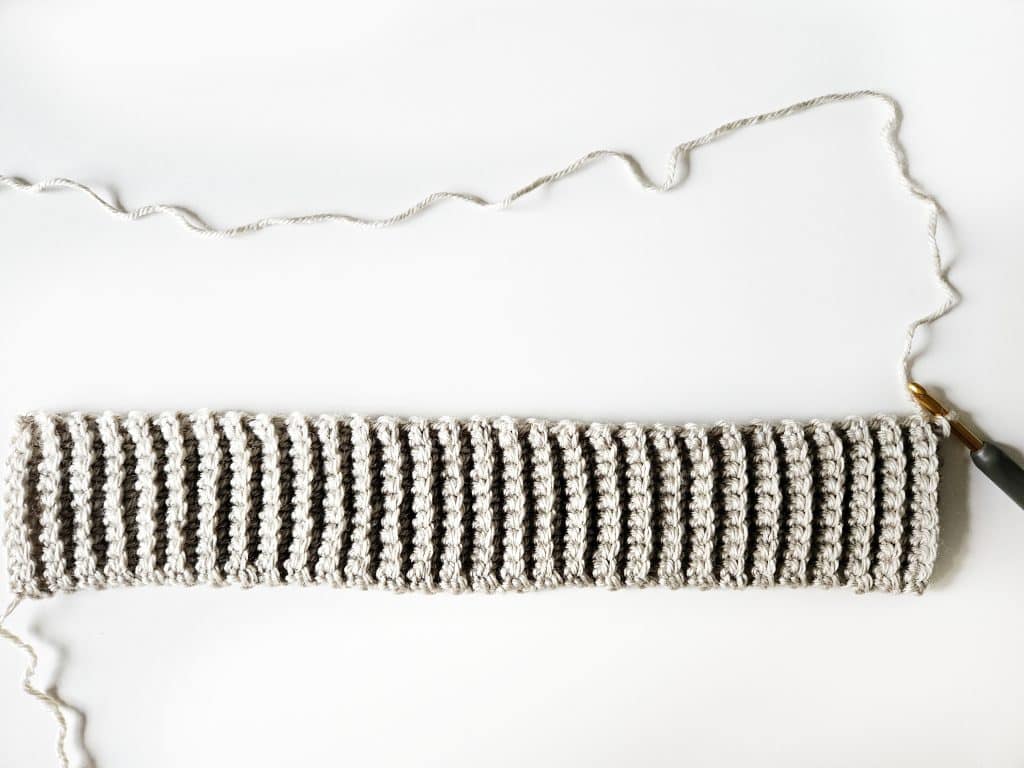
- Ch 1. Sc in back loops only across (10 sc). Turn.
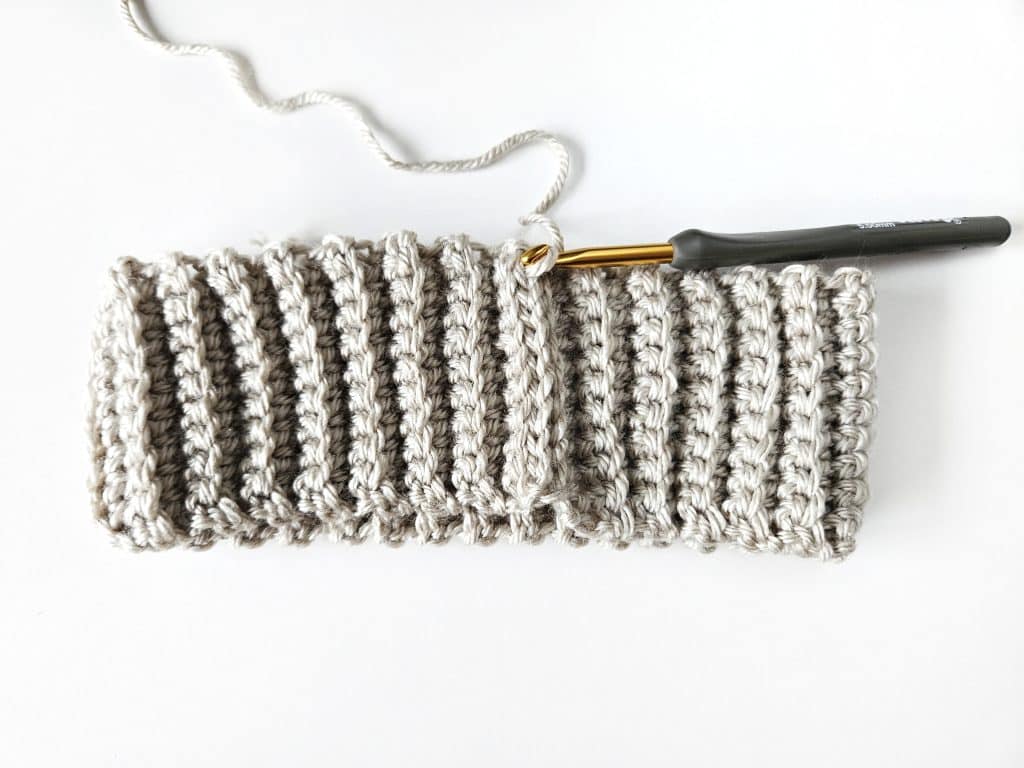
- Repeat row 3 until you have 60 rows. Join ends with sl st.
Hat Body
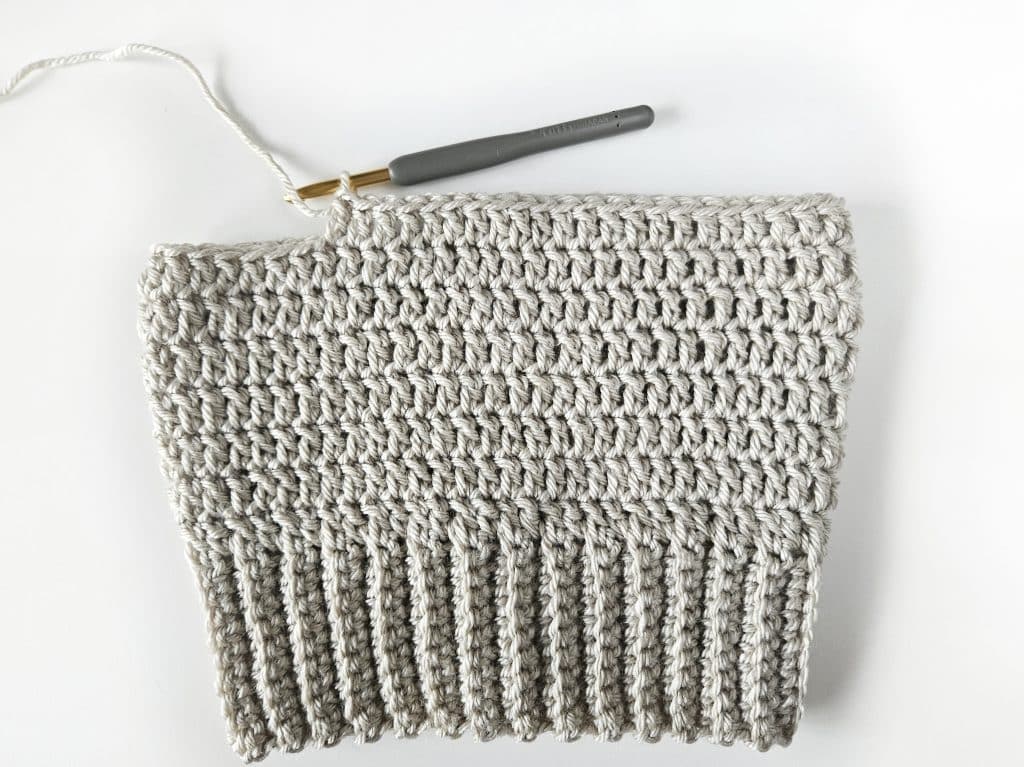
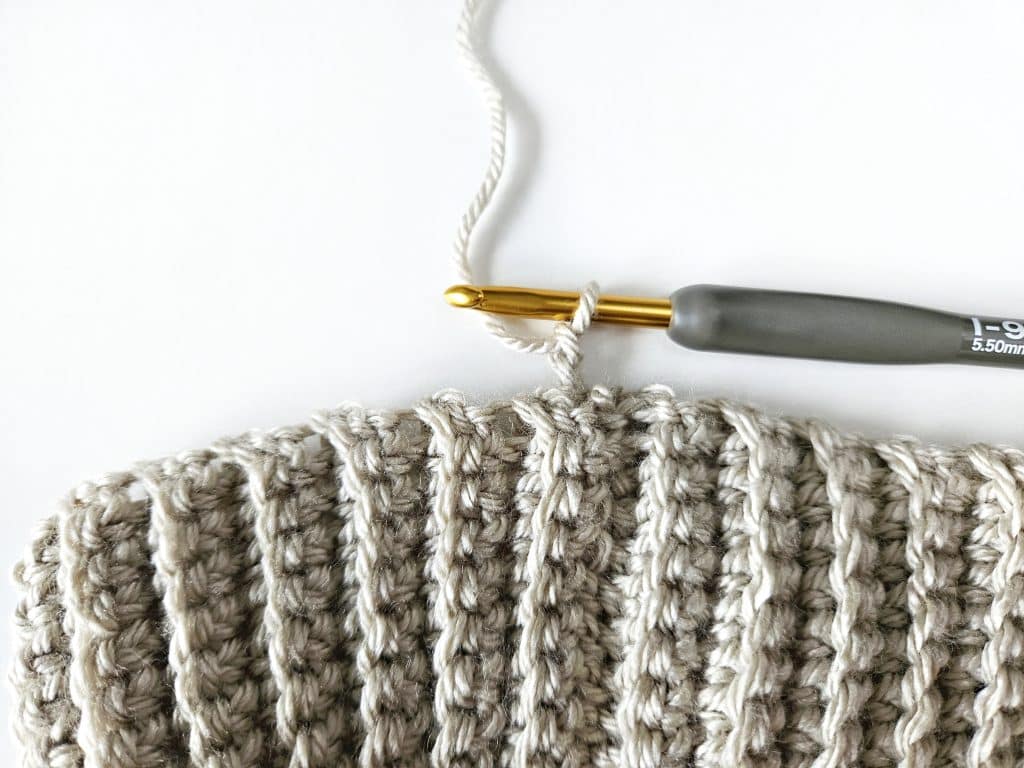
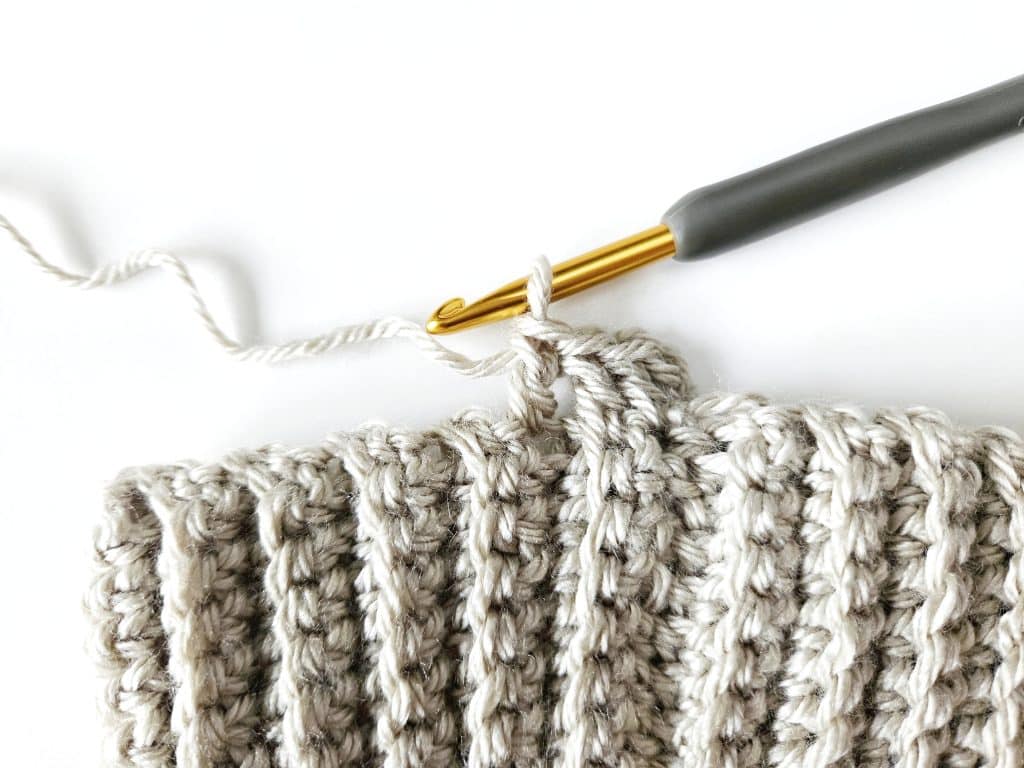
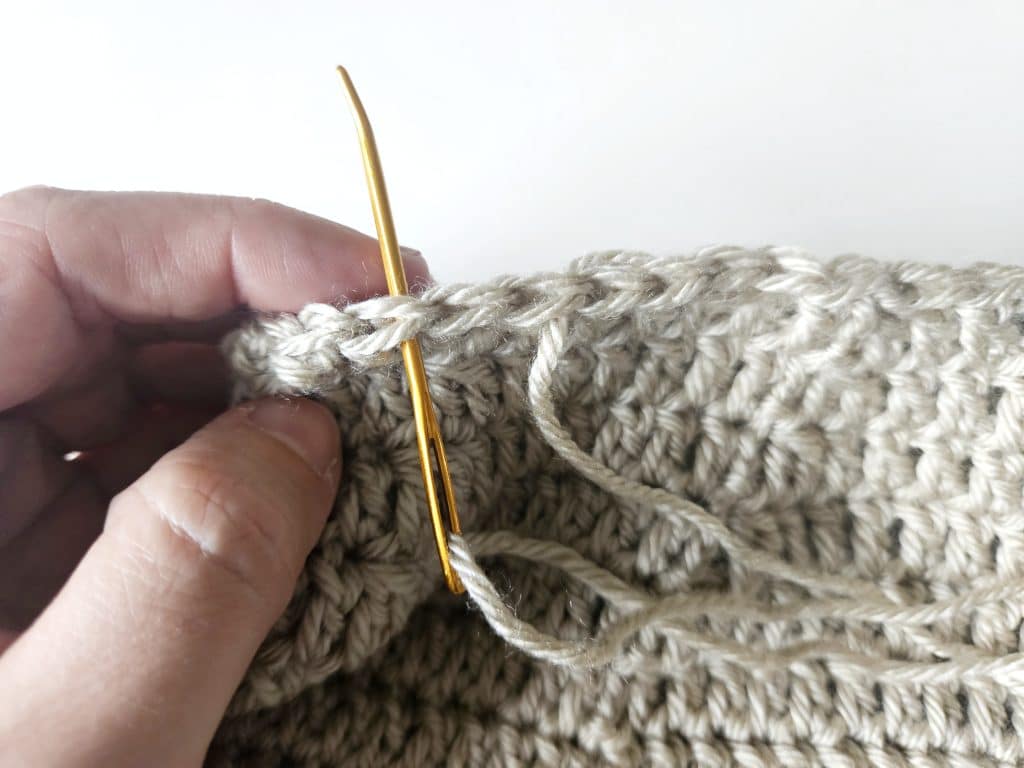
- Ch 2 working the stitches along the edge of the ribbing.
- Dc 60 times evenly around the ribbing.
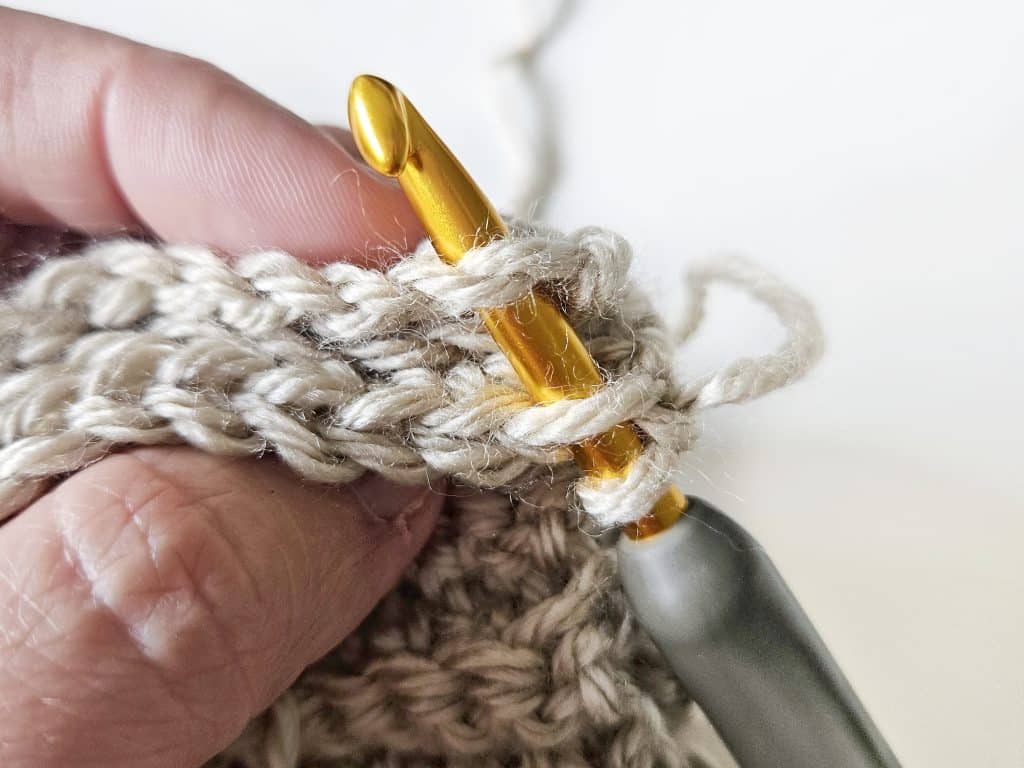
- Place your sts as even as possible. I placed mine as shown in the pictures. One in the small gap and one on top of the end of the st.
- Join with sl st to first dc.
- Ch 2. Dc in each stitch around. Join.
- Repeat row 3 for a total of 10 rounds.
Decrease Rounds
- Ch 2. Dc in next 8, dc2tog. Repeat around. Join. (54 dc)
- Ch 2. Dc in next 7, dc2tog. Repeat around. Join. (48 dc)
- Ch 2. Dc in next 6, dc2tog. Repeat around. Join. (42 dc)
- Ch 2. Dc in next 5, dc2tog. Repeat around. Join. (36 dc)
Finish
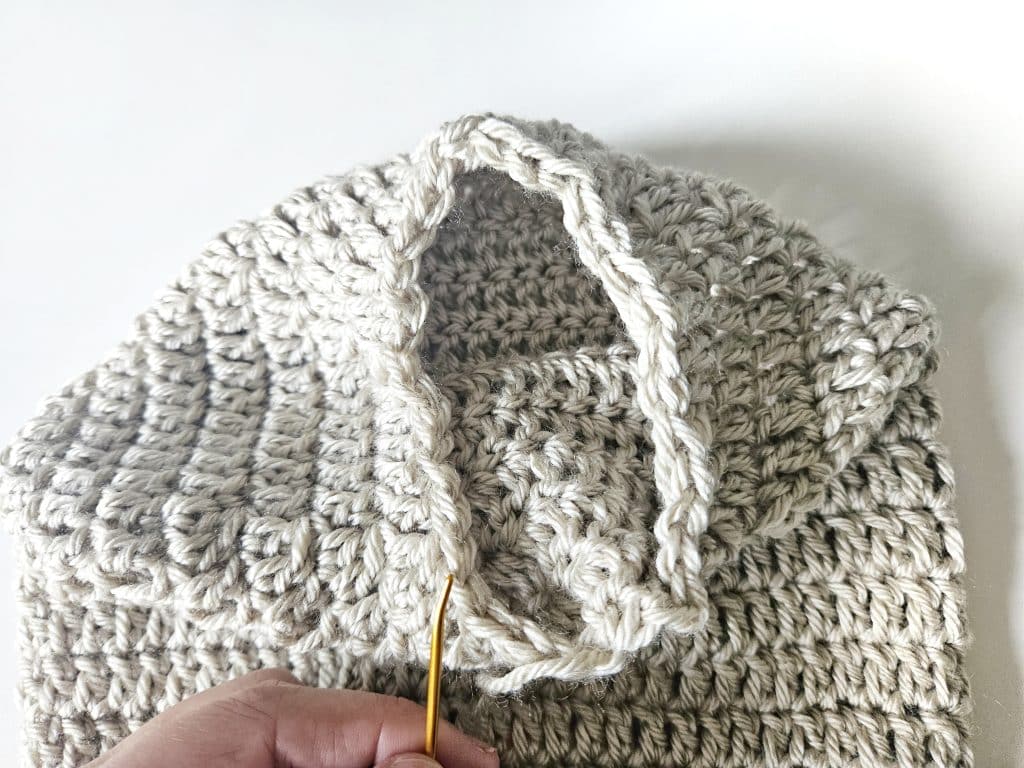
Cut the yarn, leaving a long tail.
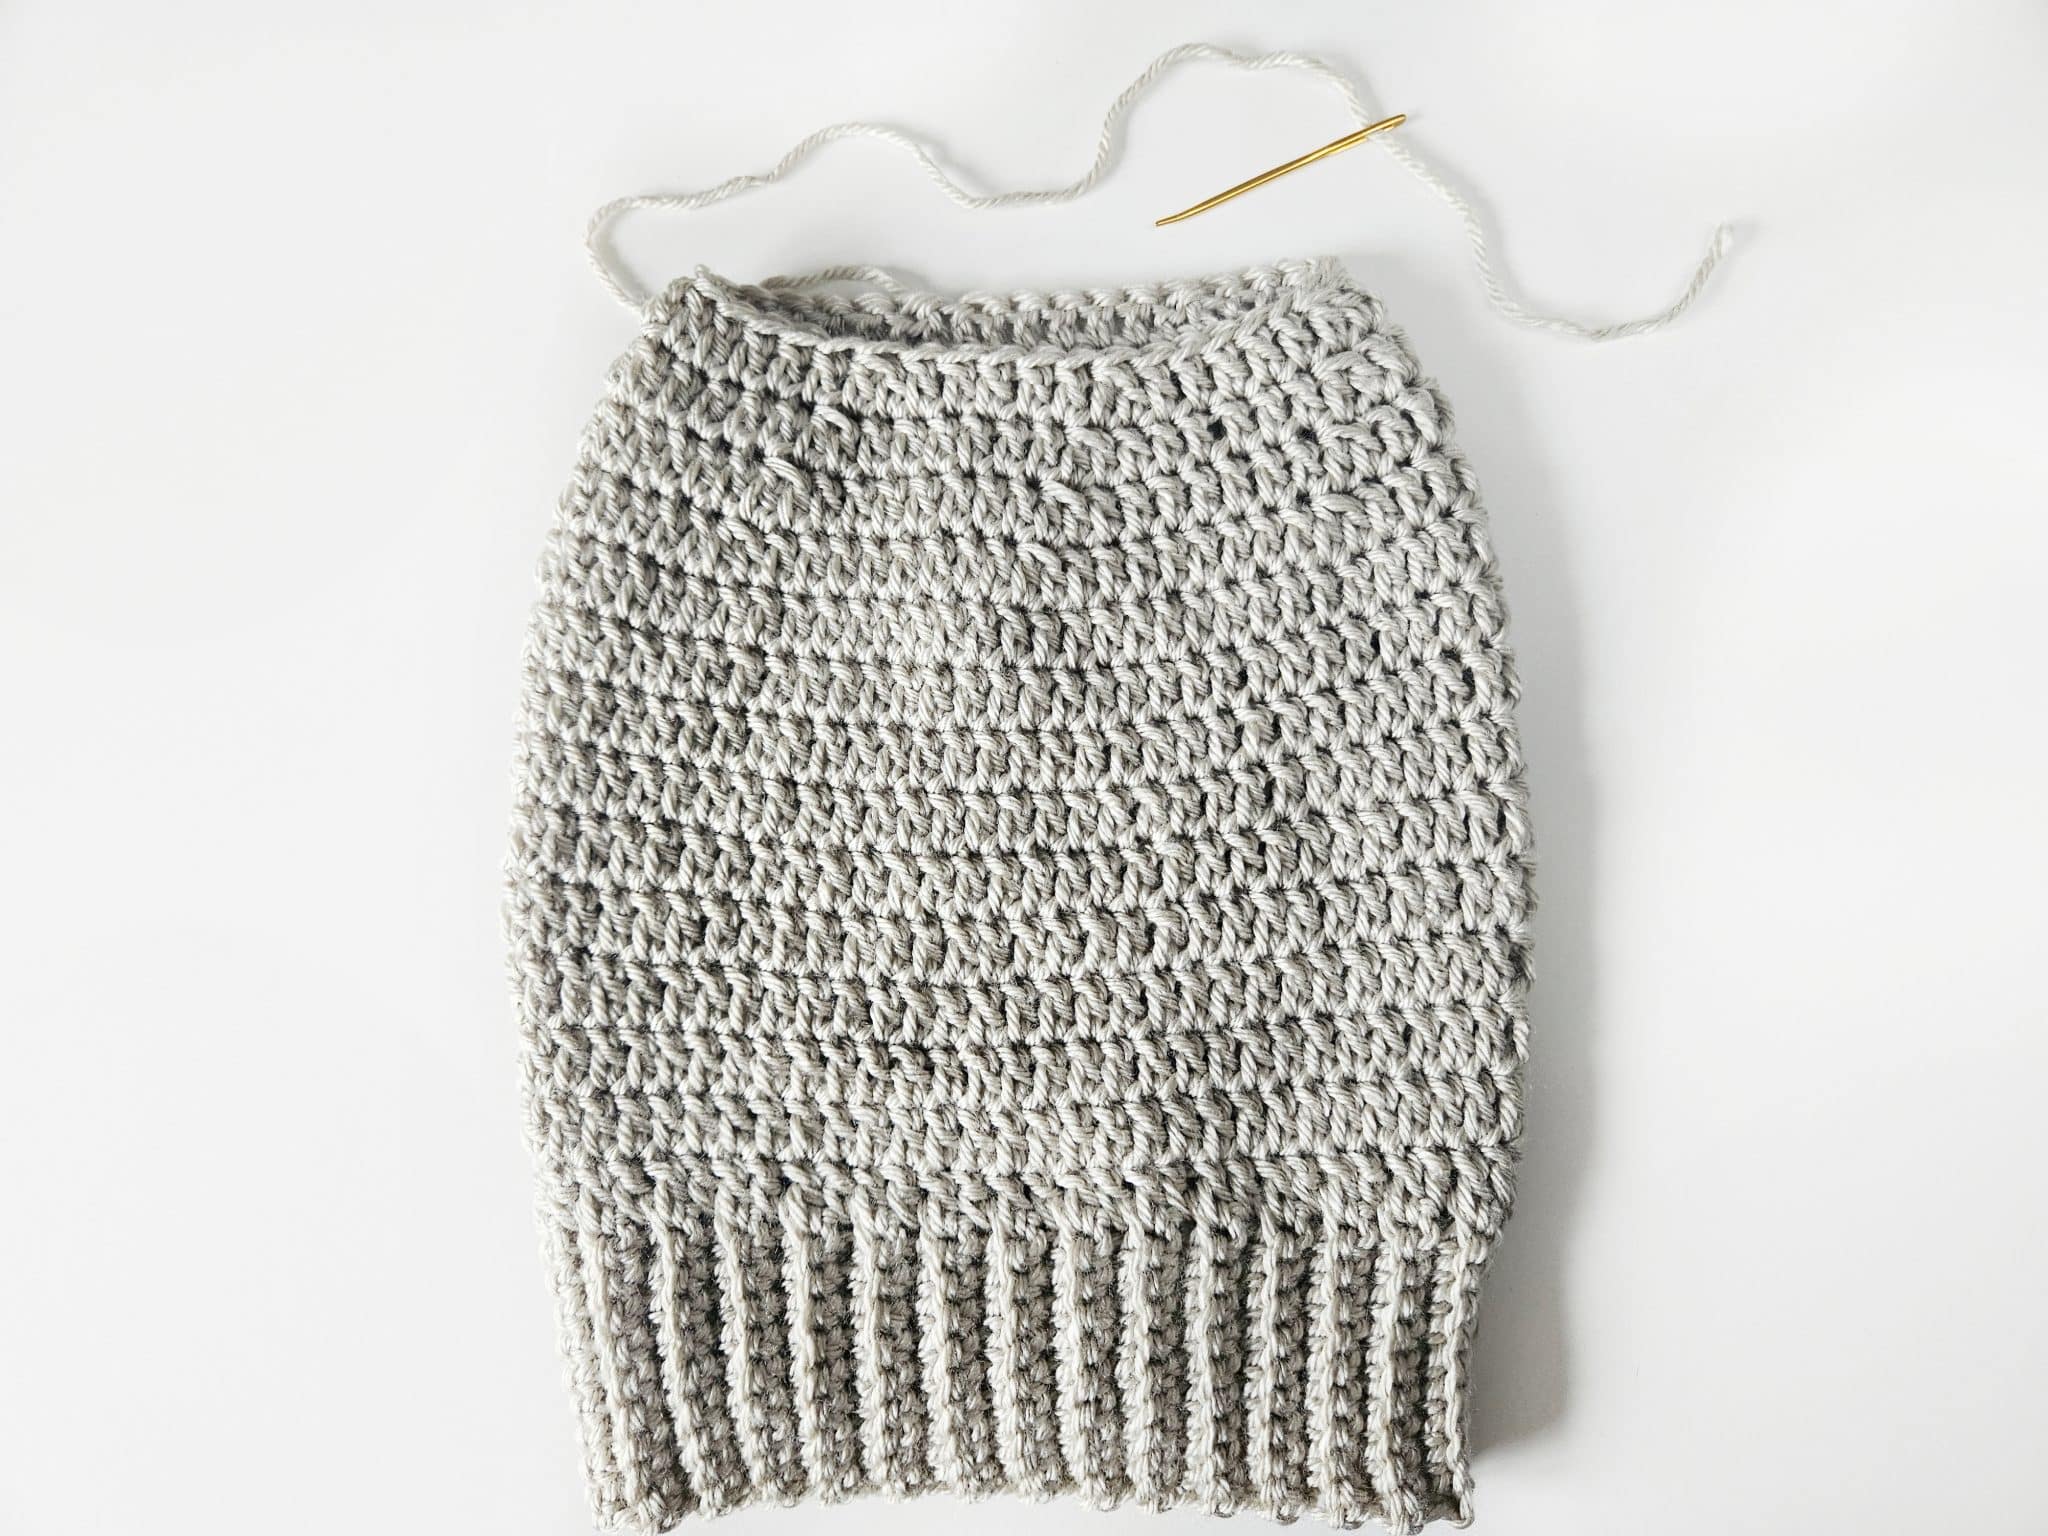
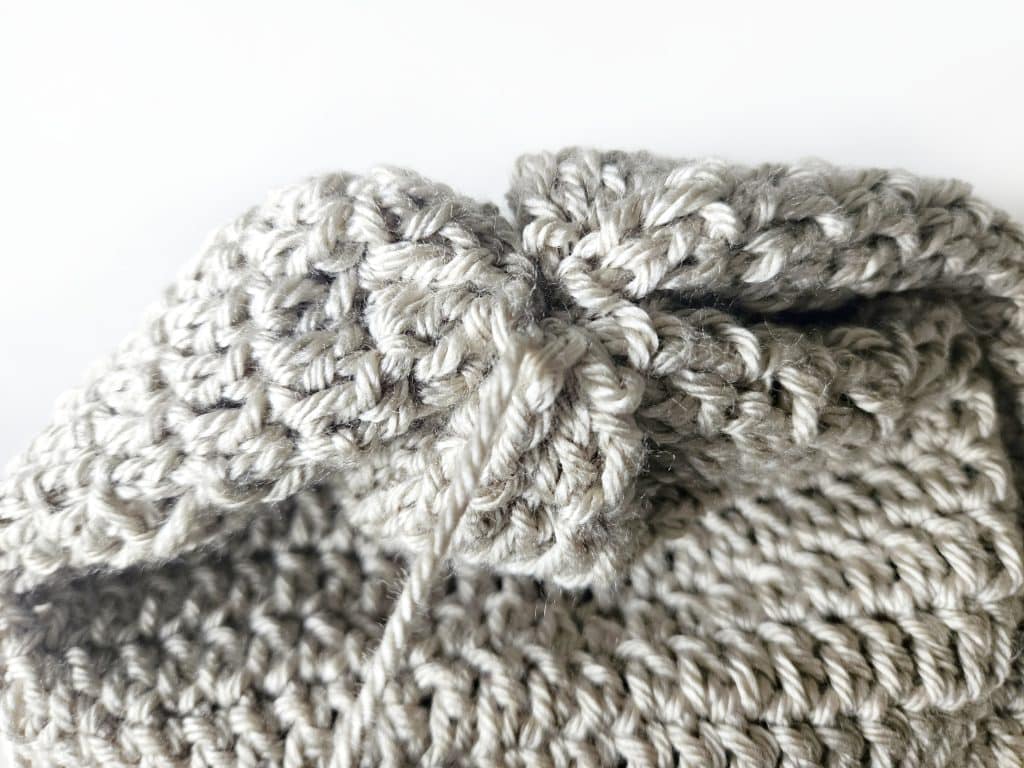
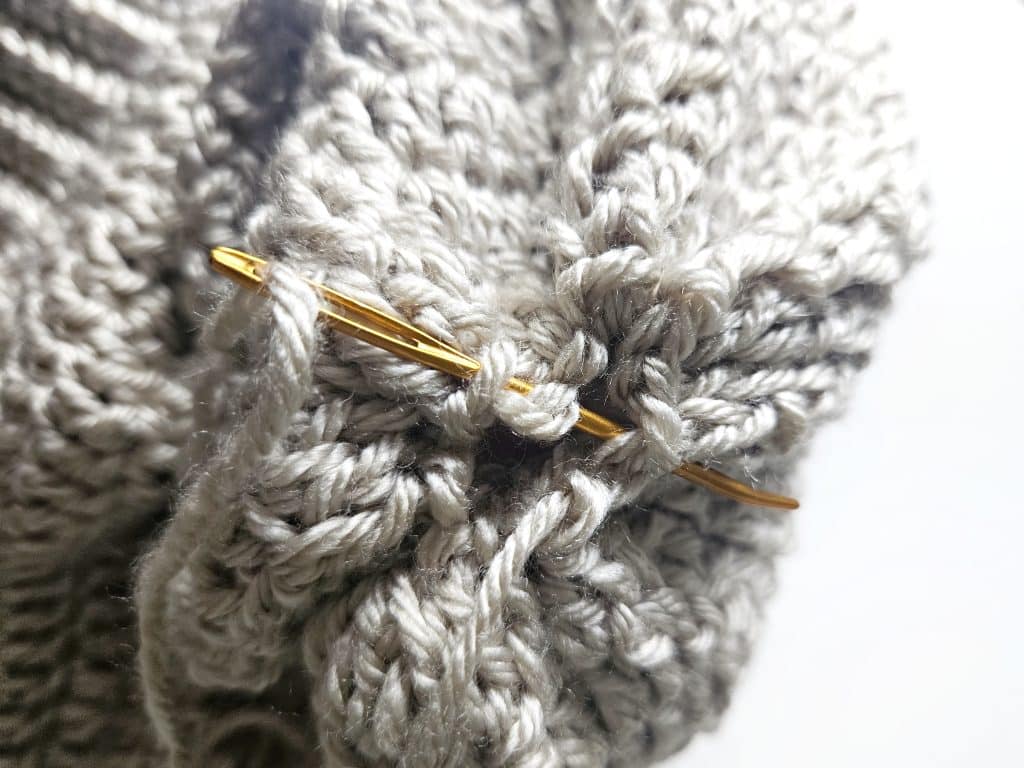
Using a yarn needle, thread through the top stitches in and out. Pull tight to close the top. Secure the top by weaving back and forth over the small opening to close.
Weave in all ends.
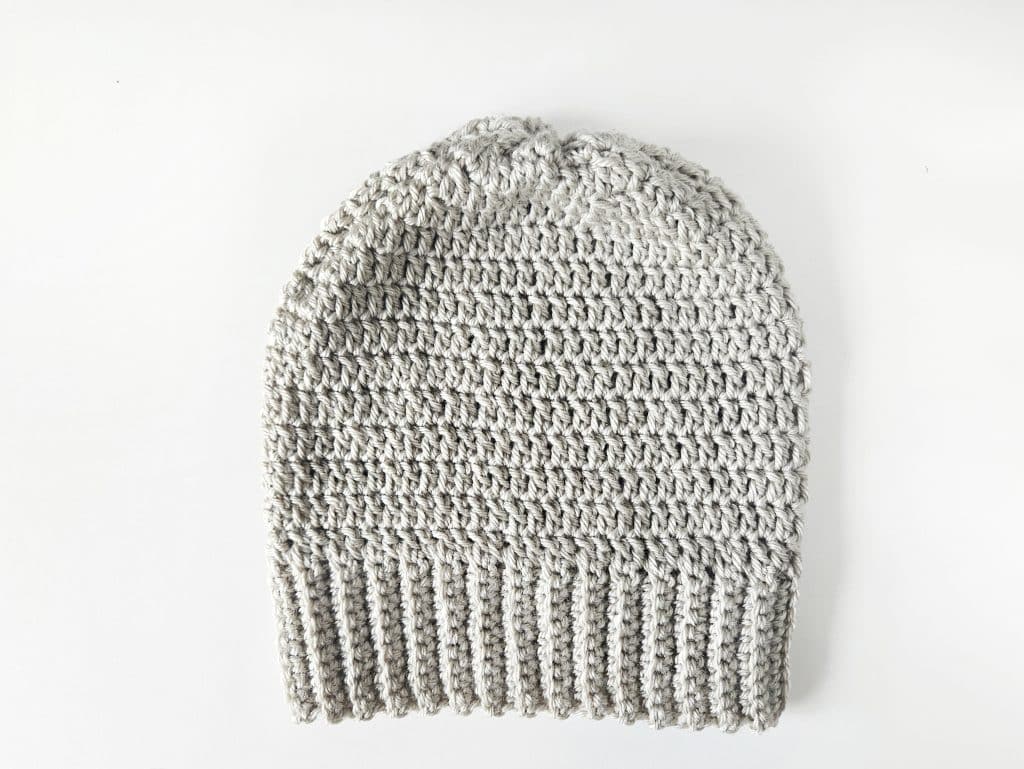
There you go! You’ve made a simple crochet hat. Enjoy!
More Free Crochet Hat Patterns
Take a look at some of my other free hat patterns and crochet beanie patterns below that you may want to crochet too.

Hi Krista.. I’m looking at my 60 rows and it seems to be a bit small. Is this for an adult beanie?
Hi, Yes it is. It will fit an adult with a 21-23 inch head circumference. If you’d like to change the size, just add more rows to the band and continue on with the pattern as written, considering the extra stitches needed with the widened band.
Happy Crocheting!
Krista
Hi Krista, I don’t understand “Dc in next 8, dc2tog. Repeat around. Join. (54 dc)” onwards…
Good morning!
You would double crochet once into the next 8 stitches, then double crochet the next two stitches together (Aka dc decrease or dc2tog), and then repeat those steps around.
Krista
For the ribbing, I’m not sure what you mean by ‘Ch 1. Sc in back loops only’ — do you have a demo of what the back loops are?
Hi Julie,
I do! 🙂 Here you go: https://easycrochet.com/back-loop-crochet-vs-front-loop-crochet/
Happy Crocheting!
Krista
I would like to have more free patterns. I’m trying to learn and yours look easy