Easy Guide to the Sand Stitch in Crochet
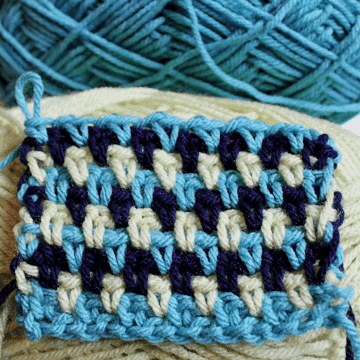
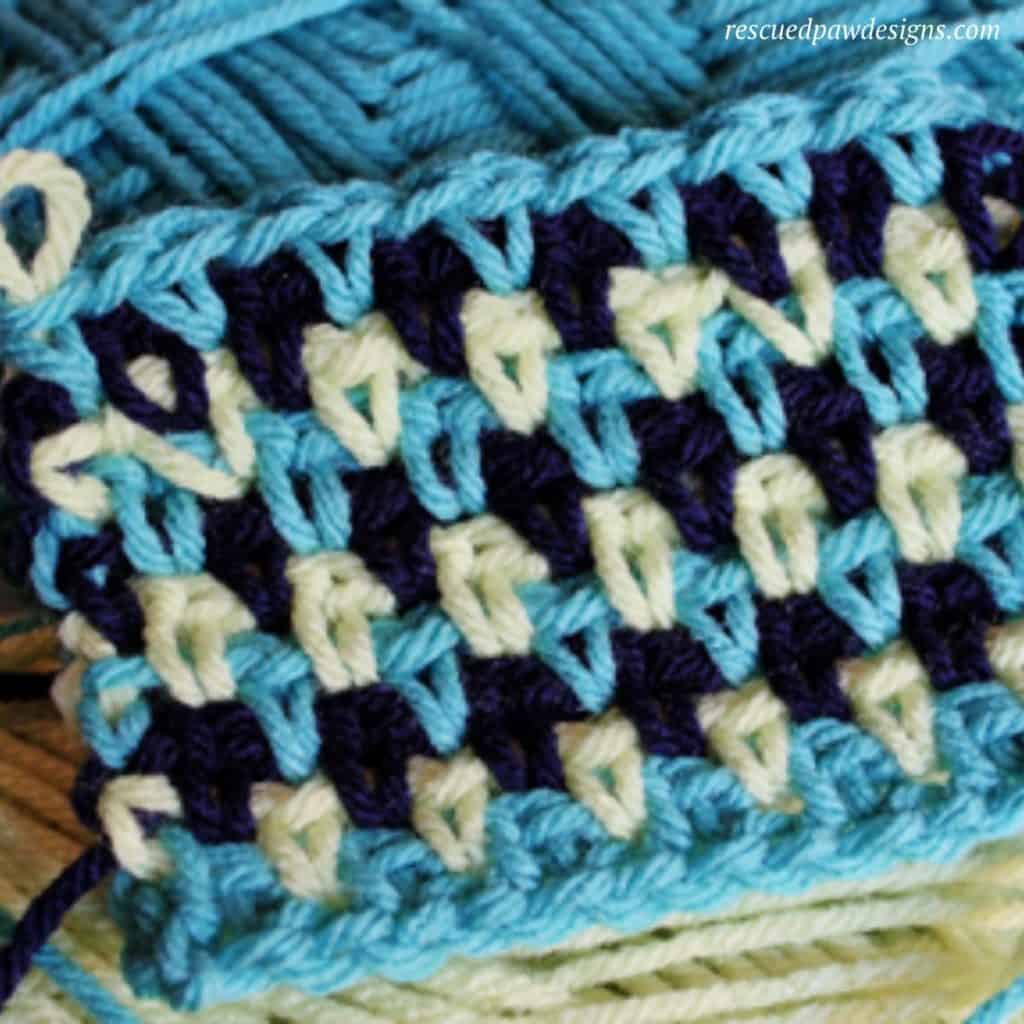
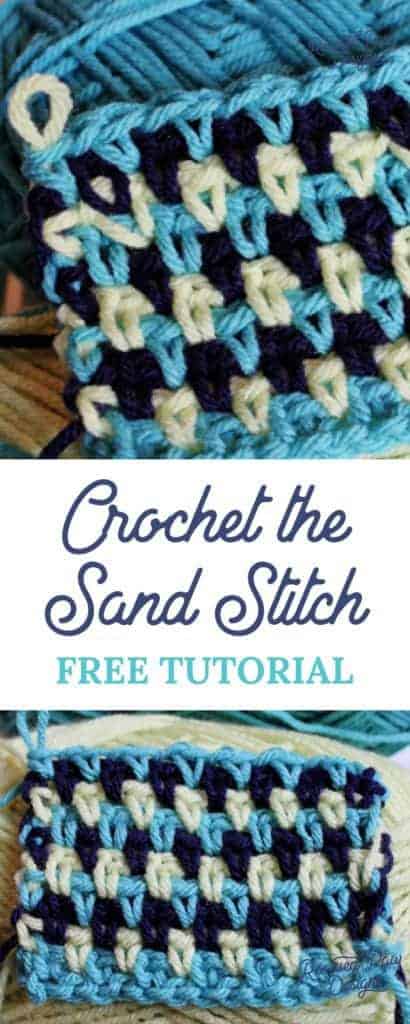
The crochet sand stitch is a great stitch to learn to showcase yarn colors that are bold and scream for attention!
The way this unique stitch, which is also called the moss stitch or granite stitch, can be used with color makes it a crochet stitch to learn!
Read on down to learn how to do the sand stitch in crochet today!
The Yarn That’s Perfect For The Sand Stitch
For my example in the sand stitch swatch I used three different color yarns and will refer to them as A, B, and C. Any worsted weight yarn will work if you’d like to mimic what I am showing.
The Yarn
Vanna’s Choice
This yarn is made by Lion Brand, and is a Weight 4 – Medium yarn.
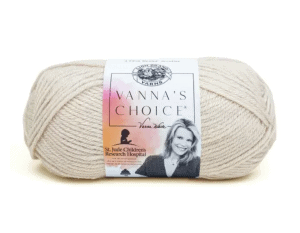
Fiber: 100% Acrylic
Yardage: 156m / 171 yds
Hook: 5.5 mm (I-9)
Substitute: Lion Brand Heartland
Wool-Ease Thick and Quick
This yarn is made by Lion Brand, and is a Weight 6 – Super Bulky yarn.
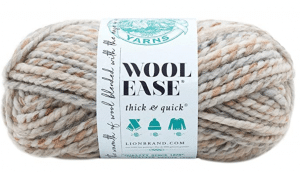
Fiber: Acrylic (80%), Wool (20%)
Yardage: 106 yards (87 in prints/stripes, 92 in metallic)
Hook: 9 mm (M/N-13)
Substitute: Lion Brand Hometown USA
If you’d like to make this sand stitch with a bulky yarn, that would work too, just be sure to use the recommended hook size for the yarn. I listed a few of my favorite yarns, Vanna’s Choice and Wool-Ease Thick + Quick below, that you can try to make the sand stitch with.
Perfect Crochet Stitch for Beginners!
Thinking you can’t do this crochet stitch? Well, this stitch tutorial is a perfect project for beginners! You will need to know how to single crochet and chain. That’s it!
Explore each of the stitches I have listed out below, so you’ll be ready to start making a project with the sand stitch.
Stitches used in the Sand Stitch
Single Crochet (sc):
- Insert hook from front to back in the second chain from the hook or designated stitch
- Bring the yarn over (YO) the hook and pull the yarn back through the chain (or stitch) from back to front (2 loops on hook).
- YO and pull through both loops on the hook.
Chain Stitch (ch):
A simple crochet stitch that often forms the foundation of what crochet stitches are worked into during projects.
- Make a slip knot.
- Insert hook into slip knot point first, bring yarn over the shaft of the hook from back to front and grab it with the throat of the hook.
- Draw hooked yarn through slip knot and onto the hook. This movement will make one chain stitch
- Repeat steps two and three until you have the desired number of stitches for a pattern. One loop will remain on the hook.
Once you get the hang of this simple sand stitch, your project will come together quick.
Once you get this tutorial perfected, why not try out my free crochet pattern the Jane Throw Blanket that uses the moss stitch aka sand stitch as well! You’ll LOVE it! Promise.
If you love the use of color in crochet projects, then you will definitely enjoy this fun 3 color crochet stitch! Keep on scrolling down to find the free photo tutorial for the Crochet Sand Stitch!
Crochet Sand Stitch Tutorial
Skill Level: Easy
Materials
- Crochet Hook that corresponds to the yarn that is being used.
- I used a worsted weight yarn Lion Brand Yarn, Vanna’s Choice. Make sure to have 3 different color yarns
- Scissors
- Yarn Needle
Crochet Abbreviations
- sc= Single Crochet
- ch = Chain
- st (s) = Stitch (es)
- sk = Skip
Notes
- If you need help with changing yarn colors, I have an easy tutorial available.
- Colors will be referred to as Color A, Color B, Etc.
- Written in standard US terms
Sand Stitch in Crochet Steps
To Start ch an even number of st(s). I chose to do 16 for this tutorial.
Foundation Row: With Color A, sc in 4th ch from hook (that will count as your first sc, ch 1 grouping) *ch 1, sk next ch, 1 sc in next ch, repeat from * across, turn, change colors to B.
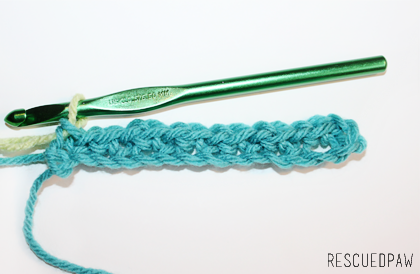
Row 1: With B, ch 2 (that will count as your first sc, ch 1 grouping), sk first sc (from previous row), * 1 sc in next ch 1 space (from previous row), ch 1, sk next sc (from previous row) Repeat from * across. Ending with 1 sc in ch 1 space of turning ch, turn. Change to Color C.

Row 2: Repeat Row 1 with Color C
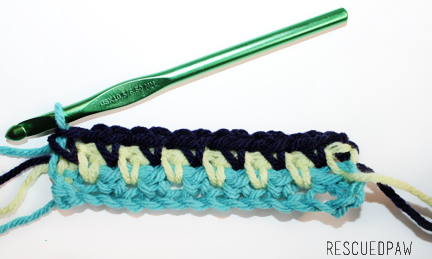
Finishing: To continue pattern Repeat Row 1, Switching Between A, B and C Yarns. Remember to carry yarn loosely up the sides.


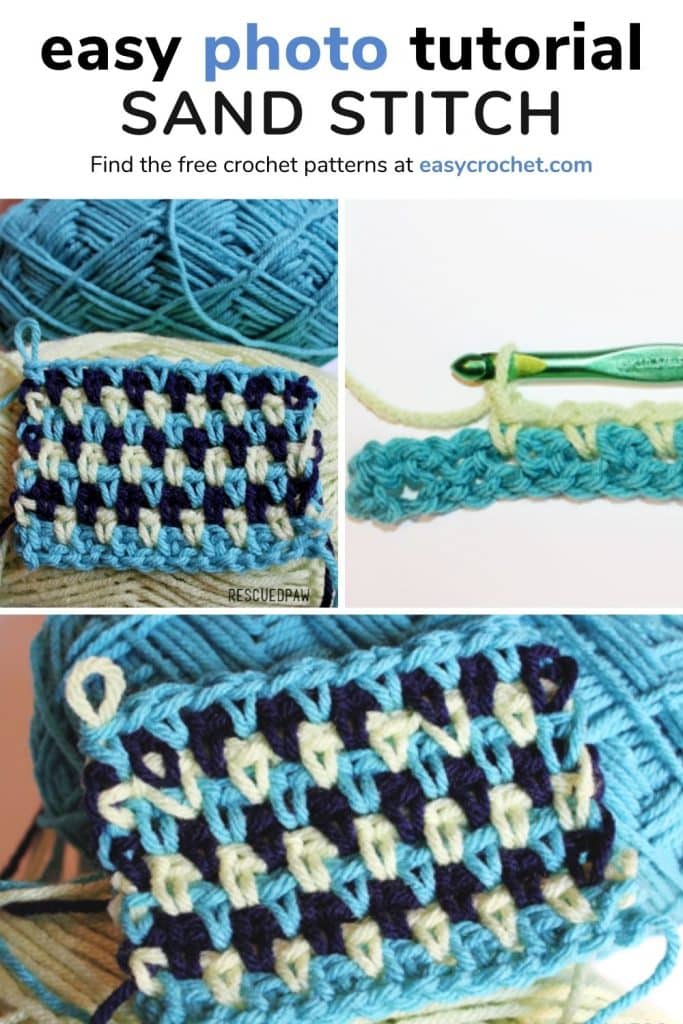
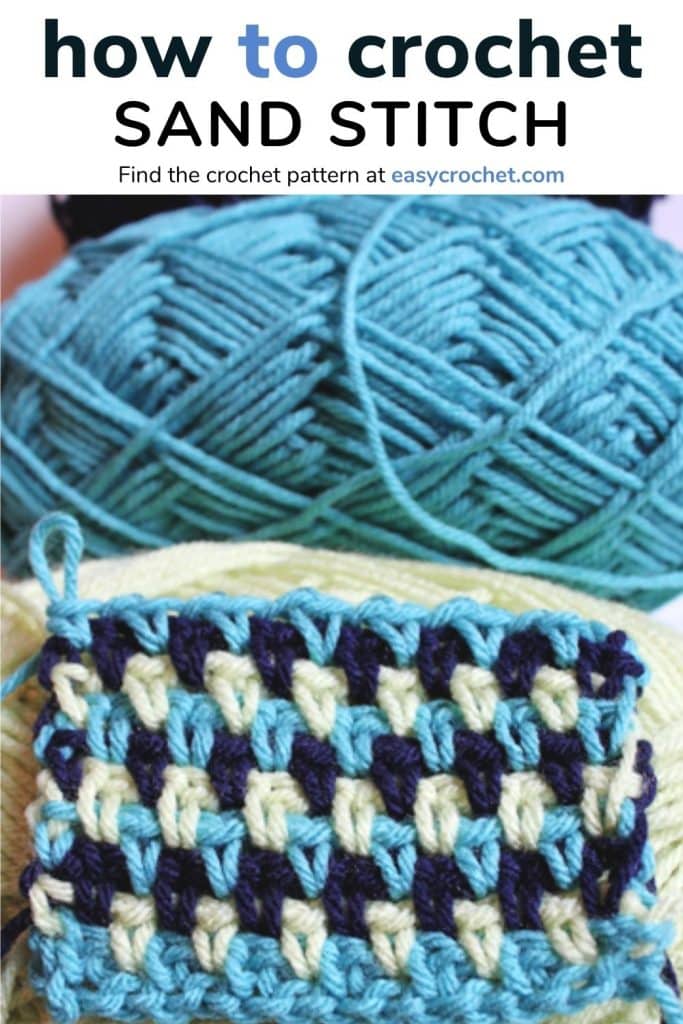
Did You Love This Sand Stitch Tutorial?
If so, then you may also like some of my other fun crochet tutorials, like the primrose stitch tutorial and how to change colors in crochet tutorial as well. Below you will find even more stitch tutorials to crochet as well!
More Crochet Stitch Tutorials
- Crochet Puff Stitch Tutorial with Photos
- Whip Stitch Crochet Seaming Technique
- Half Double Crochet Slip Stitch (hdc slst) for Beginners
- Single Crochet Increase Tutorial (sc inc)
- Creating Seams Using the Mattress Stitch
- Single Crochet Two Together (Single Crochet Decrease)
- How to Crochet a Cable Stitch
- Crochet Moss Stitch Tutorial (Written, Photo and Chart)
- How to Crochet a Granny Stripe in Rows
- How to Make a Crochet Rib Stitch (Photo Tutorial)

I’m not seeing the instructions on how to do the border?
Hi Bonnie, I did not include instructions for a border with this stitch tutorial.
I would probably use a single crochet border if I made a bigger version of this. 🙂
Happy Crocheting!
I’ve never heard this stitch called the sand stitch. Isn’t it the same as the moss or granite stitch?
Hi Sherrye,
It is the same. 🙂 I am not sure why there are so many different names for one stitch. 🙂
Krista
Could you send me the pattern with a black and white drawing of the stitch formation