Crochet Ice Cream Cone Applique
Do you want to learn how to crochet ice cream? With this free pattern, you can crochet a cute ice cream cone appliqué! It’s great for adding to blankets, hats, and so much more.
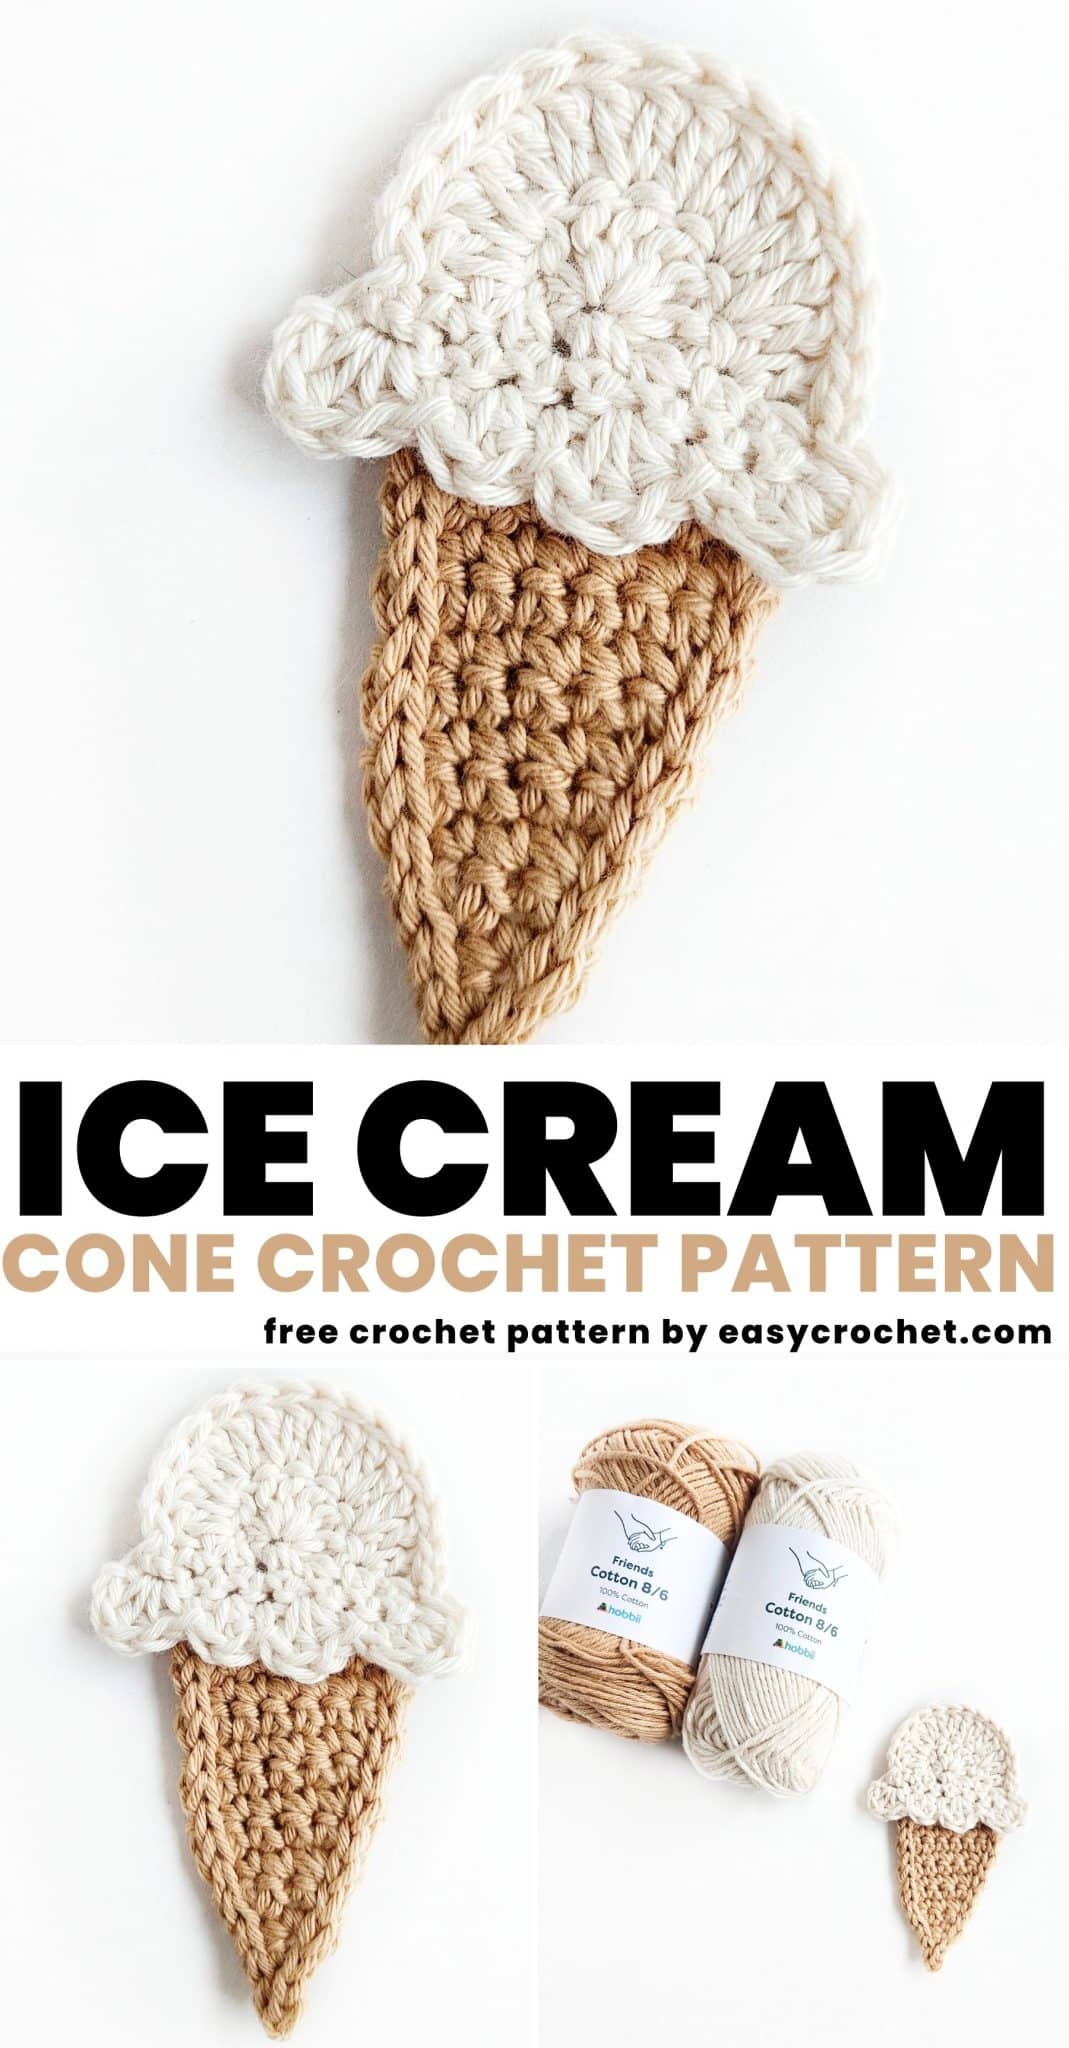
Below, I’ll show you how to crochet this ice cream cone with step-by-step photos (it’s easy, I promise), so you’ll be able to make your very own crocheted ice cream cone in no time.
Crochet Ice Cream Cone Applique
Below, after you go over the basic stitches needed, the yarn you’ll want to use and potential uses, then you can start crocheting this ice cream cone!
Stitches
Single Crochet
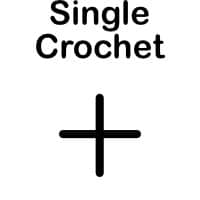
Abbreviation: sc
Difficulty Level: Easy
Learn this stitch →
Slip Stitch

Abbreviation: Sl St
Difficulty Level: Easy
Learn this stitch →
Half Double Crochet

Abbreviation: hdc
Difficulty Level: Easy
Learn this stitch →
Double Crochet
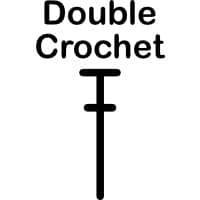
Abbreviation: dc
Difficulty Level: Easy
Learn this stitch →
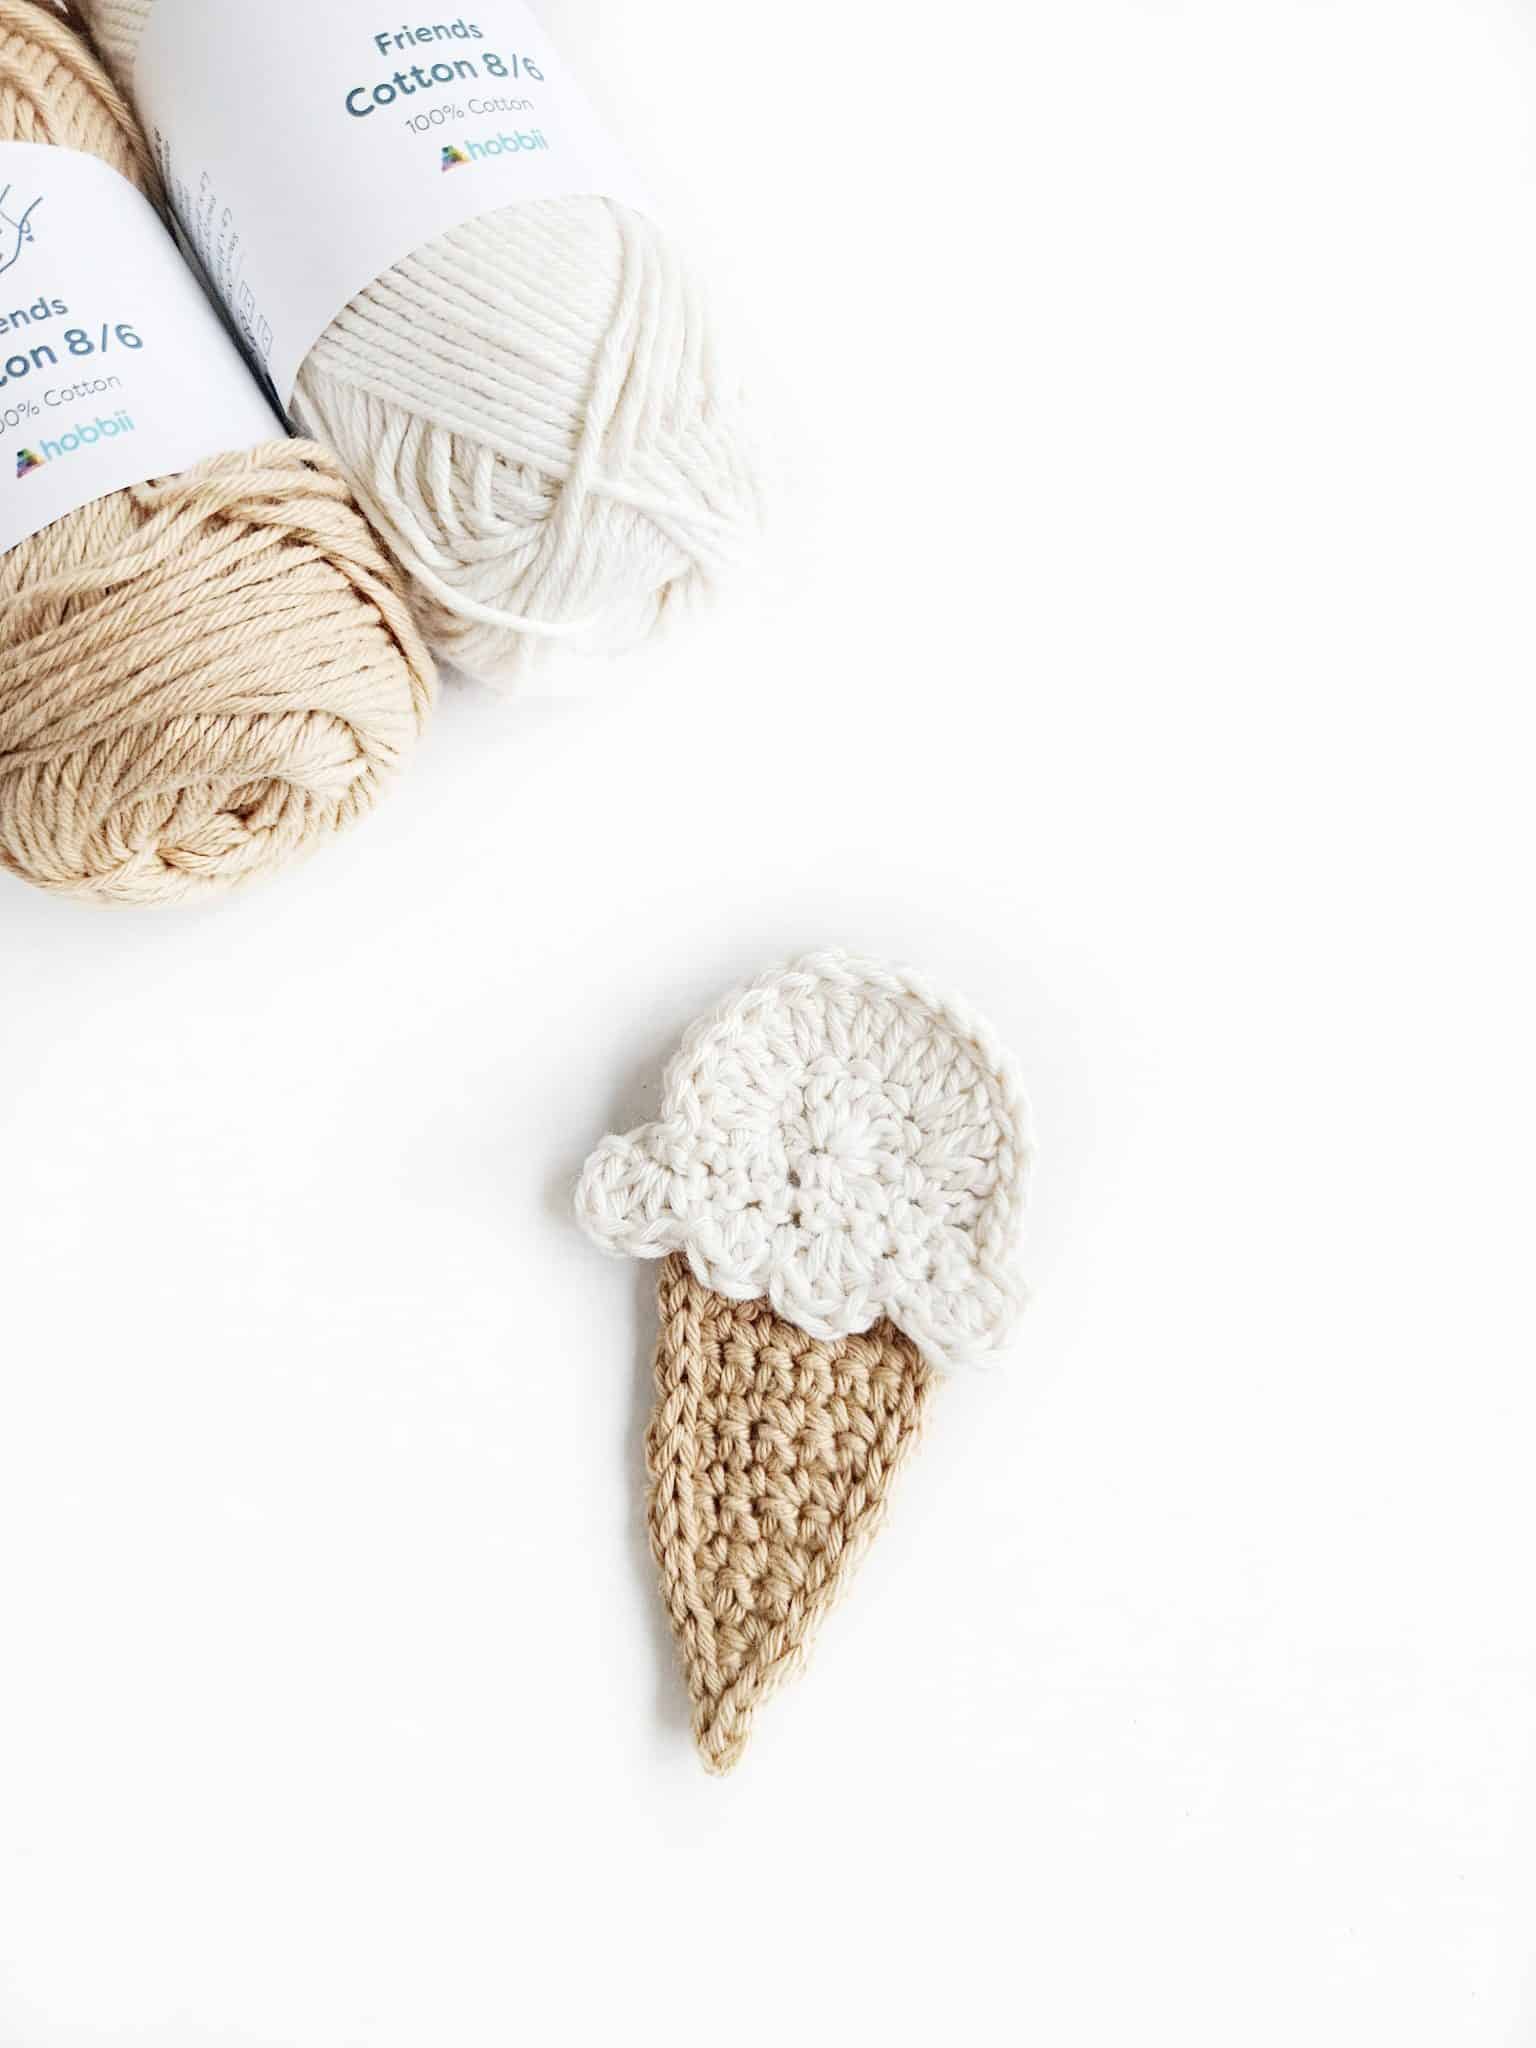
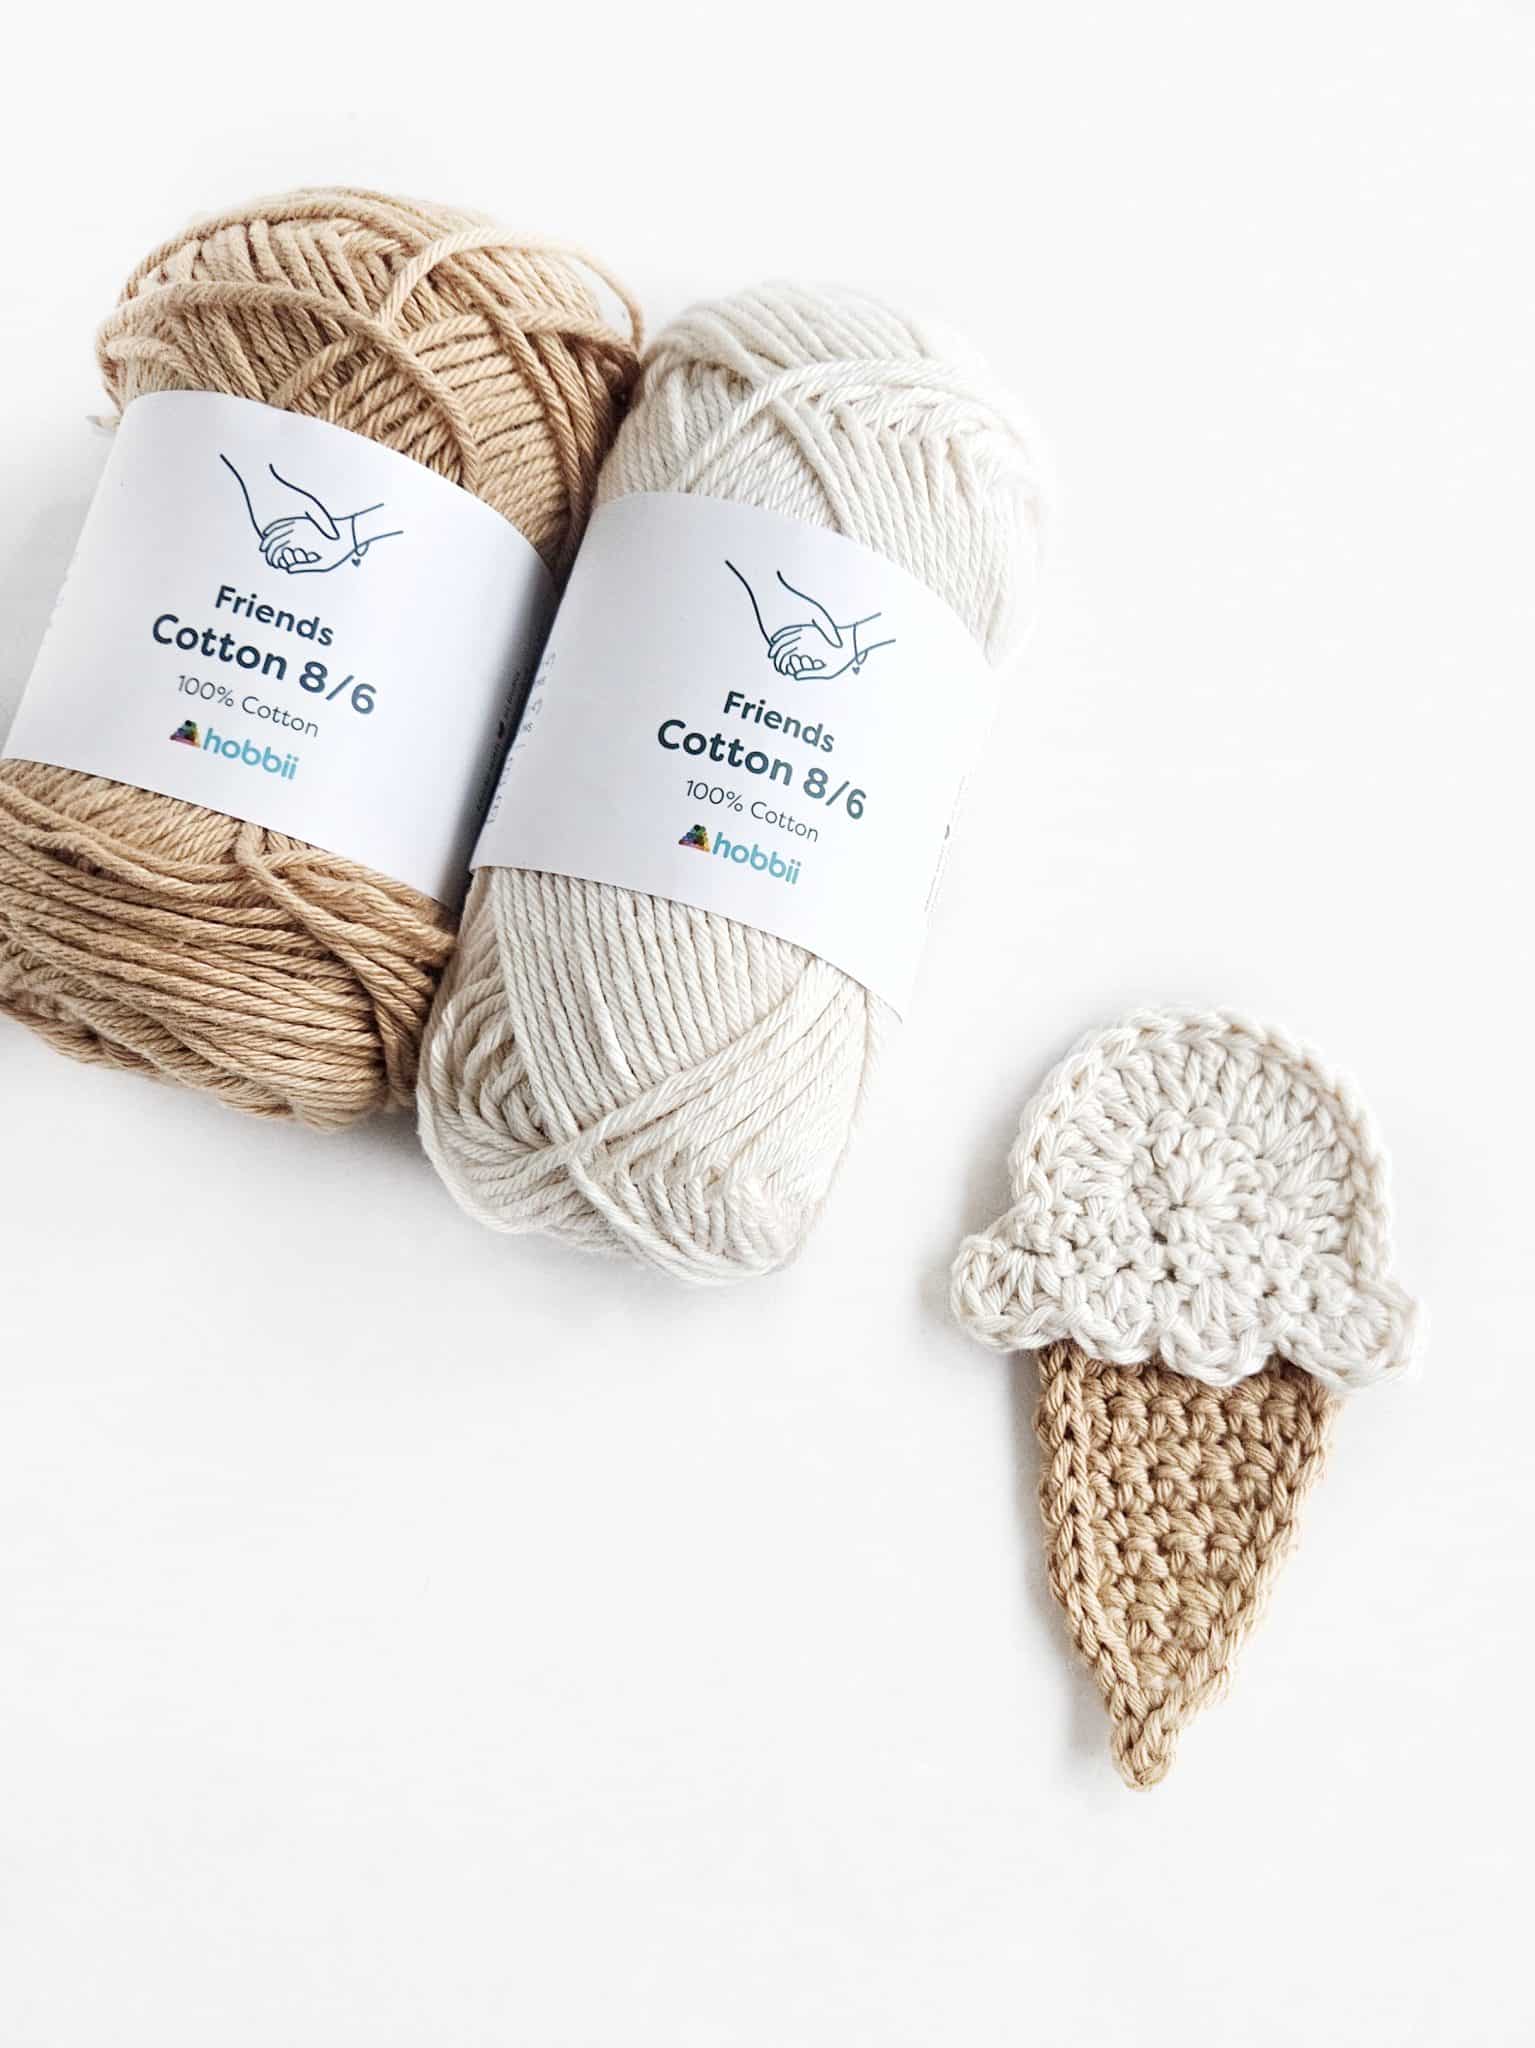
Yarn
- Hobbi 8/6 Cotton (2 weight)
Other Supplies Needed
You will need a few other supplies like a yarn needle, scissors and measuring tape as well.
Uses for a Crochet Ice Cream Applique
There are so many fun ways to use a crochet ice cream appliqué! Here are some popular ideas:
- Clothing Embellishments: You can sew or attach crochet ice cream appliqués onto clothing items such as t-shirts, dresses, hats, scarves, or sweaters. They can add a playful touch to your garments, making them unique and eye-catching.
- Accessories: Crochet ice cream appliqués can be transformed into accessories such as brooches, pins, or hair clips. By adding a pin back or attaching a hair clip, you can wear them as decorative accents on jackets, bags, hats, or in your hair.
- Home Decor: These adorable crochet appliqués can be used to spruce up your home decor. You can attach them to throw pillows, blankets, curtains, or even create a crochet garland with multiple ice cream appliqués for a fun and colorful touch.
- Scrapbooking and Card Making: If you enjoy scrapbooking or card making, crochet ice cream appliqués can be a lovely addition. They can be glued or stitched onto scrapbook pages or greeting cards, adding a three-dimensional and handmade element to your creations.
- Baby Items: Crochet ice cream appliqués can be used to decorate baby items like blankets, onesies, bibs, or baby hats. They can make these items more visually appealing and charming, adding a touch of sweetness to baby accessories.
- Gifts: Crochet ice cream appliqués can serve as thoughtful and handmade gifts. You can attach them to gift wrapping, create personalized keychains, or incorporate them into handmade photo frames. They make for delightful and unique presents for ice cream lovers or anyone who appreciates handmade crafts.
How to Crochet an Ice Cream Cone Applique
Skill Level: Intermediate
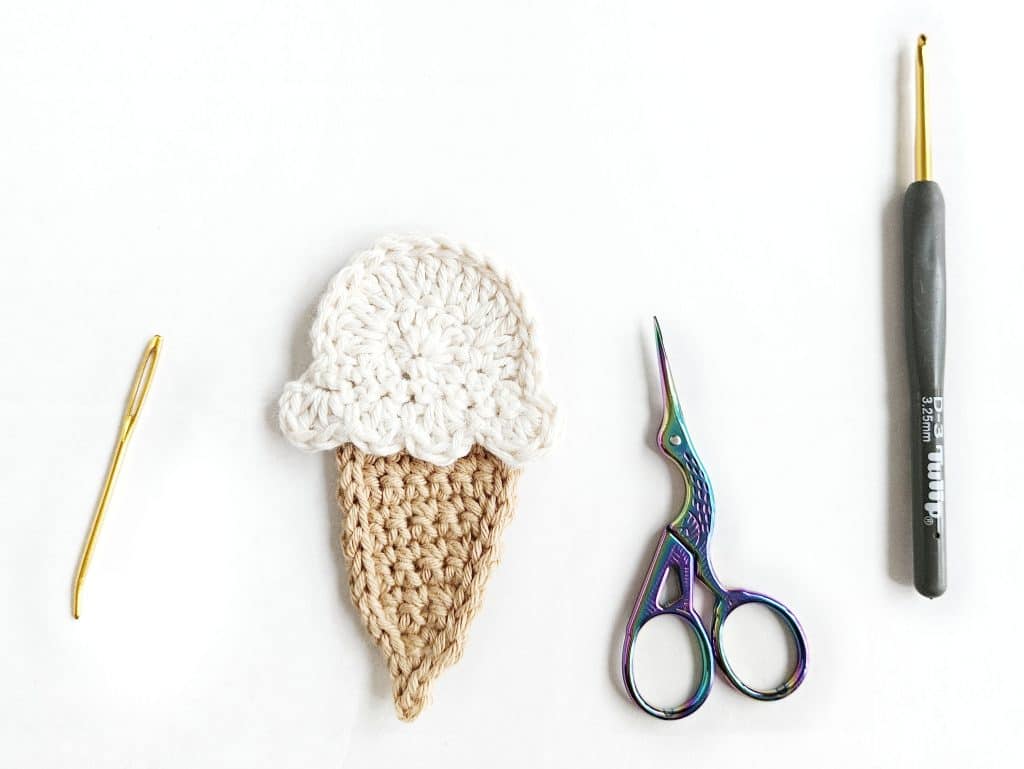
Materials
- Hobbi 8/6 Cotton 03 & 09
- Crochet Hook E-4 3.5 mm
- Yarn Needle
- Scissors
- Measuring Tape

Crochet Abbreviations
- Single Crochet = sc
- Chain = ch
- Half Double Crochet = hdc
- Double Crochet = dc
- Slip Stitch = sl st
Sizing
- Finished size of the ice cream is 2″ x 2″ at the widest points
- Finished size of the cone is 2.5″ high by 2.5″ wide at the widest points.
- The finished size can change if a different yarn or yarn weight is used.
Notes
- The ice cream and cone pattern are written in standard US terms
The Ice Cream Cone Applique Pattern
Ice Cream
Row 1: Ch 3 (counts as a dc) in the third ch from the hook dc, dc 6 more times in the same st, turn. (8)
Row 2: Ch 3 (counts as a dc) dc into the first st, *dc 2x into the next st, rep from * around for a total of 16 sts, turn. (16)
Row 3: Ch 1 (counts as a sc), sc 7 times evenly across the bottom of the first row, turn (8)
Row 4: Ch 1, sc into each st across (8)
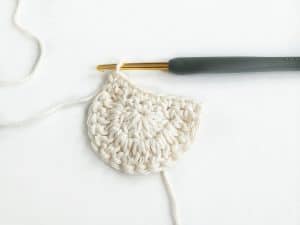
Row 5: Ch 1, in the first st (hdc, dc, hdc, hdc), sl st into the next st, 2 dc into the next st, sc into the next st, (dc, dc, hdc) into the next st, sl st into the next st, sc into the next st, dc 3 times into the last st.
To Finish: sl st into the first st of row 2, sl st around, ending with a total of 17 sl sts with the final sl st being placed in the first st of row 5.

Cone
Row 1: Ch 2, sc into the first st, turn. (1)
Row 2: Ch 1, sc inc, turn. (2)
Row 3: Ch 1, sc inc, sc into the next st, turn. (3)
Row 4: Ch 1, sc inc, sc into each of the next 2 sts, turn. (4)
Row 5: Ch 1, sc inc, sc into each of the next 3 sts, turn. (5)
Row 6: Ch 1, sc into each st across, turn. (5)
Row 7: Ch 1, sc inc, sc into each of the next 4 sts, turn (6)
Row 8: Ch 1, sc into each st across, turn. (6)
Row 9: Ch 1, sc inc, sc into each of the next 5 sts, turn. (7)
Row 10: Ch 1, sc into each st across, turn. (7)
Row 11: Ch 1, sc inc, sc once into the next 6 sts, turn. (8)
Row 12: Ch 1, sl st into each st across (8)
Finishing: Continue with sl sts around the outside of the cone, fasten off, leaving a 4-inch yarn tail to use for joining the cone and ice cream together.
Tip: At the corners and the point, you can ch 1 before continuing on to the next slip stitch if you wish
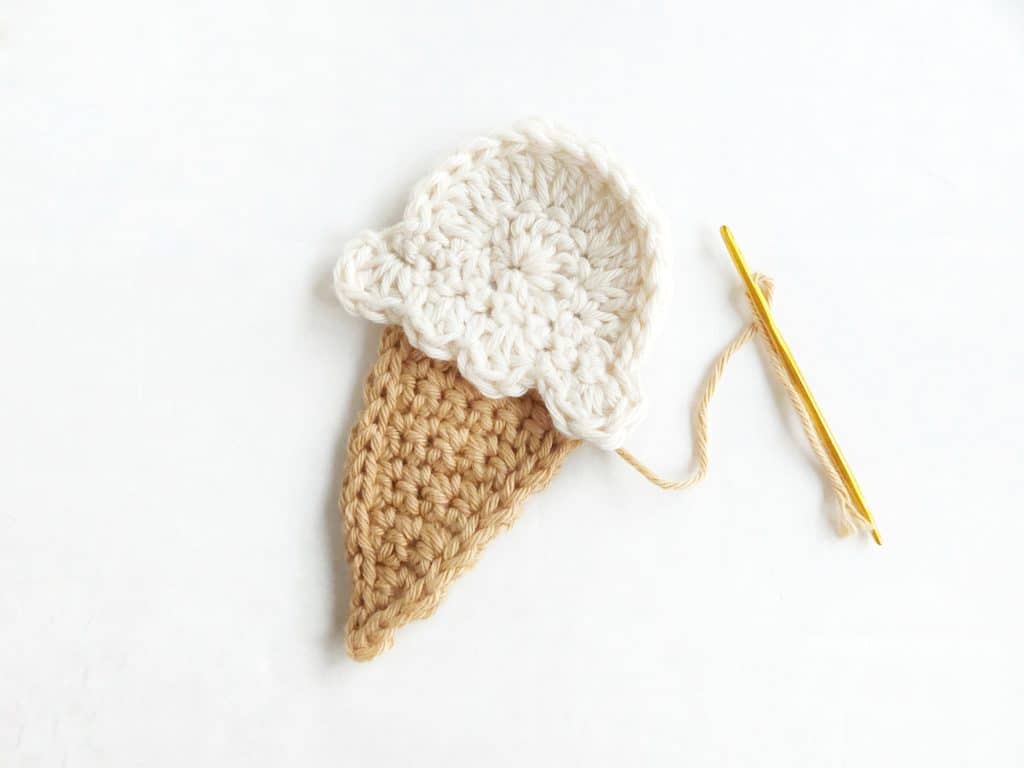
Attach the Ice Cream and Cone Together
- Lay both the cone and ice cream upside down, with the cone on top of the ice cream.
- Attach the yarn needle to the 4-inch yarn tail and join the cone and ice cream together. The cone doesn’t have to be straight, just as the ice cream doesn’t have to be straight as well.
- Once the cone and ice cream are attached, you can weave in the remaining loose ends of the cone and trim the excess with scissors.