Striped Crochet Pillow Cover
Are you looking for an easy to make crochet pillow cover? If so, I can help!
This simple crocheted throw pillow pattern would look lovely with any home decor, plus would make a great gift as well. It uses simple stitches, which makes it an adventurous beginner’s dream come true.
If you are ready to crochet something besides granny squares and blankets, then this is the pillow pattern for you!
Read on down to find the FREE crochet pillow pattern! I can’t wait for you to crochet this fun home decor piece.
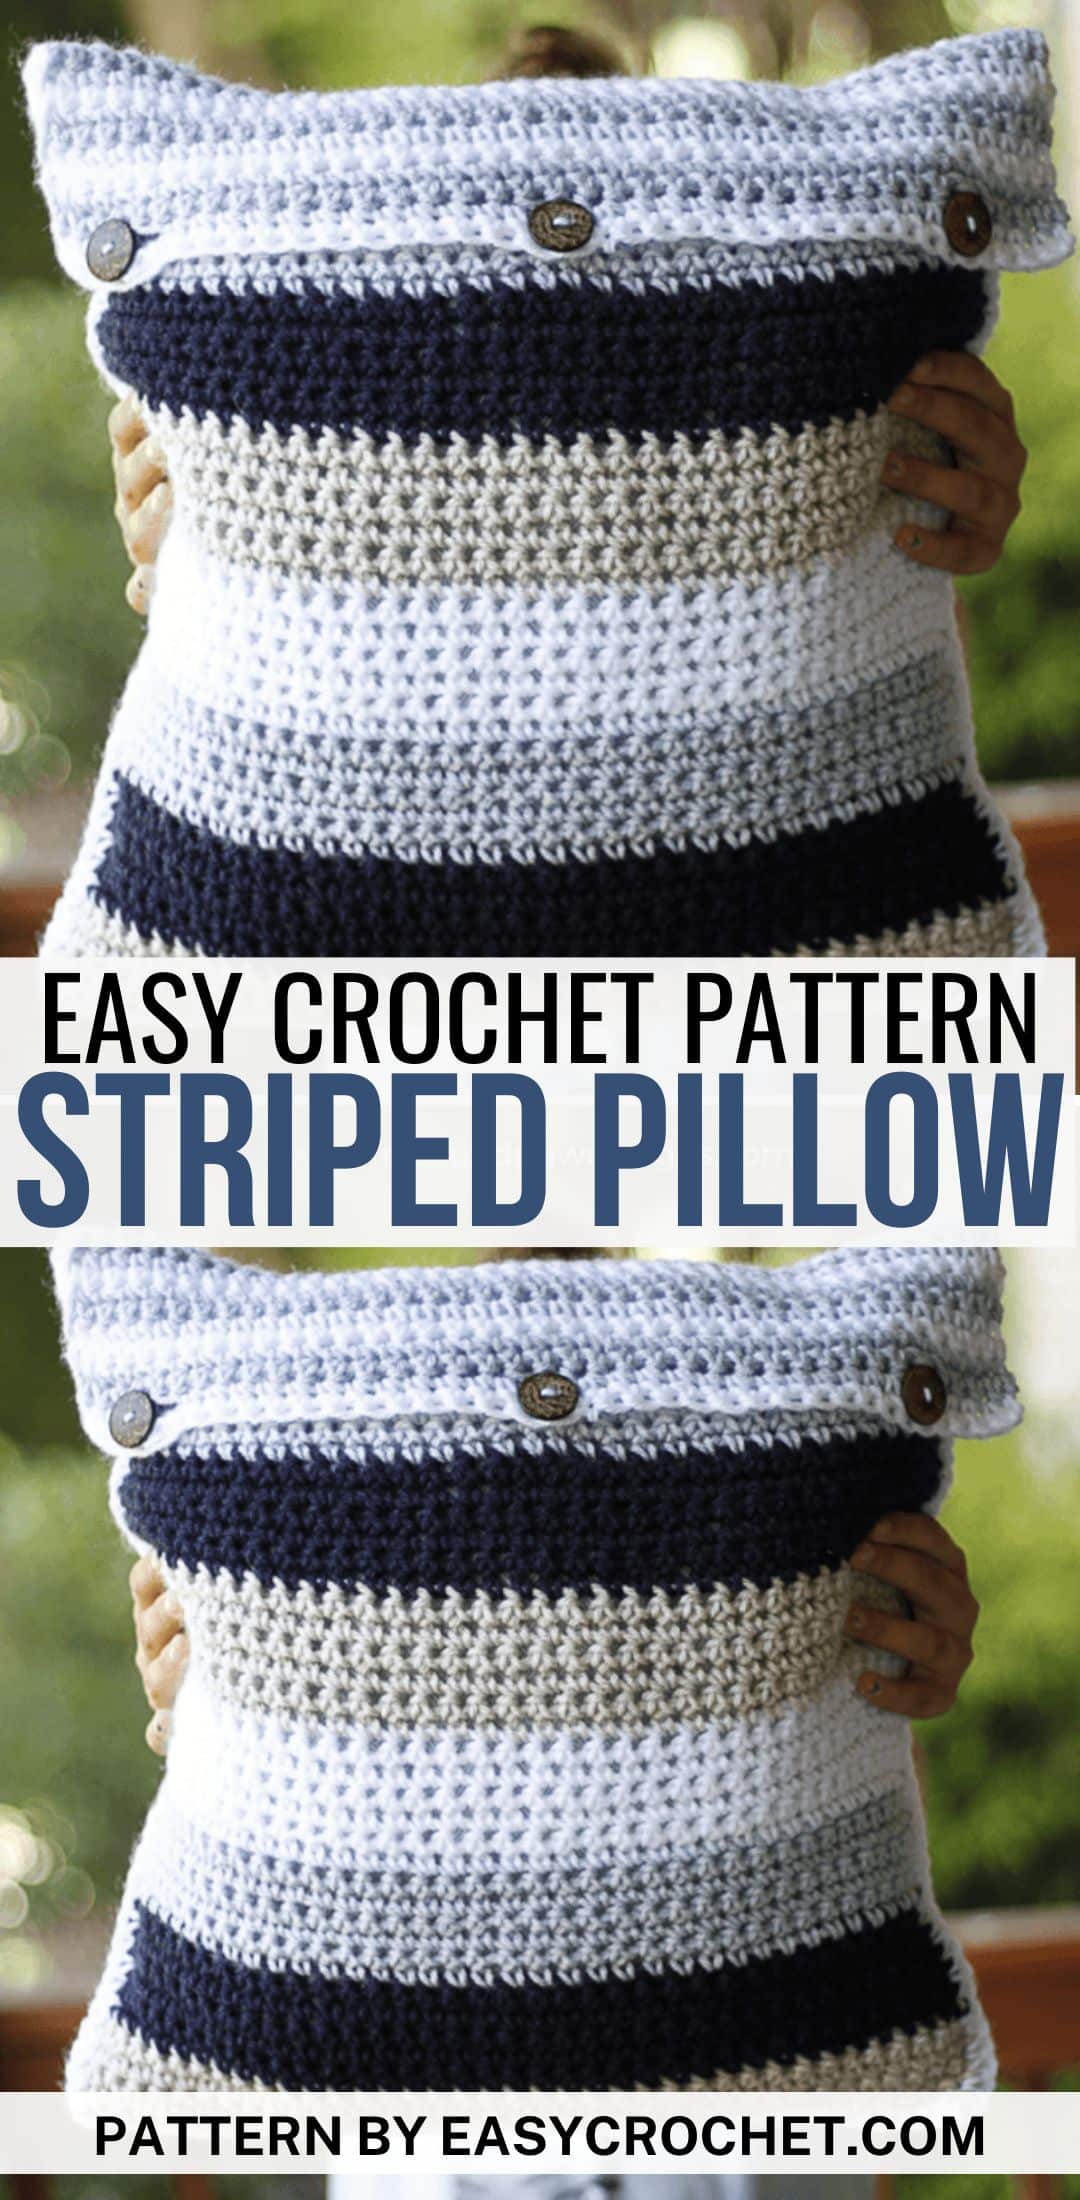
Simple Crochet Throw Pillow Cover Design
I’ve always loved decorating my couches and chairs with pillows. You might remember the Crochet Square Pillow design I made from last year too!
As much as I loved the old design, I decided to create a crochet pillow cover that had buttons because if you’re anything like me, keeping them clean (hello pet hair & kids) is always a struggle.
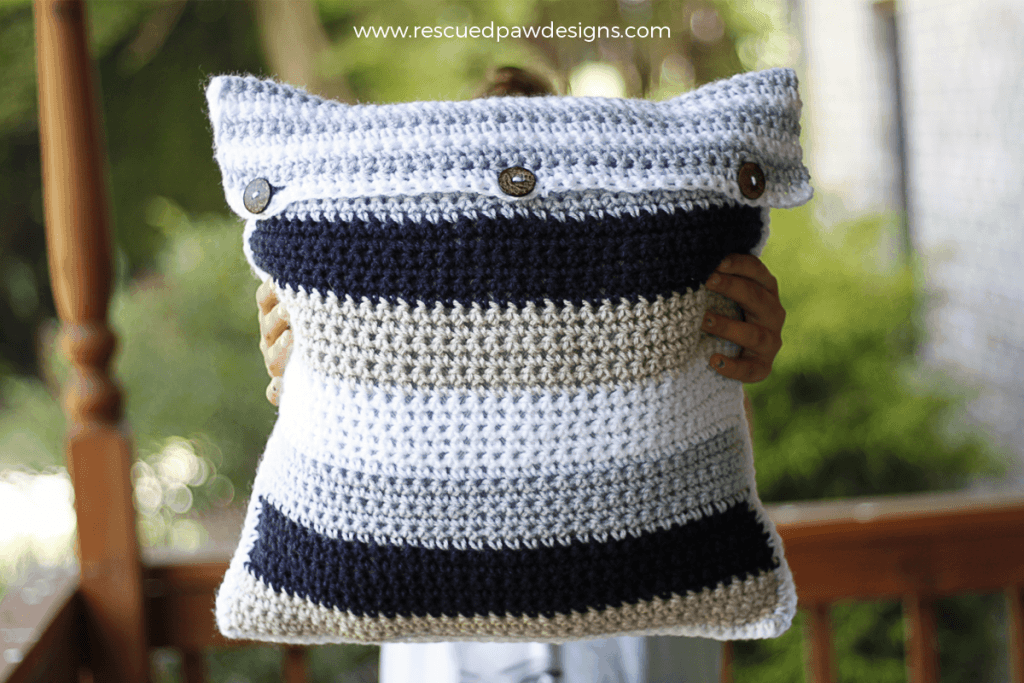
This Crochet Pillow Cover is Made to Match!
A few months ago, I released the Ombre Ripple Crochet Blanket pattern keeping in my mind, I eventually would love to make a pillow to match.
I used the same Lion Brand Vanna’s Choice colors in Linen, Silver Blue, Navy & White so they would go perfectly on my couch with my crochet ripple blanket.
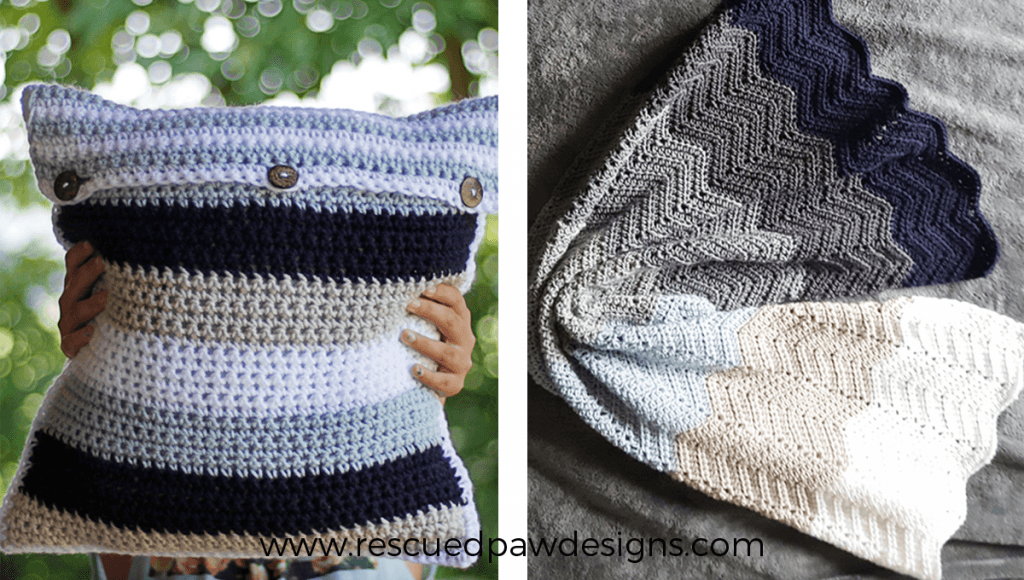
The button pillow shown with the Ombre Ripple Blanket pattern. They make a great match and would be perfect as a gift set.
Quick Crochet Throw Pillow Cover Pattern
This crochet pillow pattern works up fairly quickly since it’s made up of all single crochets! Yay, to fast projects!
If you are ready to make a crochet throw pillows for yourself, read on down for the full pillow tutorial with pictures & instructions.
Happy Crocheting!
Striped Pillow Crochet Pattern
Skill Level: Easy
Shopping List
- White – less than 170 yards
- Silver Blue – less than 170 yards
- Navy – less than 170 yards
- Linen – less than 170 yards
- Crochet hook size I 5.5 mm
- Yarn needle
- Three 1.5″ buttons
- 18″ x 18″ pillow – Find one “Here”
Gauge
Gauge is approx. 5 sc for every 2″ (Important for proper sizing!) Read about why gauge is important here.
Finished Size: Fits an 18″ x 18″ Pillow
Notes
- Written Instructions in English (US) Terms
- It helps to crochet over your ends as you join in new colors, leaving a few inches to fasten and secure with the yarn needle.
- Learn how to change yarn colors in crochet.
Crochet Abbreviations
- ch = Chain
- sc = Single Crochet
- st = stitch
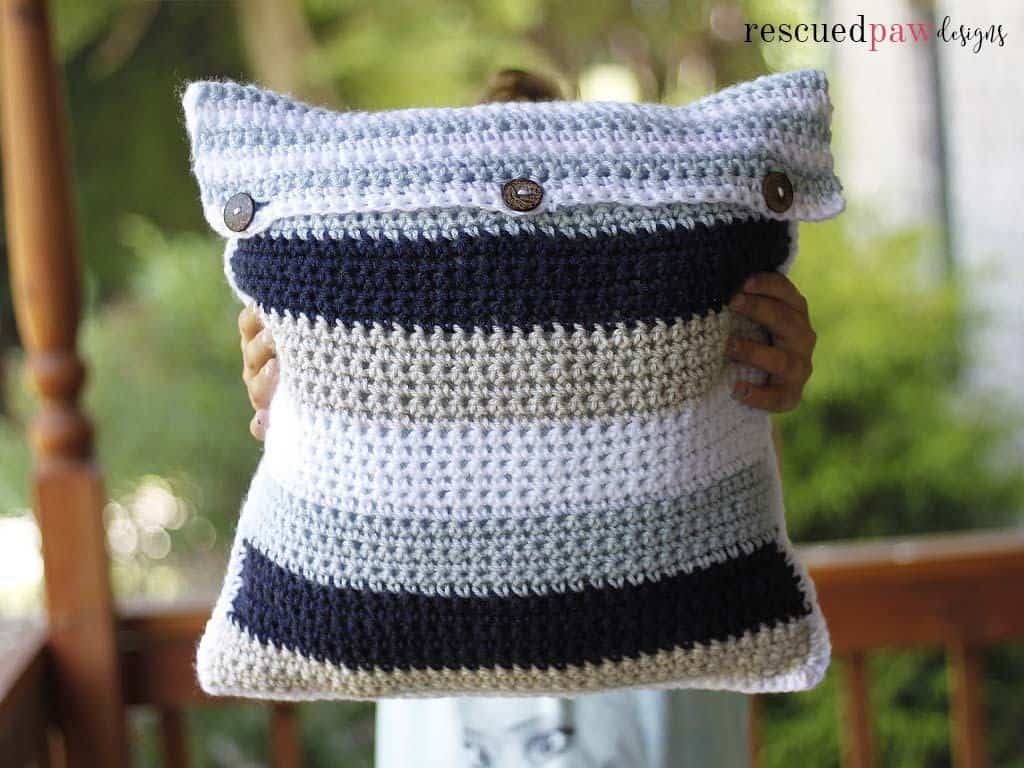
The Simple Crochet Pillow Pattern Steps
(Pattern is worked in two pieces)
First Piece
- Foundation Row: Ch 39 with linen, in 2nd ch from the hook sc, sc in every st across, turn. (38)
- Row 1: Ch 1, in first st sc, sc in every st across, turn. (38)
- Row 2-6: Repeat row 1. (38)
- Row 7-12: Repeat row 1 with Navy. (38)
- Row 13-18: Repeat row 1 with Silver Blue. (38)
- Row 19-24: Repeat row 1 with White. (38)
- Rows 25-48: Repeat rows 1-24, fasten off. (38)
Second Piece
- Repeat First Piece directions up to Row 48. (38)
- Row 49 with Silver Blue ch 1, sc in first st, sc in every st across, turn. (38)
- Row 50: Repeat row 49. (38)
- Row 51-52: Repeat row 49 with White. (38)
- Row 53 -54: Repeat row 49 with Silver Blue. (38)
- Row 55-56: Repeat row 49 with White. (38)
- Row 57-58 Repeat row 49 with Silver Blue. (38)
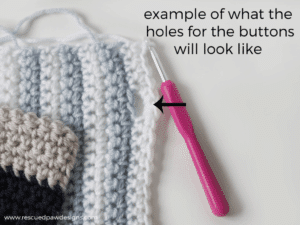
- Row 59: with white ch 1, sc in first st, sc in next 3 st, ch 2, sk 2 st’s, sc in next 12 st’s, ch 2, sk 2 sts, sc in next 12 st’s, ch 2, sk 2 sts, sc in last 4 sts (32 st’s, 6 ch’s), turn. (38)
- Row 60: ch 1, sc in first st, sc in next 3 sts, 2 sc in ch 2 space, sc in next 12 st’s, 2 sc in ch 2 space, sc in next 12 st’s, 2 sc in ch 2 space, sc in next 4 st’s. Fasten off. (38) (this row completes the buttonholes)
Finishing
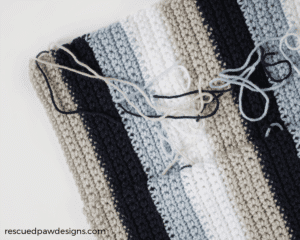
- Lay out both pieces with the first piece on top of the second, making sure the ends that you crocheted over are on the inside (see picture) and make sure they line up. Now weave in the loose ends with a yarn needle and secure.
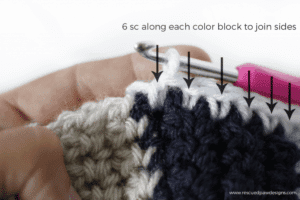
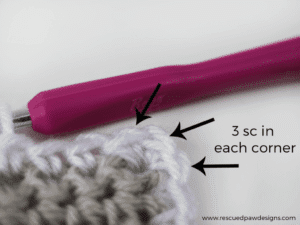
- Next, you will sc down the left side of the pieces with white holding them together, starting on Row 48 for a total of 47 sc’s, do 3 sc in the corner, next working along the bottom of the pillow sc across 37 times, do 3 sc in the corner, next working up the right side sc for a total of 47 sc’s, fasten off.
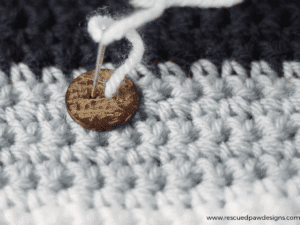
- Attach the 3 buttons (with a yarn needle and a 5-inch piece of cut yarn) evenly across the front of your pillow along the bottom of the silver-blue row closest to the top. The 2nd piece (one on the bottom) will fold over and attach to the buttons.
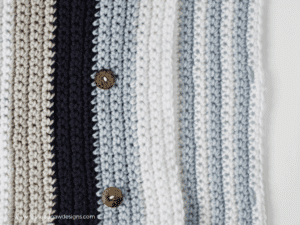
You are done!

I hope you enjoyed this crochet pillow pattern and, as always, thank you for stopping by! If you have any questions, please email me at Krista@easycrochet.com or find me over on Instagram!
More Free Crochet Patterns
Take a look at some of my other favorite free crochet patterns to make for the home below.
- 10 Easy Crochet Beginner Washcloth Patterns
- 5 Easy and Free Bathroom Crochet Patterns to Make this Spring
- Apple Crochet Coaster Pattern for Fall
- 7 Free Patterns for Crochet Fall Decor
- Top 5 Crochet Fall Coaster Patterns
- 25 Easy and Free Crochet Bookmark Patterns
- Top 20 Free Easy Crochet Dishcloth Patterns You’ll Love
- Easy Crochet Hot Pads with Handles


Hi I’ve made this pattern for a 16” square pillow and I had to chain 61 sc for it to fit, it’s referenced as 18” and a 16” when it’s actually maybe a 12” pattern?
Hi Kathy,
What was your gauge? Gauge is approx. 5 sc for every 2″ It will make a big difference when determining what size pillow the pattern will fit. I hope this helps and happy crocheting!
Krista