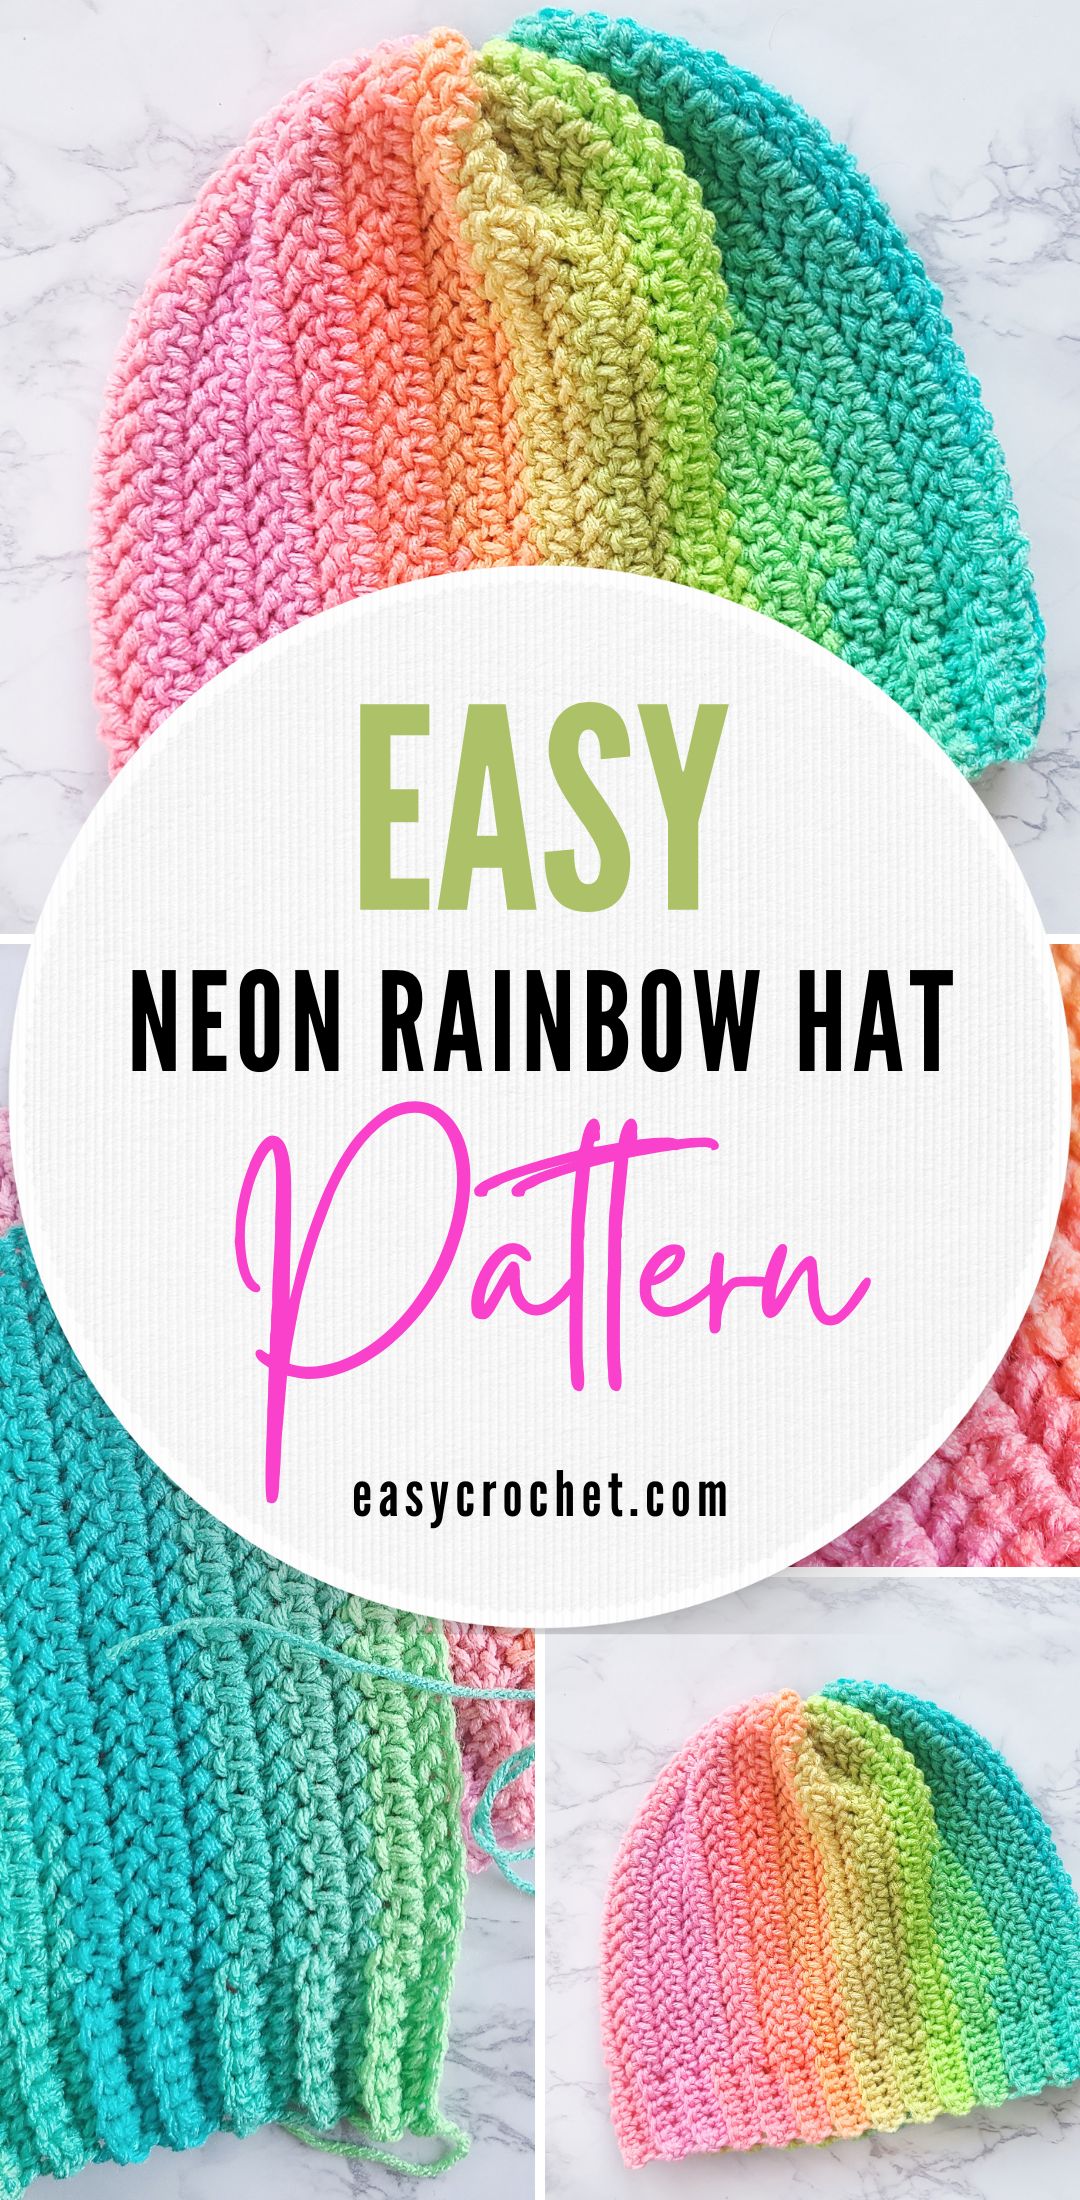
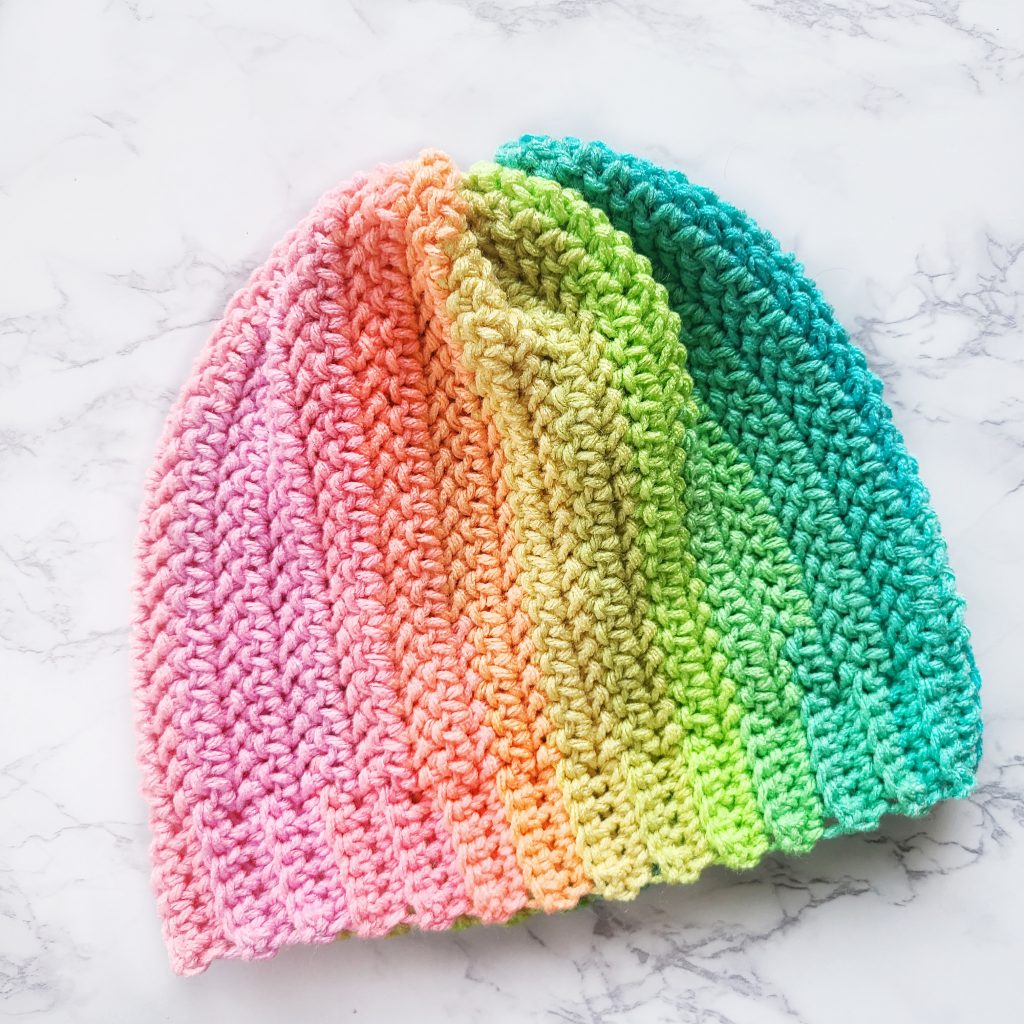
Neon Rainbow Striped Crochet Hat
Every once in a while, a brightly colored crochet hat is just what you need! This hat is perfect for St. Patrick’s Day, or just because you like bright colors!
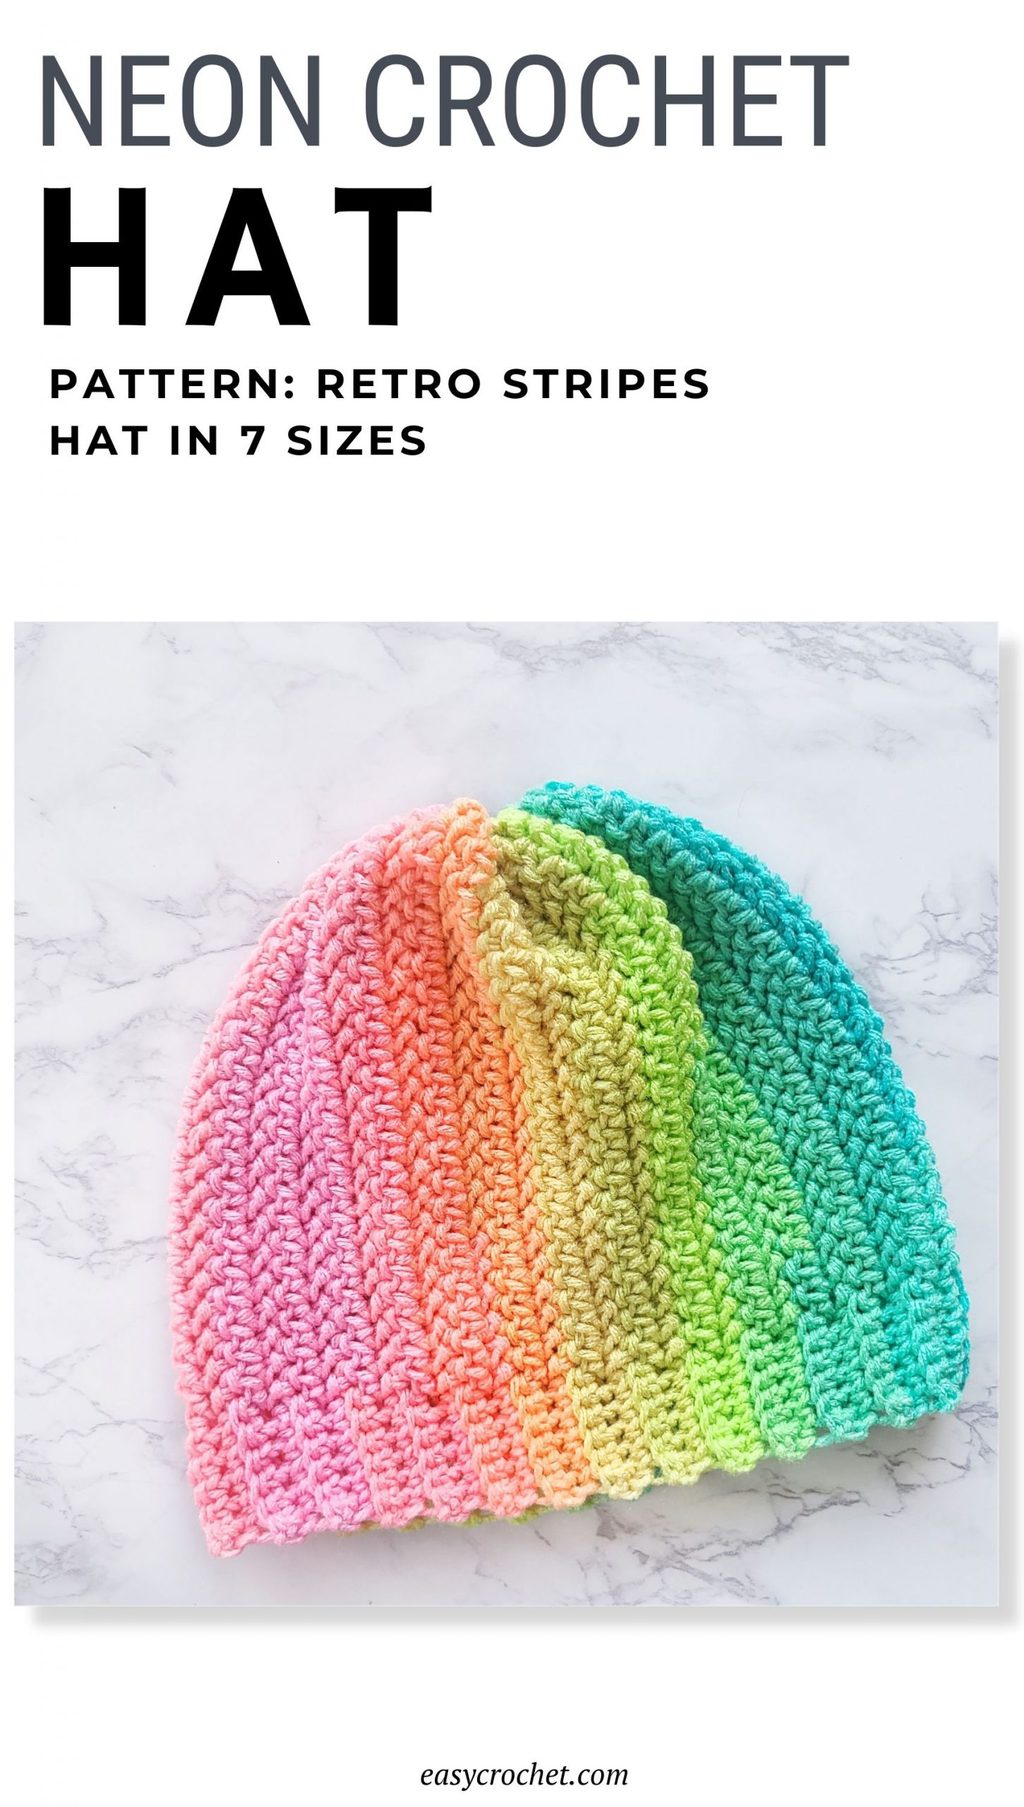
If you like bright colors and easy crochet patterns, you’ll love this hat with neon stripes that are built in! This is probably one of my favorite colorful designs that I have made, and I hope you love it just as much as I do!
Ready to get started? Scroll on down to learn how to crochet a hat that doesn’t include changing colors and much more!
How to Crochet a Rainbow Hat
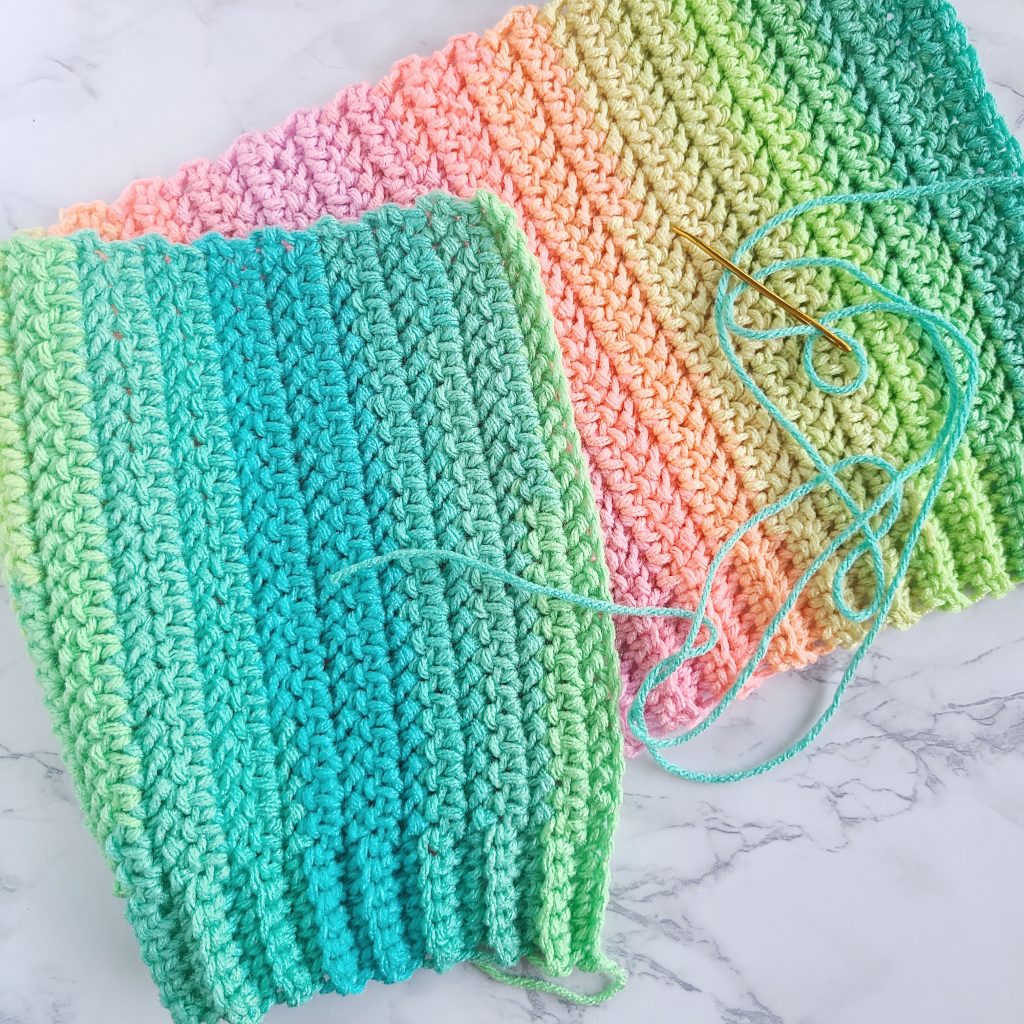
The brightly colored crochet hat is worked in one panel and sewn together at the end, which makes it easy to crochet for almost any level of crocheter. Plus, the neon rainbow yarn color is all in one skein, which means less ends to weave in when you are done crocheting your hat!
It can be worked up in less than a day because this hat uses basic crochet stitches. This is always a good thing when making crochet projects.
The initial chain of this beanie will be the height of the hat pattern, and the rows worked will be the width. You’ll be able to use the hat size chart below, so you know exactly the perfect size crochet hat to make. To learn how to make this cute crocheted hat, scroll down and read about the yarn and stitches used.
The Yarn
To create this hat, I used Red Heart Super Saver Stripes in the color Retro, which is such a standout and bright neon color! If you know someone who is a fan of neon, then this is the yarn you’ll want to use for them.
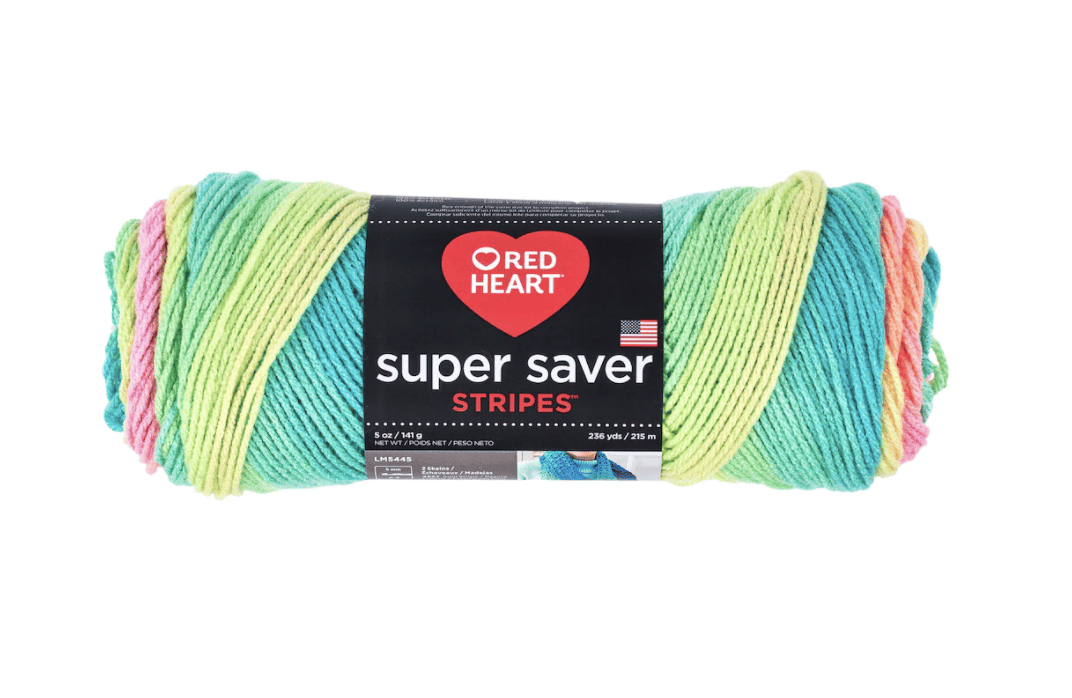
Red Heart Stripes is a 100% acrylic four weight yarn that is so fun to work up because of all the striped color changes it creates. This yarn is available in nine different striped colors and 40+ solid colors, so you can use whatever color you feel suits you or the person you are crocheting this hat for the best.
The colorway Retro was a bit harder to find than some other striped colors available, so I had to do some searching to find the two skeins I got. If you are lucky, you may find it online on Amazon, or direct from the manufacturer at Yarnspriations.com. I ended up going into my local Joann Fabrics Craft store and found the last two skeins, which one of was destined to become this funky crochet hat.
Take a look at a few of the other striped yarn colors available below that you can crochet a hat in: Candy Stripe, Parrot and Bright Stripes!

Crochet Stitches for a Hat
This easy crochet hat uses easy crochet stitches, so any level of crocheter could try to make this if they are feeling adventurous.
- single crochet
- herringbone half double crochet
The best part (in my opinion) about this hat is that it only uses two simple crochet stitches! If you can single crochet (sc) and herringbone half double crochet (hddc), then you are good to go with crocheting this colorful design.
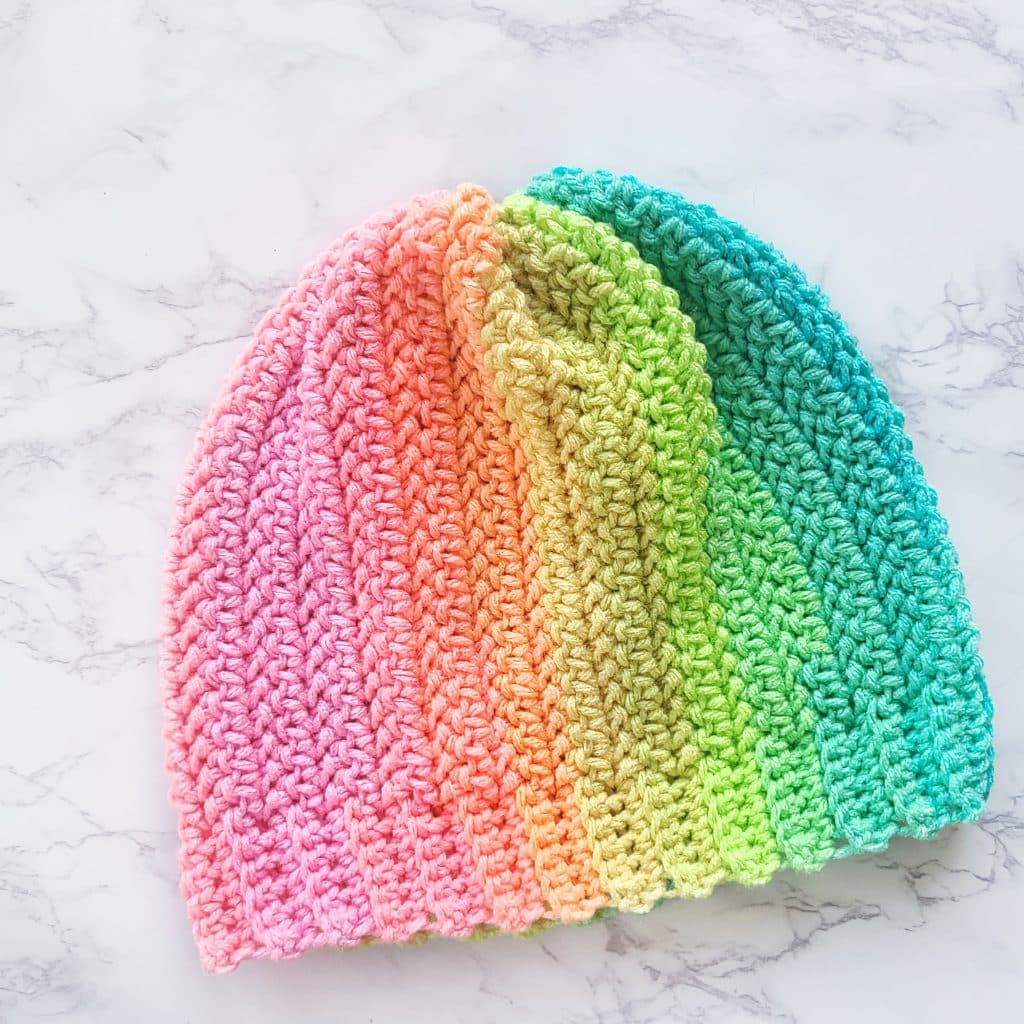
Since this hat is made in one panel you will work the single crochet brim of the hat first followed by the hddc which is the main part of the hat.
Take a look below at the picture to see where the single crochet section and herringbone half double crochet stitches begin and end within the hat. You will also be able to see how the brim of the hat is made.
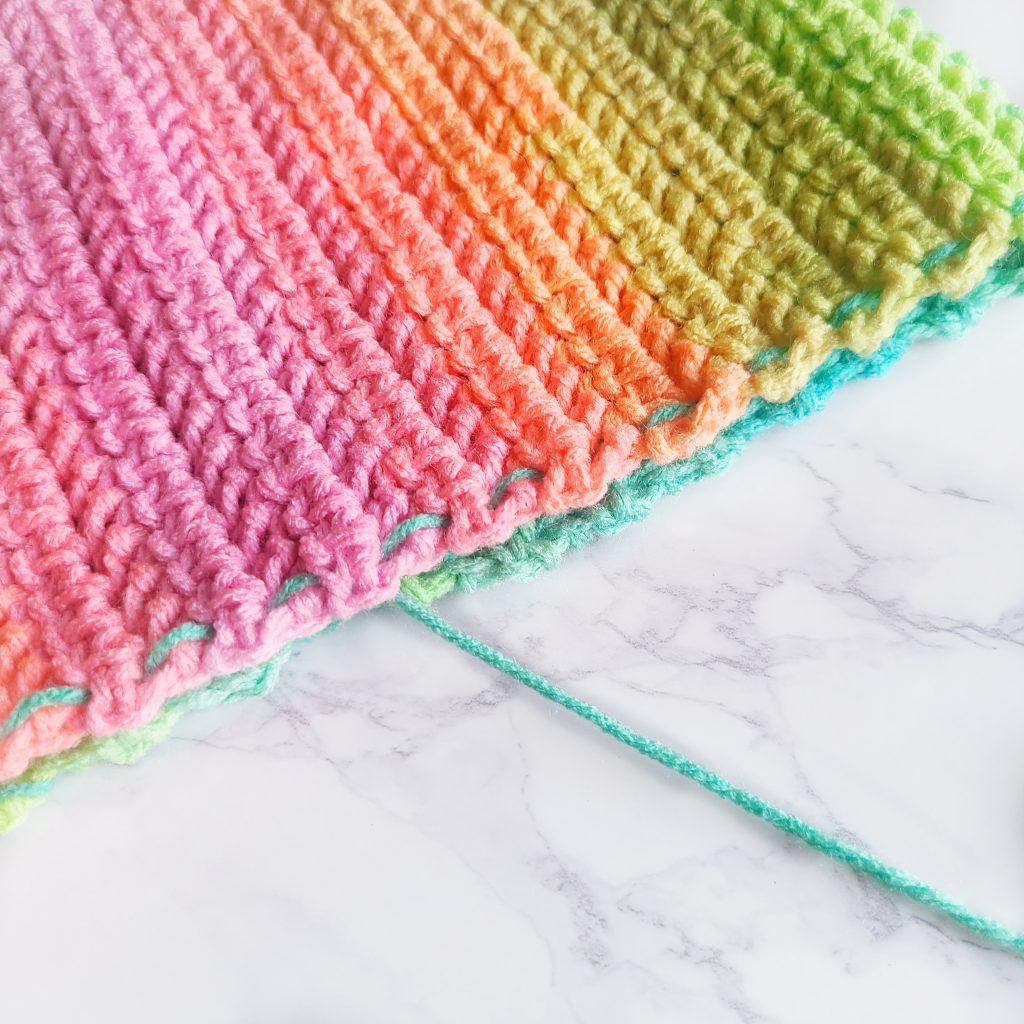
The brim of the hat is single crochets that are worked in the back loop of the previous row’s single crochet stitches, which creates the cuffed brim look.
The Stitches
Learn more about each crochet stitch below, so you will be able to crochet this hat as soon as possible. They are easy stitches! Promise.
Single Crochet (sc):
- Insert hook from front to back in the second chain from the hook or designated stitch
- Bring the yarn over (YO) the hook and pull the yarn back through the chain (or stitch) from back to front (2 loops on hook).
- YO and pull through both loops on the hook.
Herringbone Half Double Crochet (hhdc):
- Yarn over (YO)
- Insert hook into the stitch indicated
- YO (3 loops on hook)
- Pull up a loop and pull that loop through the first loop on the hook (2 loops on hook)
- YO
- Pull through remaining two loops on the hook
Crochet Hat Size Chart
Changing the size of a hat is as simple as changing the width of the hat as well as the height. You can use the crochet hat size chart below that shows the average circumference and height of crochet hats in inches.
| Preemie | Baby | Toddler | Child | Tween | Woman | Man | |
|---|---|---|---|---|---|---|---|
| Circumference (in) | 9-12 | 14-16 | 16-18 | 18-20 | 20-22 | 21-23 | 22-24 |
| Height (in) | 4-4.5 | 5-6 | 7-7.5 | 7.5-8 | 8-8.5 | 8.5-9 | 9-9.5 |
How to Measure Hat Size for Crochet
Measuring a crochet hat is easy. You’ll need a soft tape measure and a person to measure, so you can get the circumference of their head. For example, if you want to make a men’s crochet hat, you would crochet your hat to a width of 22 to 24 inches with a 9 or 9.5 inch height.
Be sure to measure that person’s head, so you will get an exact measurement. Use the same method with any size of crochet hat you want to make from the chart.
The best bet is to always measure the circumference of the person’s head you want to make the hat or beanie for because their size may differ from the standard sizes on the chart. If it is not possible to measure, then you can go by the standard chart above when crocheting a hat.
Below, you’ll be able to see the sizes I designed this hat for, so you’ll know how many chains and rows to crochet to get the size you need.
How to Make a Crochet Hat Slouchy
If you’d like to crochet a slouchy hat, all you will have to do is add some height to the initial chain. For example, in this pattern to make a women’s hat size you are supposed to chain 25. To make it slouchy, you can add any number of chains to that first chain length to give this design a slouch hat look.
To add slouch to crochet hats, I like to add between one and two inches in length, which for this pattern is about 3 chains per inch. You can work up the pattern and add chains to see what number you’d like to make the style of hat you are going for.
The Retro Stripes Yarn Hat Pattern
Skill Level: Intermediate
Materials
- Less than 1 skein of Red Heart Super Saver Yarn Stripes or less than 246 yards of any four weights yarn 100% acrylic yarn.
- The sample hat shown uses the color “Retro Stripes“
- 5.5 mm crochet hook (or hook size needed for gauge)
- Scissors
- Yarn needle
- Stitch markers

Finished Hat/Beanie Sizes
- Preemie, Baby, Toddler, Child, Tween, Woman + Man
| Preemie | Baby | Toddler | Child | Tween | Woman | Man | |
|---|---|---|---|---|---|---|---|
| Circumference (in) | 9 | 14 | 16 | 18 | 20 | 21 | 22 |
| Height (in) | 4.5 | 6 | 7.5 | 7.5 | 8.5 | 9 | 9 |
Gauge
- 8 sts x 6 rows = 3″ x 3″
- Gauge pattern: Ch 8 and work pattern like below.
- Gauge is important for a proper sized crochet hat
Crochet Stitch Abbreviations
- stitch = st
- ch = chain
- sc = single crochet
- hhdc = herringbone half double crochet
- bl = back loop
Notes
- Written in standard US terms
- Follow along with gauge + hat size chart for a perfectly fitted crochet hat
- The initial chain is the height of the hat.
- The rows are the width of the hat.
- All sizes take less than 1 skein of yarn.
The Hat Pattern
Pattern sizes are as shown Preemie (Baby, Toddler, Child, Tween, Woman, Man)
To Start: Ch 13 (17, 21, 21, 23, 25, 25)
Row 1: In the second chain from the hook sc, sc once into each of the next 5 sts, hhdc once into each of the remaining stitches across, turn. 12(16, 20, 20, 22, 24, 24)
Row 2: Ch 1, hhdc into the first st, hhdc once into each of the next 6,(10,14,14,16,18,18) sts, sc bl into the last st 6 sts, turn.
Row 3: Ch 1, sc bl into each of the next 6 sts, hhdc into the remaining sts across, turn.
- Row 4 – (see below): Rep row 2 & 3 as indicated for size below
- Preemie: for 18 rows total rows
- Baby: for 28 total rows
- Toddler: for 32 total rows
- Child: for 36 total rows
- Tween: for 40 total rows
- Woman: for 42 total rows
- Man: for 44 total rows
Finishing: Fasten off yarn leaving a 15-20 inch tail (less for the smaller hat sizes).
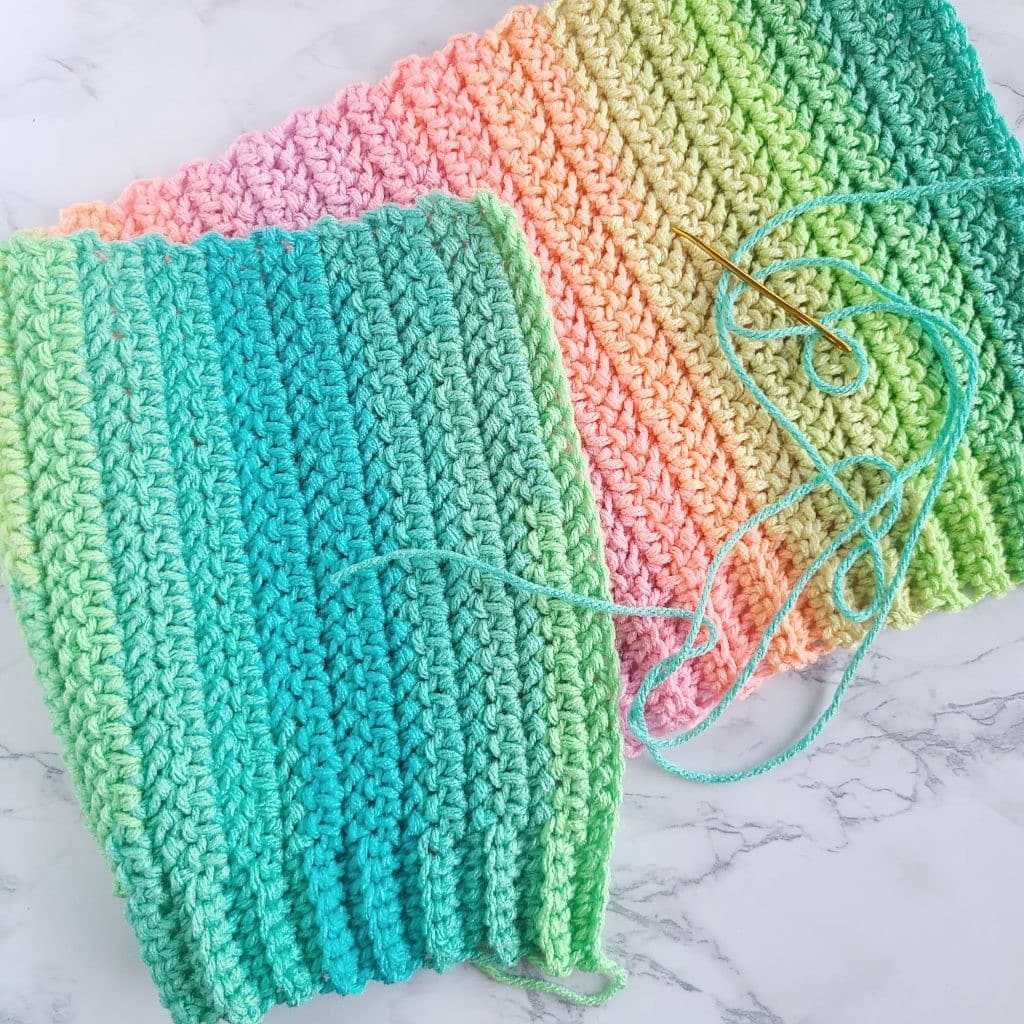
Joining the Hat
To join the panel together to form a hat, you will lay it down flat. Join the two short ends together. Attach the yarn needle to the yarn tail. Weave up the side of the hat to join the two short ends of the panel together to create a tube.
You can use the mattress stitch to join also, but it is up to you to use the method you feel more comfortable with when you close up this hat.
I have a great post about seaming crochet pieces together if you’d like to take a look, so you can find your favorite way to seam up a crochet hat.
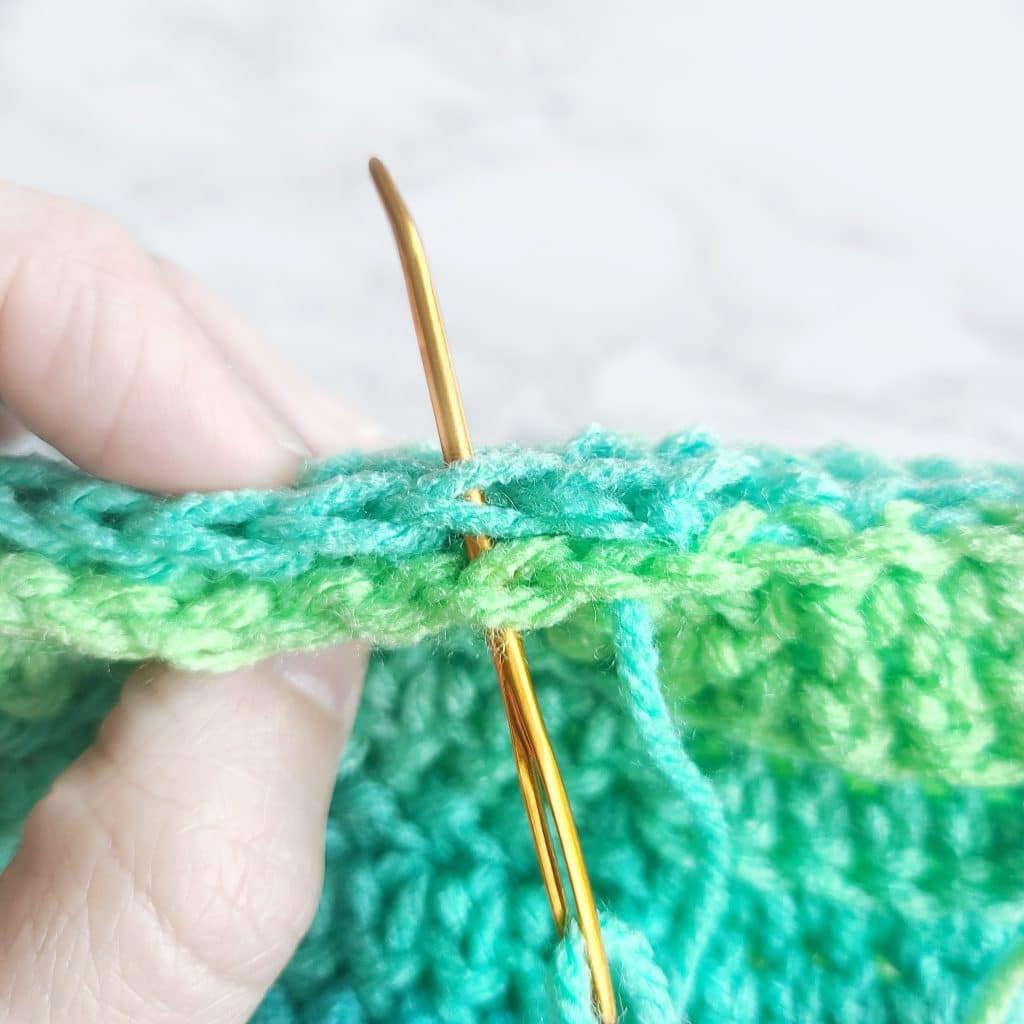
Once you reach the top, you will use the yarn needle and weave along the top of the hat in and out, pulling in every few stitches to tighten up the top of the hat until you reach the beginning.
I like this video on how to close the top of a hat. This video is a great tool to use and has clear finishing hat instructions.
Next, weave in the yarn end back and forth through the top of the hat to secure. Finishing with the yarn tail on the inside of the hat.
Finishing: Weave in all remaining ends of the hat with the yarn needle! You are done with your new crochet hat!

More Free Crochet Hat Patterns
Take a look below at some of my other hat designs that I crocheted. You just might find another to make!
- Easy Crochet Hat for Beginners
- 13 Fun & Adorable Crochet Cat Hat Patterns
- Winter Crochet Beanie Pattern
- Free and Easy Crochet Sun Hat Patterns for Summer
- 11 Easy Crochet Ribbed Beanie Patterns
- 10 Cute Crochet Dog Hat Patterns to Make For Your Pup
- 14 Free Crochet Beret Patterns
- Neon Rainbow Striped Crochet Hat
- 7 Easy-to-Follow Slouchy Hat Crochet Patterns You’ll Love
G’day Krista,
Thanks for the gorgeous neon rainbow beanie pattern. Weird question however the pattern for eg toddler size row 1 is only 14ch which is around 5” across !!!!!!!
Am I completely miss reading the pattern ??
Kind regards Leanne
Hi Leanne,
The toddler hat size starts with a chain 21 which is the height of the hat and the rows worked after are the width. I hope this helps. 🙂
Krista
Hi so I loved this pattern and completed it but the finished product does not reach 21 inches laid flat despite me following it? Any advice of what to do next
Hi Taylor,
My best guess is that your gauge was a little off from the recommended 8 sts x 6 rows = 3″ x 3. You can add more rows to make it to the width you’d prefer. If you have any questions, please let me know.
-Krista
What size hook do you use to get the gauge? I’m using the exact same yarn and no matter how I change the hook size, I can’t get the gauge swatch up to the right size. It keeps coming out too small, and of course the larger hook sizes make larger holes in the product, but it doesn’t necessarily get any bigger. Please help!
Hi Chloe,
I used a 5.5 mm crochet hook for this hat. 🙂 Are you using the same yarn as well? Sometimes that can change the sizes as well, since all four weight yarns are not made the exact same thickness.
Krista
Hey there!! This pattern looks really cool, but what does “bl” mean?
Hi!
BL means back loop. I just updated the abbreviations’ section to include that. Thanks for letting me know I missed it.
-Krista
I made the hat different yarn( stuff I had) I think I did the hhdc wrong but…it lookycool still. First hat ever! Thanks for the great simple pattern!
The hat is gorgeous! How many skeins did you use? I think I need to make a tween size. Thank you!
Hi! All the sizes take less than one skein. 🙂
Krista
Is there an easy printable pattern without pictures etc.? Lynn
Hi Lynn,
There is a printable PDF without Ads, but it does include pictures of the hat. It can be found in the Easy Crochet shop at shop.easycrochet.com.
Happy Crocheting!
Krista
I love the colors in the Retro Stripes. Being thinking of a project and now I have found one.
Thank you! It is such a fun yarn to crochet with. I hope you enjoy this project.
Krista