Quick Easy Crochet Pumpkin Pattern (mini size!)
Are you looking for a little crochet pumpkin pattern to make? If so, this cute and small pumpkin pattern may be it!
Get into the fall spirit with my quick and simple crochet pumpkin, which is perfect for beginners new to amigurumi! This pumpkin features easy-to-learn stitches and works up in no time. Enjoy!
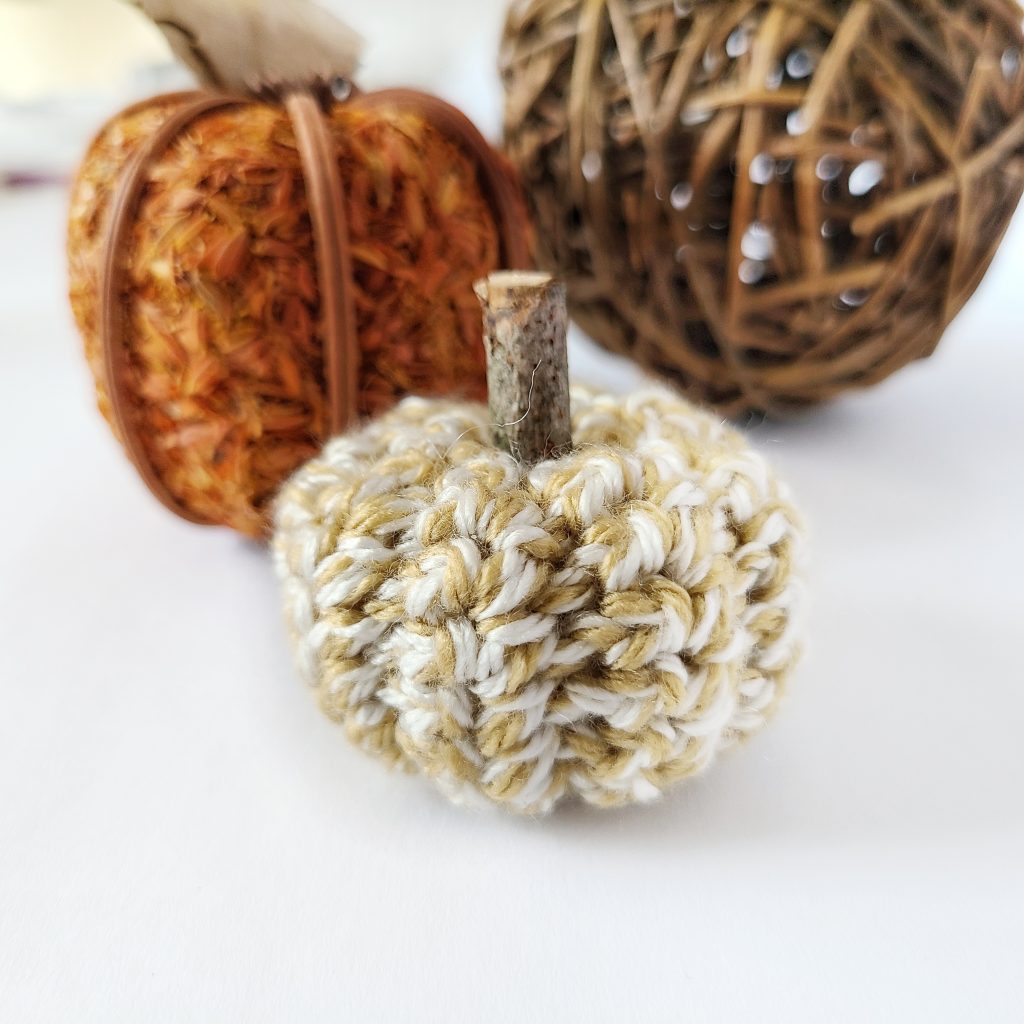
How to Make a Pumpkin Crochet Pattern
To make these amigurumi pumpkin patterns, you will need to know how to single crochet and single crochet in the back loop.
These are two basic stitches that most crocheters start with when they are first learning how to crochet, so these crochet pumpkins should be pretty easy to work up.
Single Crochet
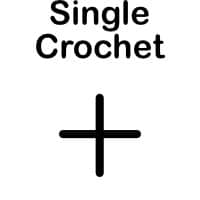
Abbreviation: sc
Difficulty Level: Easy
Learn this stitch →
Single Crochet Back Loop

Abbreviation: SC BL
Difficulty Level: Easy
Learn this stitch →
Stitches, Tips & Tutorials for Crochet Pumpkins
- How to Single Crochet
- How to Single Crochet in the Back Loop (Video)
- Free Crochet Pumpkin Pattern Collection
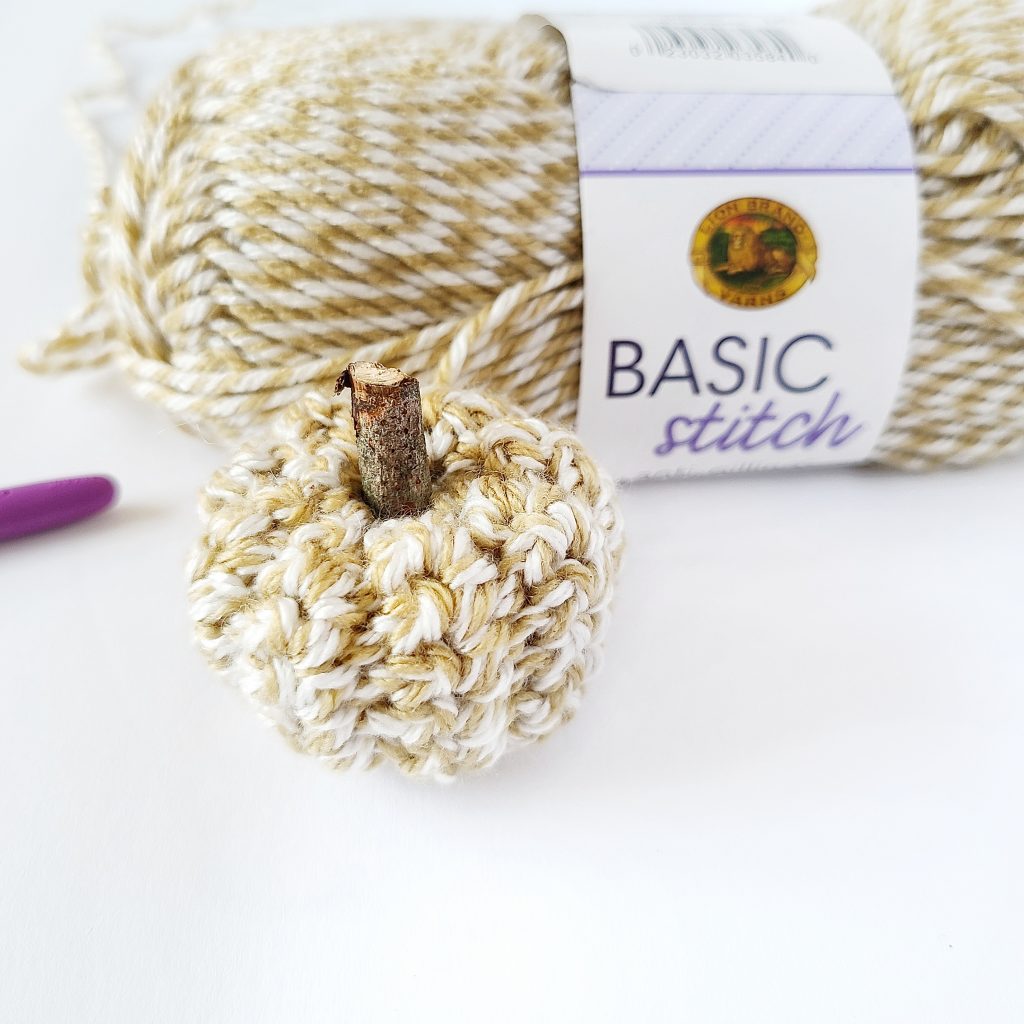
The Yarn I Used for This Pumpkin
For this little pumpkin, I used Basic Stitch yarn from Lion Brand. It is a worsted weight four yarn that is 100% acyclic, which means it’s perfect for crafting.
This yarn comes in a variety of colors, but I knew when I saw the Optic White and Gold, it would make a perfect neutral crochet pumpkin. Learn more about Basic Stitch to see if it’s a good fit for you.

If you can’t find this yarn any four weight yarn would work like Caron Simply Soft or Red Heart Soft. You could also use YarnSub.com to find the perfect yarn substitution.
You could also use some leftover yarn from your yarn stash and make a colorful pumpkin design. This tiny crochet pumpkin pattern would look great in any color!
Are you ready to make a pumpkin? If so, keep on reading down to learn how to crochet a mini pumpkin today with our free crochet pattern.
Free Crochet Pumpkin Pattern
Skill Level: Intermediate
Materials
- Lion Brand Basic Stitch yarn less than 30 yards or any medium weight #4 yarn
- Yarn needle
- Poly-fil stuffing
- Stick for the pumpkin stem
- Crochet Hook size G 4 mm
- Scissors
Crochet Stitch Abbreviations
- sc = single crochet
- sc bl = single crochet back loop
- ch = chain
- rep = repeat
Finished Size
- Approximately 2″ x 3″
Notes
- Written in standard US terms
Mini Pumpkin Pattern
To Begin: Ch 10
Row 1: in the second ch from the hook sc, sc into each ch across, turn. (9)
Row 2: Ch 1, sc into the first st, sc into each st across, turn.
Row 3: Ch 1, sc bl into the first st, sc bl into each st across, turn.
Row 4: Rep row 2
Row 5: Rep row 3
Row 6: Rep row 2
Row 7: Rep row 3
Row 8: Rep row 2
Row 9: Rep row 3
Row 10: Rep row 2
Row 11: Rep row 3
Row 12: Rep row 2
Row 13: Rep row 3
Row 14: Rep row 2
Row 15: Rep row 3
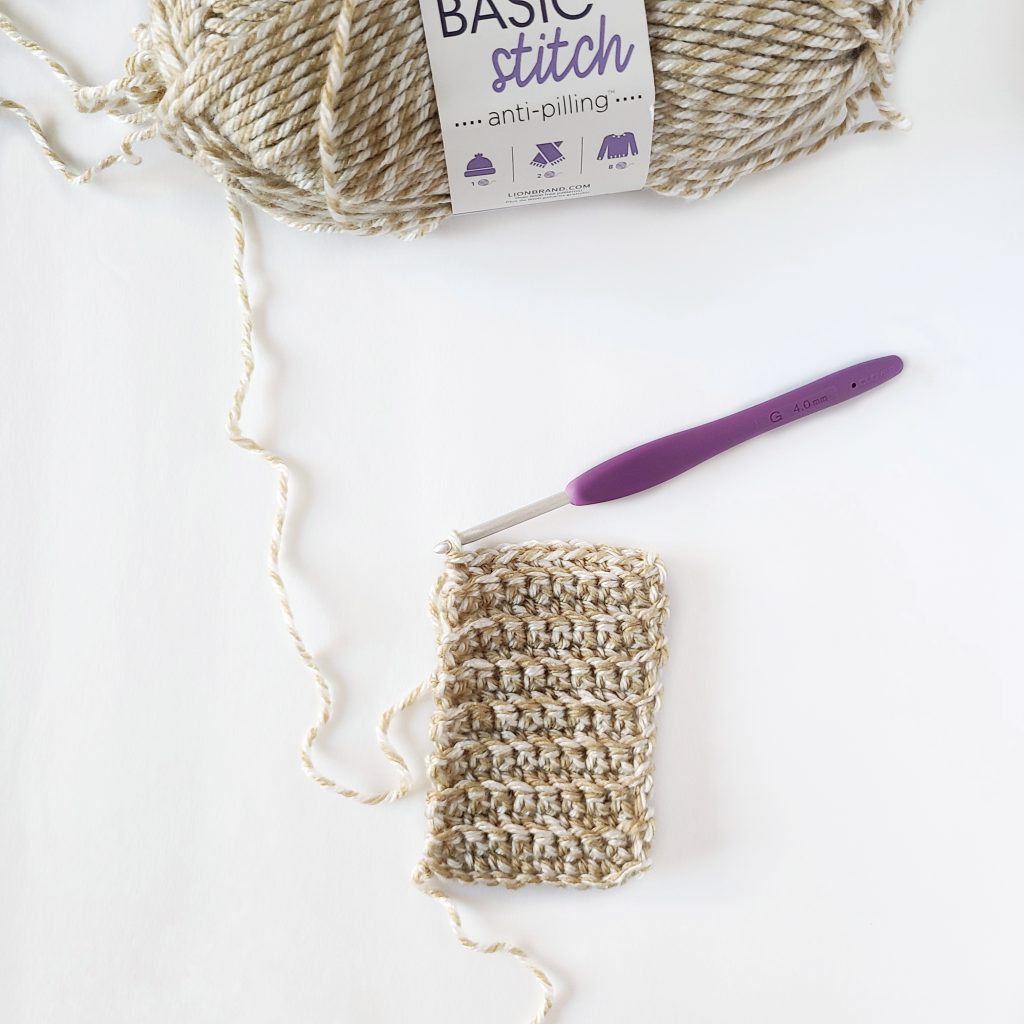
Fold up the short ends together, so the ridges are on the outside, and join with a slip stitch seam using the same yarn you worked with previously.
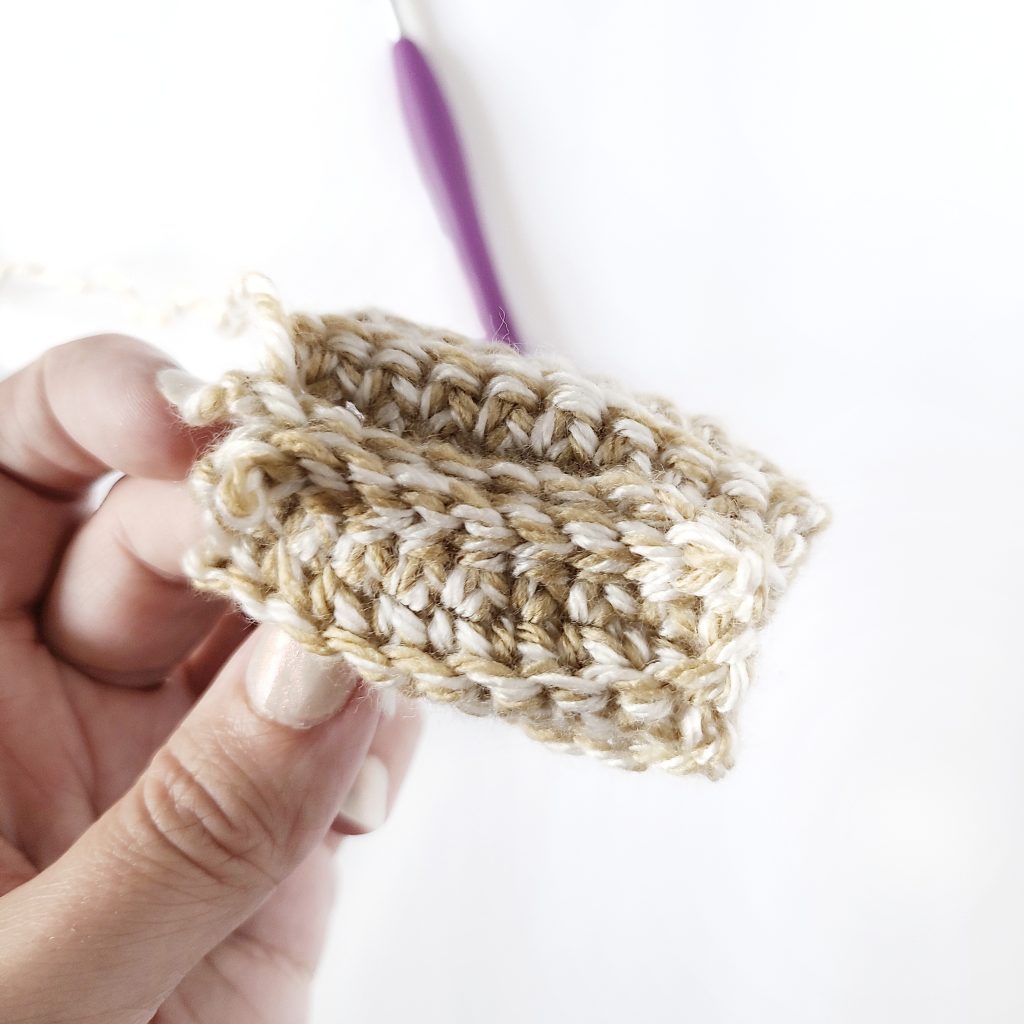
Turn inside out, so the ridges are on the inside and fasten off the yarn, leaving a 15″ to 17″ yarn tail.
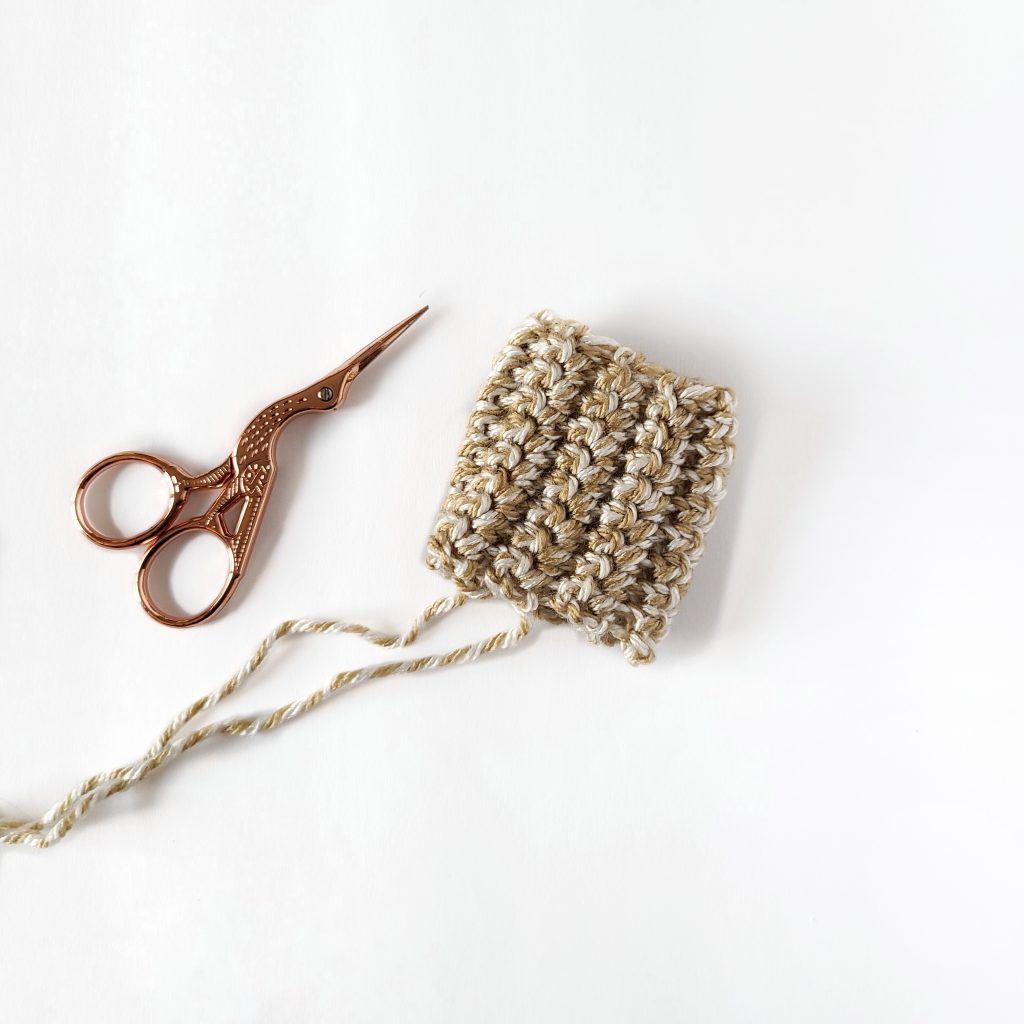
With a yarn needle, close up the end that the seam ended on, weaving in and out every other space around the short end.
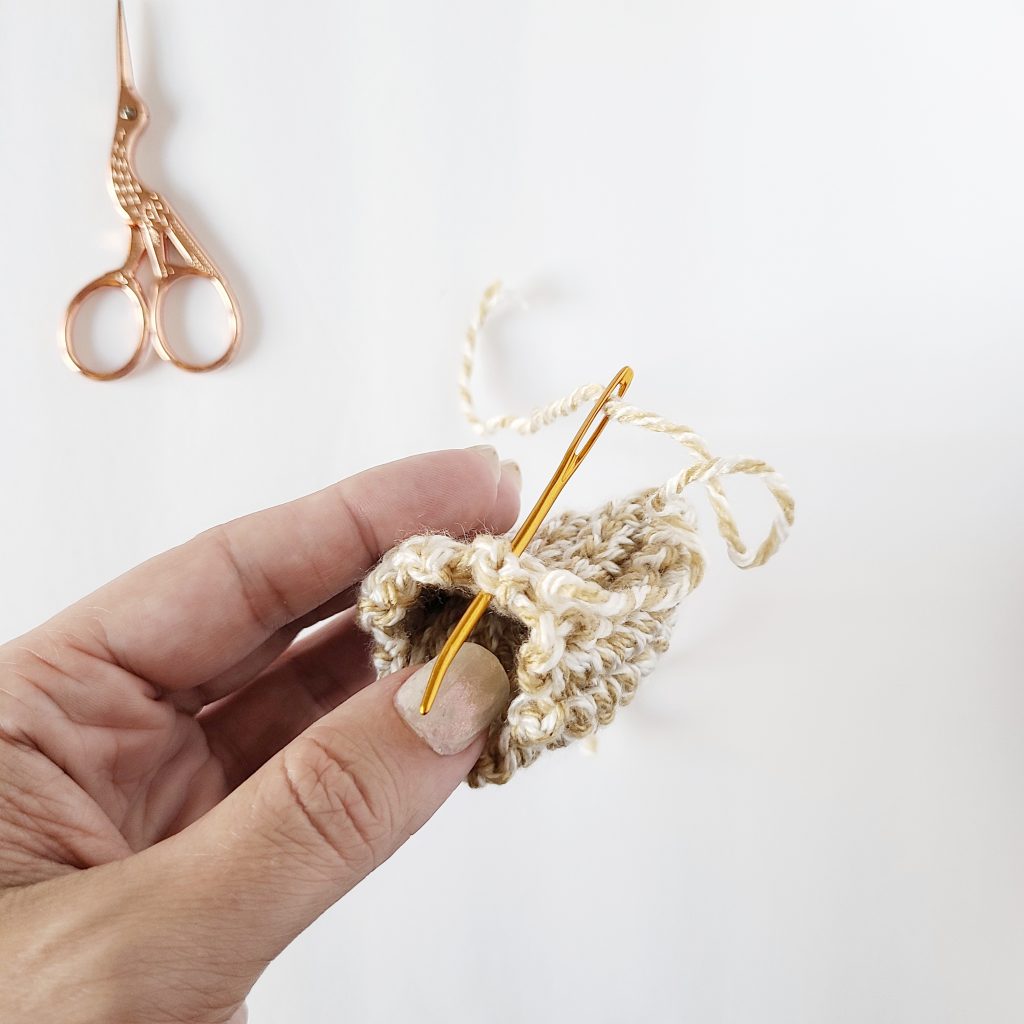
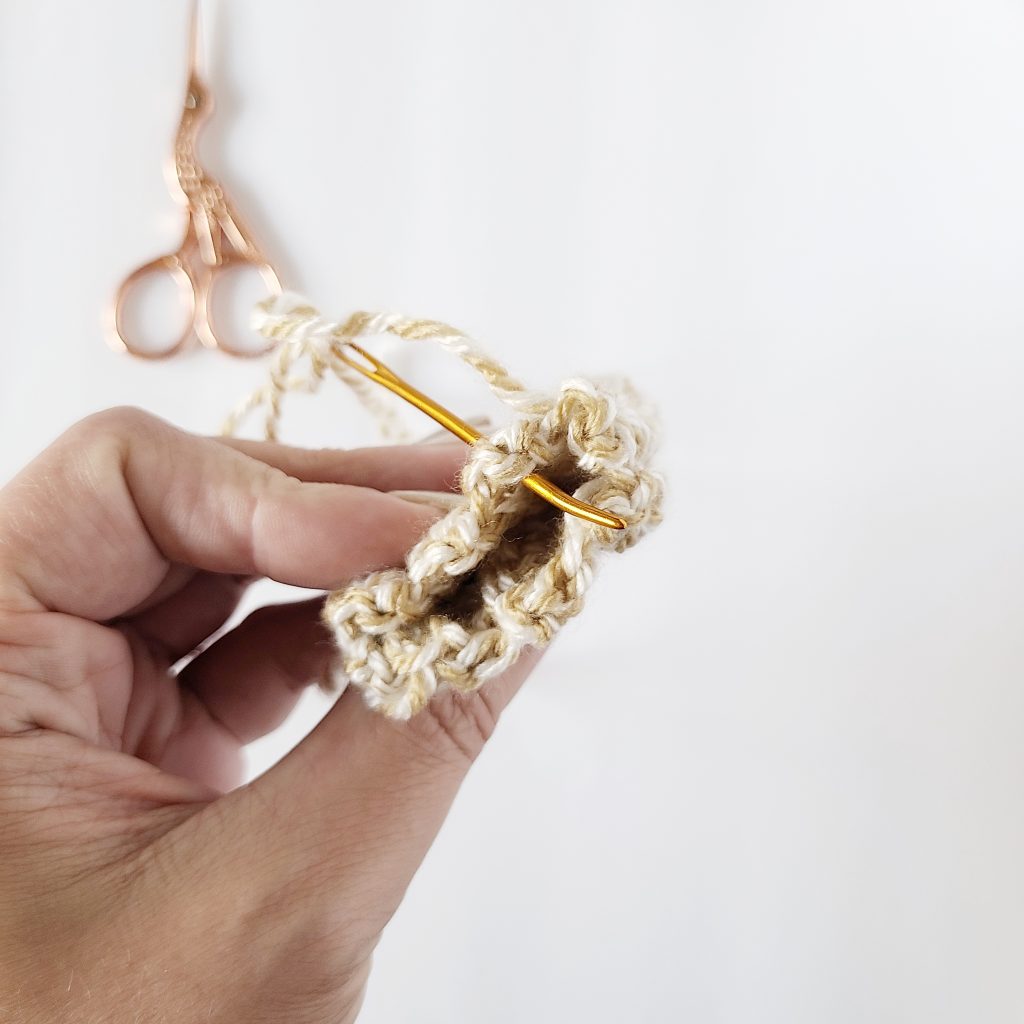
Continue around, weaving in and out until you reach where started. Pull the yarn tight to close the circle.
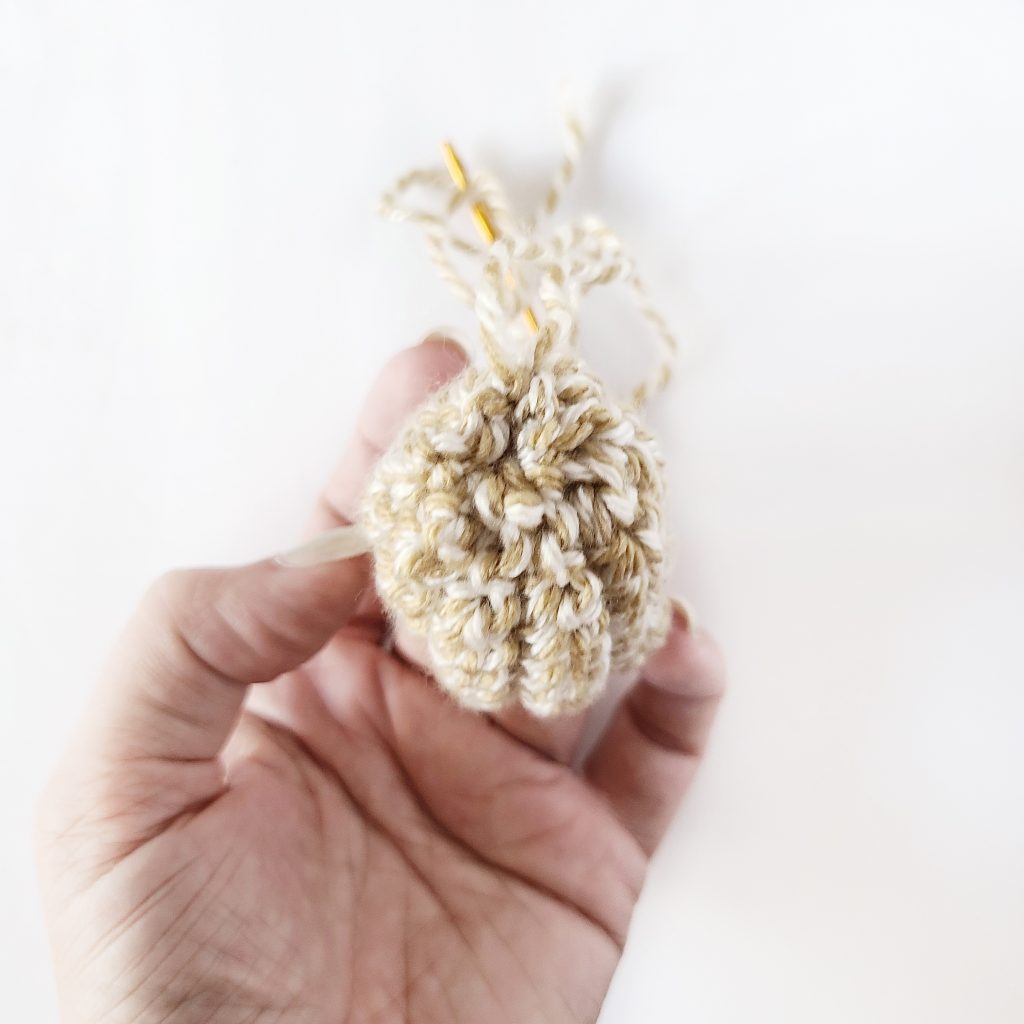
After the circle is closed, take the yarn needle down through the center to tighten.
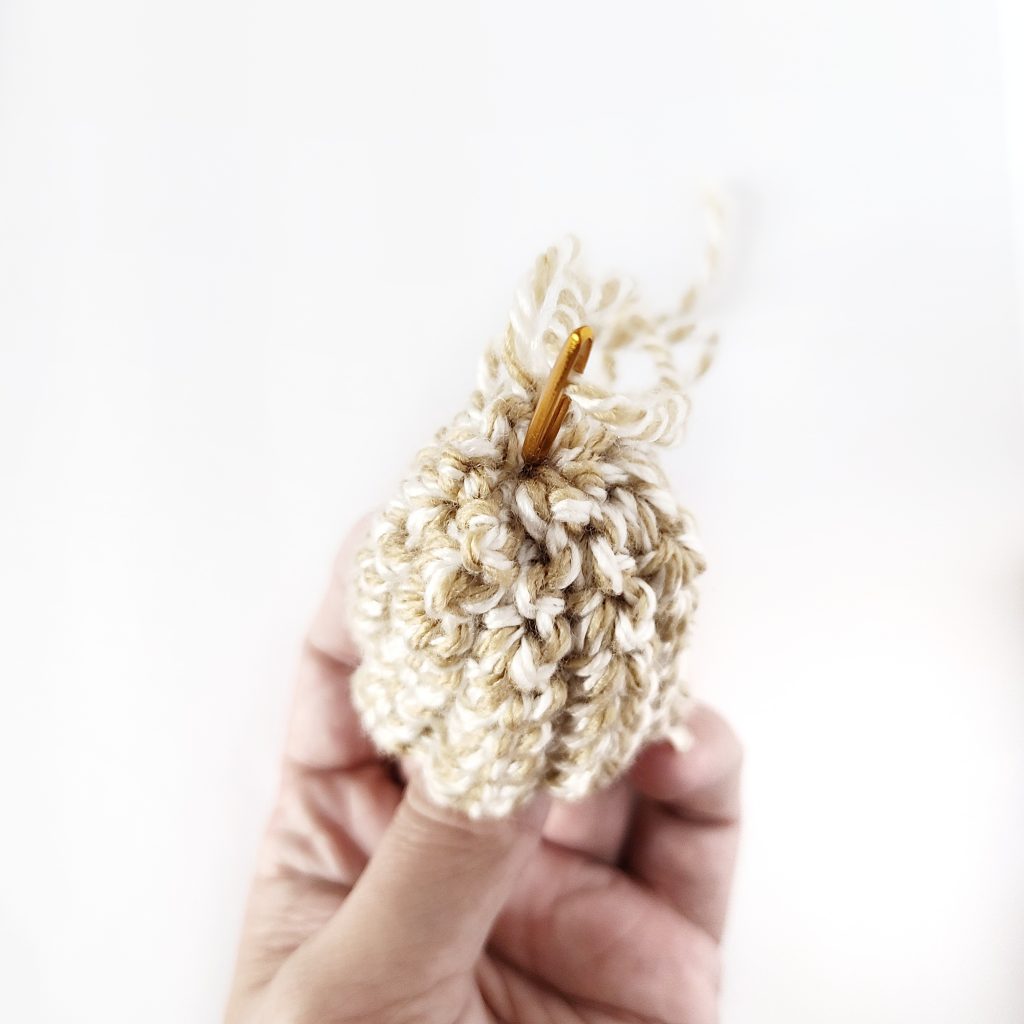
Fill in the opening with Poly-fil, but make sure not to stuff too full, but just until you have the perfect pumpkin shape. With the yarn needle still attached to the yarn that was pulled through.
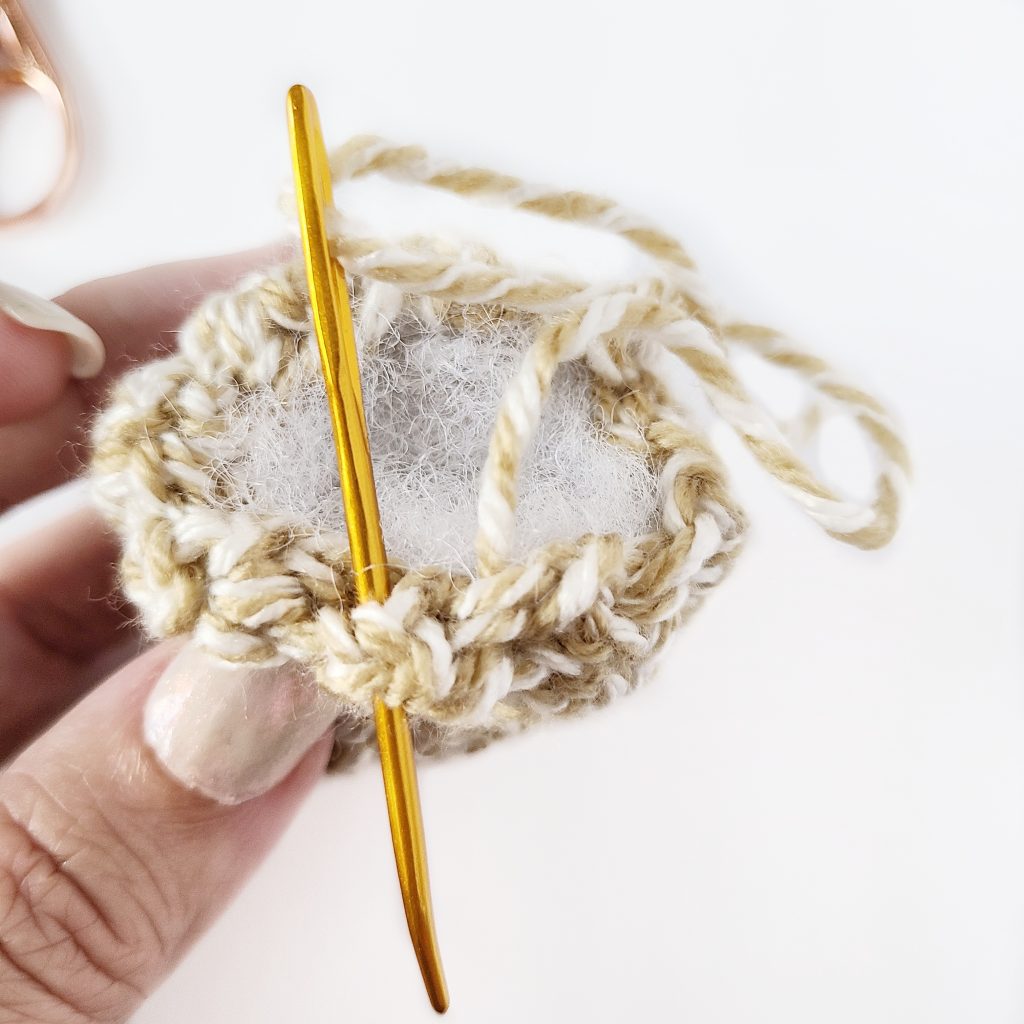
Weave in the yarn through the short end to close up the top of the pumpkin.
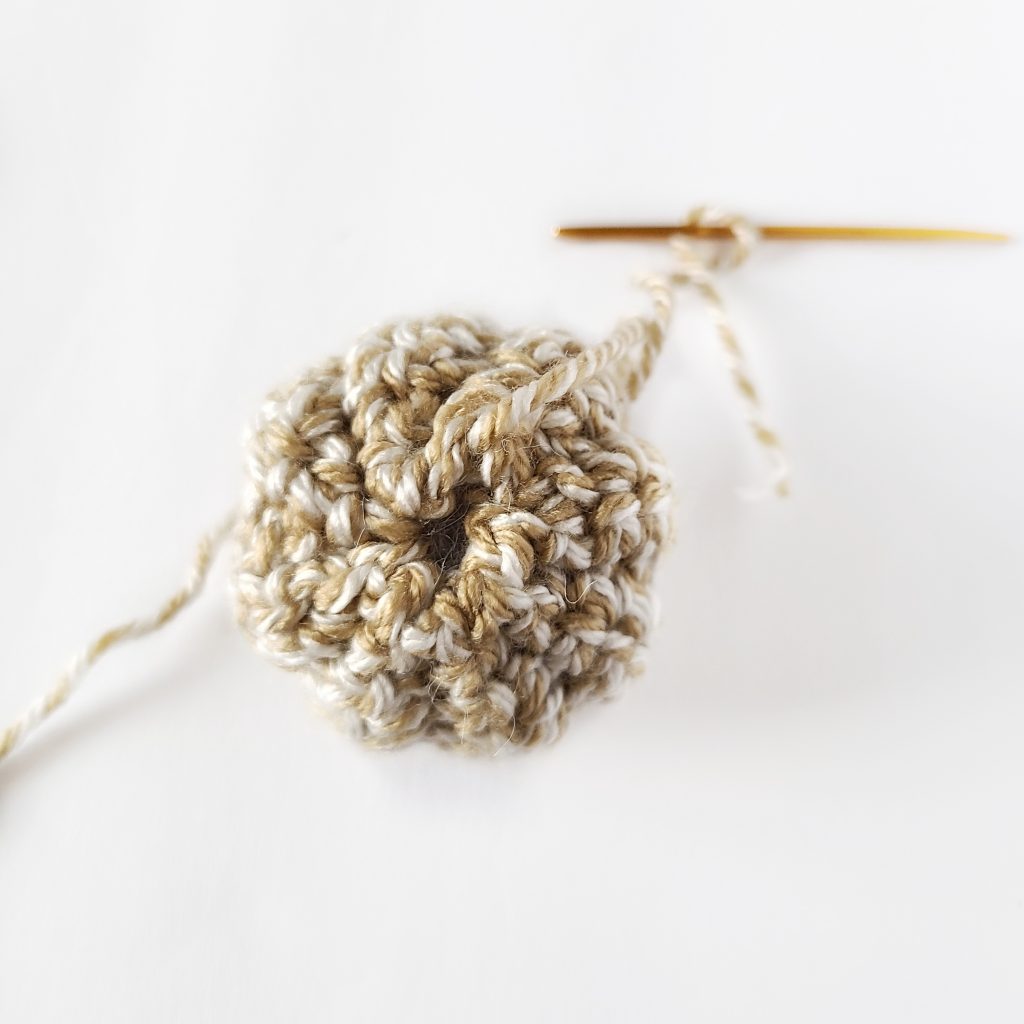
Once you weave in and out to the start, pull to close. Do not close completely, so there is a space to put the stem of the pumpkin. Pull the yarn needle down through the bottom of the pumpkin and back up. Take the yarn off the needle and push the extra yarn down into the pumpkin center.
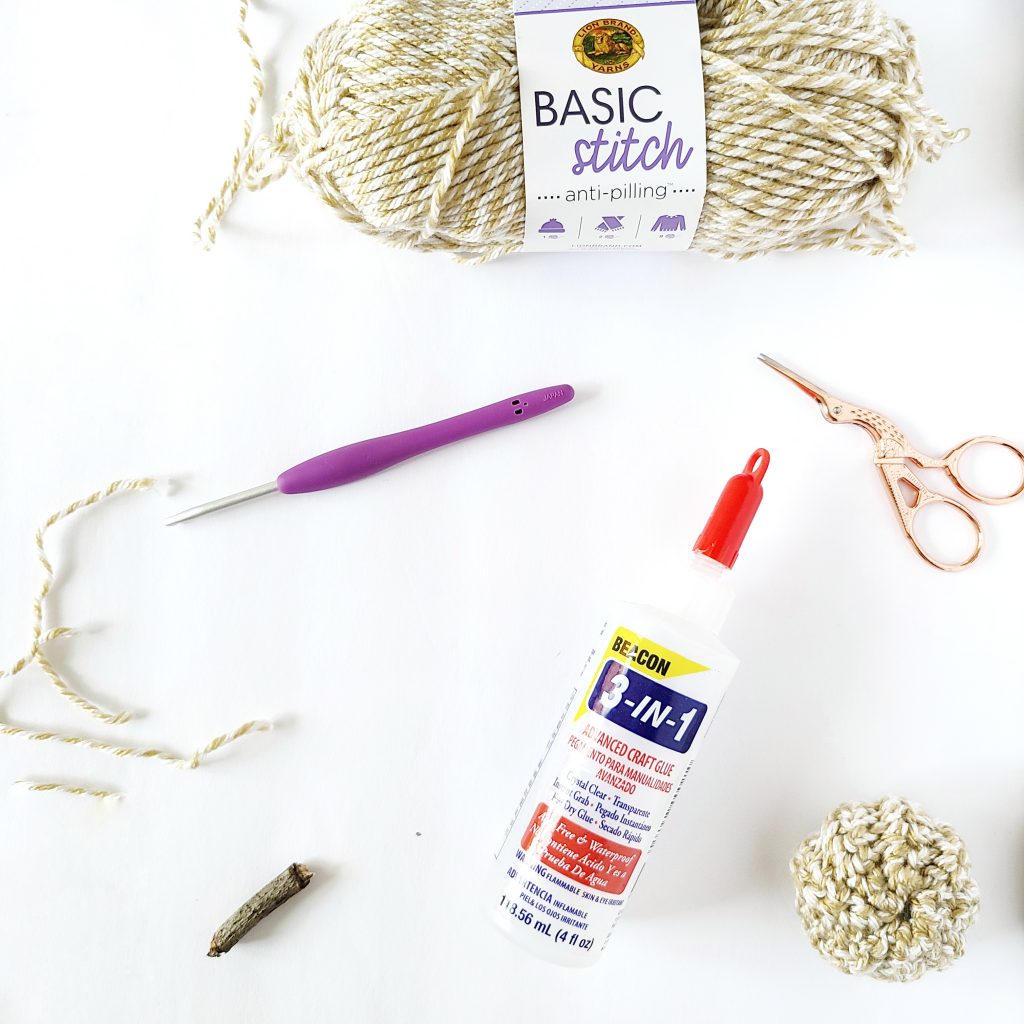
Next, place the pumpkin stem with glue (I used Beacon 3-1) into the center of the miniature pumpkin.
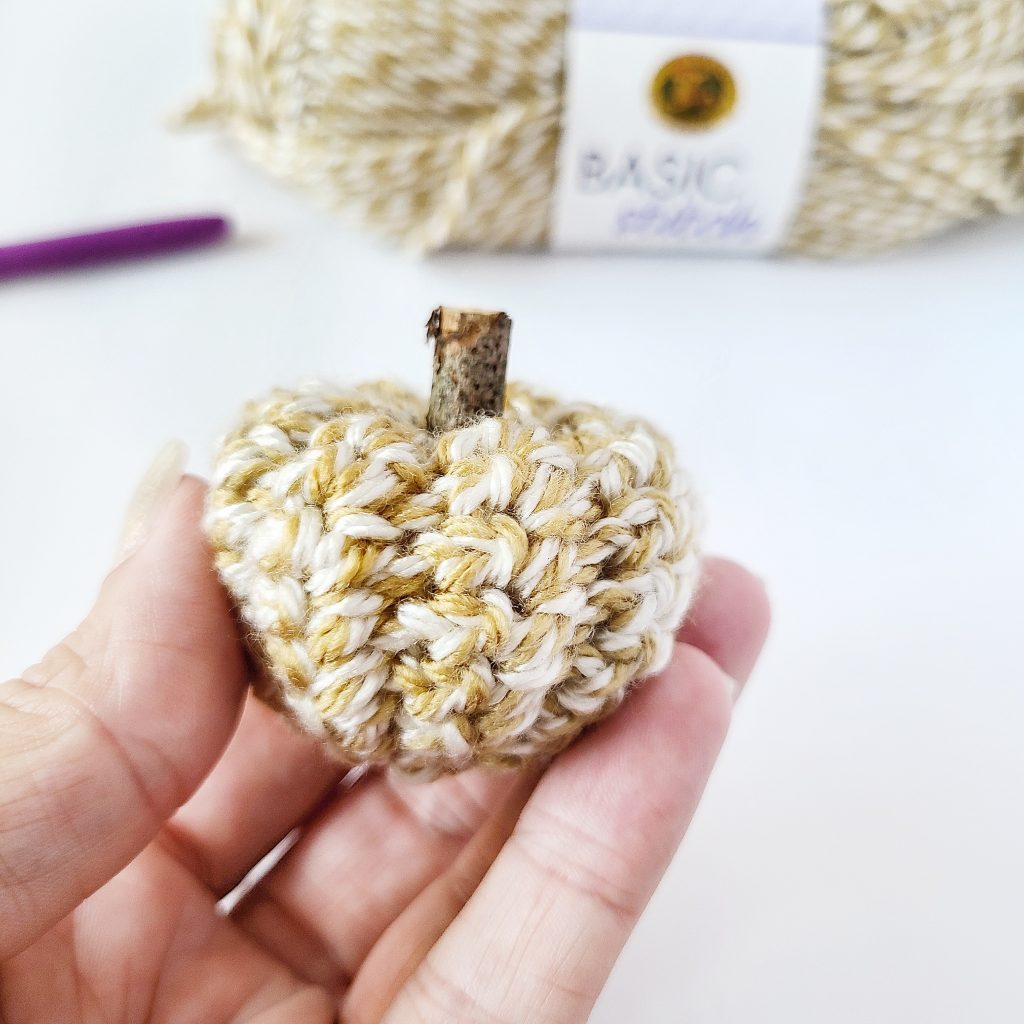
You are now done with your small but gorgeous pumpkin!

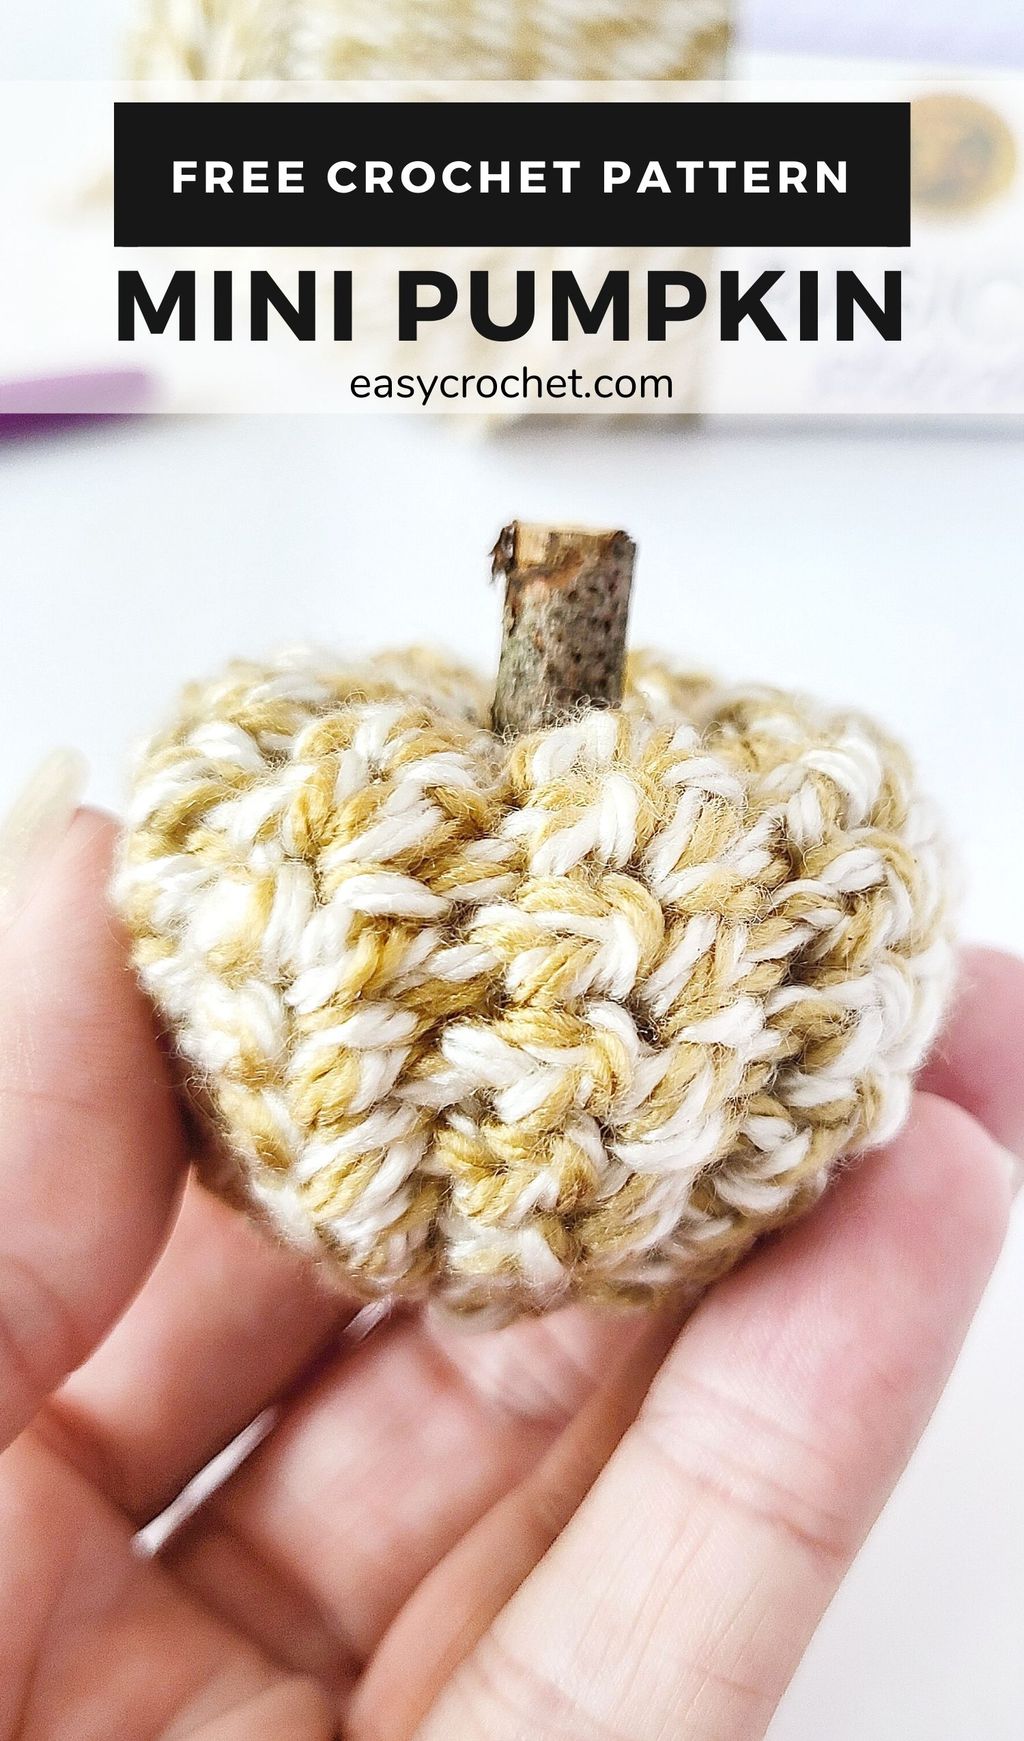
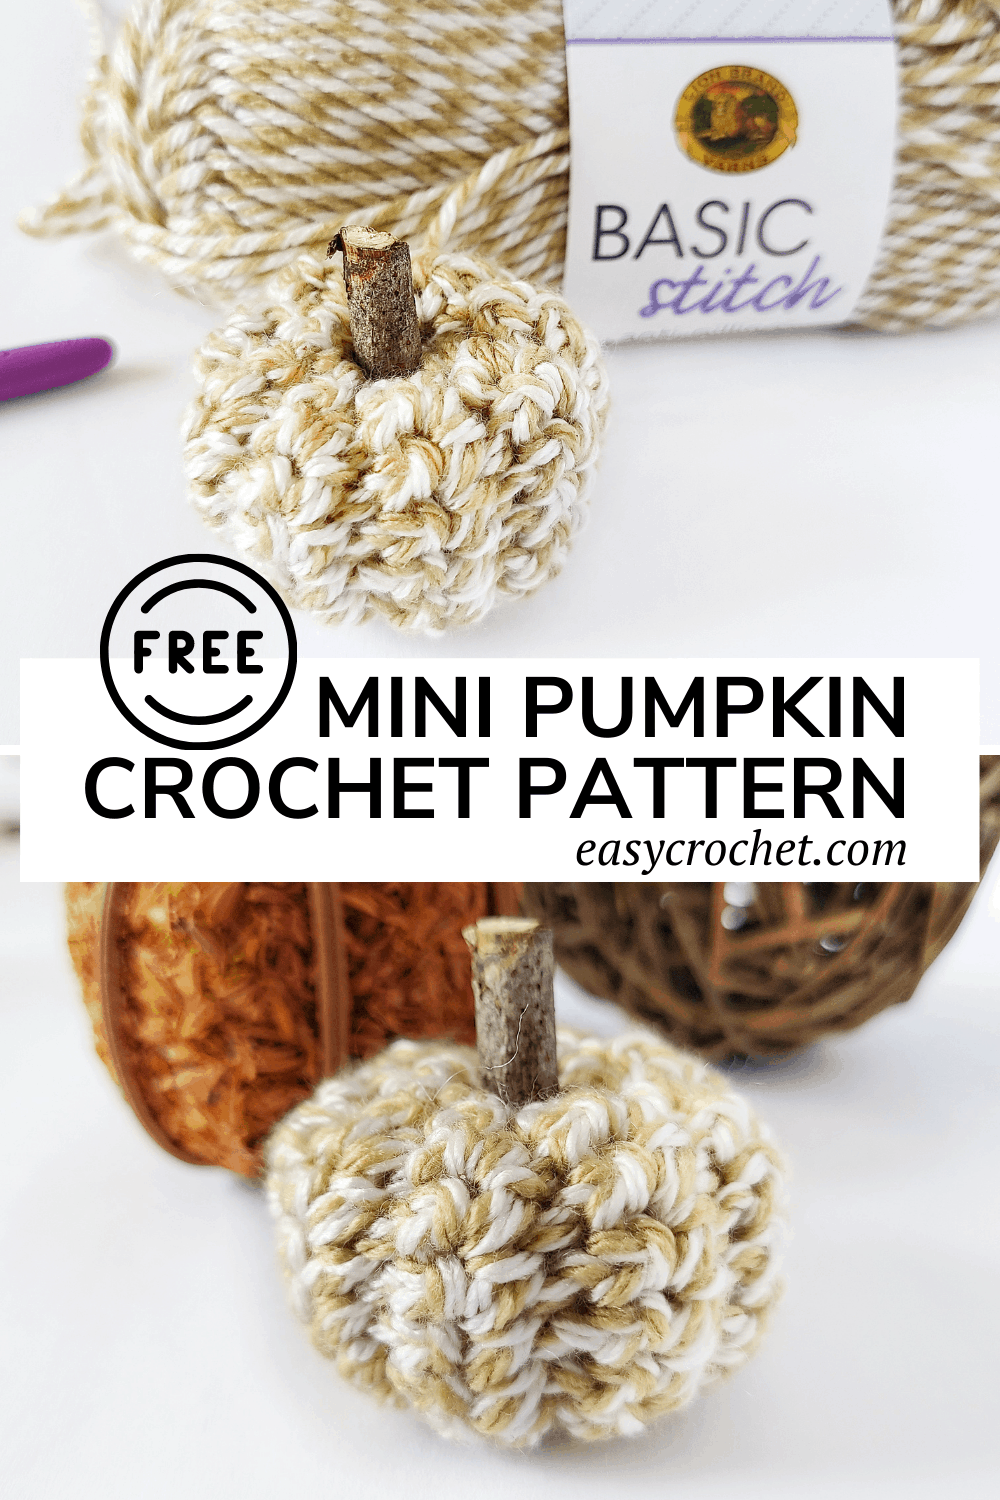
More Free Pumpkin and Fall Crochet Patterns
I hope you enjoyed this small easy crochet pumpkin pattern. If you’d like more free patterns, I’ve listed a few below that I thought you might like to try for Fall.
- Apple Crochet Patterns Perfect for Fall
- Apple Crochet Coaster Pattern for Fall
- 7 Free Patterns for Crochet Fall Decor
- 8 Spooky Crochet Halloween Projects to Haunt Your Home
- 5 Crochet Patterns For Thanksgiving (All Free)
- Top 5 Crochet Fall Coaster Patterns
- 7 Cozy Fall Crochet Scarf Patterns You’ll Love
- Thanksgiving Table Runner Crochet Patterns
- Free Crochet Sunflower Pattern