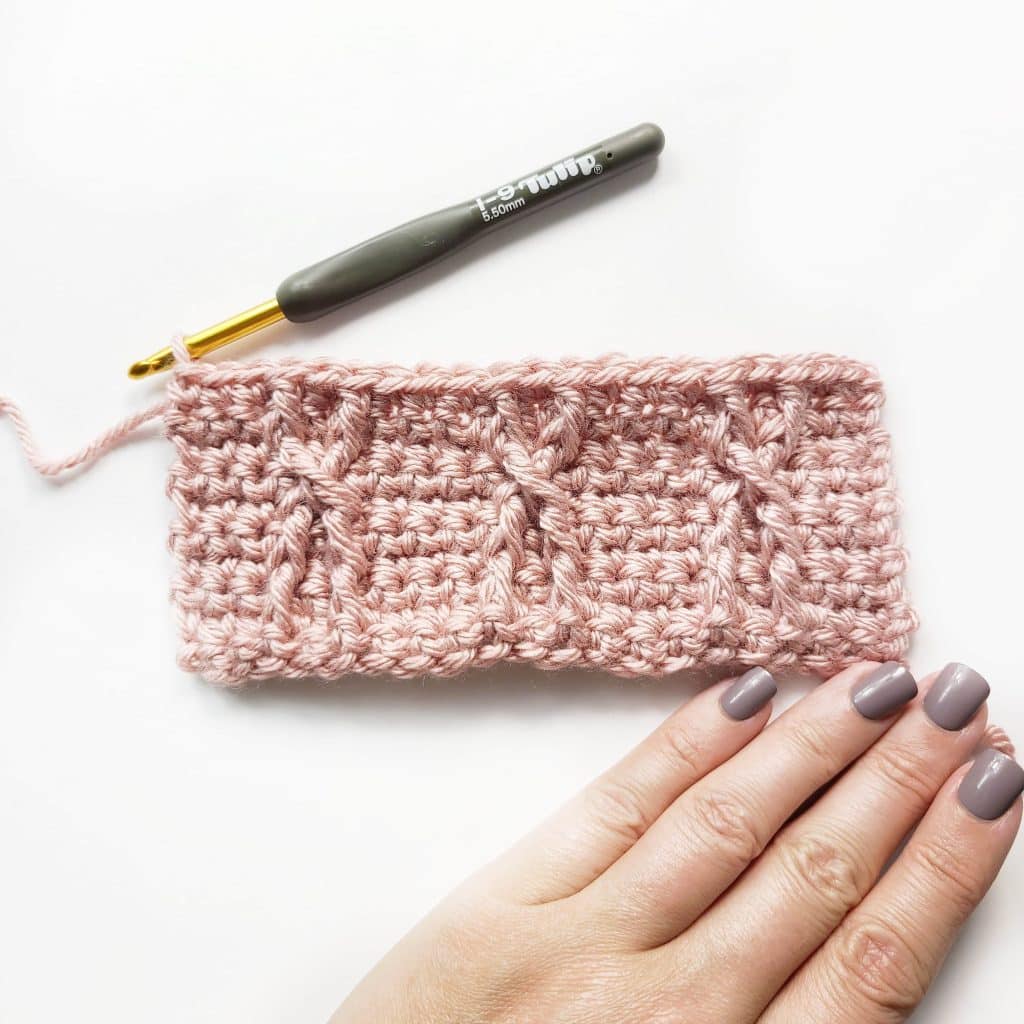
How to Crochet a Cable Stitch
Crochet cables make any project look sophisticated and high-end. This beautiful technique can be used on anything from blankets to scarves to headwear.
Learning how to crochet cables may initially seem intimidating, but it is actually pretty simple once you get the hang of it.

What is a Crochet Cable?
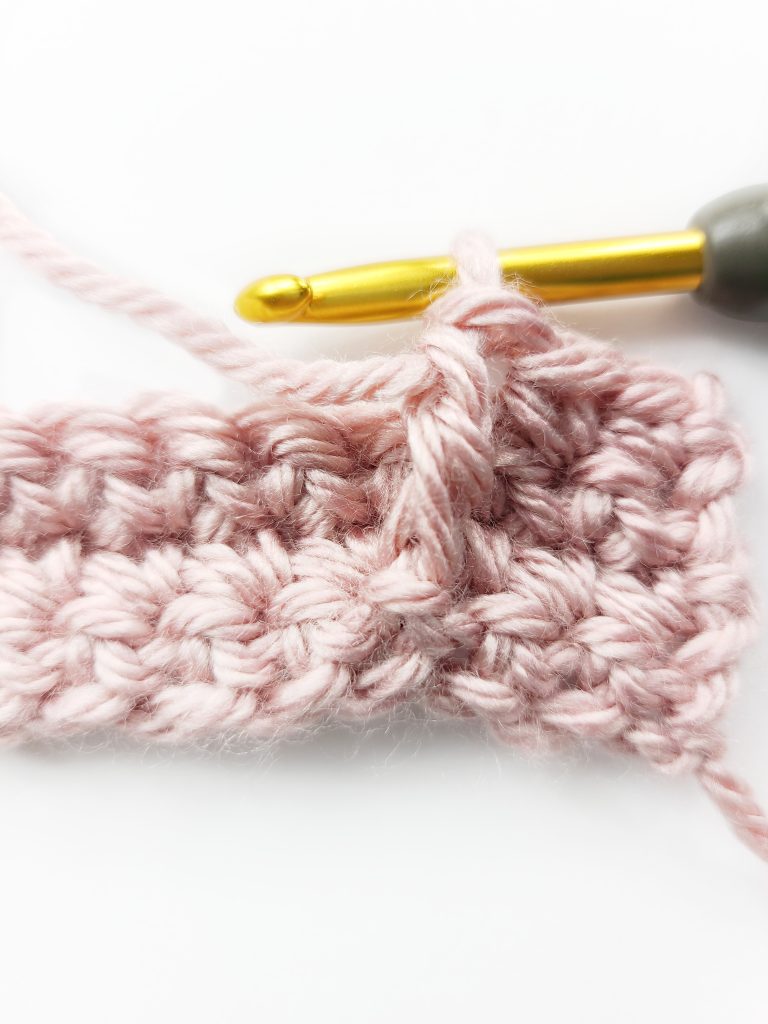
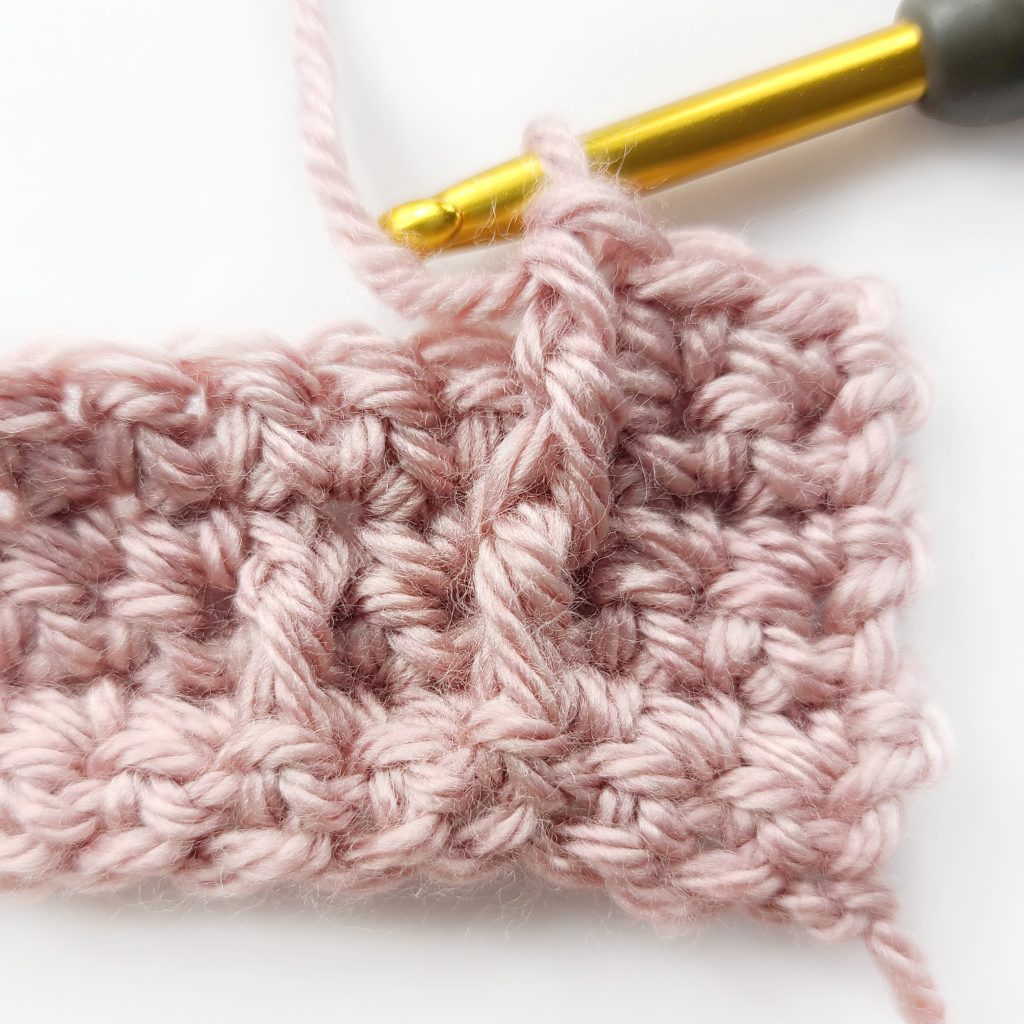
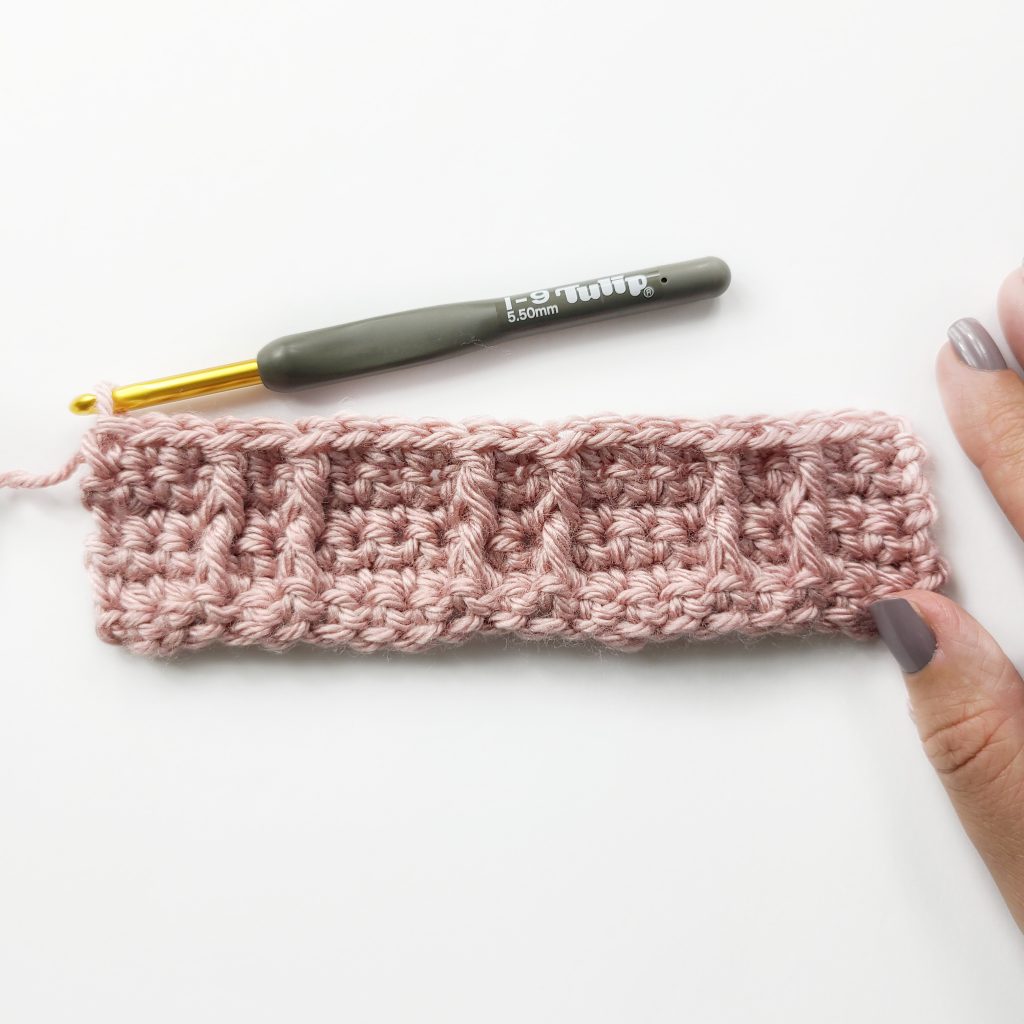
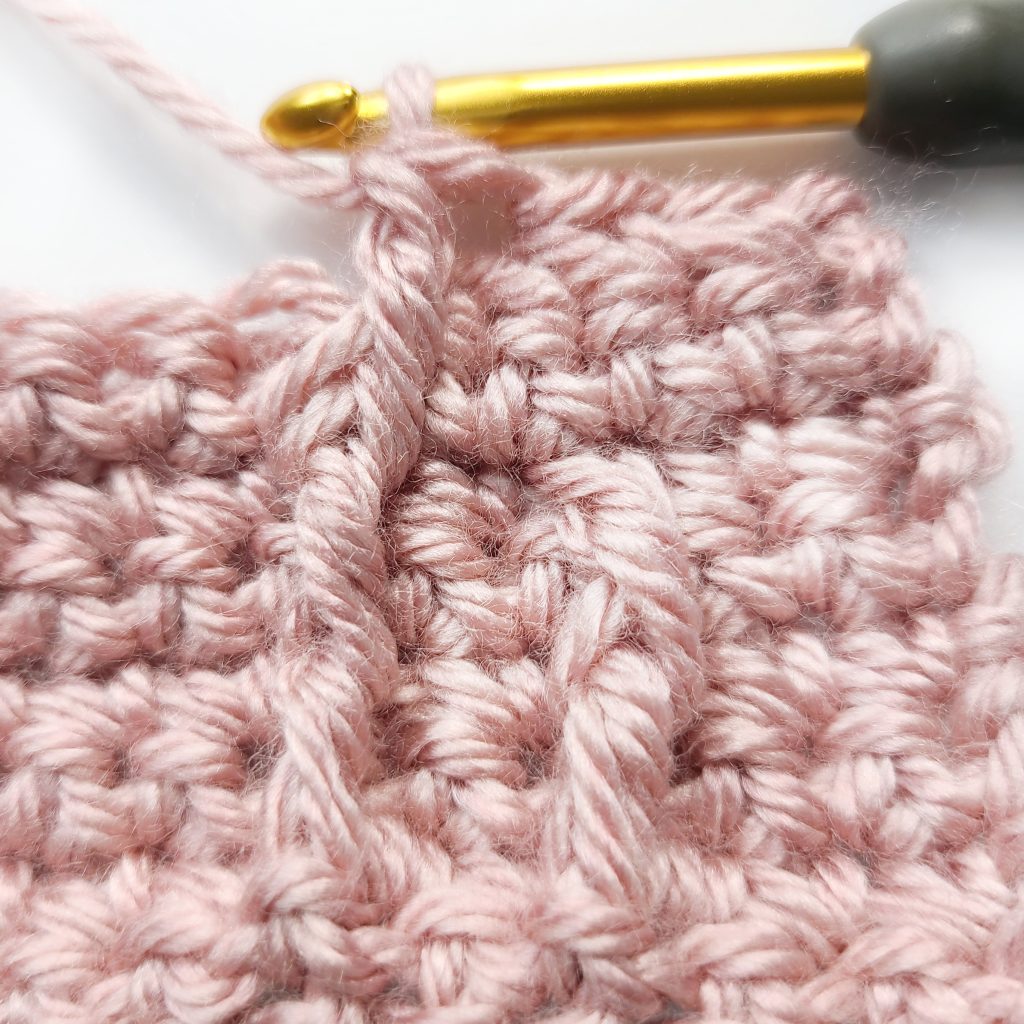
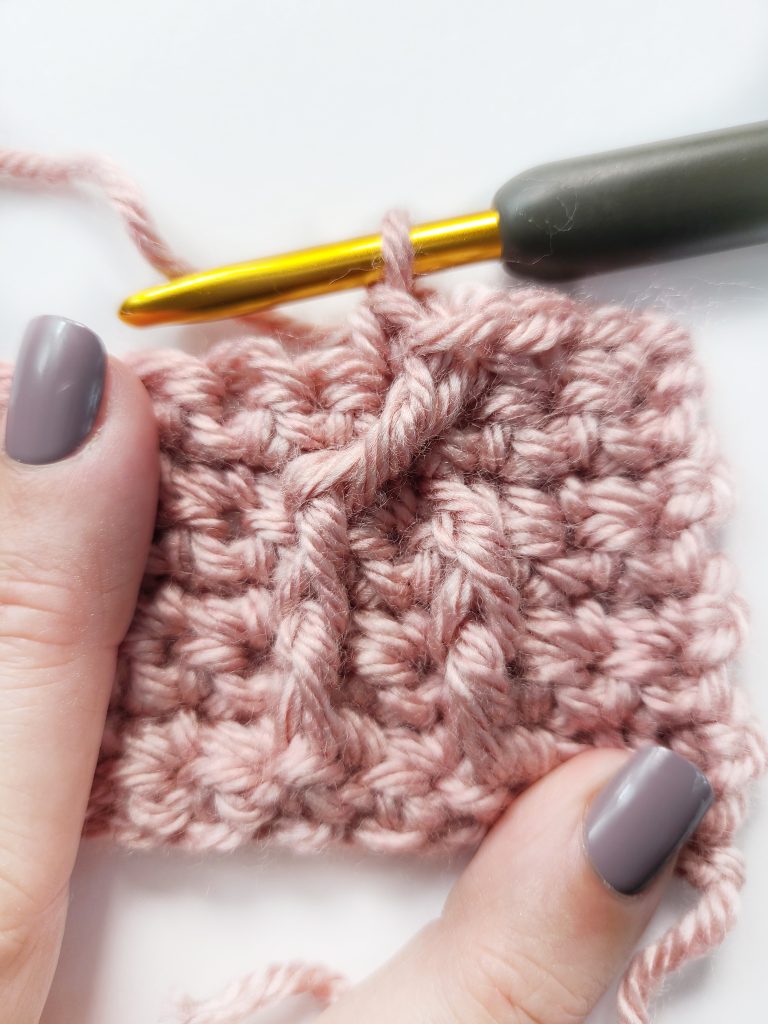
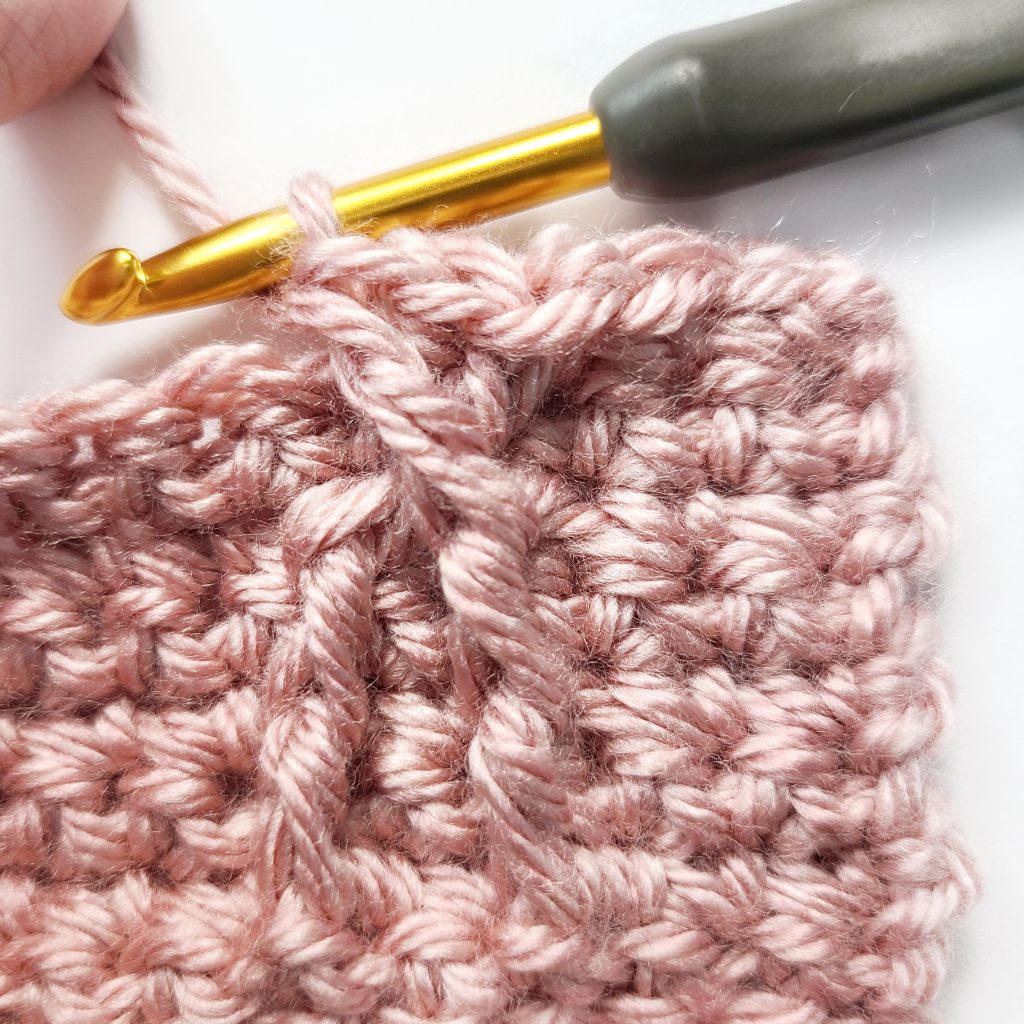
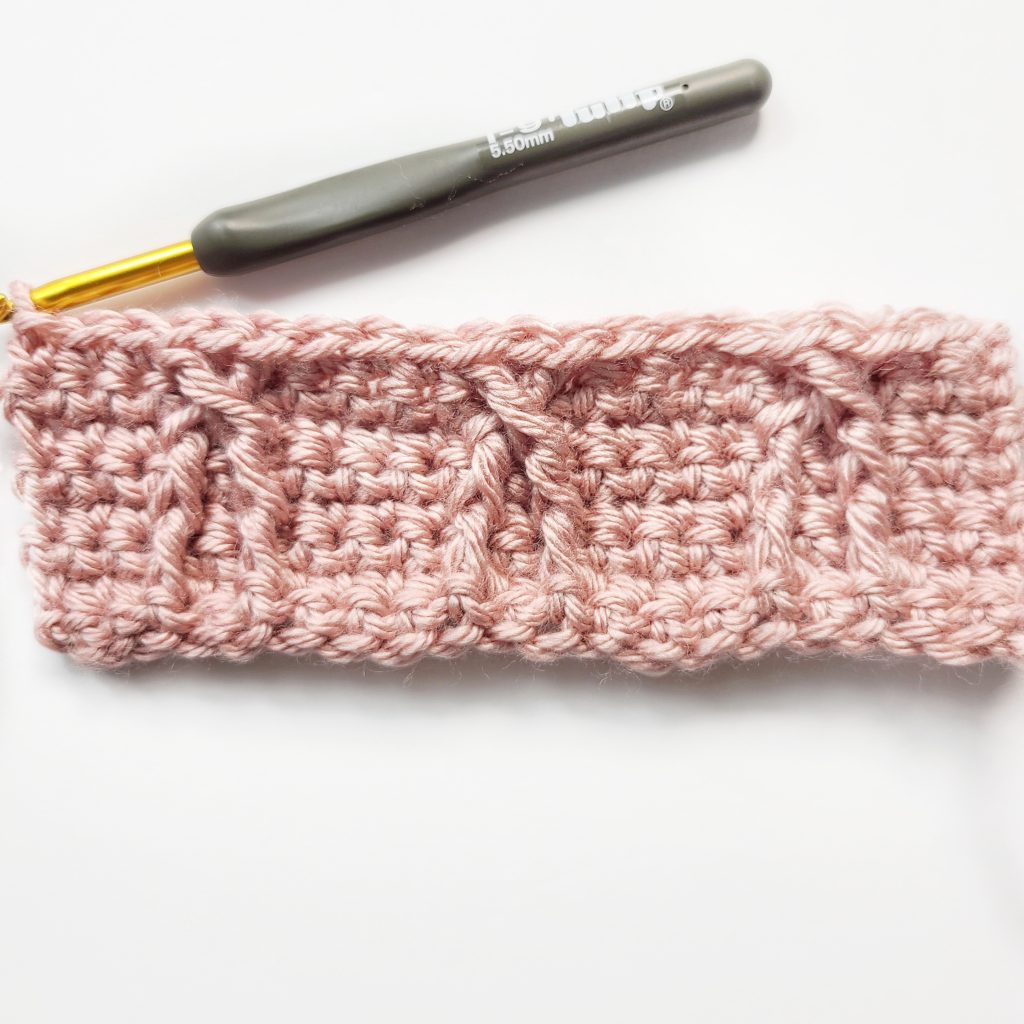
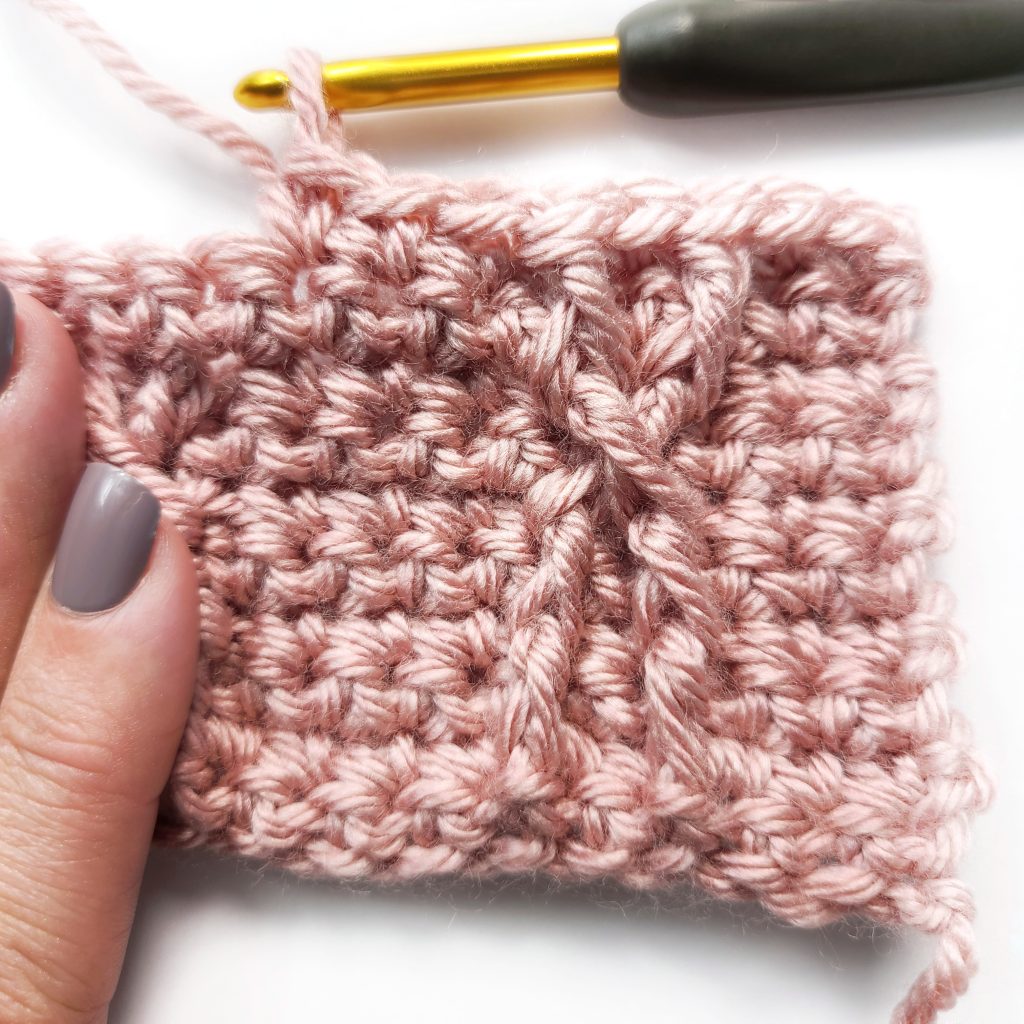
Crocheted cables are made by skipping a specified set of stitches, then crossing front and back post stitches to create the twisted look of a cable.
There are multiple ways to ultimately create a cable stitch.
In this tutorial, I focus on describing only one of the ways. Here, I create cables by using the front post double crochet stitch (abbreviated as FPdc), which I find is the easiest way to learn how to crochet cables.
Stitches that are worked around the front and back post of other stitches create that iconic twist in the yarn or cable!

The Stitches Used in Crochet Cables
To be able to create crochet cable stitches in this tutorial, you will need to know how to front post double crochet (FPdc) and single crochet.
Front Post Double Crochet (FPdc)
- Yarn over (YO) the hook, pick up a loop from front
- Insert your hook from right to left under the designated stitch
- *yarn over, draw through two loops, repeat from * twice.
Single Crochet (sc)
- Insert the hook from front to back in the second chain from the hook or designated stitch
- Bring the yarn over the hook and pull the yarn back through the chain (or stitch) from back to front (2 loops on hook).
- Yo and pull through both loops on the hook.
Cables can be created with taller stitches as well, like the back or front post treble crochet, the back post double crochet, or any other crochet stitch that uses posts. Remember: the front and back post stitches are what creates the signature cable stitch look.
What are Posts?
Many of our easy crochet patterns don’t utilize posts, but when creating cables, we have to. When working with post stitches, you crochet around the stitch instead of through the loops at the top.
There are front post and back post stitches, the name of which determines how you insert your hook.
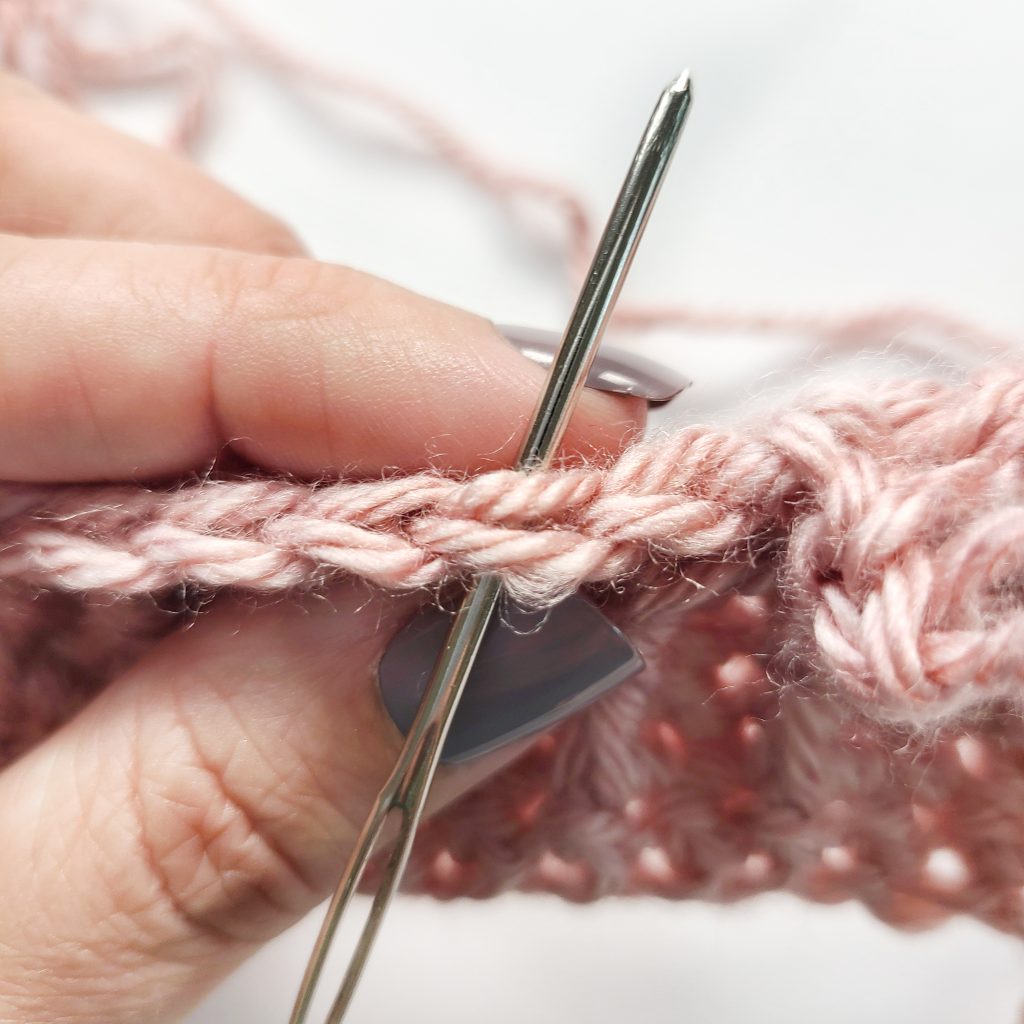
The hardest part of crocheting cables is knowing where you need to insert your hook. Front post stitches go from front to back to front, while back post stitches go opposite… from back to front to back.
Supplies for Crochet Cable Stitches
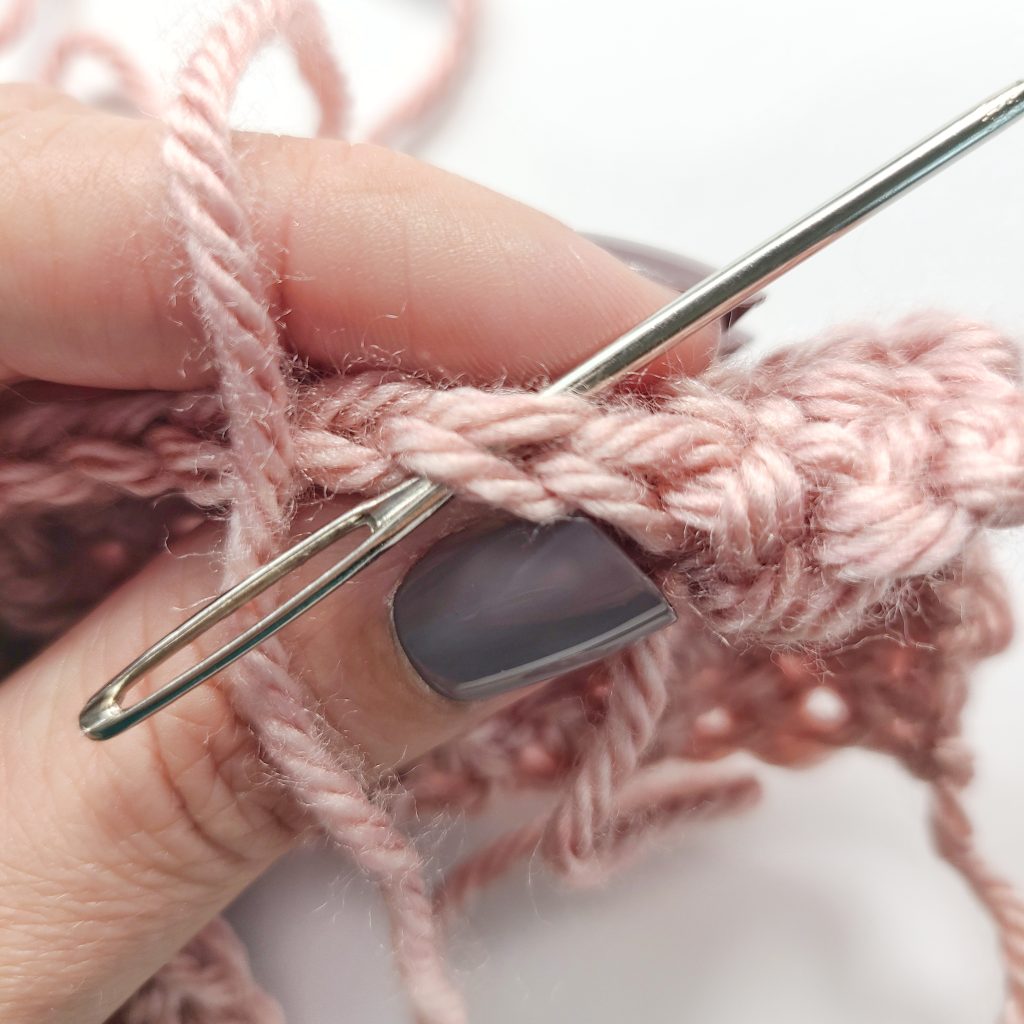
To crochet cables, you will need only need two crochet materials or tools to get started, which are yarn and a regular-old crochet hook. While the cable stitch looks complex, it is more technique than the use of other supplies like specialty hooks.
Yarn
For this example, I am using Lion Brand Heartland, which is a four weight yarn. If you’d like to also use this yarn, the color is called Capitol Reef. However, you can use any yarn you’d like with this crochet cable tutorial.
Heartland
This yarn is made by Lion Brand, and is a Weight 4 – Medium yarn.
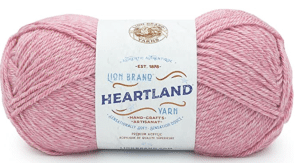
Fiber: 100% Acrylic
Yardage: 251yd / 230m (200yd / 183m in prints)
Hook: 6 mm (J-10)
Substitute: Lion Brand Vanna’s Choice
Crochet Hook
For these instructions, I will be using a hook with the size of I-9 5.5 mm. Be sure to match the hook size with the yarn weight if you chose a different yarn than I did. My favorite hooks are Tulip Etimo, which I’ll link up below.
Need help finding the hook size? You can usually find the suggested hook size on the yarn label of the yarn you are using.
Ready to get started?
Scroll on down to find the detailed tutorial on how to create a crochet cable stitch! If you require any further assistance, please feel free to email me.
Basic Crochet Cable Stitch Pattern
Skill Level: Intermediate
Materials
- Yarn: Heartland by Lion Brand
- Crochet Hook: I-9 5.5 mm
Crochet Stitches & Abbreviations
- sc = single crochet
- fpdc = front post double crochet
- sk = skip
- st (s) = stitch (es)
- ch (s) = chain (s)
Notes
- All patterns and tutorials are written in standard US terms
- Use a starting ch in a multiple of 6 plus 3
- This means you’ll crochet a chain in a multiple of 6 then add 3 more chains to that multiple.
- The number at the end of the foundation row shows the stitch count for that row and every row in the written instructions.
- Ch do not count as sts
- * Asterisks show a repeated stitch pattern.
- IMPORTANT: Always skip the sc behind the FPdc you just made
Written Instructions
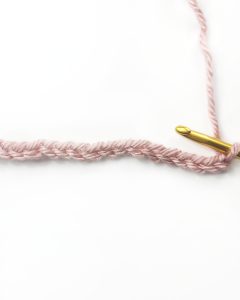
Foundation Row: Ch 21, 1 sc in the second ch from the hook, 1 sc in each ch across, turn (20)
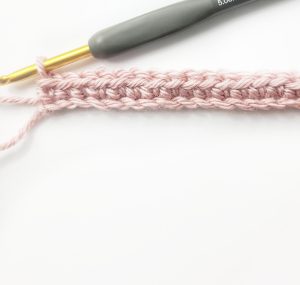
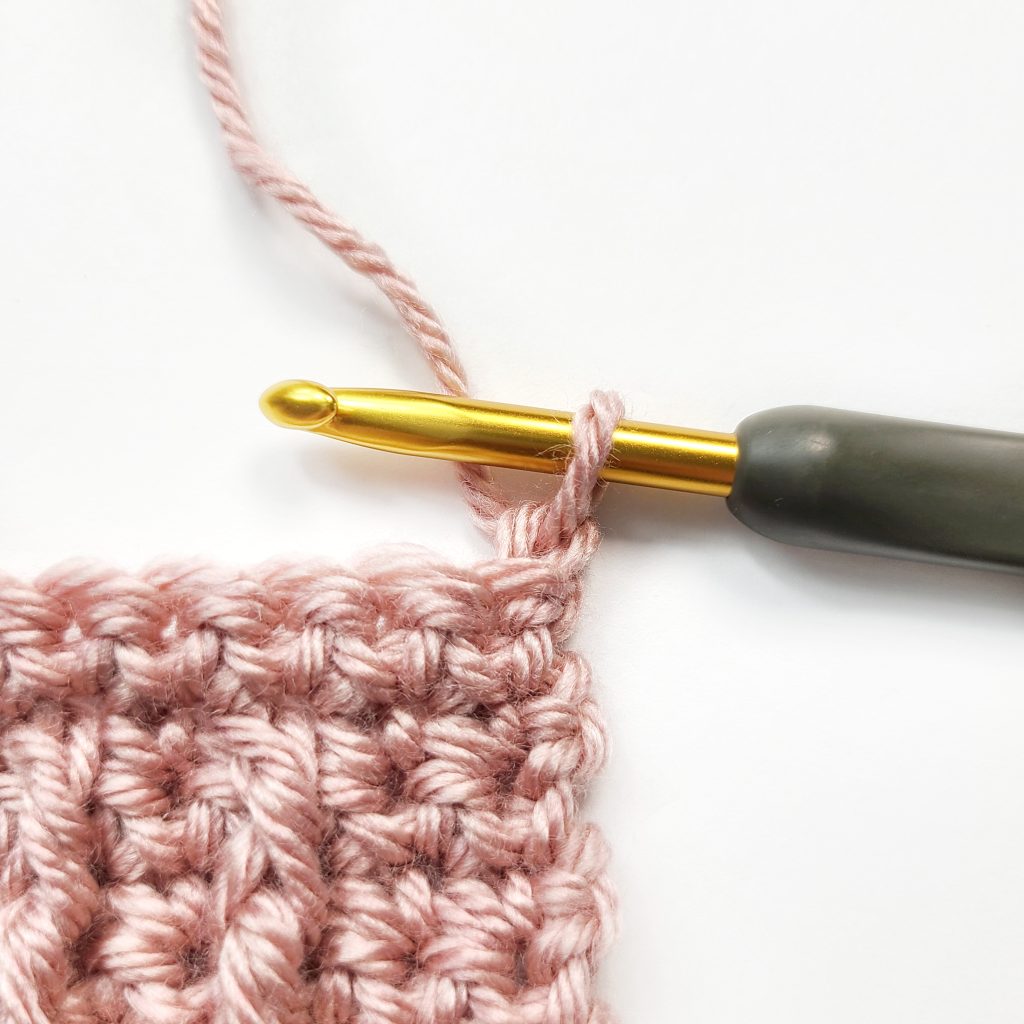
Row 1: Ch 1, 1 sc into each st across, turn.
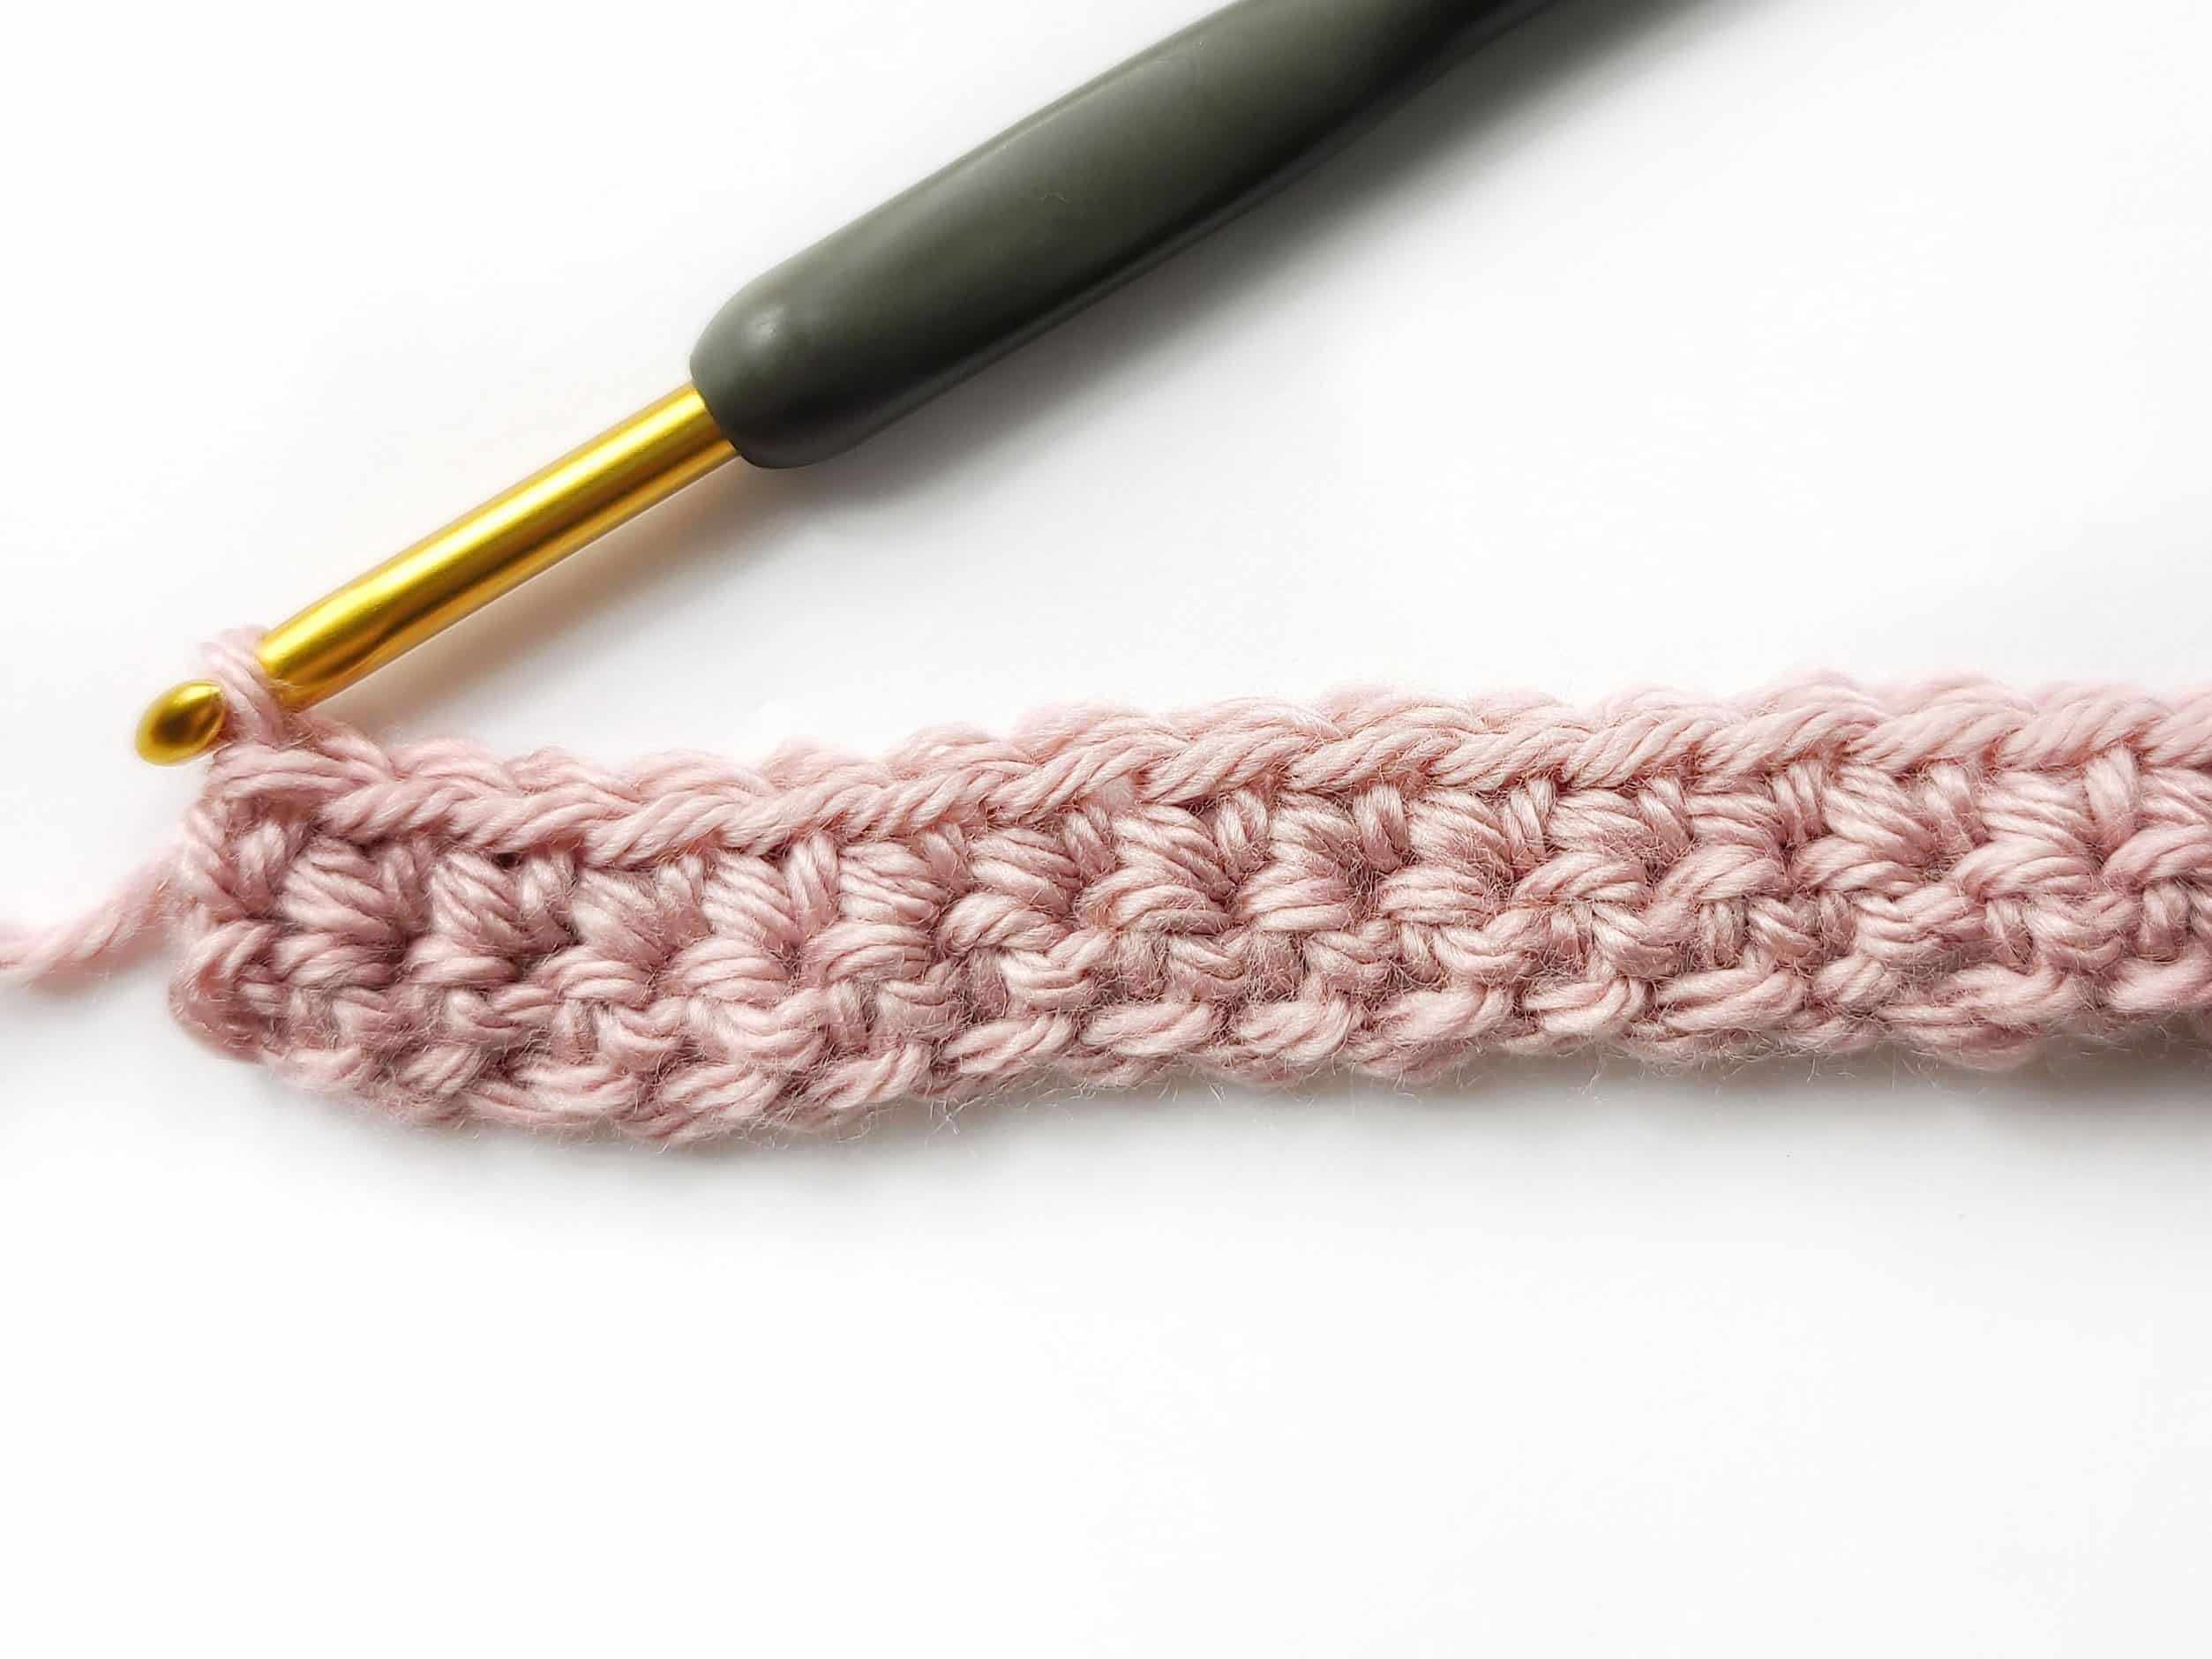
Row 2: Ch 1, 1 sc into each st across, turn.
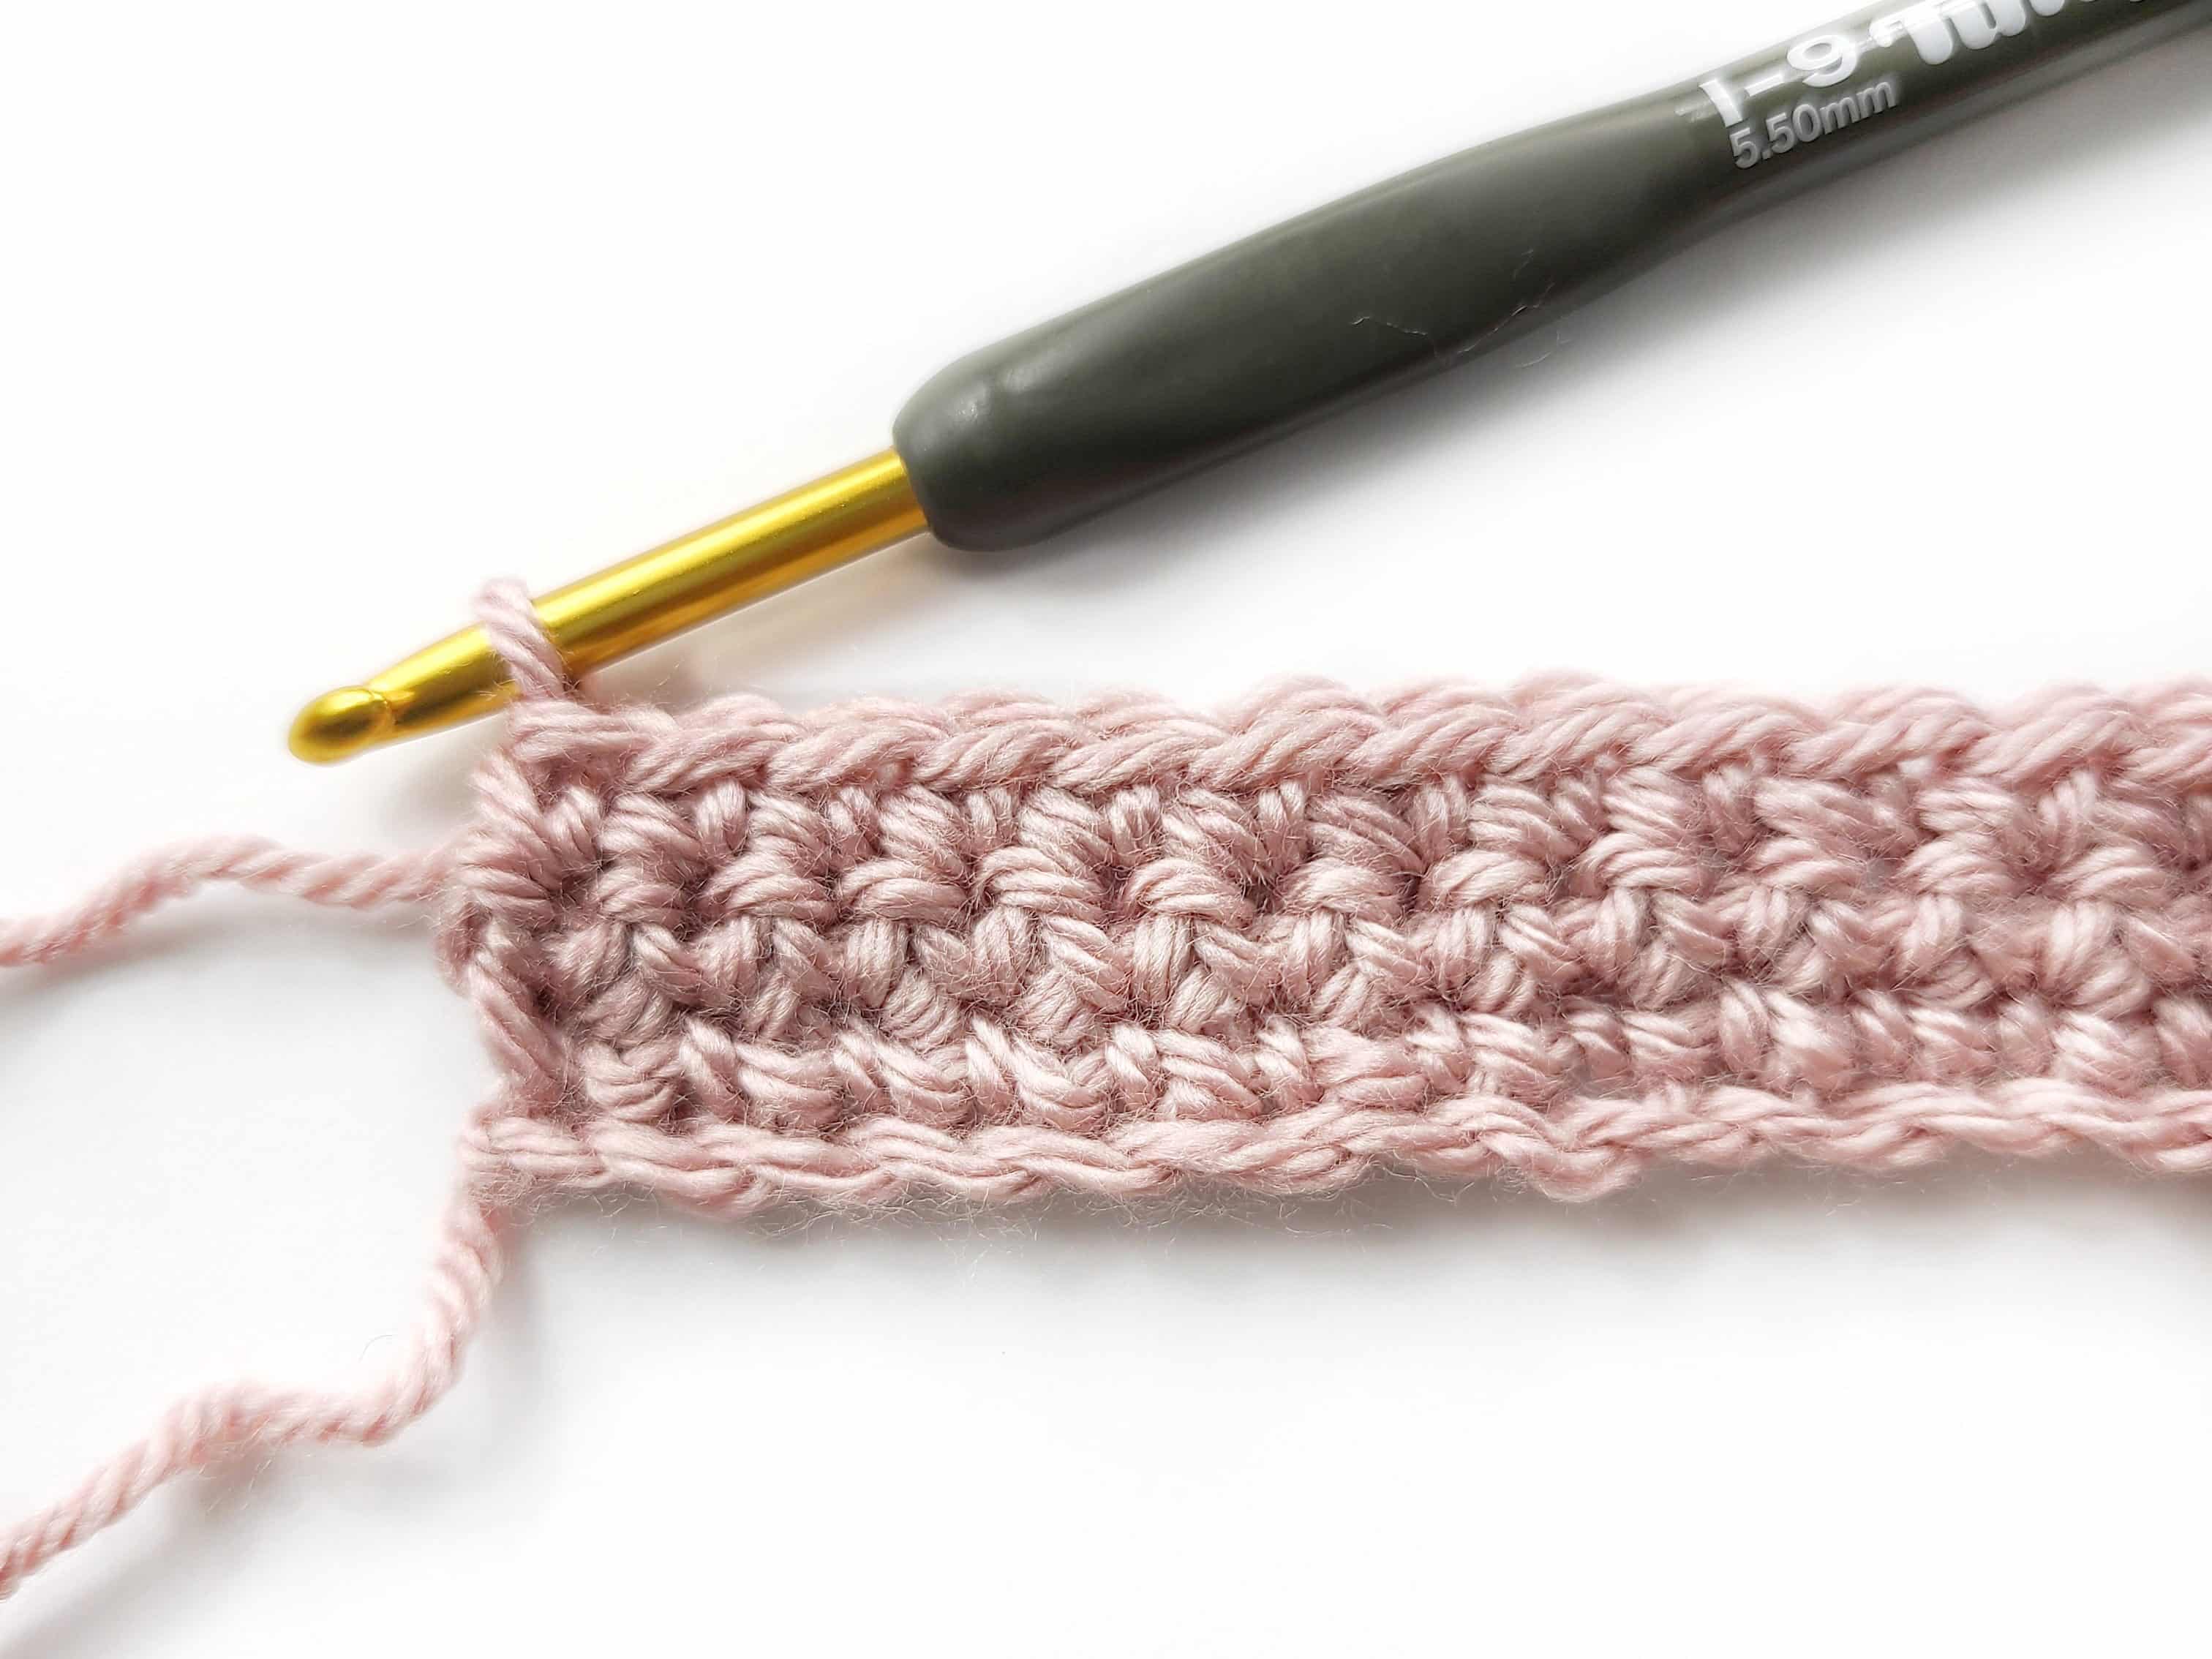
Row 3: Ch 1, sc in next 2 sts, *FPdc around the post of the next sc 2 rows below
1 sc next st, FPdc around the post of the next sc 2 rows below, sc into the next 3 sts, rep from *, turn.
Row 4: Ch 1, 1 sc into each st across, turn.
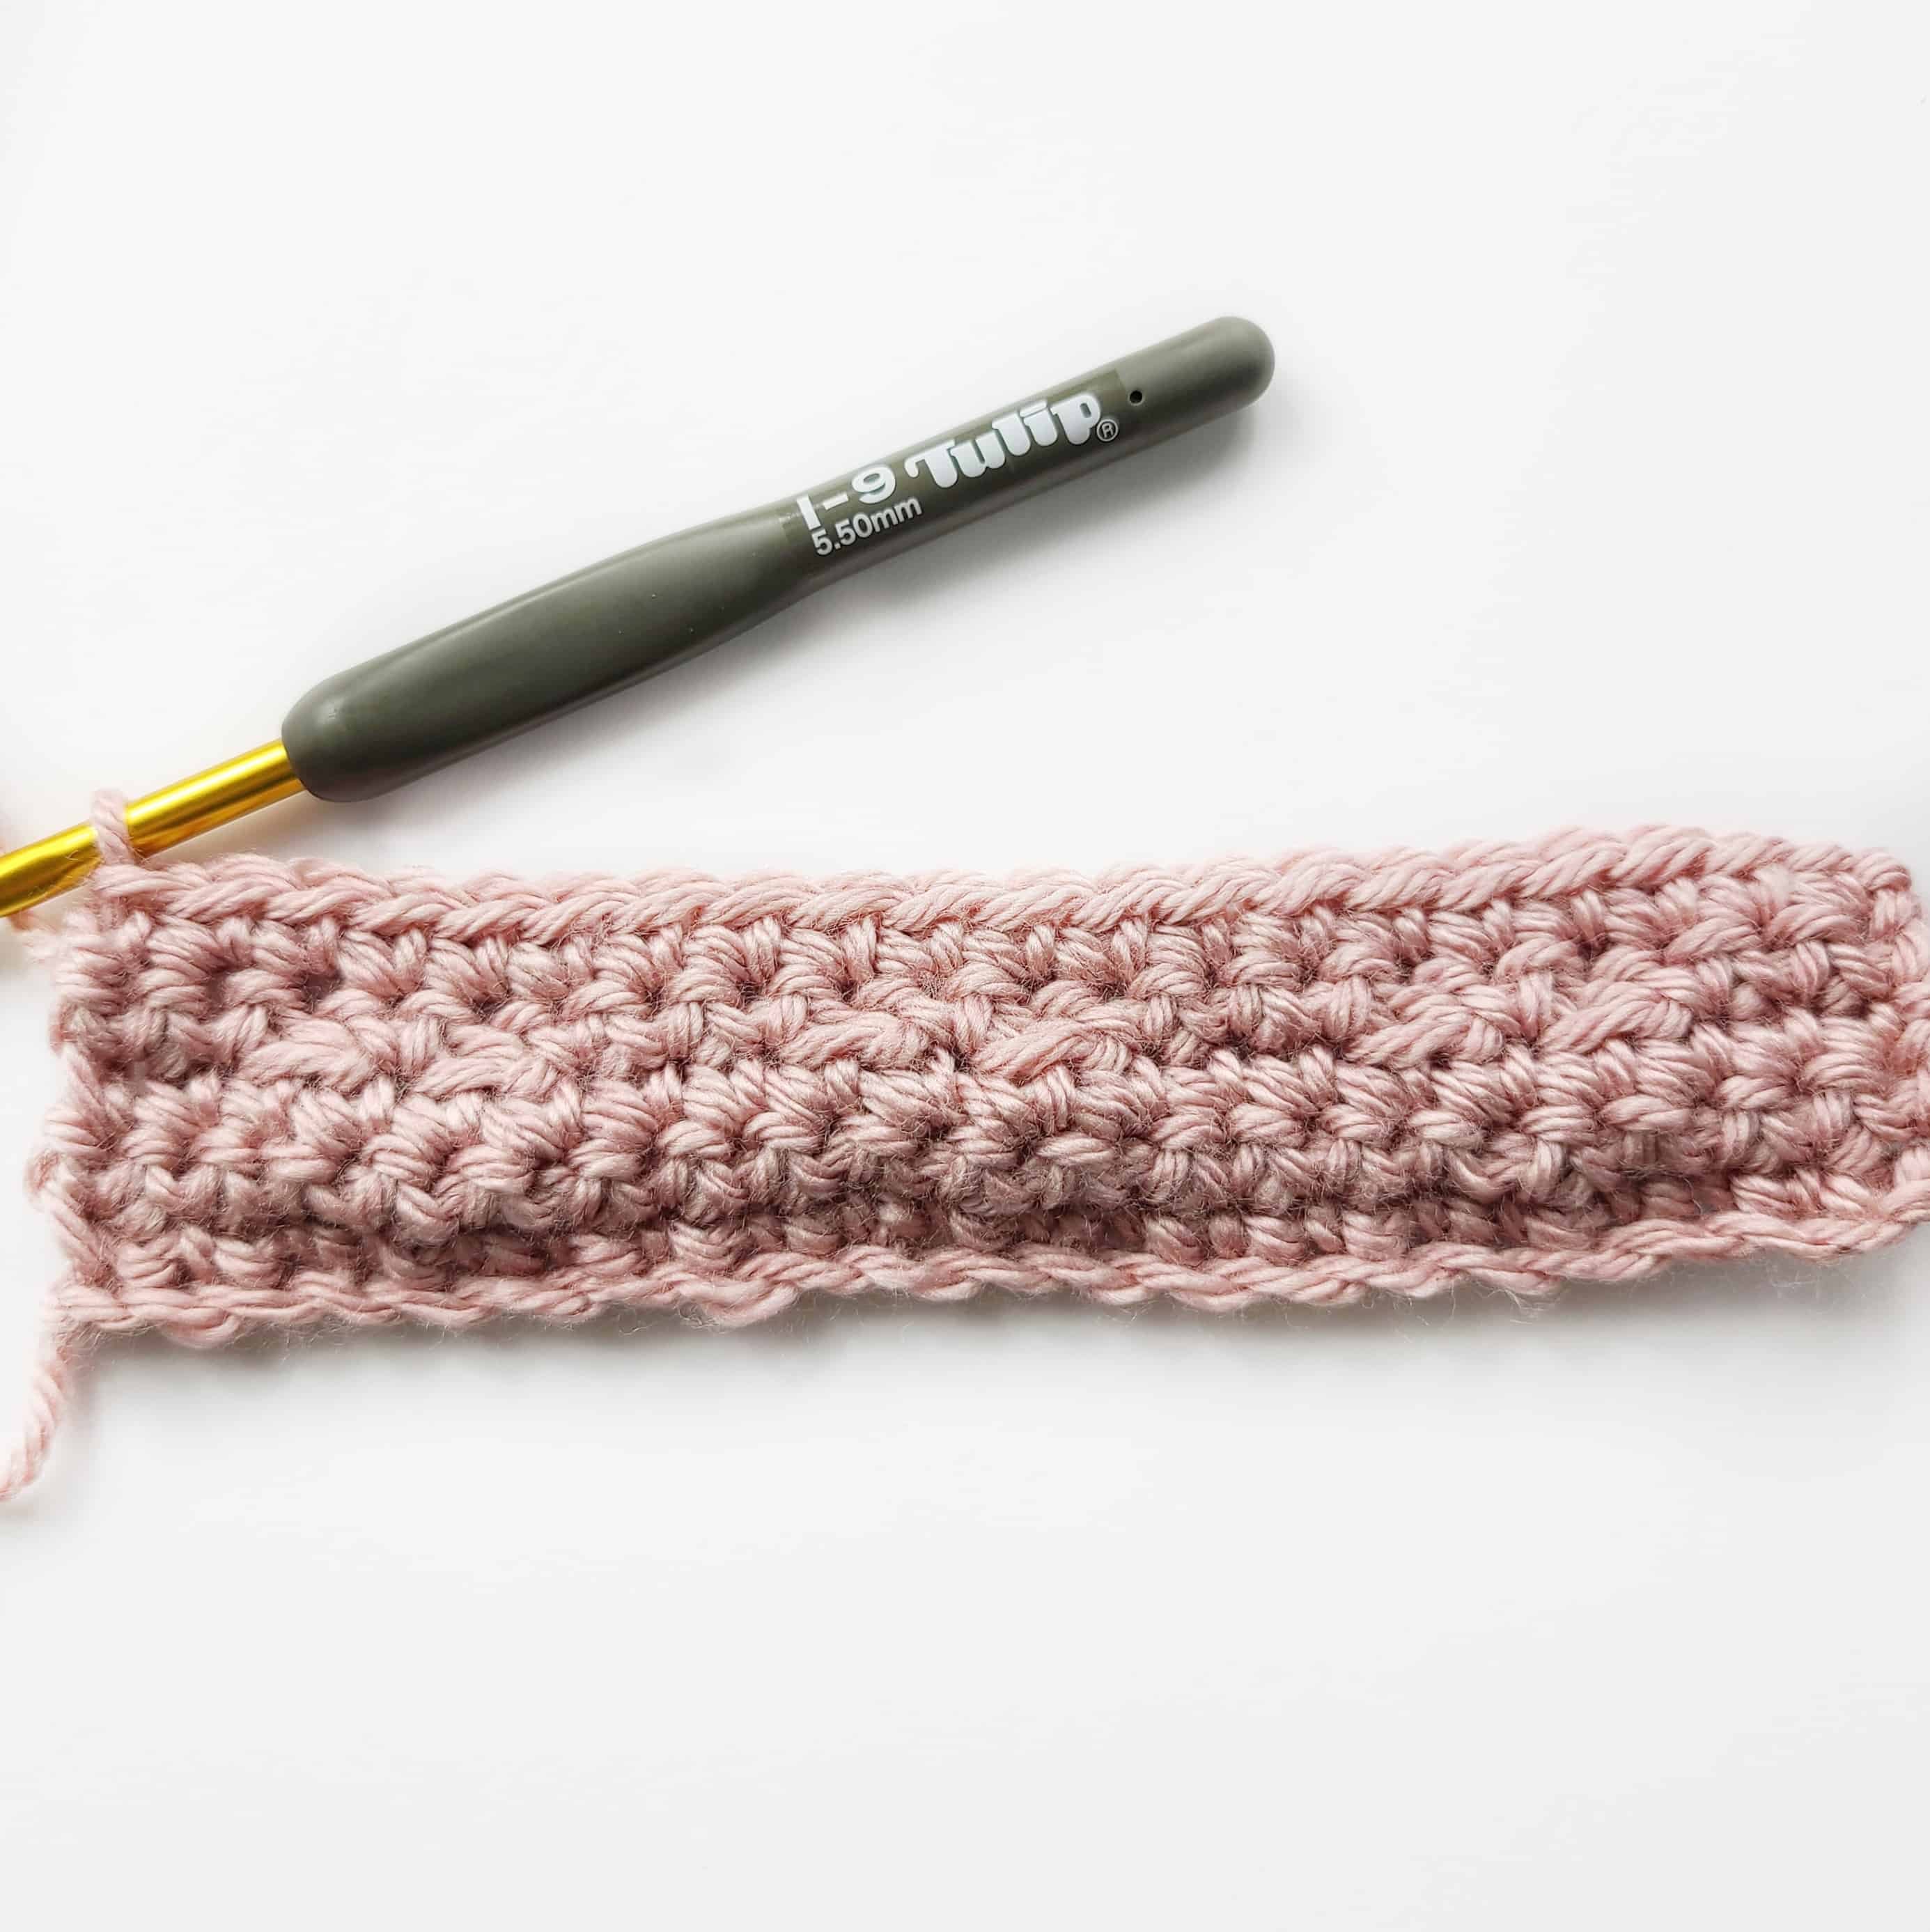
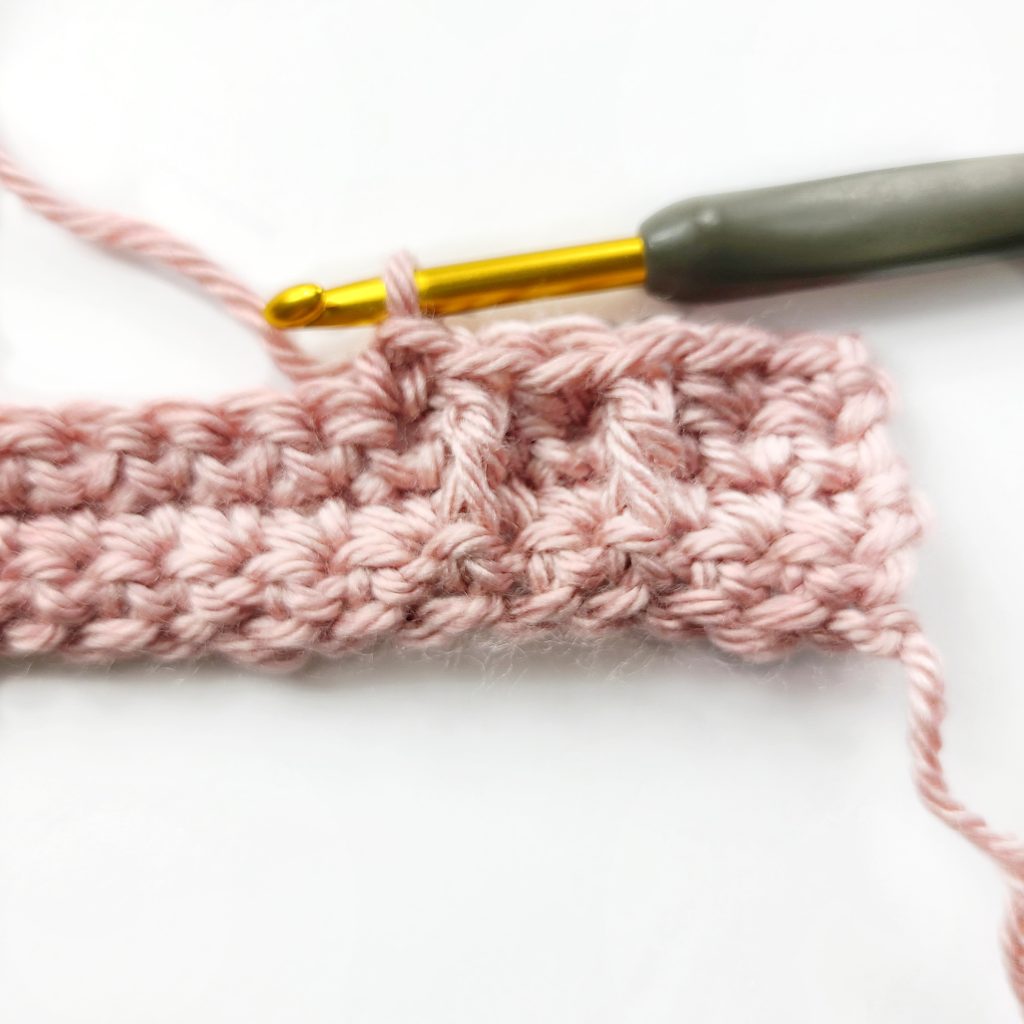
Row 5: Ch 1, sc in next 2 sc, *FPdc around the post of the next FPdc 2 rows below, sc into the next st, FPdc around the post of the next FPdc 2 rows below, sc in next 3 sc, rep from * across, turn.
Row 6: Ch 1, 1 sc into each st across.
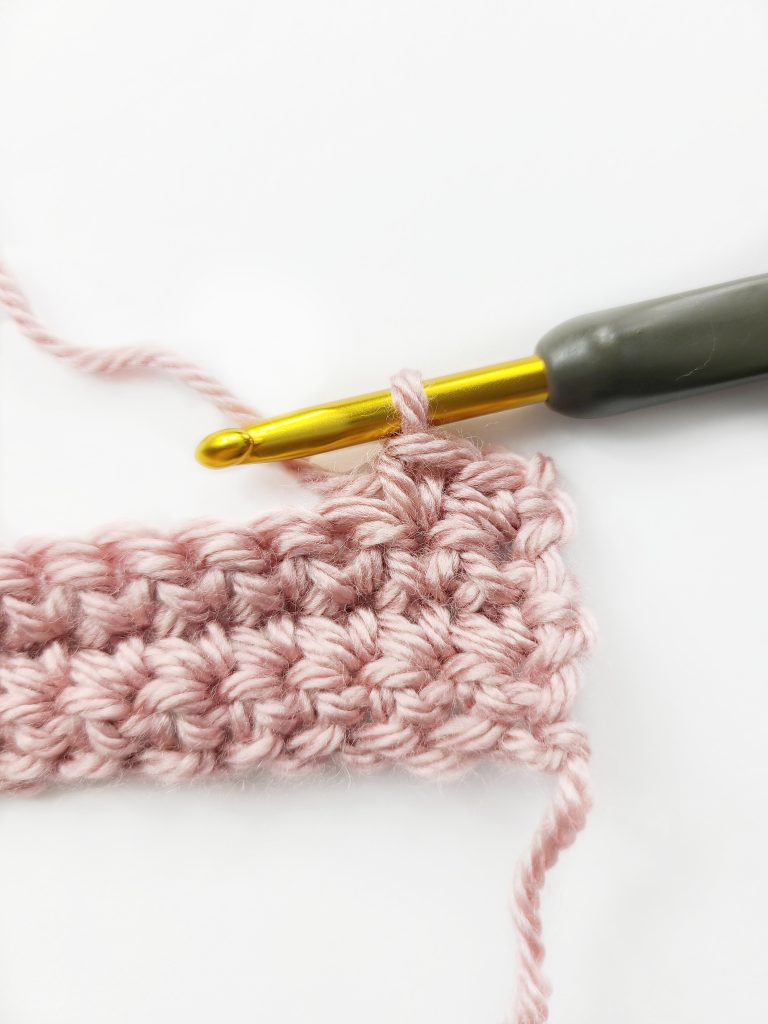
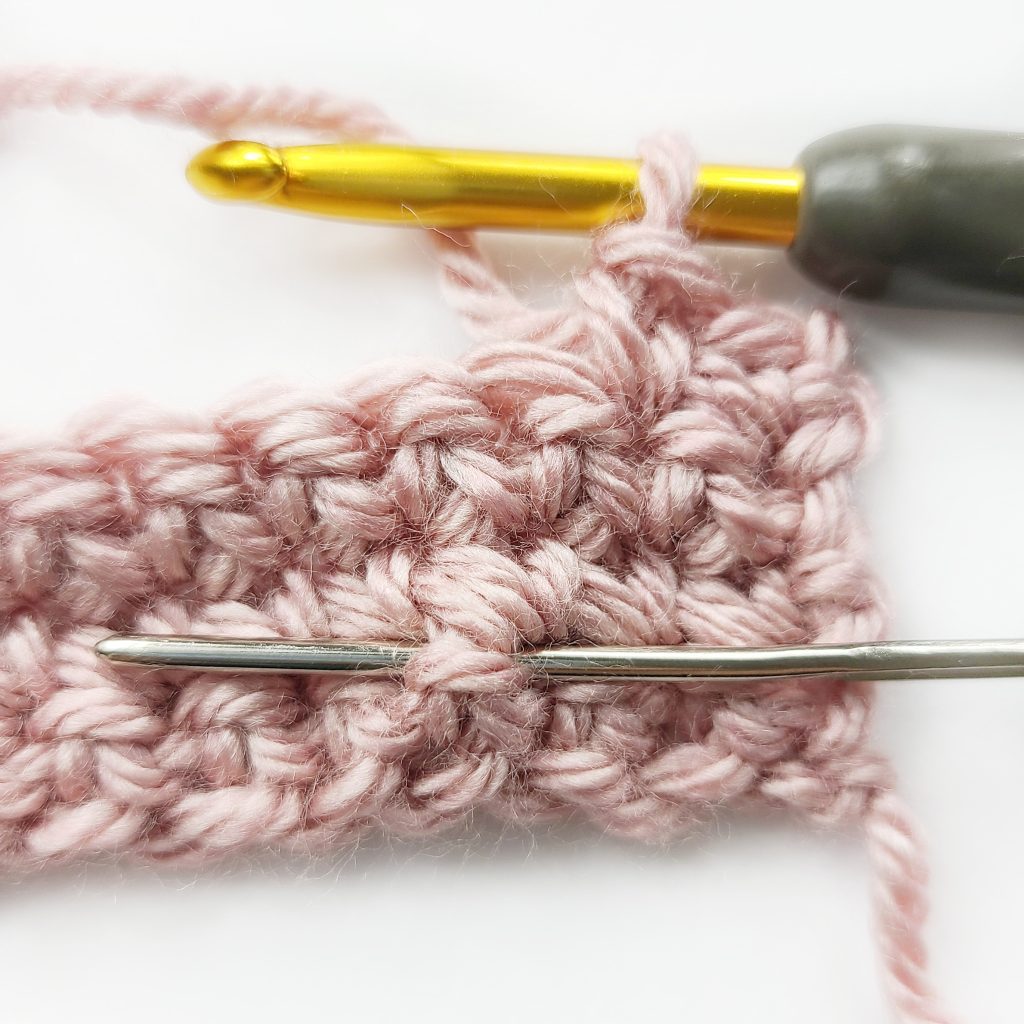
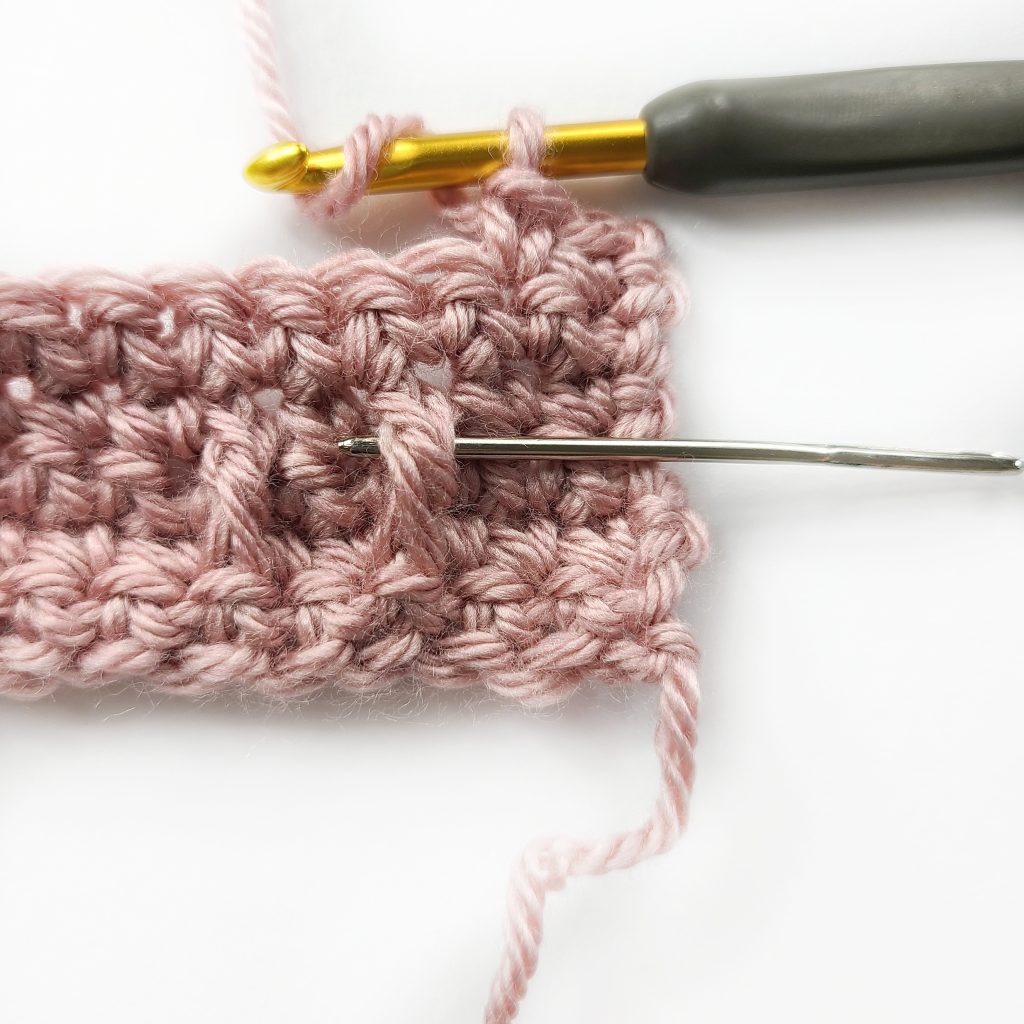
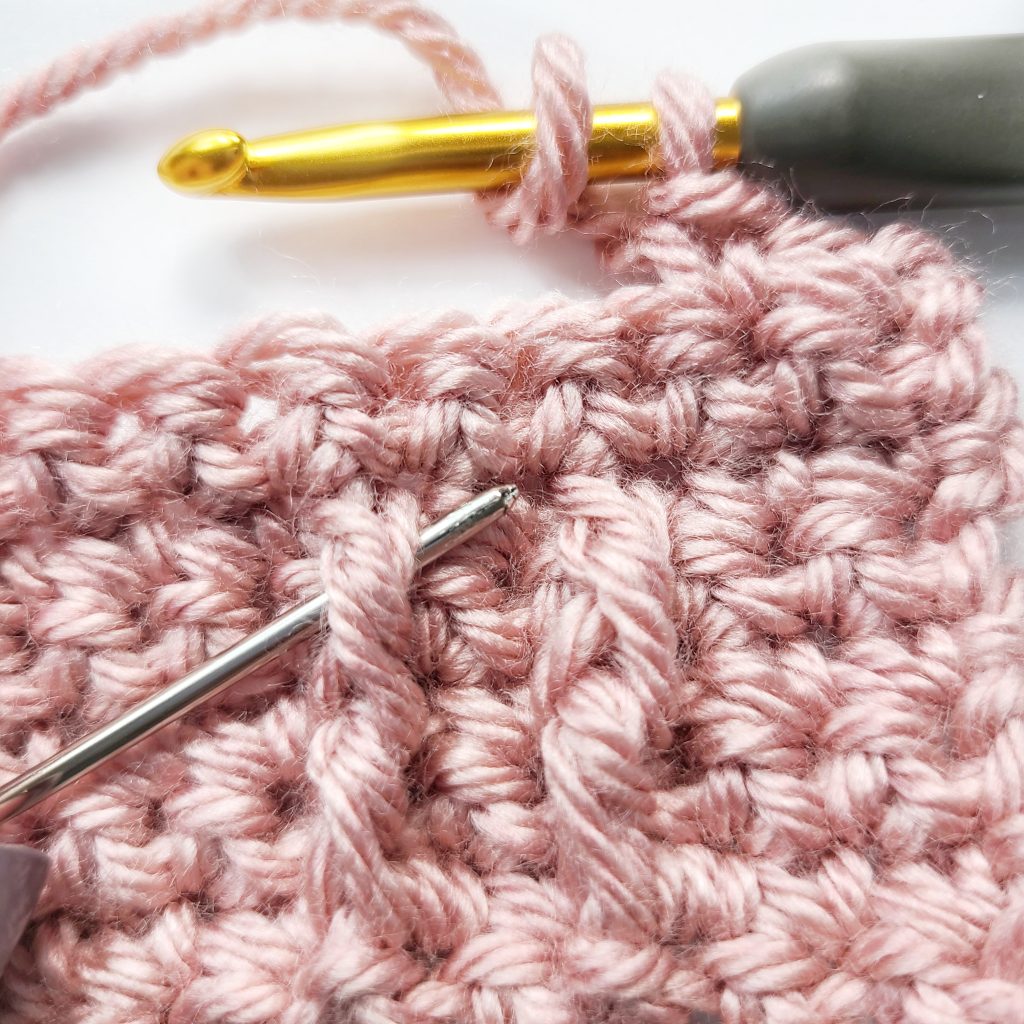
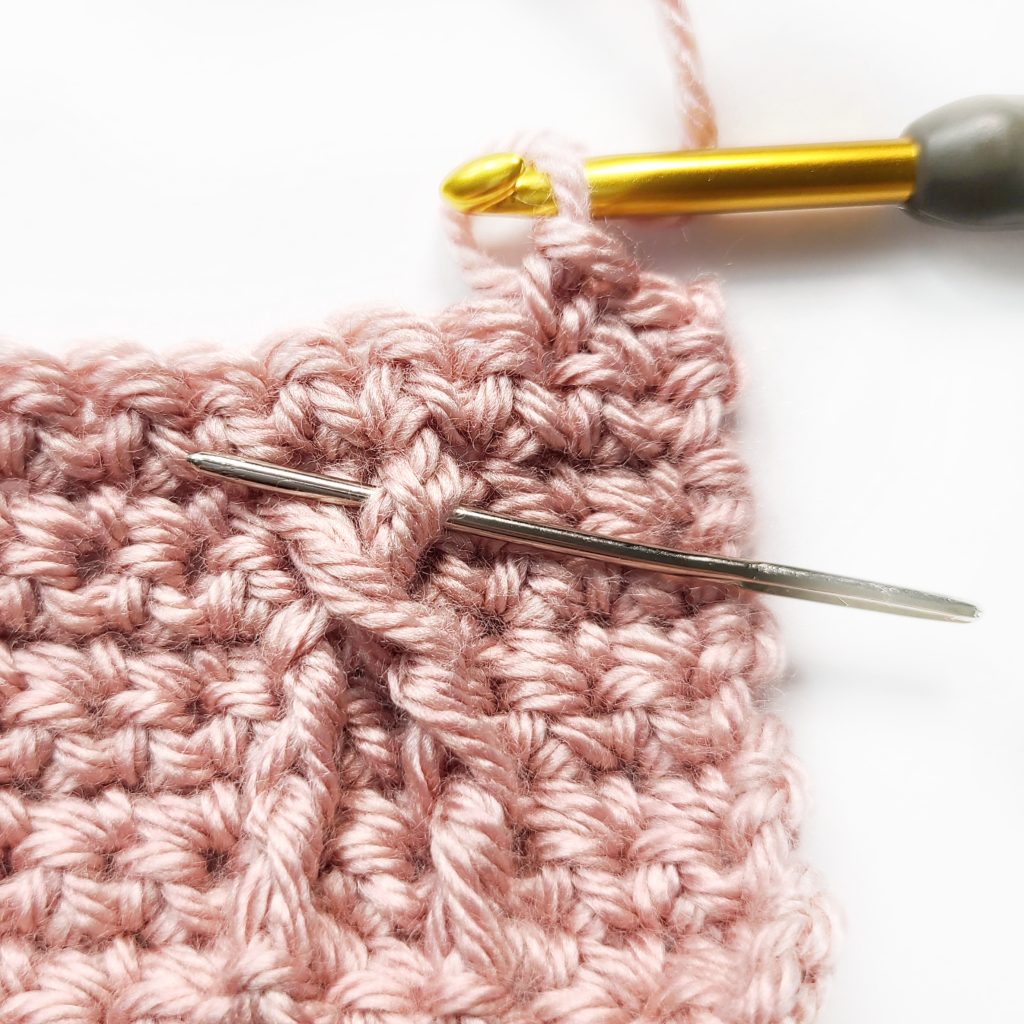
Row 7: Ch 1, sc in next 2 sc, *sk next 2 sts, work a FPdc around the post of the next FPdc 2 rows below
sc into the second sk st, FPdc around the post of the last skipped FPdc,
sc into next 3 sc (see pic below on where to start this), rep from * across, turn.
Row 8: Ch 1, 1 sc into each st across.
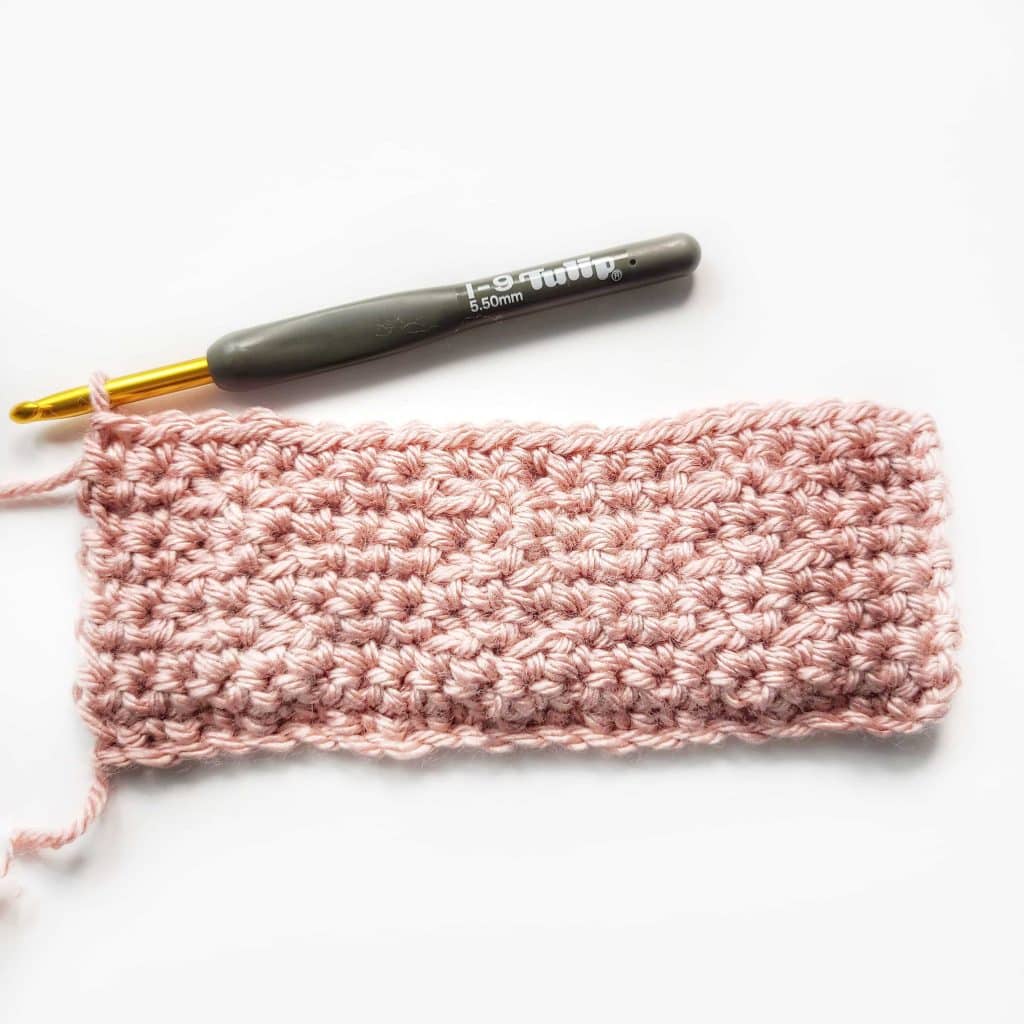
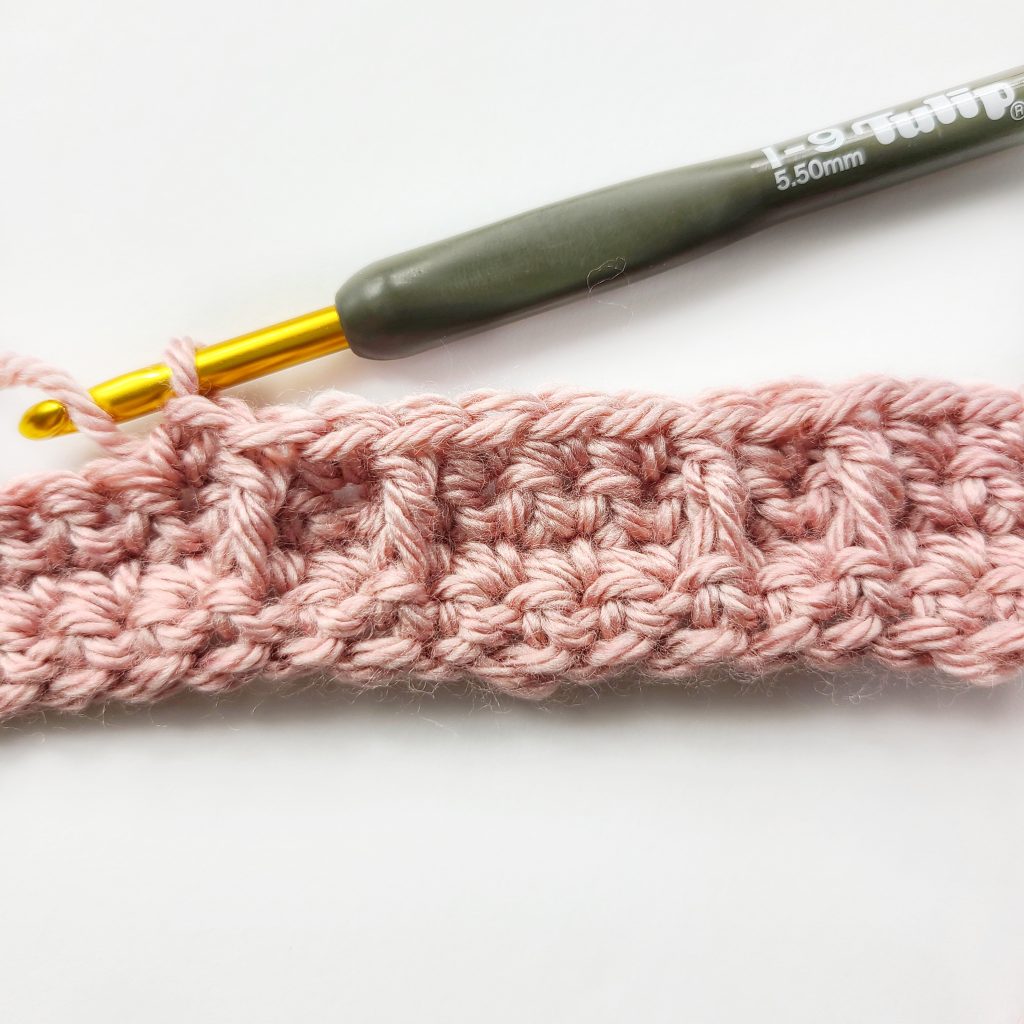
Row 9: Ch 1, sc in the next 2 sc, *FPdc around the post of the next FPdc 2 rows below, sc into the next st, FPdc around the post of the next FPdc, sc in the next 3 scs, rep from * across, turn.
Repeat rows 4 – 9 to complete the pattern
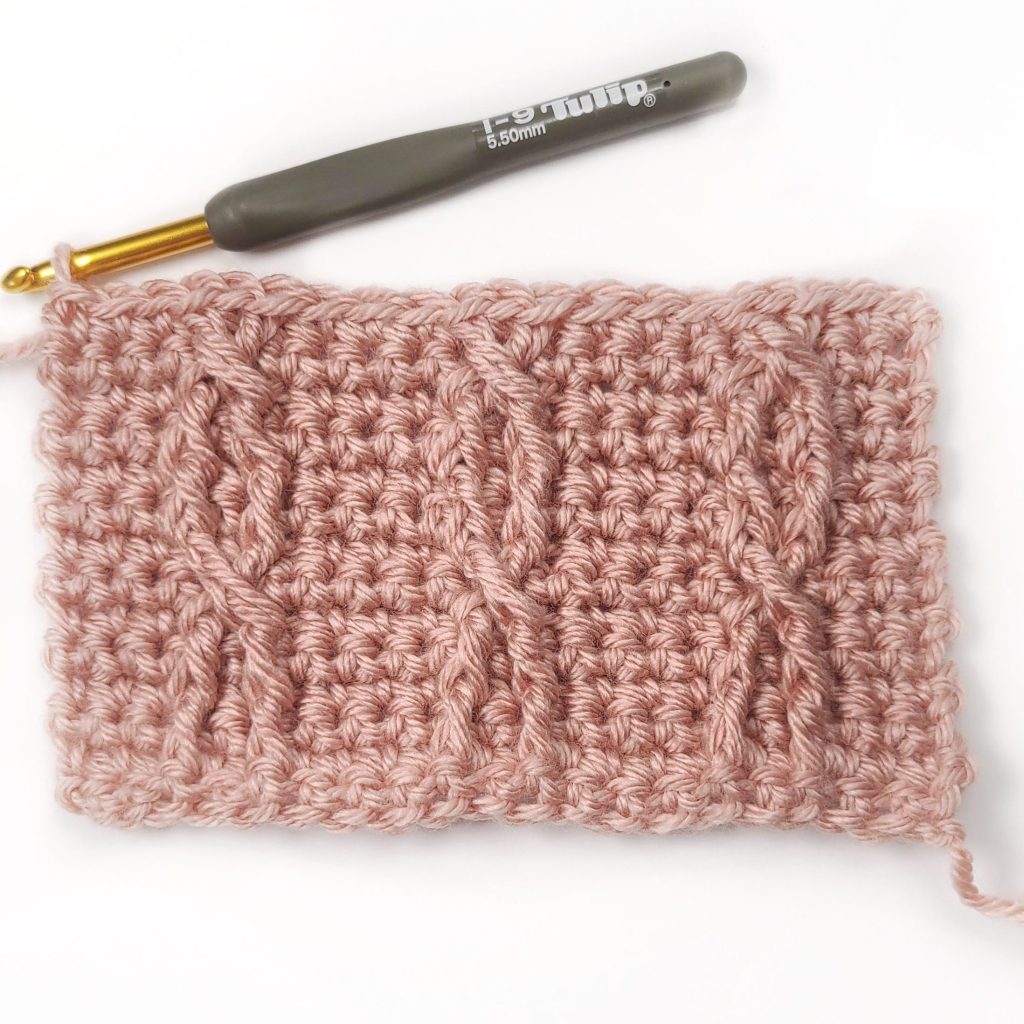
Crochet Cable Video Tutorial
This video starts with row 9

Patterns that Use Crochet Cables
There are a handful of free tutorials on our site that creates cable crochet patterns. They may not all use this particular style of cabling, but hopefully, our tutorial gave you the skills you need to understand cables enough to create a beautiful pattern using them.
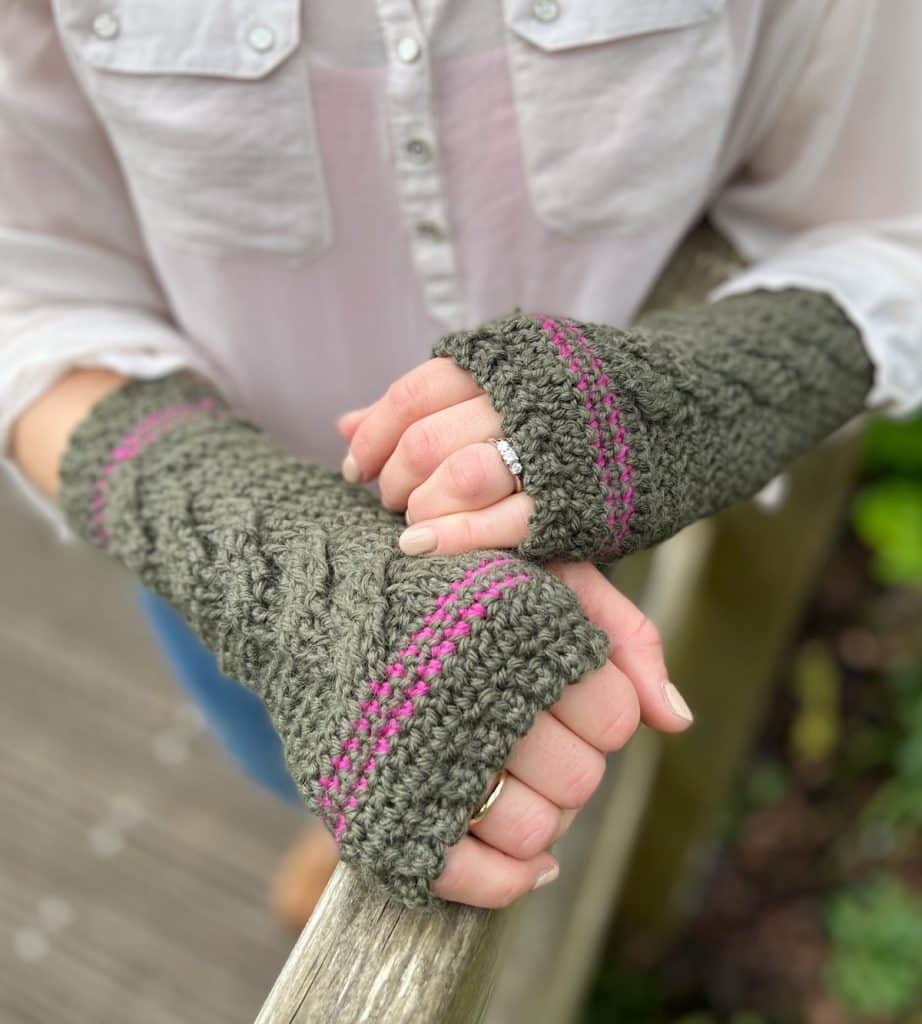
Orchard Cable Wrist Warmers
This pattern for crocheted hand warmers creates cables using double and half-double crochet stitches.
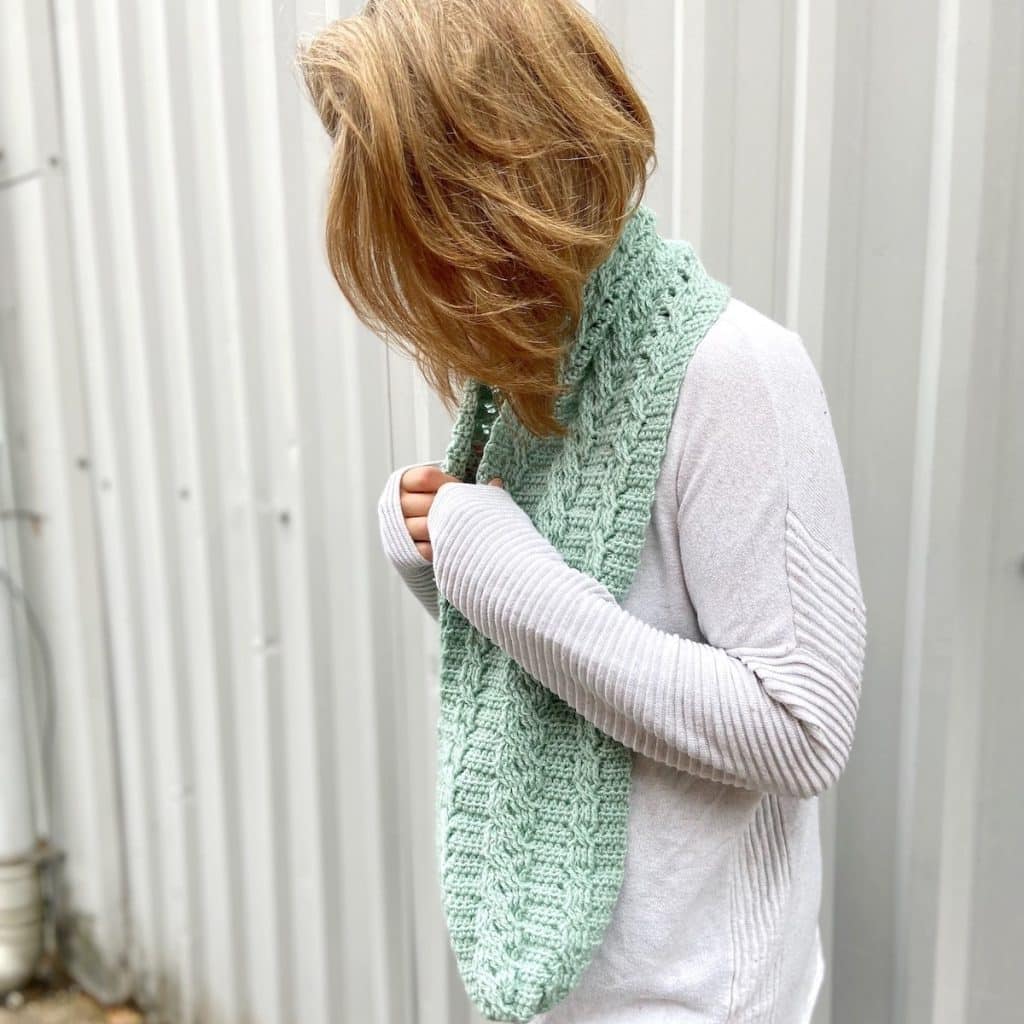
Mint Crochet Cable Scarf
This cabled scarf uses half double crochets to create a multi-cable look down the full length of the scarf.
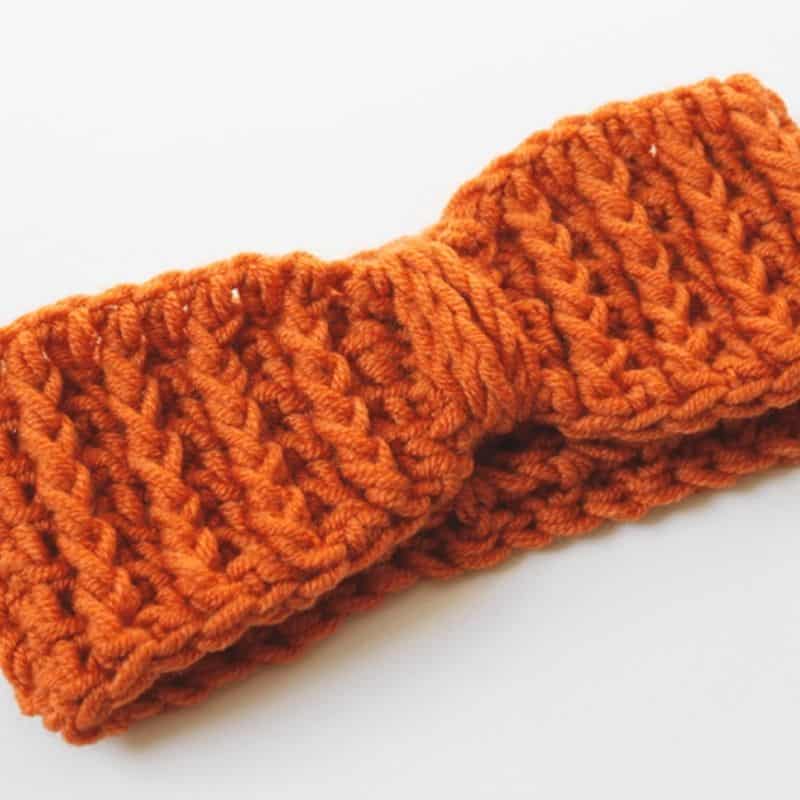
Cabled Ear Warmer
This simple ear warmer uses the same crochet cable stitch with front post double crochets that we detailed above.
More Free Crochet Stitch Tutorials
The cable stitch creates one of my favorite textures on crochet projects. Here are a few more advanced crochet stitches that I love too!
- Crochet Puff Stitch Tutorial with Photos
- Whip Stitch Crochet Seaming Technique
- Half Double Crochet Slip Stitch (hdc slst) for Beginners
- Single Crochet Increase Tutorial (sc inc)
- Creating Seams Using the Mattress Stitch
- Single Crochet Two Together (Single Crochet Decrease)
- How to Crochet a Cable Stitch
- Crochet Moss Stitch Tutorial (Written, Photo and Chart)
- How to Crochet a Granny Stripe in Rows
- How to Make a Crochet Rib Stitch (Photo Tutorial)

