Crochet Floppy Bunny Ear Hat Pattern
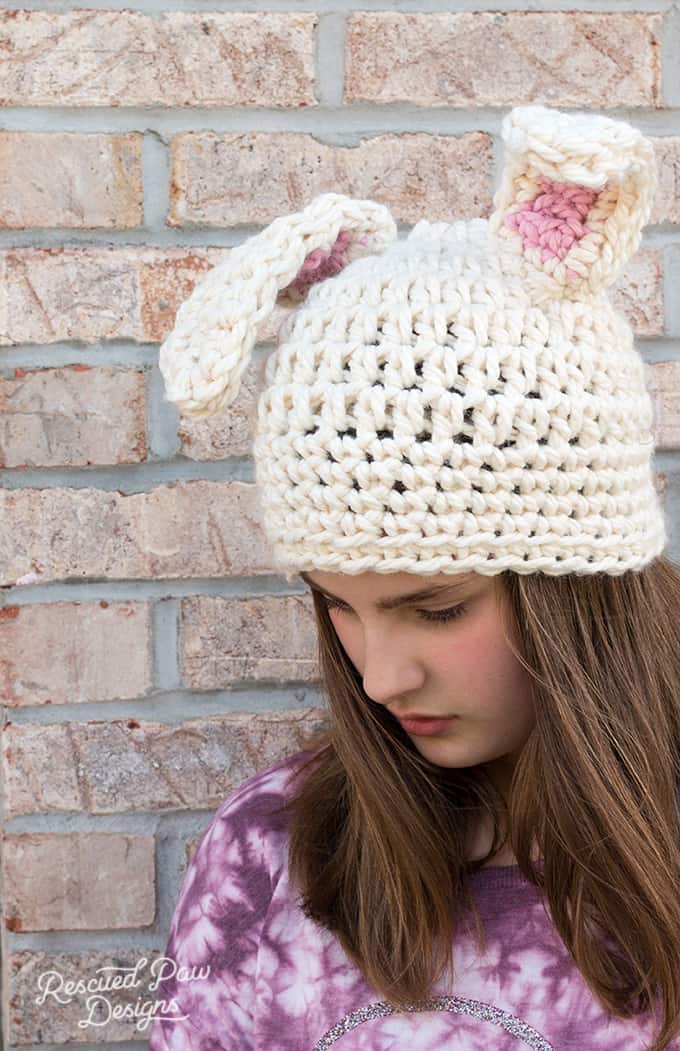
Looking for a cute but easy crochet bunny pattern? This hat may be the bunny hat pattern you were looking for!
I crocheted this Easter hat this for my daughter and thought it was too cute not to share with everyone, so I hope you enjoy it too!
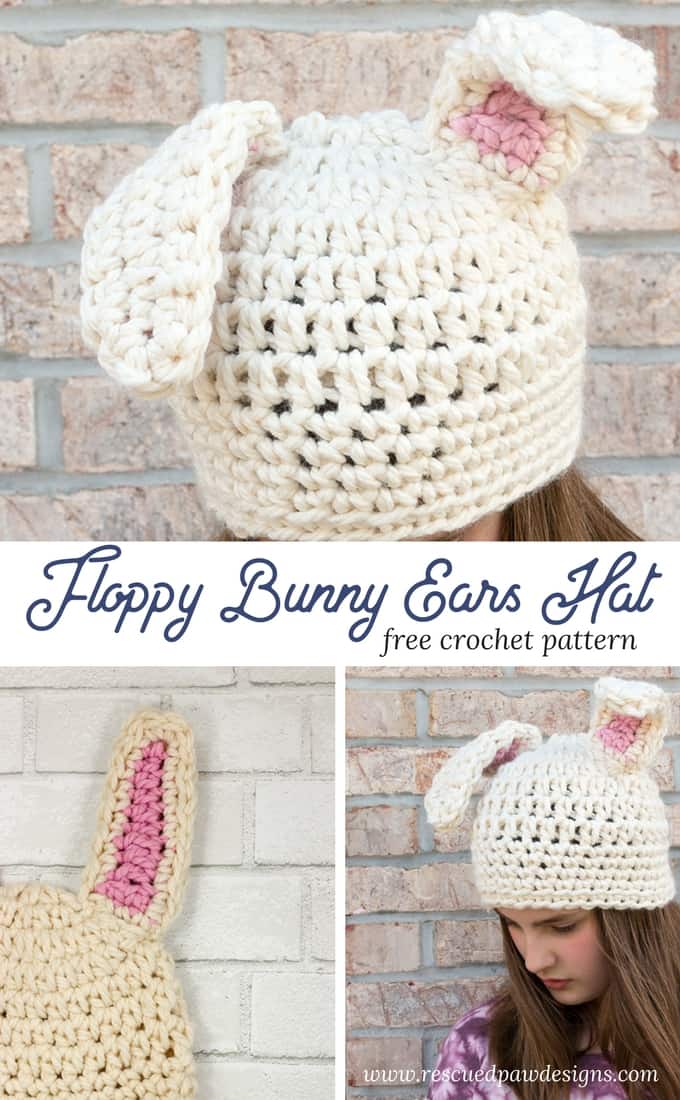
I promise, with the free crochet pattern below, you will be able to crochet this bunny hat in no time at all! Enjoy and happy crocheting!
Easy to Crochet Bunny Hat
There is just something adorably cute about crocheting floppy bunny ears, and now you can add them to your favorite hat pattern to maximize the cuteness!
Plus, they are super easy to work up because of the simple stitches that are used! If you can single crochet, half double crochet and double crochet then you can make this simple bunny hat.
These crochet ears and crochet hat are so easy to make, use a tiny bit of yarn and, like I said before, are simply cute! I mean, look at those crochet bunny ears!
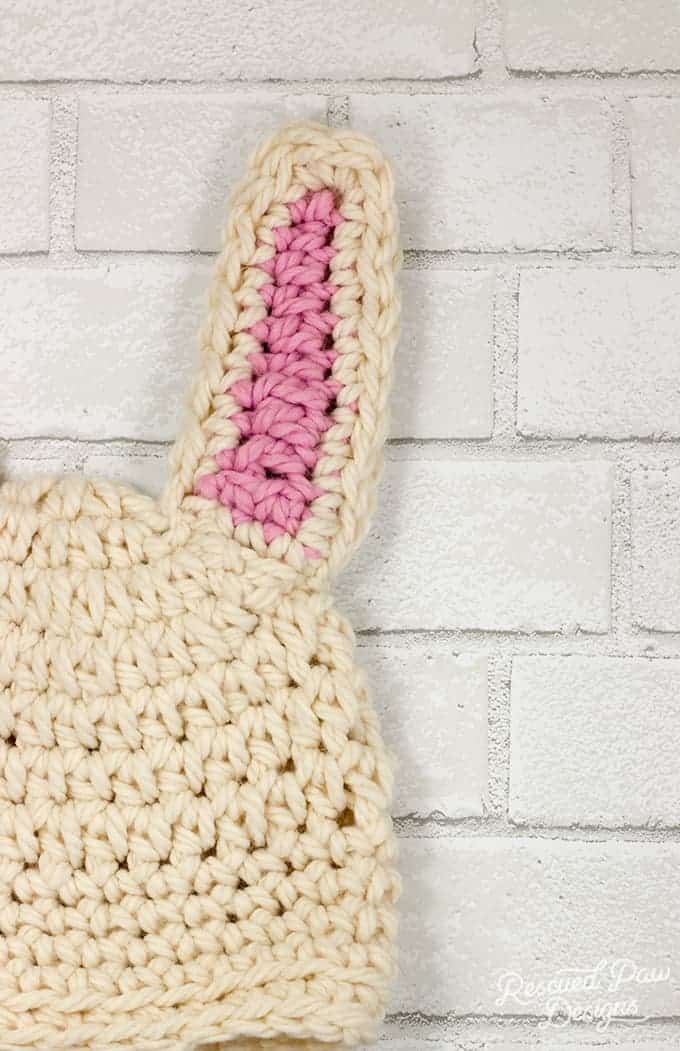
The Yarn That’s Perfect for This Bunny Hat!
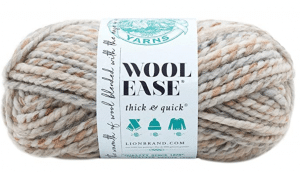
I used Wool Ease Thick & Quick from Lion Brand Yarn, which is a super bulky 6 yarn for this whole bunny hat. I used the colors Fisherman and Bubble Gum.
Note: As of February 2020, the Bubble Gum Color is no longer available, but I highly suggest using Blossom in its place.
I highly recommend sticking with this same brand of yarn to get the same outcome in size and look as mine. I will link up the yarn below so you can check it out and pick your colors.
The Yarn
Wool-Ease Thick and Quick
This yarn is made by Lion Brand, and is a Weight 6 – Super Bulky yarn.
Fiber: Acrylic (80%), Wool (20%)
Yardage: 106 yards (87 in prints/stripes, 92 in metallic)
Hook: 9 mm (M/N-13)
Substitute: Lion Brand Hometown USA
Add The Bunny Ears to Other Crocheted Items Too
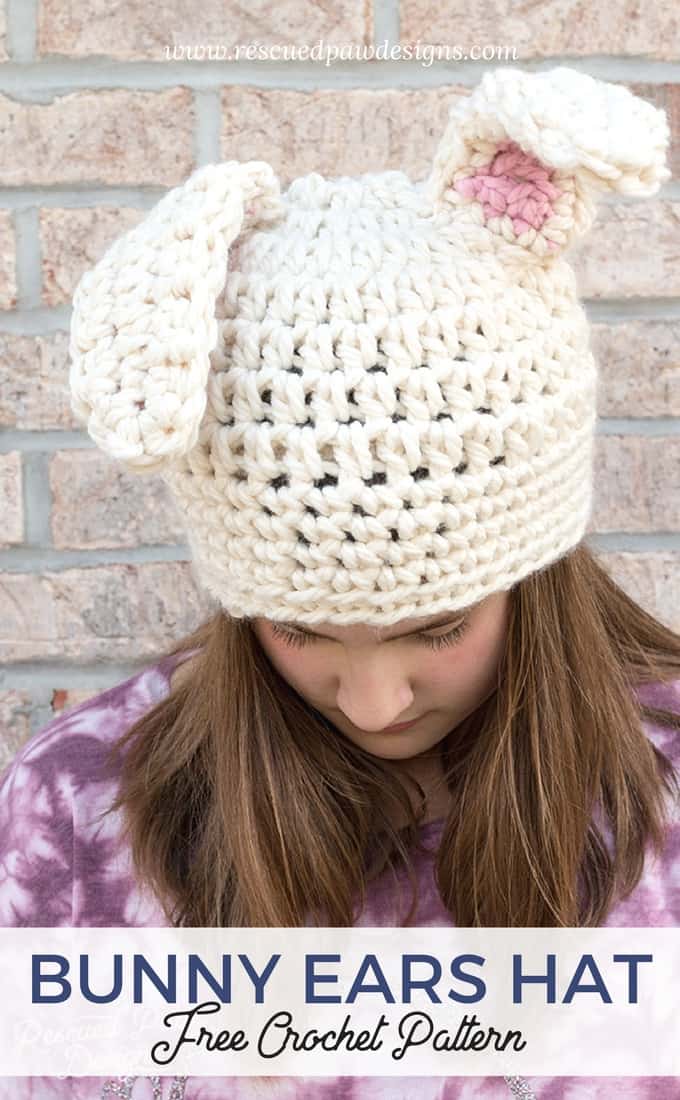
Once these little cuties are added to the crochet hat it will be the cutest crochet bunny ears hat for Spring!
But they could also be added to a headband, basket, and whatever else you can imagine putting them on.
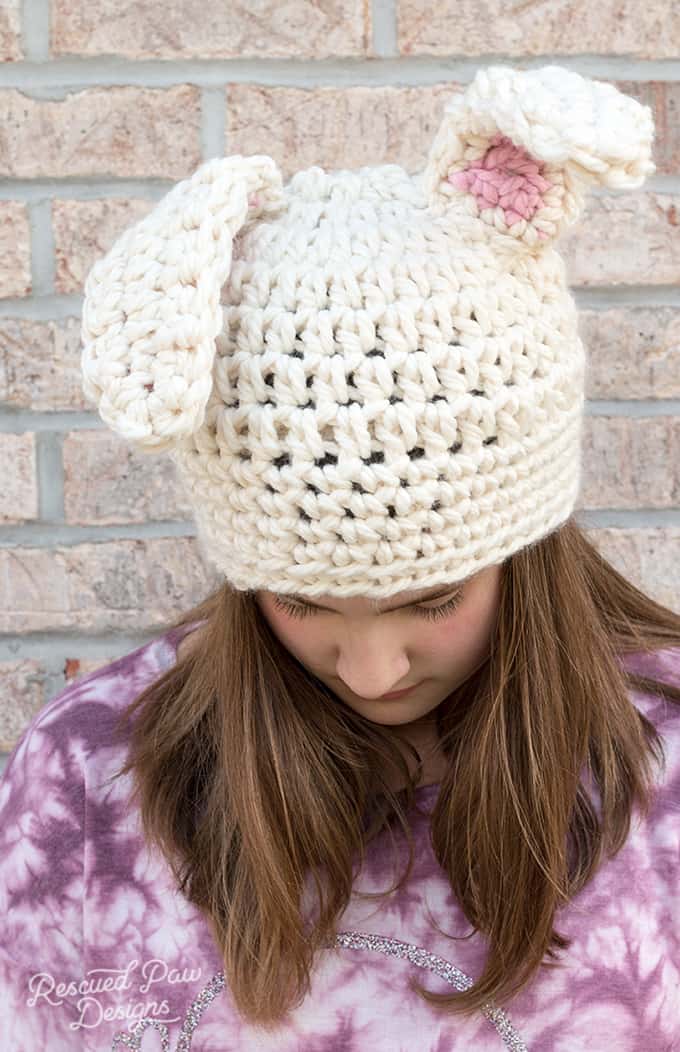
Floppy Crochet Bunny Ears Hat
Skill Level: Easy
Materials
- Bonus Bundle of Wool-Ease Thick and Quick Yarn From Lion Brand in Fisherman
- Wool Ease Thick and Quick Yarn from Lion Brand in Blossom
- Crochet Hook Size 9 mm
- Yarn needle
- Scissors
Abbreviations
- ch = chain
- sc = single crochet
- hdc = half double crochet
- dc = double crochet
- sl st = slip stitch
Notes
- Written in standard US terms
- Whip Stitch Tutorial
- Gauge is 2 stitches for every 2″ for hat and ears.
- Finished Size will fit most teen to adult women.
How to Make Floppy Crochet Bunny Ears Pattern Steps
Front of Ears
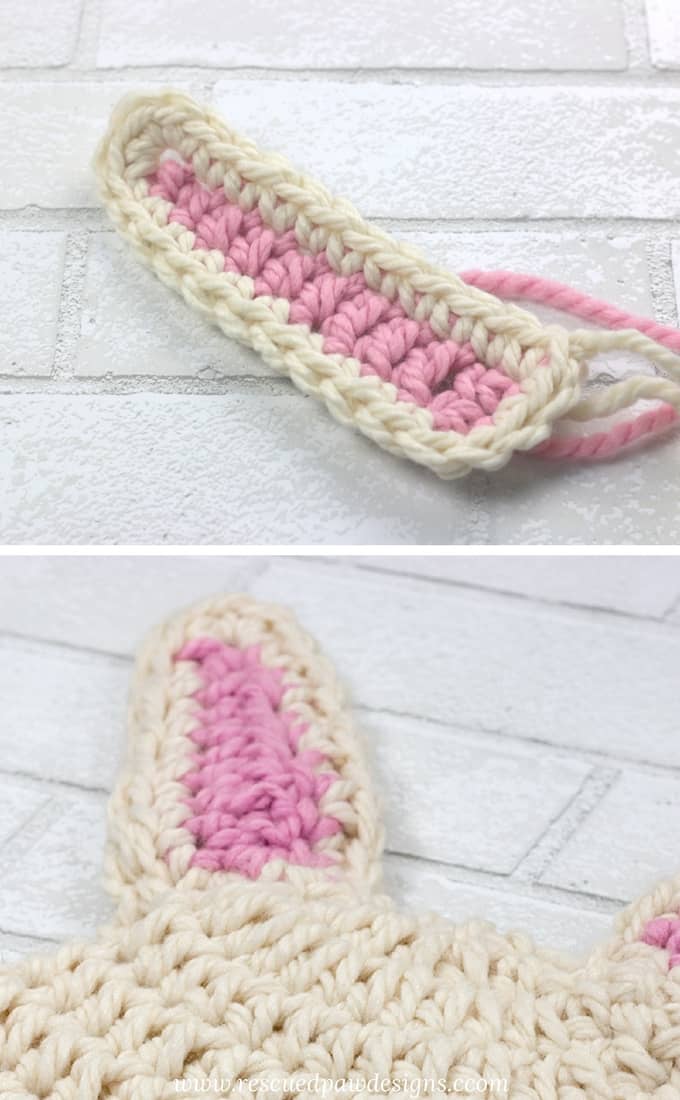
- Inside of Ear: With the colorway Bubblegum ch 11, sc, sc, sc, sc, hdc, hdc, hdc, hdc, dc, dc
- Outside of Ear: Join in cream yarn, ch 1, work 10 sc’s along the outside (1 in each st) until you reach the corner, in the next st make 4 sc’s, in the next st sc, sc once into each of the next 8 st’s, in the next st work 2 sc’s, work 2 sc’s along what will be the bottom of the ear, join with a sl st in the top of the first sc of the round.
- Finishing: Fasten off yarn and cut with scissors. Weave in all the loose ends with a yarn needle.
Back Side of Ears
- repeat steps 1-3 with the color Fisherman
- attach to front of ears with a yarn needle using the whip stitch.
Finishing
- Weave in loose ends throughout with a yarn needle.
How to Make a Floppy Crochet Bunny Hat
Ears
- Follow the steps above for the ears
Hat Patterns:
Baby
- ch 3
- Round 1: in second ch from the hook make 4 hdc’s, sl st to the top of the first hdc to join in a circle (4) (or use a magic circle)
- Round 2: ch 1, in first st make 2 hdc’s, 2 hdc’s in every st around, sl st to the top of the first hdc. (8)
- Round 3: ch 1, in first st make 2 hdc’s, 2 hdc’s in every st around, sl st to the top of the first hdc. (16)
- Round 4-5: ch 1, in first make 1 hdc, 1 hdc in every st around, sl st to the top of the first hdc. (16)
- Round 6 -7: ch 1, in first st make a sc, 1 sc in every st around, sl sto to the top of the first sc. (16)
- Round 8: ch 1, sc in the back loop of the first st, sc in the back loop of ever st around, sl st to the top of the first sc. (16)
- Fasten off yarn and weave in ends.
Child
- ch 3
- Round 1: in second ch from the hook make 8 hdc’s, sl st to the top of the first hdc to join in a circle (6) (or use a magic circle)
- Round 2: ch 1, in first st make 2 hdc’s, 2 hdc’s in every st around, sl st to the top of the first hdc. (12)
- Round 3: ch 1, in first st make 2 hdc’s, 2 hdc’s in every st around, sl st to the top of the first hdc. (24)
- Round 4-6: ch 1, in first make 1 hdc, 1 hdc in every st around, sl st to the top of the first hdc. (24)
- Round 7-9: ch 1, in first st make a sc, 1 sc in every st around, sl sto to the top of the first sc. (24)
- Round 10: ch 1, sc in the back loop of the first st, sc in the back loop of ever st around, sl st to the top of the first sc. (24)
- Fasten off yarn and weave in ends.
Teen – Adult
- ch 3
- Round 1: in second ch from the hook make 8 hdc’s, sl st to the top of the first hdc to join in a circle (8) (or use a magic circle)
- Round 2: ch 1, in first st make 2 hdc’s, 2 hdc’s in every st around, sl st to the top of the first hdc. (16)
- Round 3: ch 1, in first st make 2 hdc’s, 2 hdc’s in every st around, sl st to the top of the first hdc. (32)
- Round 4-7: ch 1, in first st make 1 hdc, 1 hdc’s in next st around, sl st to the top of the first hdc. (32)
- Round 8-11: ch 1, in first st make a sc, 1 sc in every st around, sl sto to the top of the first sc. (32)
- Round 12: ch 1, sc in the back loop of the first st, sc in the back loop of ever st around, sl st to the top of the first sc. (32)
- Fasten off yarn and weave in ends.
Attaching Ears
Attach ears to the top of the hat wherever you wish securely with a yarn needle.

What size hook do we need???
Thank you.
Oops! Forgot that part. You will need a 9 mm crochet hook. Thank you!