Andy Button Scarf Crochet Pattern
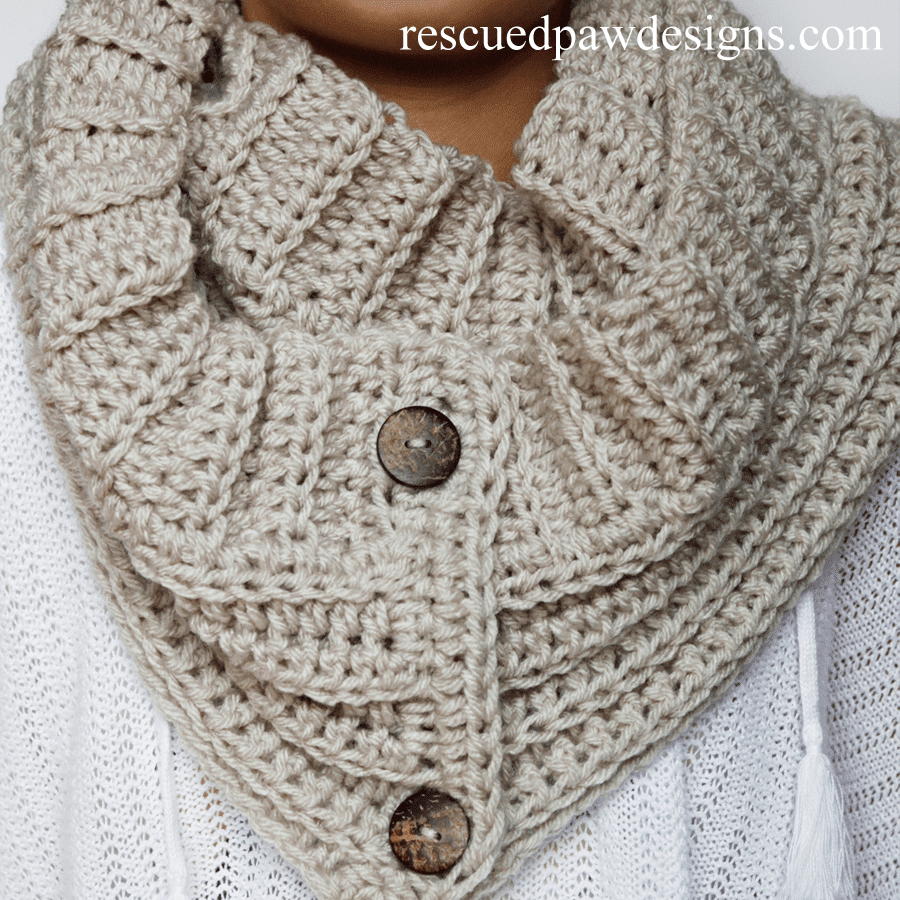
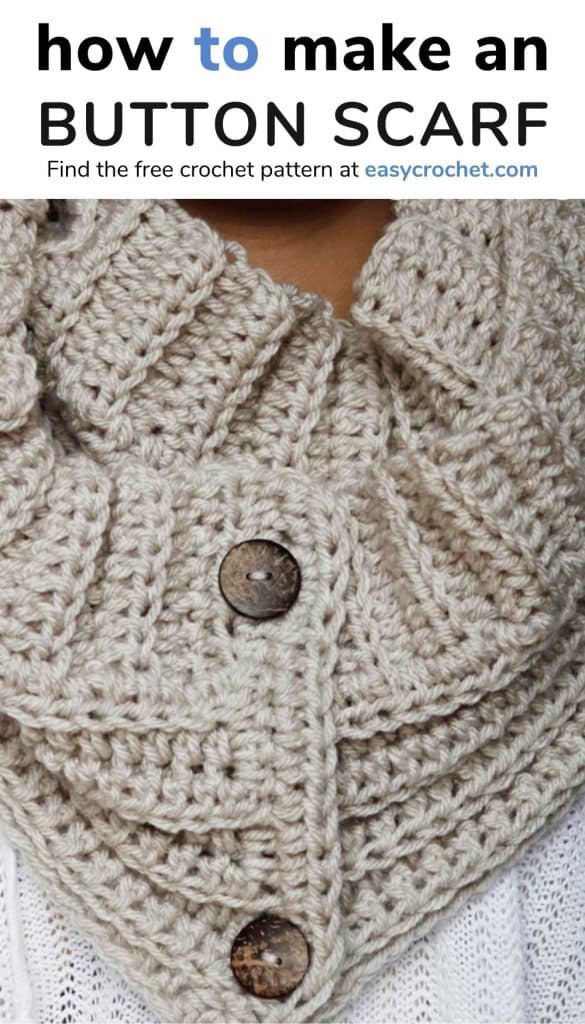
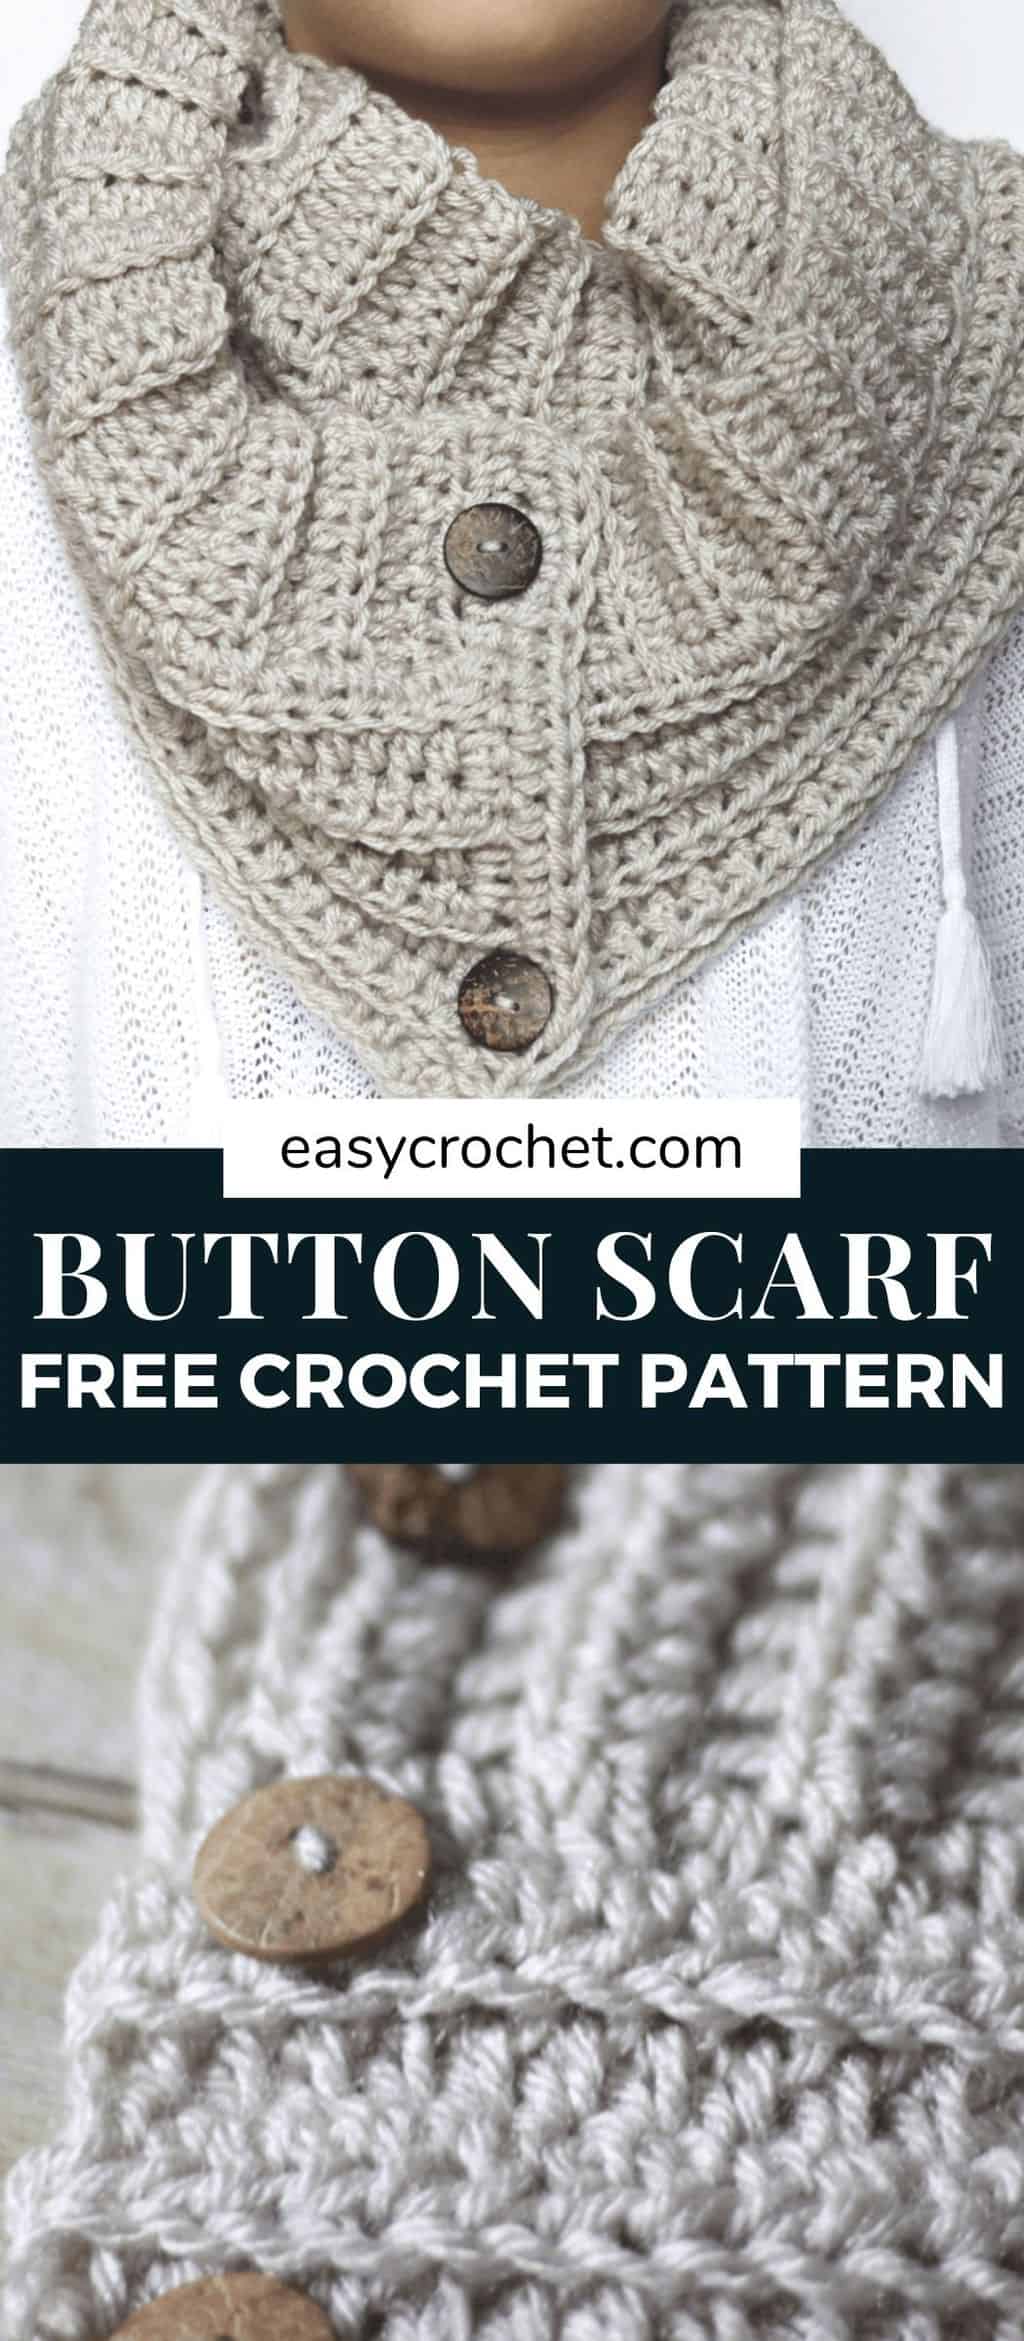
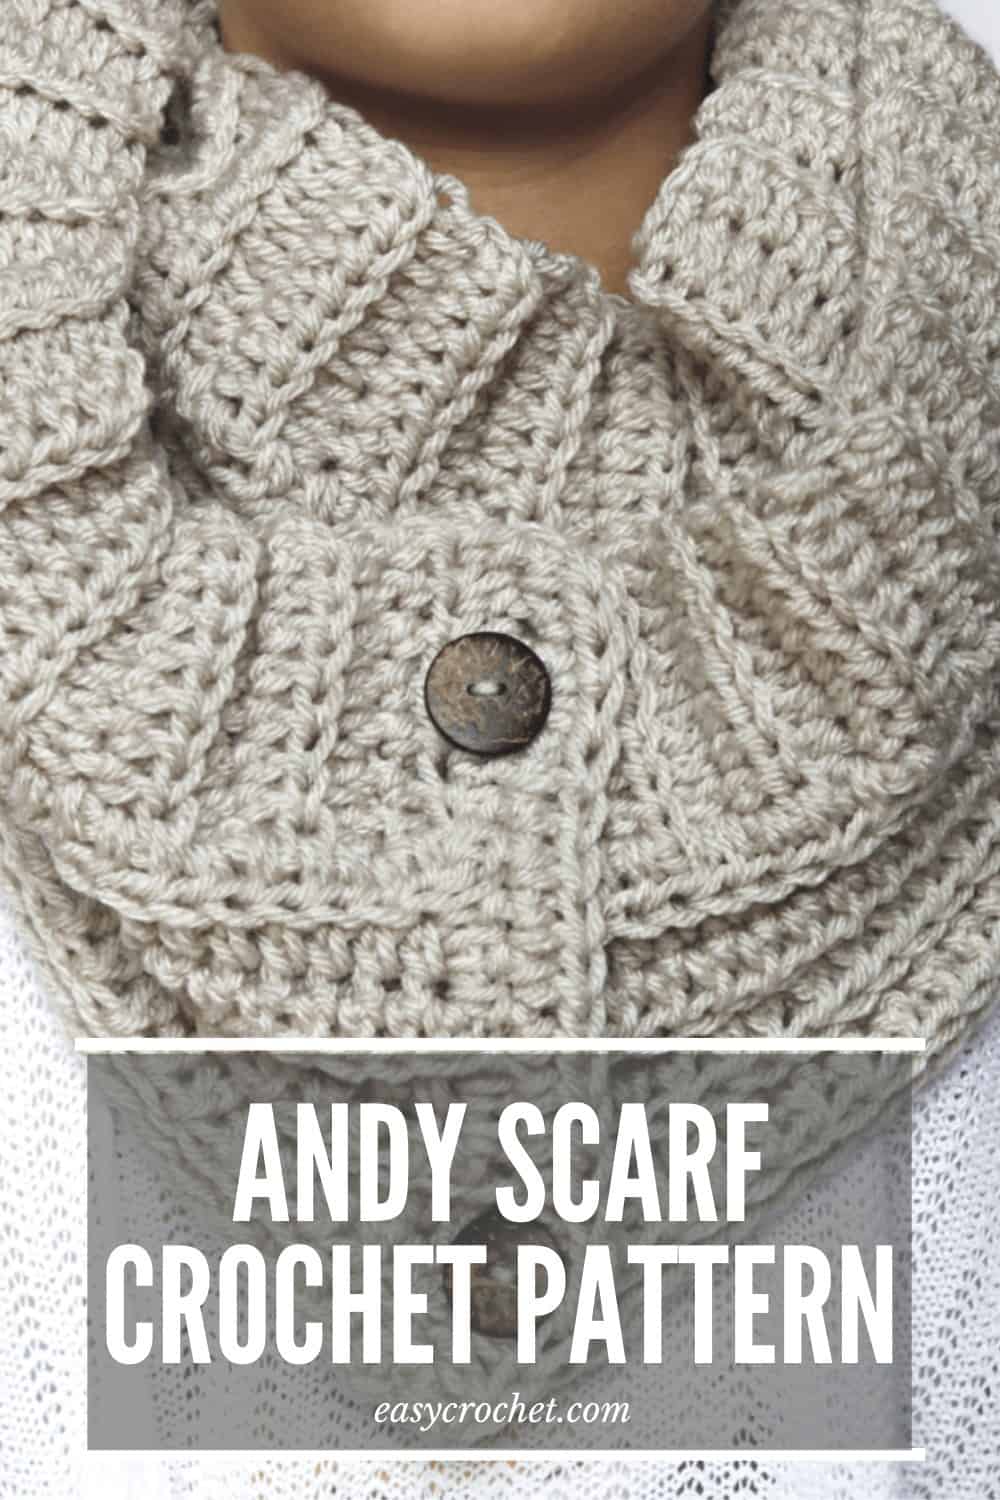
The Andy Button Scarf crochet pattern works up fast, uses less than two skeins of yarn (Vanna’s Choice), and is the perfect scarf design for any crochet experience level.
Read on down for the free crochet scarf pattern, tutorial and material information.
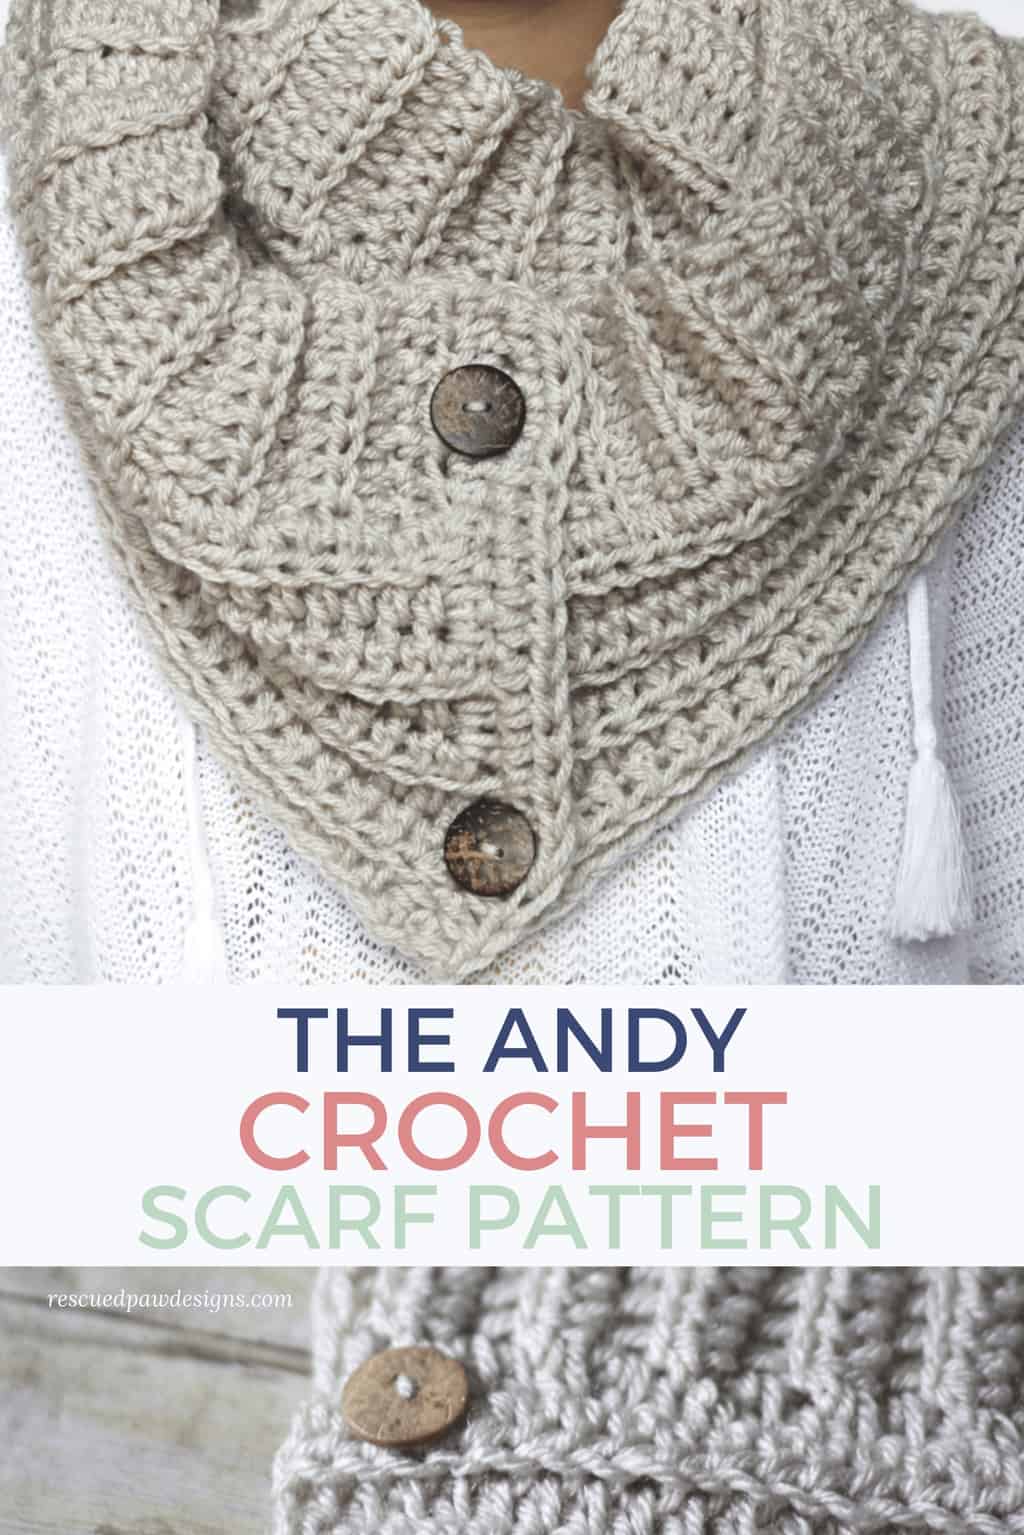
Andy Crochet Scarf
You’ll love crocheting the Andy scarf since it uses easy to find yarns and basic crochet stitches. Learn more about each below.
I can’t wait for you to make this simple scarf design!

The Yarn
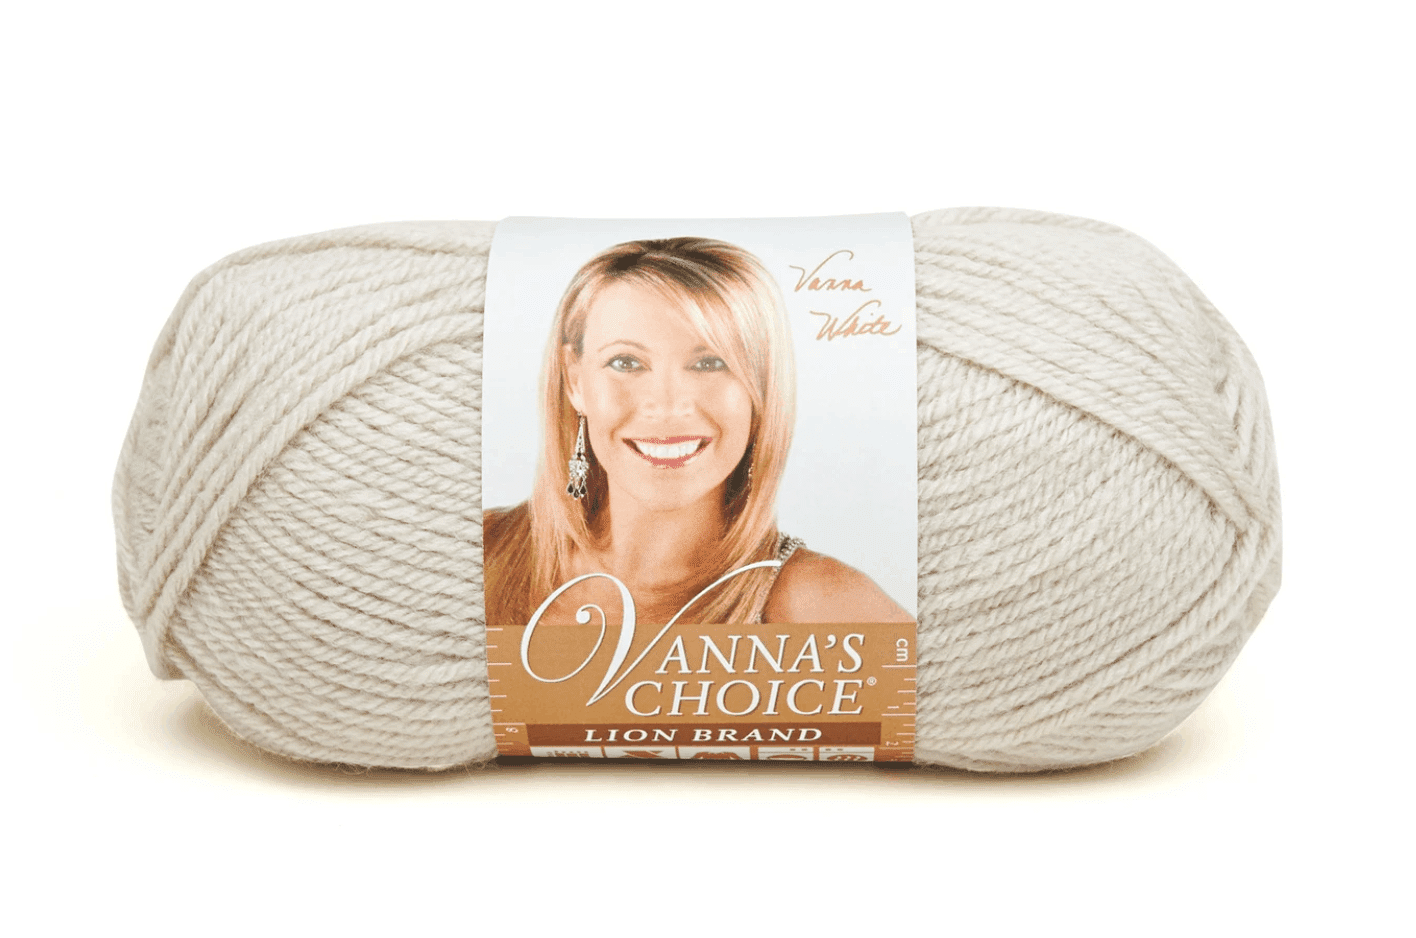
To design the Andy Button Crochet Scarf pattern, I used one of my favorite yarns, Lion Brand’s Vanna’s Choice in Linen, which is a 100% acrylic worsted weight yarn that is soft and durable.
It is available in a wide range of colors, so you’ll be able to make your scarf with your favorite color!
Vanna’s Choice
This yarn is made by Lion Brand, and is a Weight 4 – Medium yarn.
Fiber: 100% Acrylic
Yardage: 156m / 171 yds
Hook: 5.5 mm (I-9)
Substitute: Lion Brand Heartland
Learn more about Vanna’s Choice in my free guide about this yarn, and you’ll see just why I love it so much. This yarn is perfect for a scarf because of how easy it is to take care of. It can be washed repeatedly and will still look like new.
I’ve used Vanna’s choice for a lot of my crochet patterns, like my ombre crochet ripple blanket, striped crochet pillow, and many more!
The Stitches
To make this scarf, you will need to know just a few basic stitches and techniques.
They are easy to learn, which makes this scarf design great for an advanced beginner or someone of a higher skill level.
Half Double Crochet
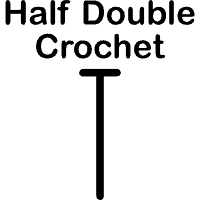
Abbreviation: hdc
Difficulty Level: Easy
Learn this stitch →
Half Double Crochet Back Loop
Abbreviation: hdcbl
Difficulty Level: Easy
Learn this stitch →
Let’s Get Started
When you start crocheting this, you are going to love how fast it works up and how perfectly it pairs with the Andy Hand Warmers that I also designed. You’ll be set for winter with this cozy crocheted set.
This crochet scarf is one of my favorite crochet patterns to date, and I hope you enjoy making it as much as I enjoyed designing it! Scroll on down for the free pattern.
Happy Andy Scarf Making!
Crochet Andy Button Scarf Pattern
Skill Level: Easy
Materials
- Size J crochet hook 6.00 mm (or whatever hook is needed for gauge)
- Yarn needle
- Less than 340 yards of Lion Brand Vanna’s Choice yarn in Linen (or any worsted weight (4) yarn)
- Two 1″ buttons (I used coconut shell buttons)
- We used these: Coconut Shell Buttons
Abbreviations
- hdc = half double crochet
- ch = chain
- bl = back loop
- st = stitch
- sk = skip
Gauge for Ribbing
- Each row should be approx. 3″ wide x .70 high
- 8 hdc’s for every 3″ inches
Gauge for Main Pattern
- Gauge is 12 hdc’s for every 4″
Sizing
- Approx. 64″ circumference & 6″ width (see how to change size below)
Notes
- If you’d like to make this scarf longer, keep crocheting the ribbing to whatever length you’d prefer and follow the pattern as written or use our scarf size chart to help with sizing.
- If the gauge is not followed, it will either be too big or too small. Try to follow gauge as closely as possible.
- The pattern is written in standard US terms

Pattern Steps
There are a few different parts of this scarf, all of which come together to make the Andy Scarf at the end.
Foundation Row: ch 9, hdc in 2nd ch from hook, hdc in remaining ch’s across, turn (8)
Row 1: ch 1, working in the bl hdc, bl hdc in remaining ch’s across, turn. (8)
Row 2- 95: repeat row 1. (8)
Do not fasten off yarn, ch 1, see scarf pattern below on how to continue.
Scarf
Working along long side of ribbing, going back along the edge of the ribbing you just worked up.
To make it even I did 3 hdc’s for every 2 rows of ribbing. Starting with 2 hdc’s in the first row. ending with 1 hdc in the last row.
Row 1: do 145 hdc’s in evenly across long side of ribbing, turn. (145)
Row 2: ch 1, hdc in the bl, hdc in the bl of every st across, turn. (145)
Row 3-7: repeat row 2. (145)
Finishing: If you do not want buttons on your scarf, you can fasten off here and weave in loose ends with a yarn needle. If you want buttons do not fasten off yarn, ch 1, turn your work to short side of scarf, see pattern below on how to continue.
Button Holes (optional)
Row 1: hdc, hdc, sk 1 st, ch 1, hdc in next 10 hdc, sk 1 st, ch 1, hdc, hdc. (16)
Row 2: ch 1, hdc, hdc once in every st across. (16)
Finishing: attach buttons onto the other end of the scarf that doesn’t have the buttonholes you just made evenly, so they will attach to the holes properly, about 1″ from the edge of the scarf.
Then weave in the loose ends throughout the scarf with a yarn needle.

How to Wear This Crochet Scarf
To wear this scarf as shown in the pictures follow the steps below. First, put it around the front of your neck unbuttoned with the tails around your back. Next, wrap both tails back to the front of your neck. Finally, button and wear!
Thank you for stopping by and I hope you enjoyed the Andy Button Scarf Crochet Pattern! If you have any questions, please feel free to email me at Krista@easycrochet.com and I’d be happy to help!
You May Also Like These Free Crochet Pattern Too
Free Wrapped Headband Crochet Pattern
+
- Free Heart Crochet Patterns for Valentine’s Day
- Best Easy Crochet Patterns for the Holidays
- Easy Crochet Patterns That are All Cozy
- 5 Minute Crochet Patterns
- 8 Favorite Spring Crochet Tops
- 14 Free Crochet Leg Warmer Patterns
- 25 Warm Weather Crochet Patterns To Make
- 18 Cute Crochet Cow Patterns
- 30 Free Crochet Baby Blanket Patterns
- 12 Crochet Graduation Gifts To Make This Year
- 50 Easy Crochet Ideas For When You Can’t Make Up Your Mind
- 15 Free and Easy Moss Stitch Crochet Patterns

Used the same hook size amd yarn as the pattern yet it is no where near the length it is supposed to be. Honestly with everyone saying the same thing I think this pattern needs to be revisited and updated. If I had been using a different hook or ysrn then it would be my fault but yet again I’m using lion brand Vanna choice and im not pleased. I was planning on doing more patterns from this website but clearly it will just be too frustrating for me to be guessing the whole time if it will turn out right. Spent too much time at this point so I will just wing it from here.
Hi Niki,
I’d suggest using a bigger crochet hook to try to get the gauge as closely as possible. Since everyone crochets so differently some may need a bigger or smaller hook to get the same outcome in a pattern.
I recommend crocheting a smaller section of the ribbing that is about 3″ or so in length to see how it measures with different hooks so that way not such a large piece is being worked up.
I updated the pattern to highlight the gauge sections a bit better, so they’d be easier to find. If you’d like you can also keep crocheting the ribbing to as long as you want then follow the pattern as written adjusting the stitch counts at the end to whatever ribbing length you decided on.
I hope you give this pattern another try because it is so beautiful when worked up.
Have a great rest of your weekend.
Krista
Was looking for creative crochet patterns and here is one beauty! Perfect for a gift for my friend for Christmas. Thanks so much for sharing your talent freely. May the grace come back to you many times over.
Thank you Judith!
I hope your friend enjoys her new scarf!
Krista
Hi Krista. I just found your beautiful pattern and I want to make it for a daughter of my friend.
I was wondering did you use all of the 340 yard yarn? I have yarn but it is only 273 yard. Because as I understand it correctly the length is made first?
and I’m afraid to finish the yarn before obtaining the proper width.
Hi AnneMarie,
It uses less than a 340 yards so you should be good! 🙂 Have a great day!
Krista
Thank you Krista.
I asked a question about altering the rows in the pattern but my question has disappeared.
If I do more than 95 rows of ribbing to get the desired length do I need to change the number of hdcs in the first row of the scarf.
Thanks for any help you can give.
Hi Linda,
The comments do not show up until I view them so that’s probably why you didn’t see your previous one. 🙂 To adjust the scarf you will need to make 3 hdc’s for every 2 rows of ribbing to make it bigger 🙂
Have a great day!
Hello Krista,
I am new to crocheting and am trying the Andy Button scarf. The ribbing is only 50 ” long after 95 rows. If I increase the number of rows to get 64″ how many HFCs do I need to increase to from the 145 in the pattern across the first main scarf row?
Thank you so much for the wonderful pattern. I made three of them this weekend. I LOVE them, can’t wait to explore your site! Thanks again.
Hi Christi!
You are welcome! I am glad you love the pattern!
Krista
Love the scarf but would like to make the slouchy hat to match it but I’m unable to find the pattern. Is it still available? Thank you so much for sharing your talent!!!!
Thank you for the kind words! Here is the link to the matching Andy Hat. https://easycrochet.com/2015/09/24/andy-button-hat-free-crochet-pattern/
Just when I thought I had seen all the cowls that I ever wanted to see, you create this beauty! Love it!!!On top of my TO DO pile. Thank you for sharing your wonderful talent with us!!!!!
Thank you!! <3
Love the pattern. I am having the same trouble with the length, I have done 96 rows and still at 51″. I’m using the J hook and not crocheting tightly. The 8 hdc are measuring 2 1/2 “. I can’t figure out what I’m doing wrong. Thanks.
HI Marie,
You will need to make sure you have 8 HDC’s for every 3″ of scarf. Since you are only getting 2 1/2″ inches for every 8 HDC’s you are losing .5″ for every 8 HDC’s. I would suggest using a bigger hook to obtain the correct gauge. Hope this helps.
Krista
Hello. What is the completed length of the scarf? I am working on it and worried that its not the right length. Thank you. It is beautiful!
This was so fun and easy to make and it looks great on! I will be making more of these 🙂
Hello! I love this scarf and I just tried making it and did it exactly the way you written it, which was great instructions, but mine seems to be a lot longer than it should be? Mine doesn’t look as great as yours.. Could it be my choice in yarn?
Hi Kierra,
What type of yarn did you use?
Hola hermoso diseño, podrías traducir las instrucciones al español.
Gracias
Thank you! If I had someone willing to do it I would be more than willing to post it here 🙂
working on Andy scarf. How can I make my 3 half doubles over two look as neat as yours. Mine very noticeable. Not liking holes.
I am making the Andy scarf. I’m on the ribbing and not sure how to count the ribbing rows.
I love the look of this pattern, however I don’t crochet, could this be adapted for knitting?
Hi Carol,
It probably could but I don’t knit. 🙁
Fabulous pattern!! Was wondering what color you used for the yarn? And awesome link for the buttons, thank you. Just ordered.
This is an awesome pattern. I just ordered the buttons too. Love that site. As for the color, she has indicated at the beginning of pattern, yarn is 340 yards of Vanna White’s Linen ( I looked because I wanted to know the yardage as I’m using a different brand of yarn). Krista also has a link for ordering the yarn as well 🙂
Thank you Debbie 🙂
Great scarf, going to start it tonight!! Thank you very much for the pattern!
Thank you and you are welcome Laurie! 🙂
Hi there Krista,
I have finished my Andy scarf using Heartland.. I had to add some more length because I didn’t measure the length as I made it.. Still turned out wonderful. I have started another using Vanna’s choice but still can’t get the length right.. I have done 98 ( instead of the 95 indicated) rows of the initial ribbing and it still only measures 50″ instead of the 64″ it is supposed to be.. I will have to add more rows.. What’s your thoughts? I think I crochet a little tighter than most but I am using a K hook instead of the J hook… I’m at a loss.. I will add more rows to obtain the indicated 64″ . I will post once it’s done.. Thanks a lot
Colleen
Awesome! I can’t wait to see it! 🙂
I am having the same problem with the length. I did my first one with a K hook in Vanna’s Choice. I have increased the hook size to N and it is still not 64 inches. Did you add more rows to get to the 64 inches?
Hi Nancy,
Each row should be 3″ wide so 8 hdc’s for every 3″ & each row will be approx. .70″ in height. Hope this helps.
Hi Krista,
I am almost finished this wonderful pattern. I didn’t use Vannas choice , instead I used Heartland, and a K hook. Looks wonderful but it’s smaller than it should be. Is it my choice of yarn? Is Vanna ‘s choice that much bigger? What’s your opinion? I will try it with Vanna’s choice tomorrow and see.
To make this one wider I will simply add a few more rows. I know it will be beautiful anyway thanks!!!
Hi Colleen,
It may be the Heartland yarn. I find that it is finer than Vanna’s Choice even though it is considered to be the same weight yarn. I would love to see your project when you are all done! 🙂
Krista
This is a cool pattern. I have a WIP and some snowflakes for Diva Dan at the Crochet Crowd then I’m going to check my stash and find some yarn to make this pattern next. Thanks for your art and for sharing your talent.
Thank you Rosalie for the kind words! I would love to see it when you are all done! 🙂
Thank you Rosalie! Glad you are here!
I love this pattern as well as all of your patterns. I also, really like the new site! Thanks for all your hard work. I really appreciate all you do for us!!
Hi Joan!
Thank you for the kind words!! 🙂