Crochet Easter Bunny Washcloth Pattern
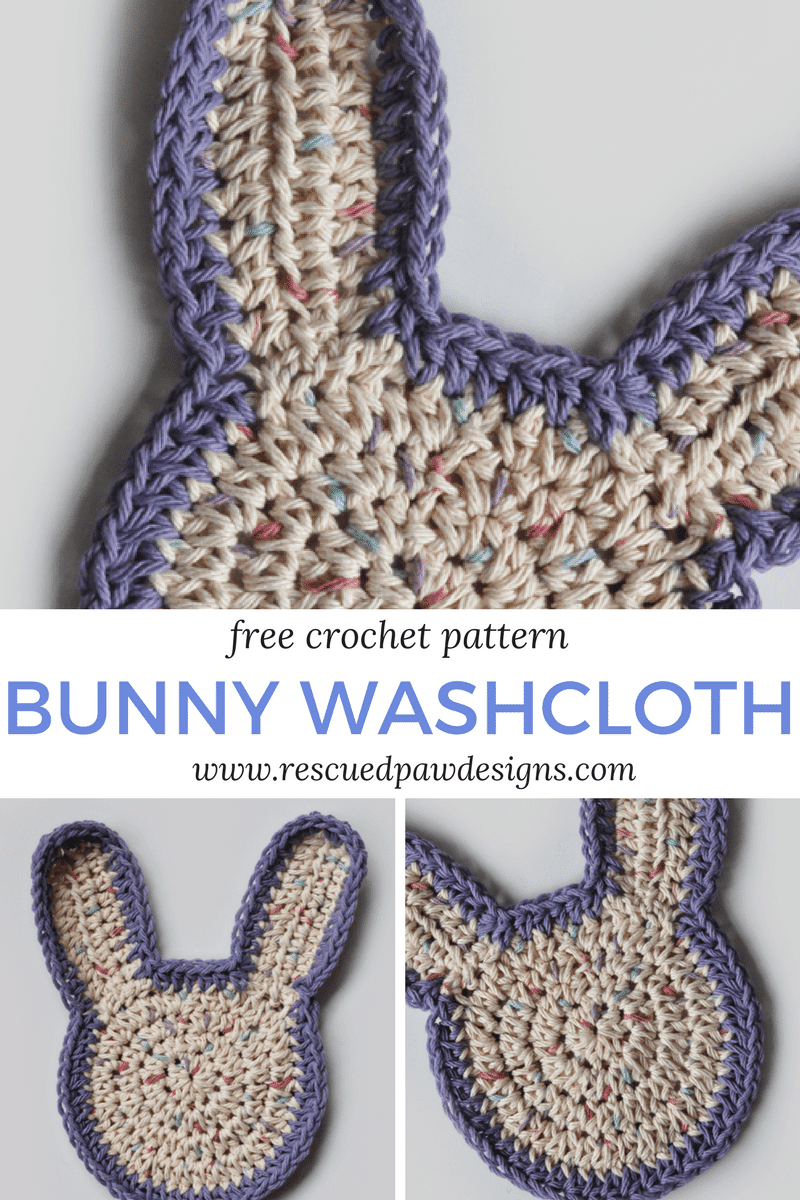
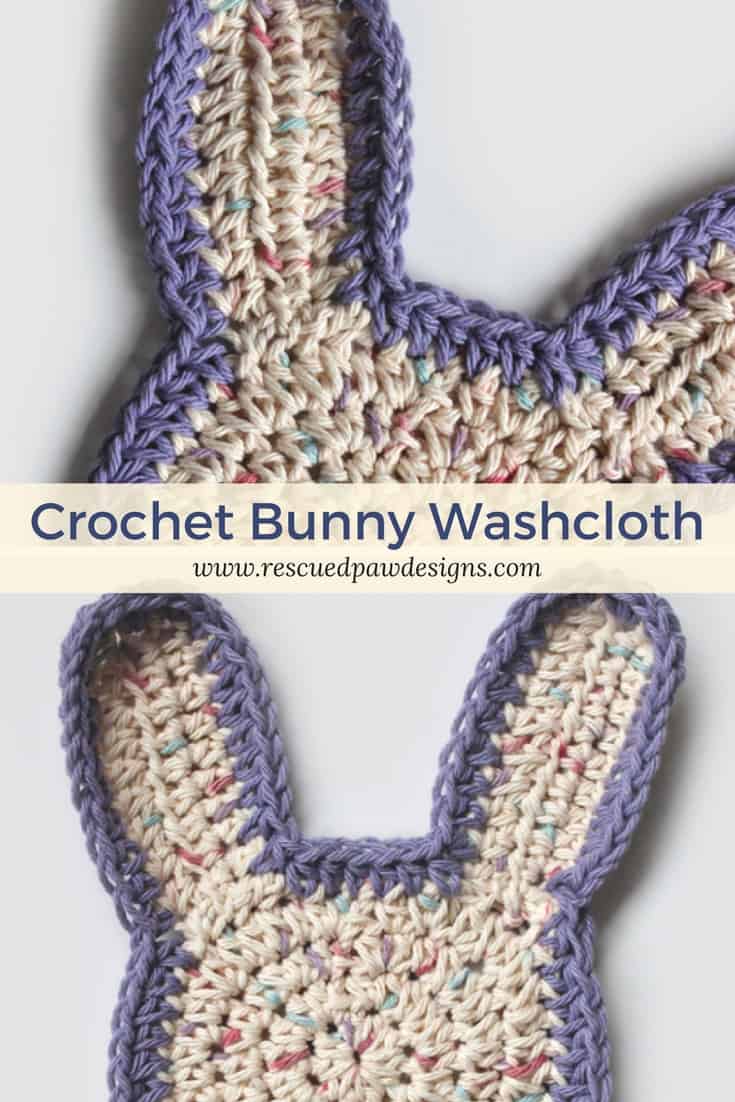
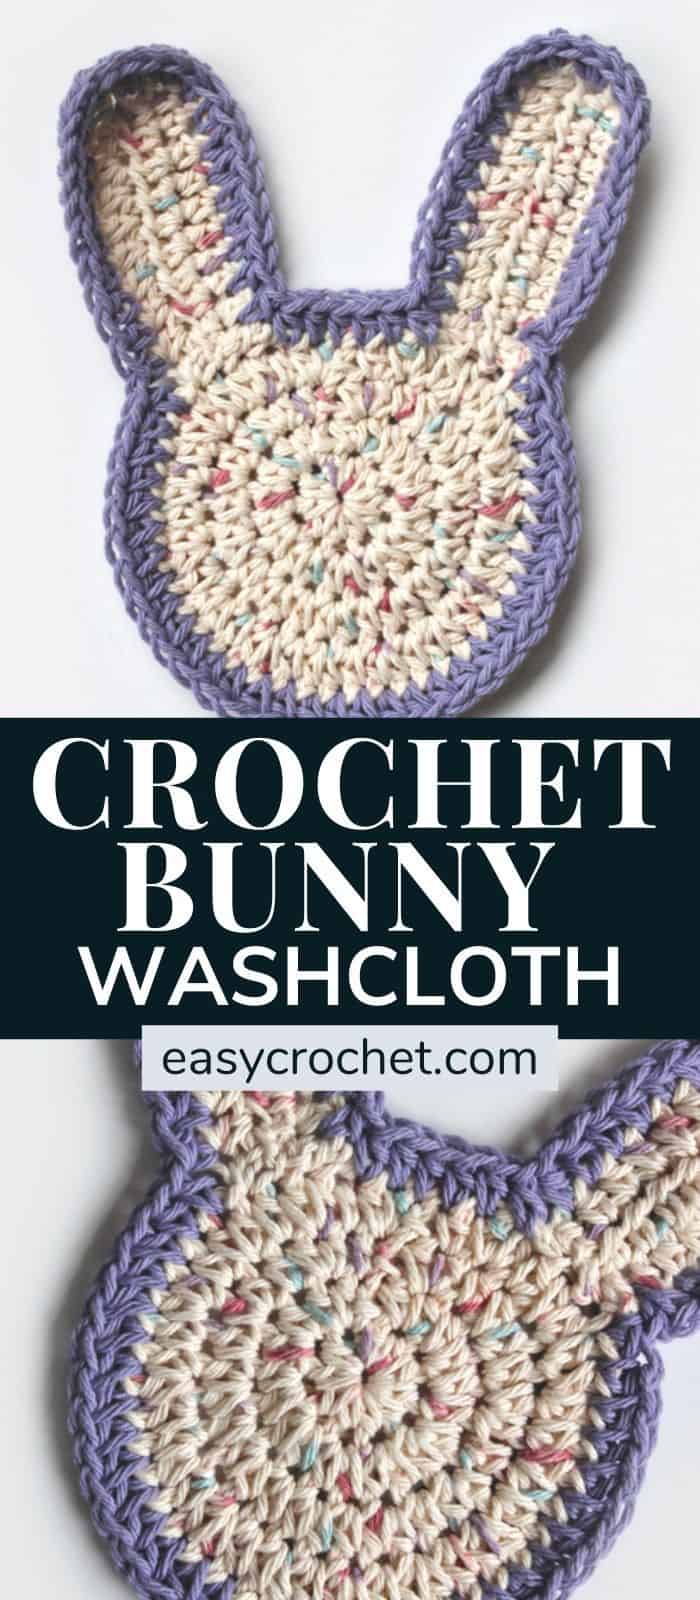
Are you looking for a quick Easter Bunny pattern? If so, I’m excited to share my favorite washcloth pattern below that is perfect for Easter! I designed it for my kids and I had to share with you too since I knew you would love it as well.
Read on down to find the free pattern to make this cute bunny wash cloth today, and I hope you enjoy making this adorable design. Happy crocheting!
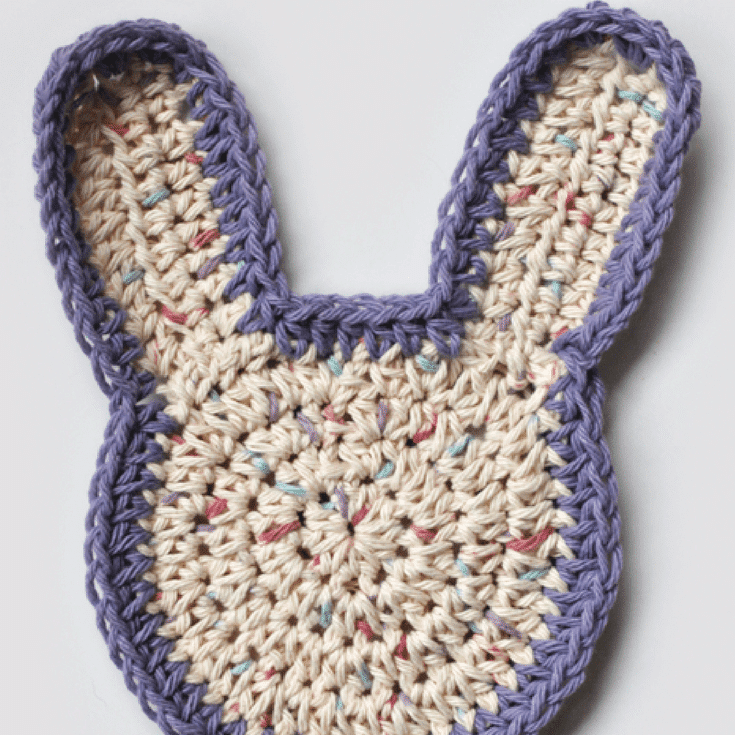
How to Crochet a Washcloth Easter Bunny Pattern
I am so excited to share my newest Easter crochet pattern, the extra cute Easter Bunny Washcloth! It is such an easy pattern to work up, and you’ll just need to know a few crochet stitches to make these.
The Stitches
Half Double Crochet
Abbreviation: hdc
Difficulty Level: Easy
Learn this stitch →
Slip Stitch
Abbreviation: Sl St
Difficulty Level: Easy
Learn this stitch →
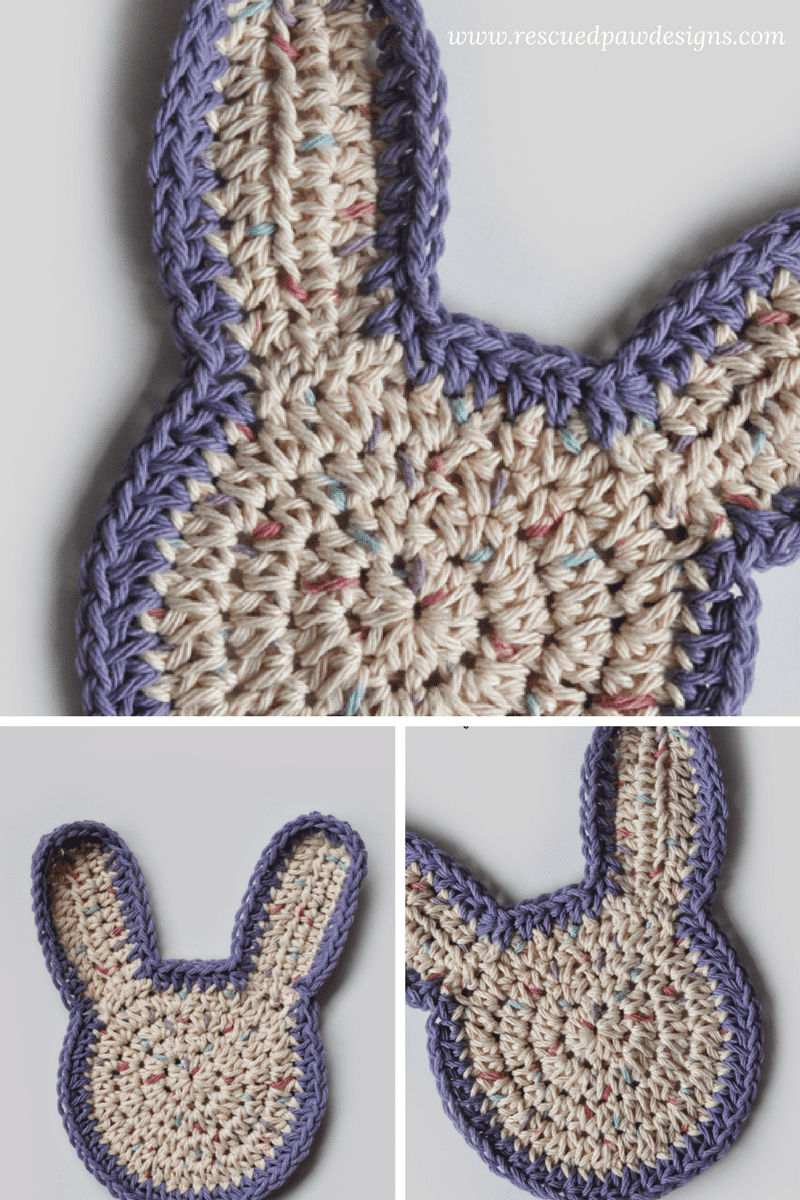
The Yarn
To make these bunny washcloths, you will want to use Lily’s Sugar’n Cream. It is a 100% cotton yarn that I found washes well and holds up to use. I also wanted to mention that it is a four weight cotton yarn that comes in a beautiful variety of colors.
Lily Sugar’n Cream
This yarn is made by Yarnspirations, and is a Weight 4 – Medium yarn.
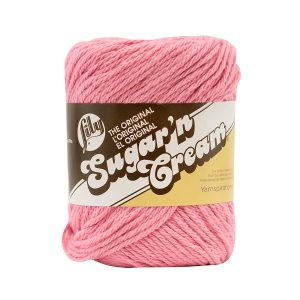
Fiber: 100% Cotton
Yardage: 645 meters / 706 yards (varies)
Hook: 5 mm (H-8)
Substitute: Bernet Handicrafter
I used the colors Potpourri for the main part of the bunny and Soft Violet for the outline. You are welcome to put your own spin on this design.
I can’t wait to see what yarn colors you pick and how your washcloths turn out.
Ready to Get Started?
Scroll on down to find the free crochet bunny pattern and have fun!
I hope you enjoy this Easter crochet bunny pattern and Happy Spring!
Free Crochet Easter Bunny Pattern Washcloth
Skill Level: Easy
Materials
- A 5.00 mm crochet hook
Cotton yarn, I used Lily Sugar ‘n Cream
in Soft Violet and Potpourri Ombre
- Scissors
- Yarn needle
- Measuring tape
Finished Size
- 6″ wide and 8″ tall (including ears)
Crochet Stitch Abbreviations
- hdc = half double crochet
- ch = chain
- st = stitch
- sl st = slip stitch
Notes
- The washcloth pattenr is written in standard US terms
- Learn how to join different yarn colors into projects.
Free Bunny Crochet Pattern
Ears x2: (potpourri colorway)
- chain (ch) 11, half double crochet (hdc) in 2nd ch from hook and in every stitch (st) across (10), turn.
- ch 1, hdc in every st across (10), turn.
- ch 1, hdc in every st across (10), turn. fasten off leaving a 6 inch piece of yarn
Head: (potpourri colorway)
- ch 2, 10 hdc in 2nd from hook, sl st to top of first hdc. (10)
- ch 1, 2 hdc’s in every ch around. sl st to top of first hdc. (20)
- ch 1, *hdc , 2 hdc’s, repeat from * around, sl st to top of first hdc (30)
- ch 1, *2 hdc’s, hdc, repeat from * around, sl st to top of first hdc (45)
Finishing:
- Securely attach ears to head evenly with yarn needle 6 chains apart on top of head ( you should have 6 chain spaces separating your ears)
- weave in ends with yarn needle
Border: (soft violet colorway)
- attach soft violet to corner of right ear and * hdc up side of ear (9 times) 2 hdc’s in each of next 3 ch’s (top of ear) hdc down side of of ear (9 times), 6 hdc’s top of head, repeat from * for next ear. continue to hdc around the rest of the head , slip st to first hdc, fasten off and weave in ends.

If you have any questions about this easy crochet bunny pattern please feel free to ask! I am more than happy to assist in any way possible.
Thank you for stopping by to check out my pattern. Please head on over to our shop to check out even more crochet patterns.

More Free Crochet Easter Patterns
- 21 Adorable and Free Bunny Crochet Patterns for Easter
- 10 Free Crochet Easter Basket Patterns
- 10 Best Crochet Easter Egg Patterns
- Crochet Egg Pattern for Easter
- Easter Crochet Patterns To Try This Year
- Crochet Floppy Bunny Ear Hat Pattern

About how much yarn does 1 bunny use? This is so cute!!
Hi Mona,
This is an older pattern, so I unfortunately didn’t keep track of the exact amount, but it will take less than a skein of each color to make this bunny.
Happy Crocheting!
-Krista
I wish you had shown the ears attached BEFORE the border. I think that would help those of us who are beginners.
Hi Barb,
Unfortunately, when I wrote this pattern in 2015 I didn’t take that picture. I’ll work up a sample and get a picture up as soon as I can.
-Krista
Thank you for this cute pattern. Completed as instructed and a great size for a little ones washcloth.
You are welcome Carol! I am so glad you liked it. 🙂
Happy Crocheting!
Krista
what was the size of your needle? don’t see it!
Hi Virginia,
It is listed under the materials section in the pattern. It uses a 5.00 mm crochet hook.
Happy Crocheting!
Krista
HELP! Love this little bunny – tried to make it but am having problems. Maybe because I am a tight crocheter – don’t know. When I finished the last row of the head mine only measured approx. 3.75″ – you state that it is 6″ wide – even if I add the border I do not think mine would equal 6″. I was going to repeat rows 3 & 4 to make it bigger but that is not materializing. I finished row 3 and it was curling so did not continue to row 4. Any suggestions on how to make it bigger so I end up with a 6″ wide bunny? Thank you in advance – bunny is so cute.
Hi Helen, I would try a bigger crocheter hook so see if that helps. I bet going up one size would make all the difference.
Krista