Back & Front Post Double Crochet Stitches
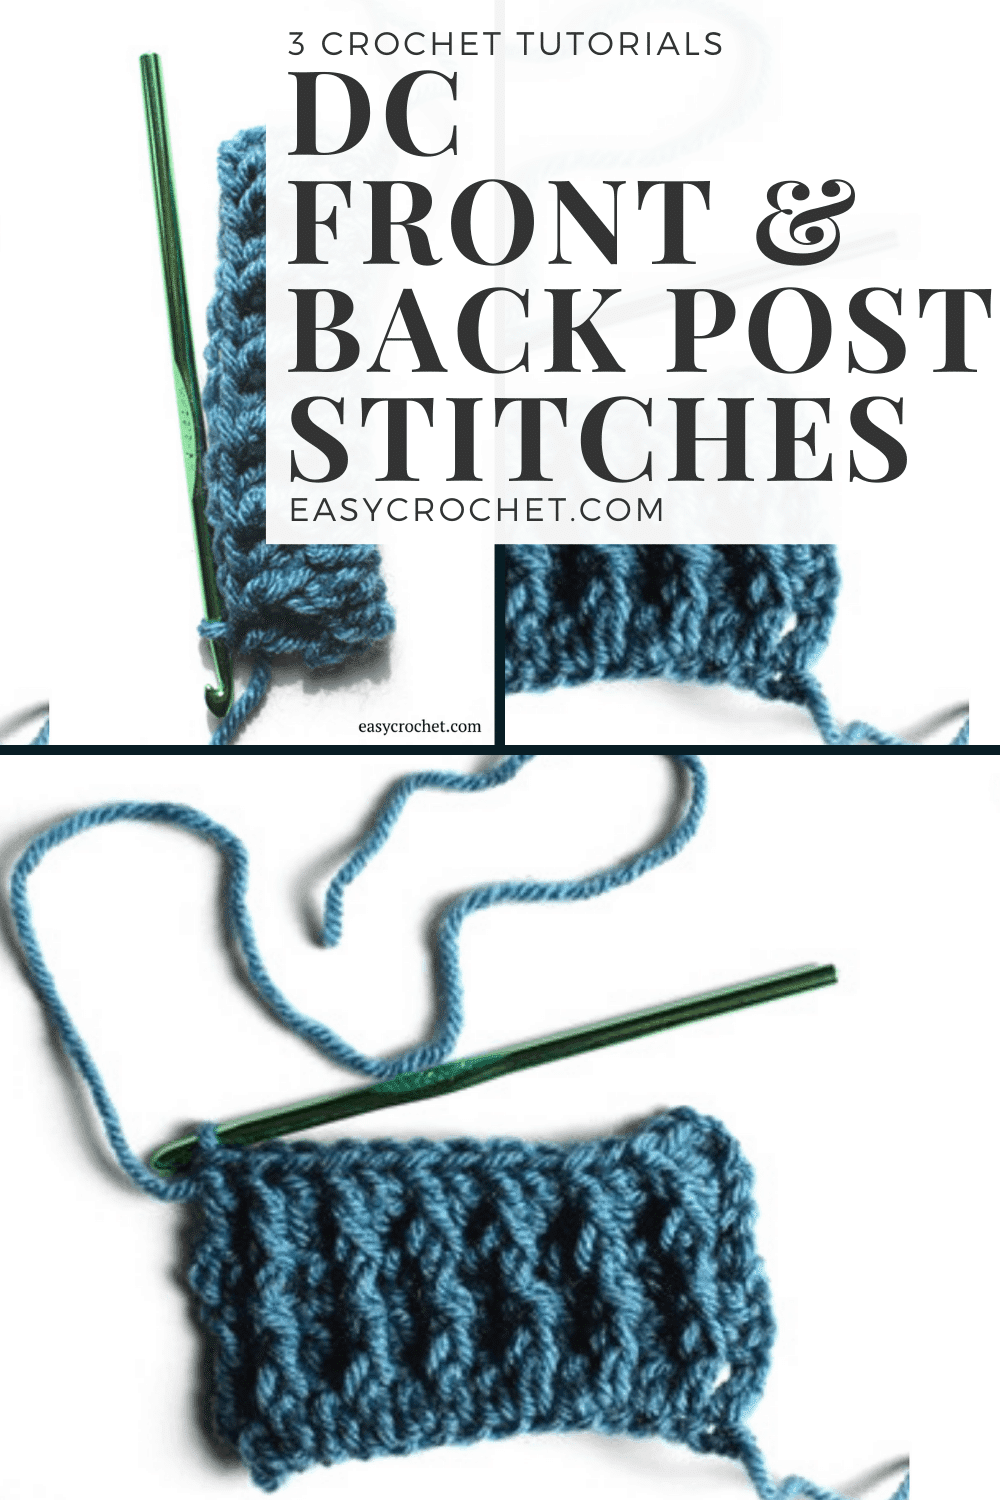
Front post double crochet stitches (fpdc) and back post double crochet stitches (bpdc) are great to learn for any intermediate crocheter. When done right, they add a cabled look to your crochet projects.
This crochet technique is easy to learn, plus opens the doors to crocheting all different kinds of projects with amazing cables, which provide an outstanding texture!
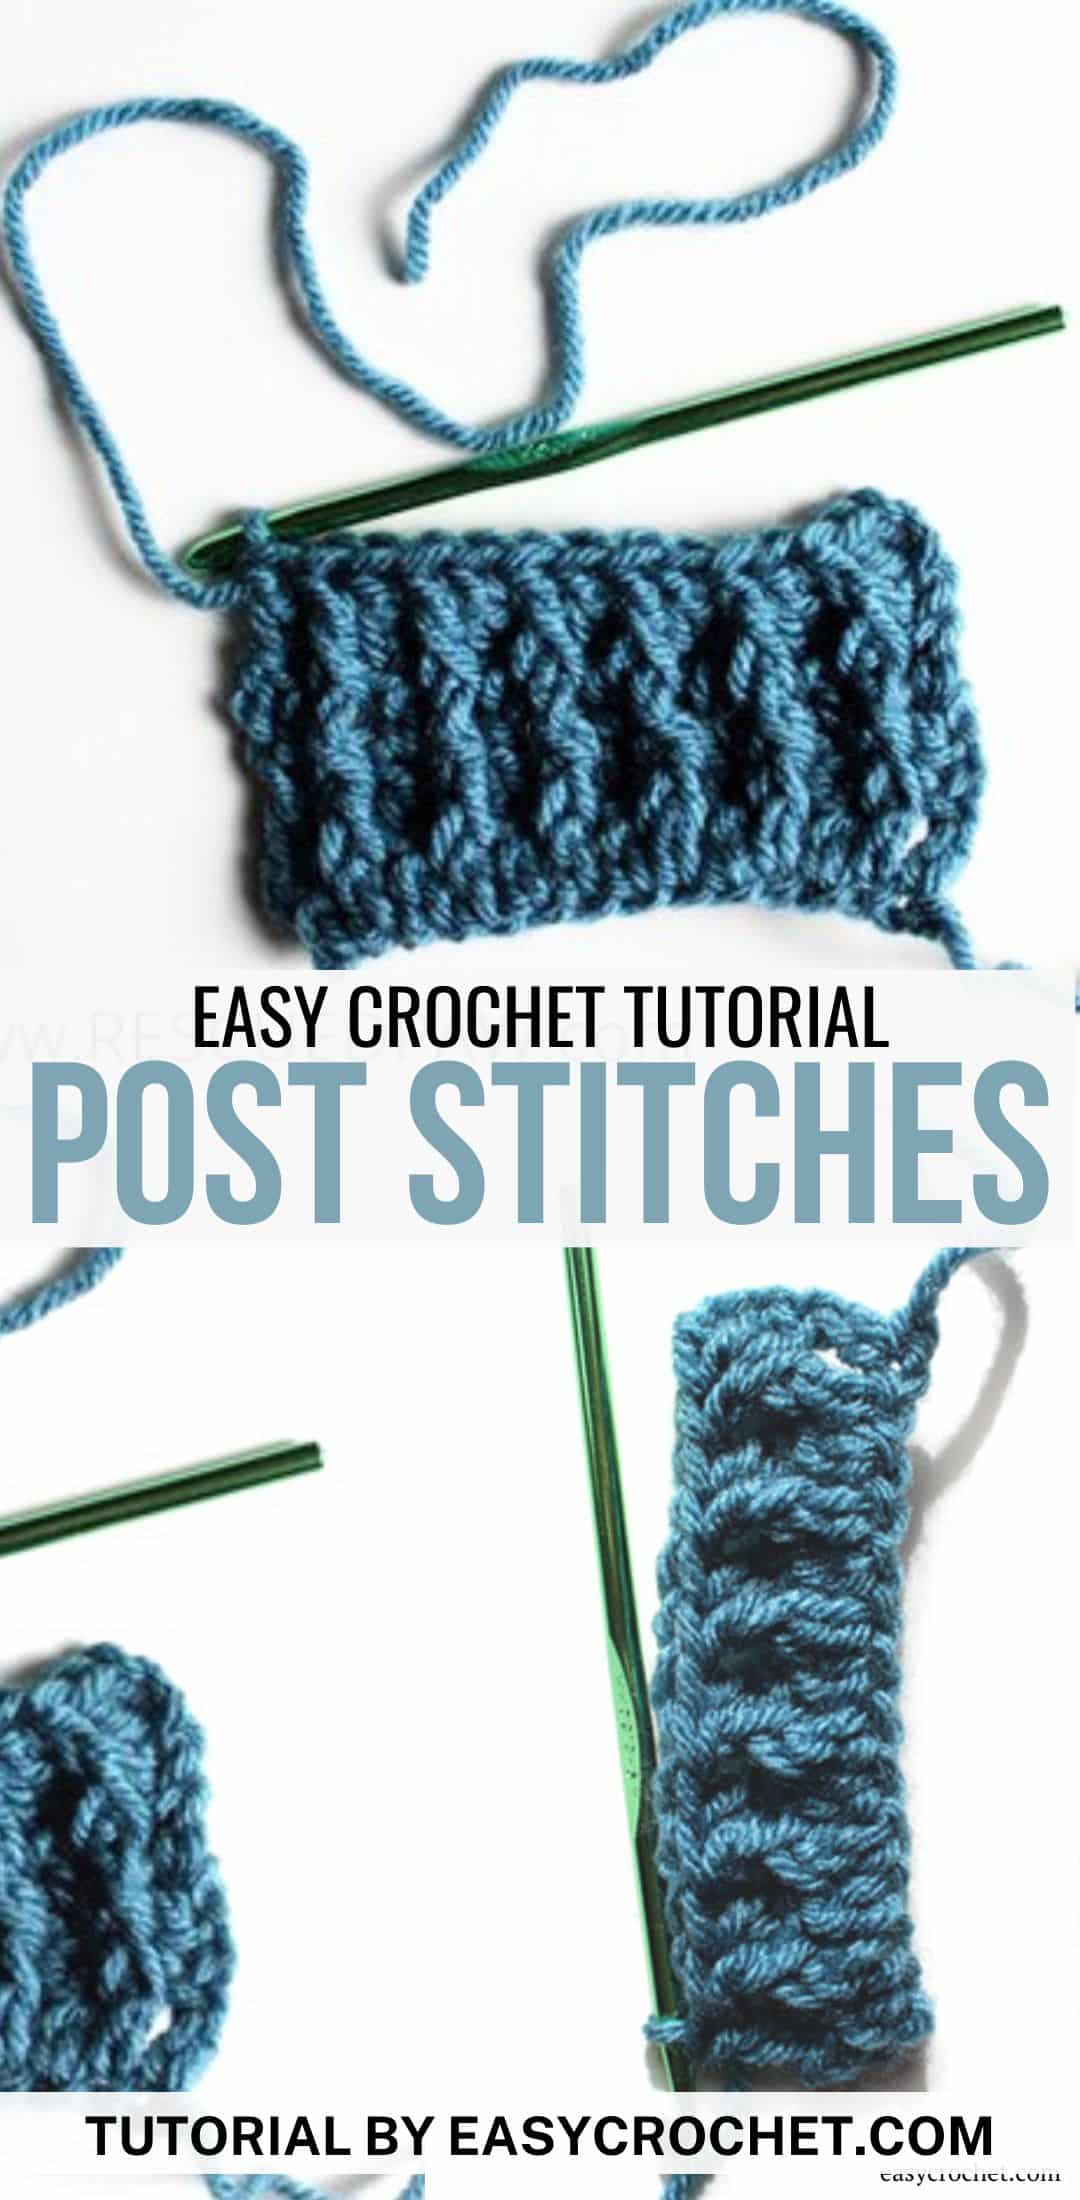
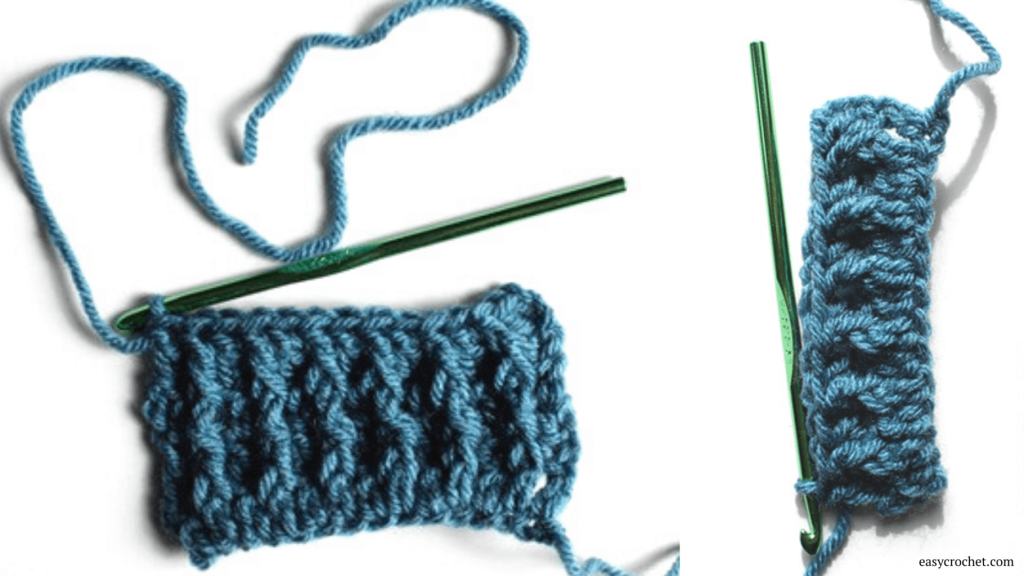
All About Post Stitches
Although these are two different post stitches, they are both worked very similarly. I’ll illustrate them to you in detail below with both a photo tutorial and a written explanation.
Stitches
As for the stitches, you will need to know how to double crochet (dc) to complete this tutorial. Since the double crochet is a basic crochet stitch, a slightly more advanced crocheter should be able to make these post stitches with no problem.
Double Crochet
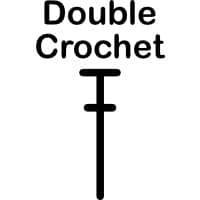
Abbreviation: dc
Difficulty Level: Easy
Learn this stitch →
Supplies
I used a size I 5.5 mm crochet hook and worsted weight yarn (or four weight yarn) for my example, but any yarn or hook will work! Make sure to check the yarn label to see what crochet hook size is appropriate. Read on down to get started.
5.5 mm (I-9)
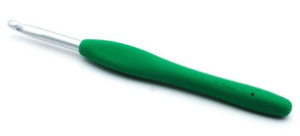
This hook is also known as I-9 (US), 5 (UK) & 5.5 mm. You can use it with Weight 3 – Light & Weight 4 – Medium yarn weights.
Back & Front Post Double Crochet Stitches Tutorial
Skill Level: Easy
Materials
- Yarn (a four weight yarn was used in this example)
- A crochet hook that corresponds to the yarn. An I-9 (5.5 mm) crochet hook was used in this example.
The first tutorial will be for the front post double crochet stitch. Both start with a similar number of chains, but the next step is where they differ.
Front Post Double Crochet (fPDC)
1. Work a row of double crochets (dc). I did thirteen for this example.
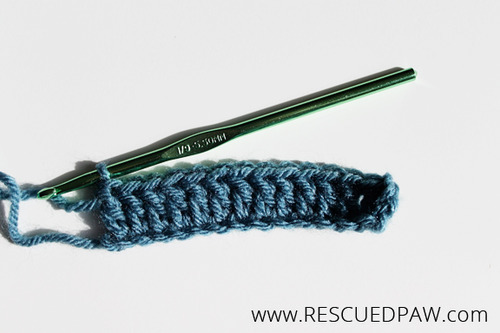
2. After you have worked your first row of dcs, chain 3 and turn your work.
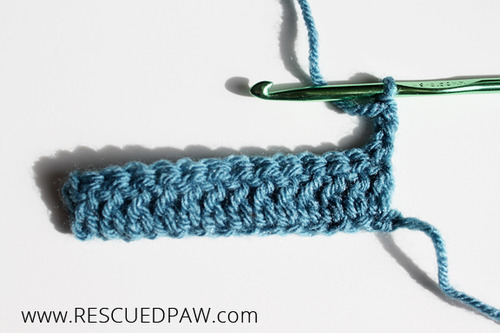
3. Yarn over (yo)
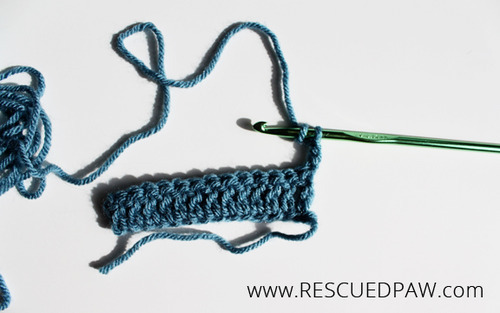
4. From the front of your work, insert the hook front to back, to front again around the post of the next stitch, pushing the post forwards towards you.
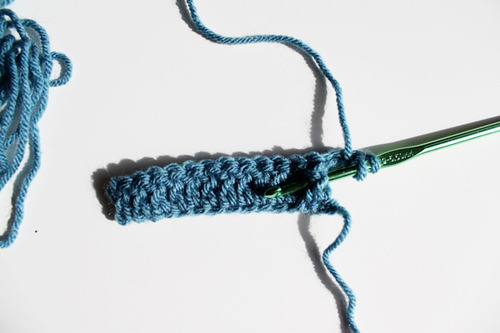
5. Yarn over (yo)
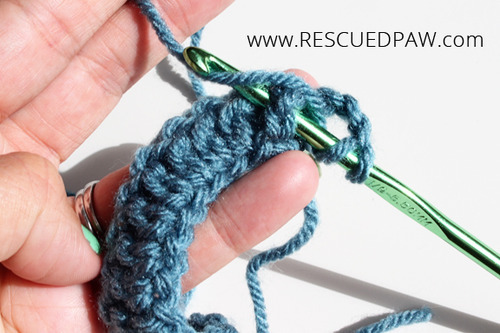
6. Pull the yarn back through the post, so three loops are on the hook.
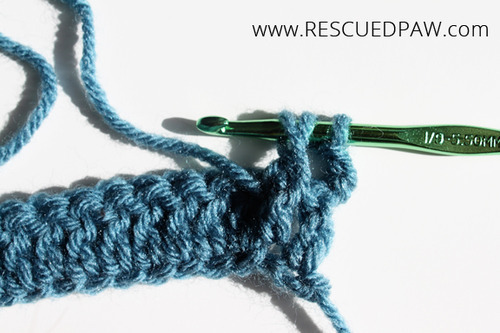
7. Finish like a normal dc stitch (yarn over and draw through two loops twice).
8. Finished!
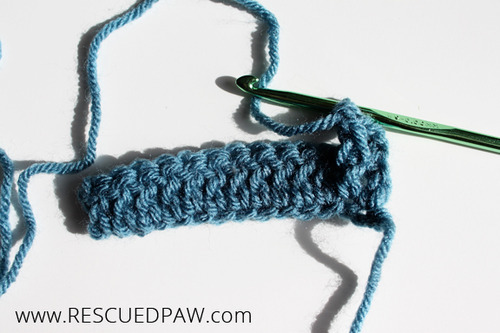
Back Post Double Crochet Stitch (bPDC)
1. Work another row of double crochets (dc). I did thirteen for this example.

2. This is similar to the front post, but you begin from the back of your work instead. Insert your hook back to front to back again around the post of the next stitch, pushing the post away from yourself.
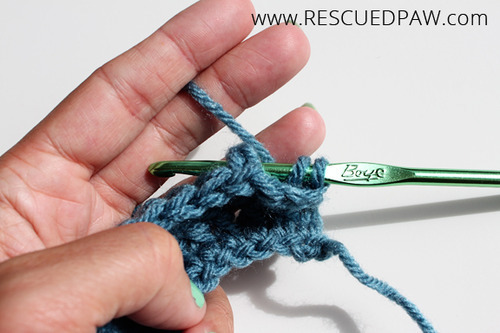
3. Yarn over
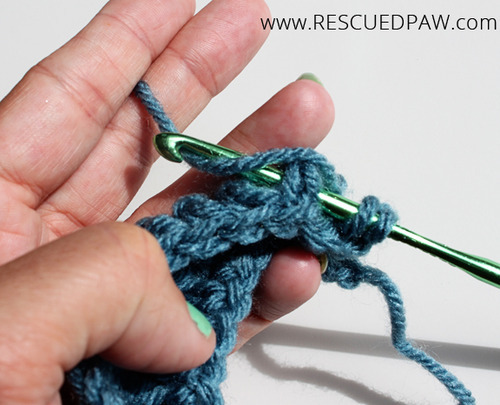
4. Pull the yarn back through the post of the stitch, so 3 loops are on the hook and finish like a normal dc.
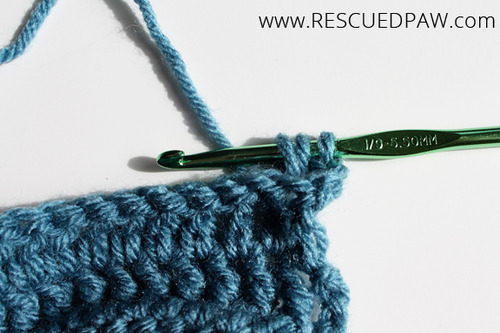
Bonus: Make a Crochet Cable
1. Work a standard row of dcs, chain 3, then turn. Repeat 1 dc and 1 front post stitch across until the end of the row. Chain 3 and turn.
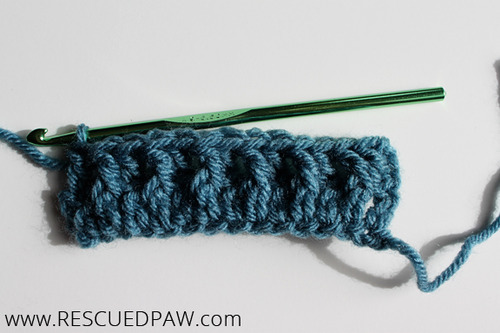
2. Repeat 1 dc, 1 back post stitch across until the end of the row. Make sure to alternate front and back post stitches every row to achieve the cabled look.
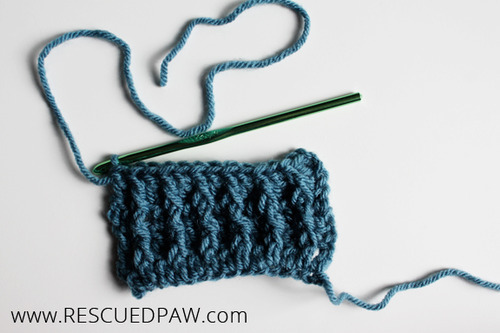

If you require any further assistance about Around The Post Stitches in Crochet, please feel free to ask!
Thanks for looking!
More Free Crochet Tutorials
- The Easy Way to Add and Use Crochet Appliqués
- Crochet the Perfect Temperature Blanket Guide (+ Free Patterns)
- Understanding The Right Side vs Wrong Side in Crochet
- Whip Stitch Crochet Seaming Technique
- What is Frogging in Crochet?
- Why is My Crochet Blanket Curving And How to Fix It!
- The Many Types of Crochet
- Half Double Crochet Slip Stitch (hdc slst) for Beginners

I really like the tutorials, they were extremely helpful
Thanks! I am glad you found these stitch tutorials helpful. 🙂
Happy Crocheting!
-Krista
This was great info. I will try to make the Dreaming of Winter Slouch Hat