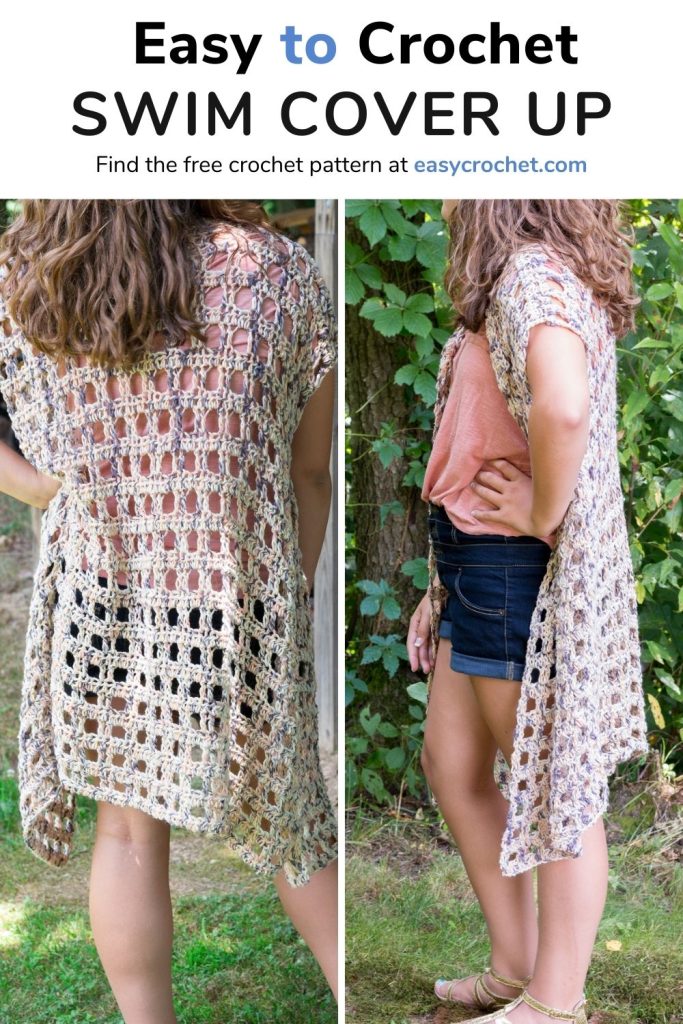
Easy Crochet Cover Up Pattern
If you are looking for an easy crochet cover up pattern, then this one is it!
I was inspired to make this crocheted cover-up pattern because of a swimsuit cover-up that I wore on my recent beach vacation. I loved it so much, and I thought it would be fun to try to create a crochet version of a cover-up. I hope you like it!
How to Crochet a Swimsuit Cover-up Pattern
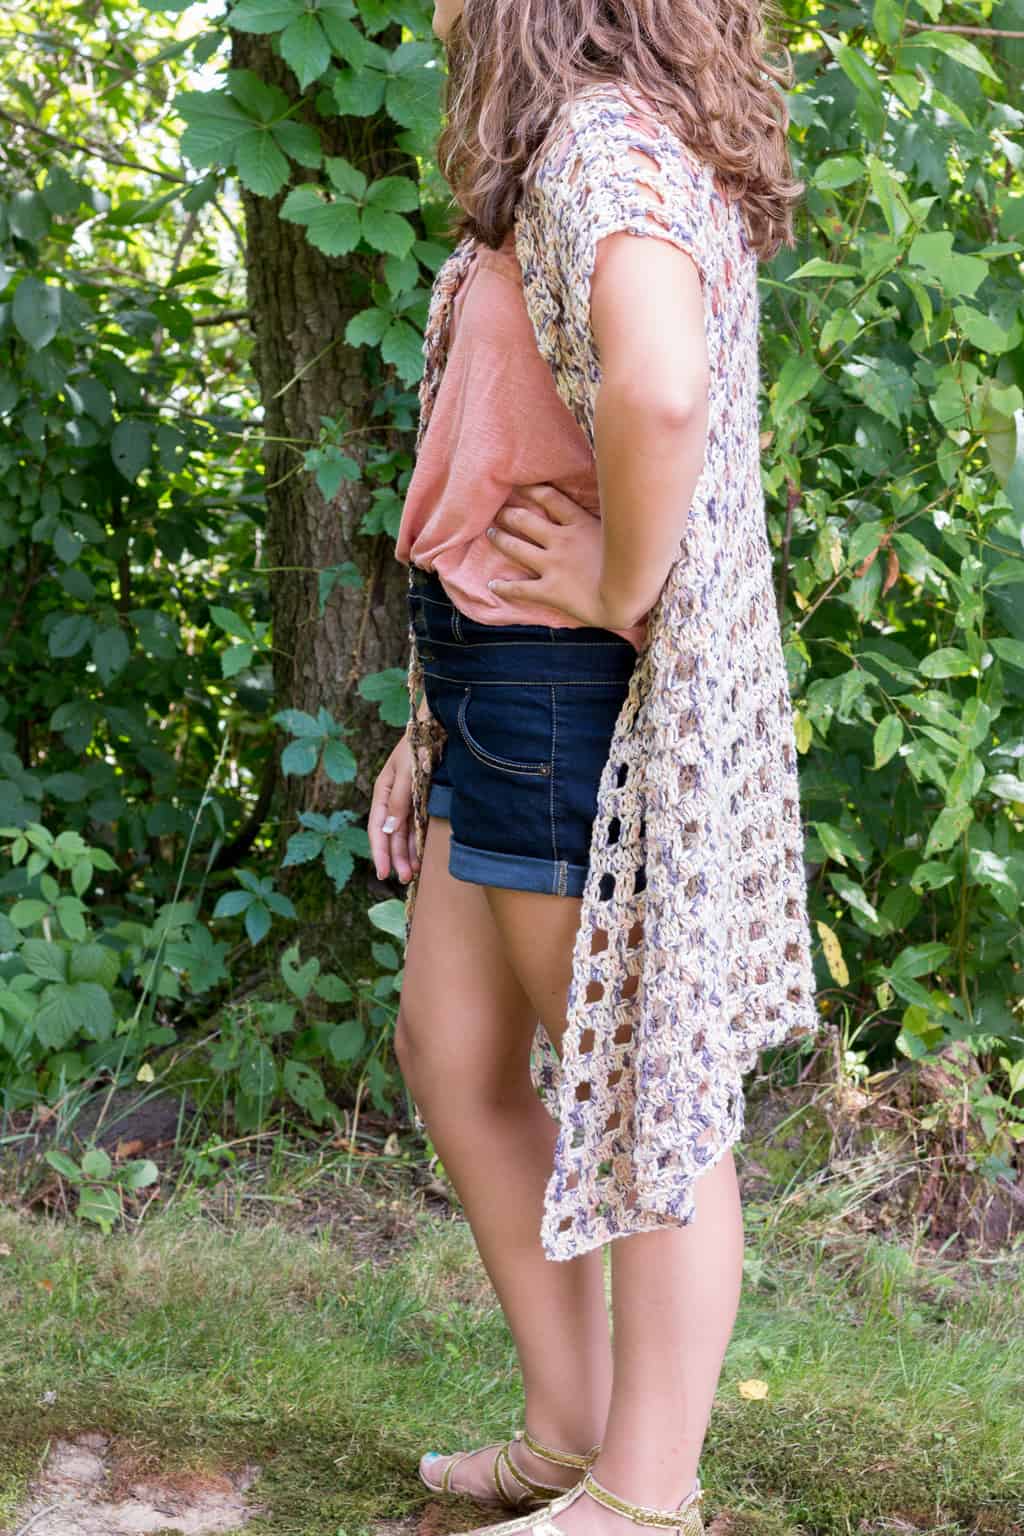
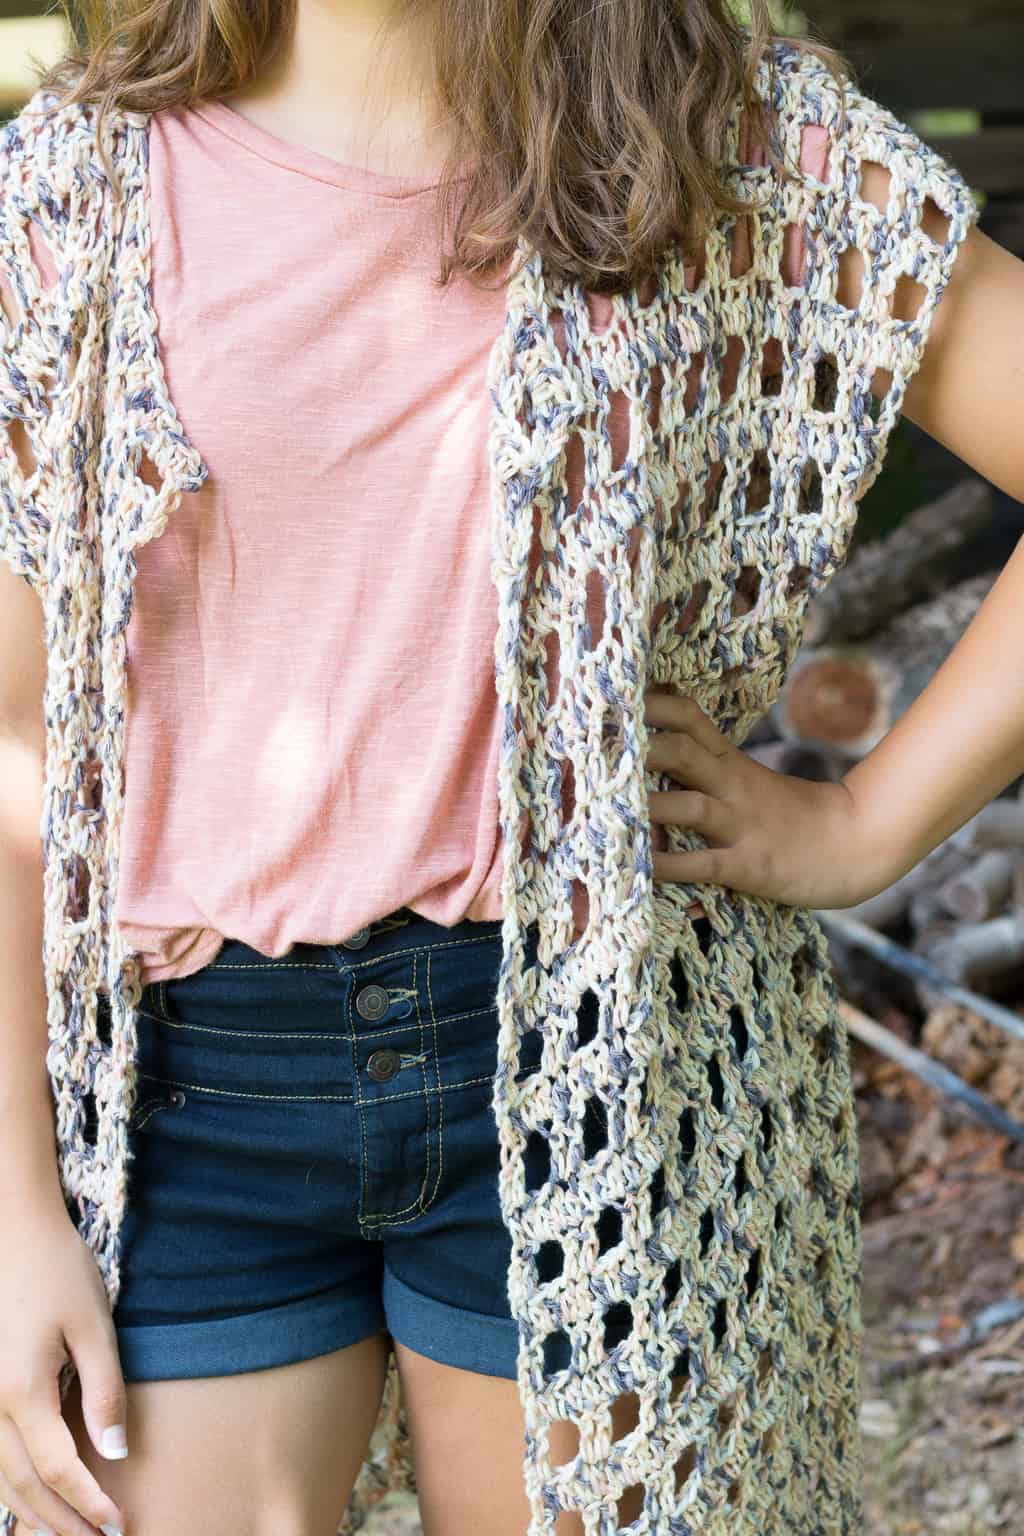
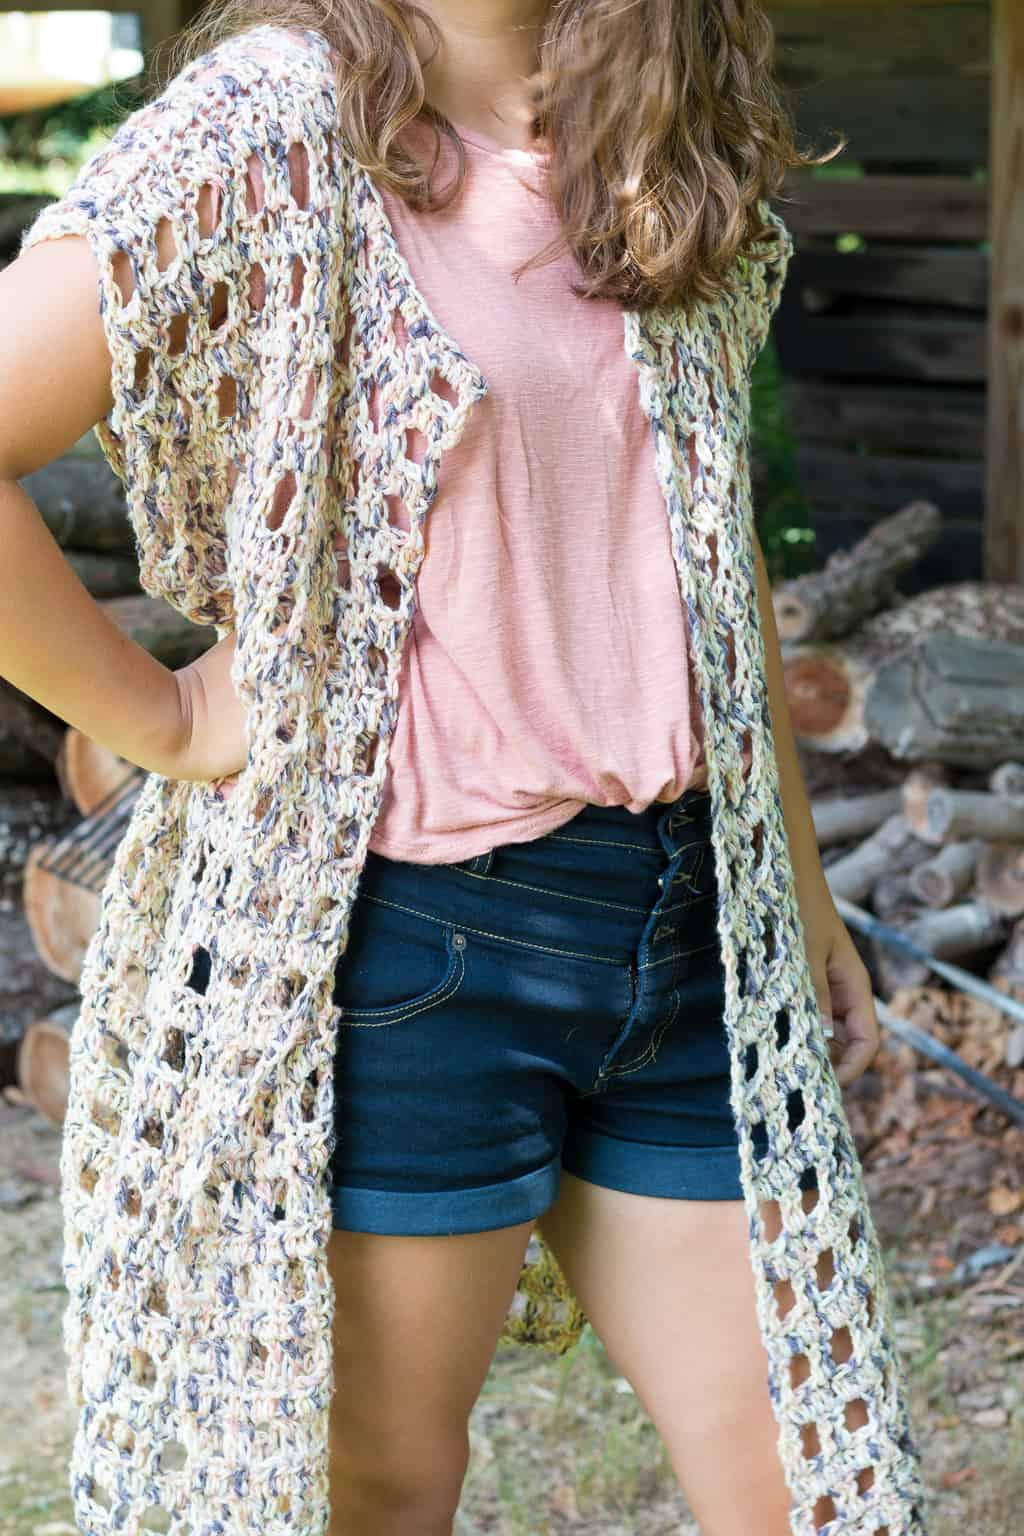
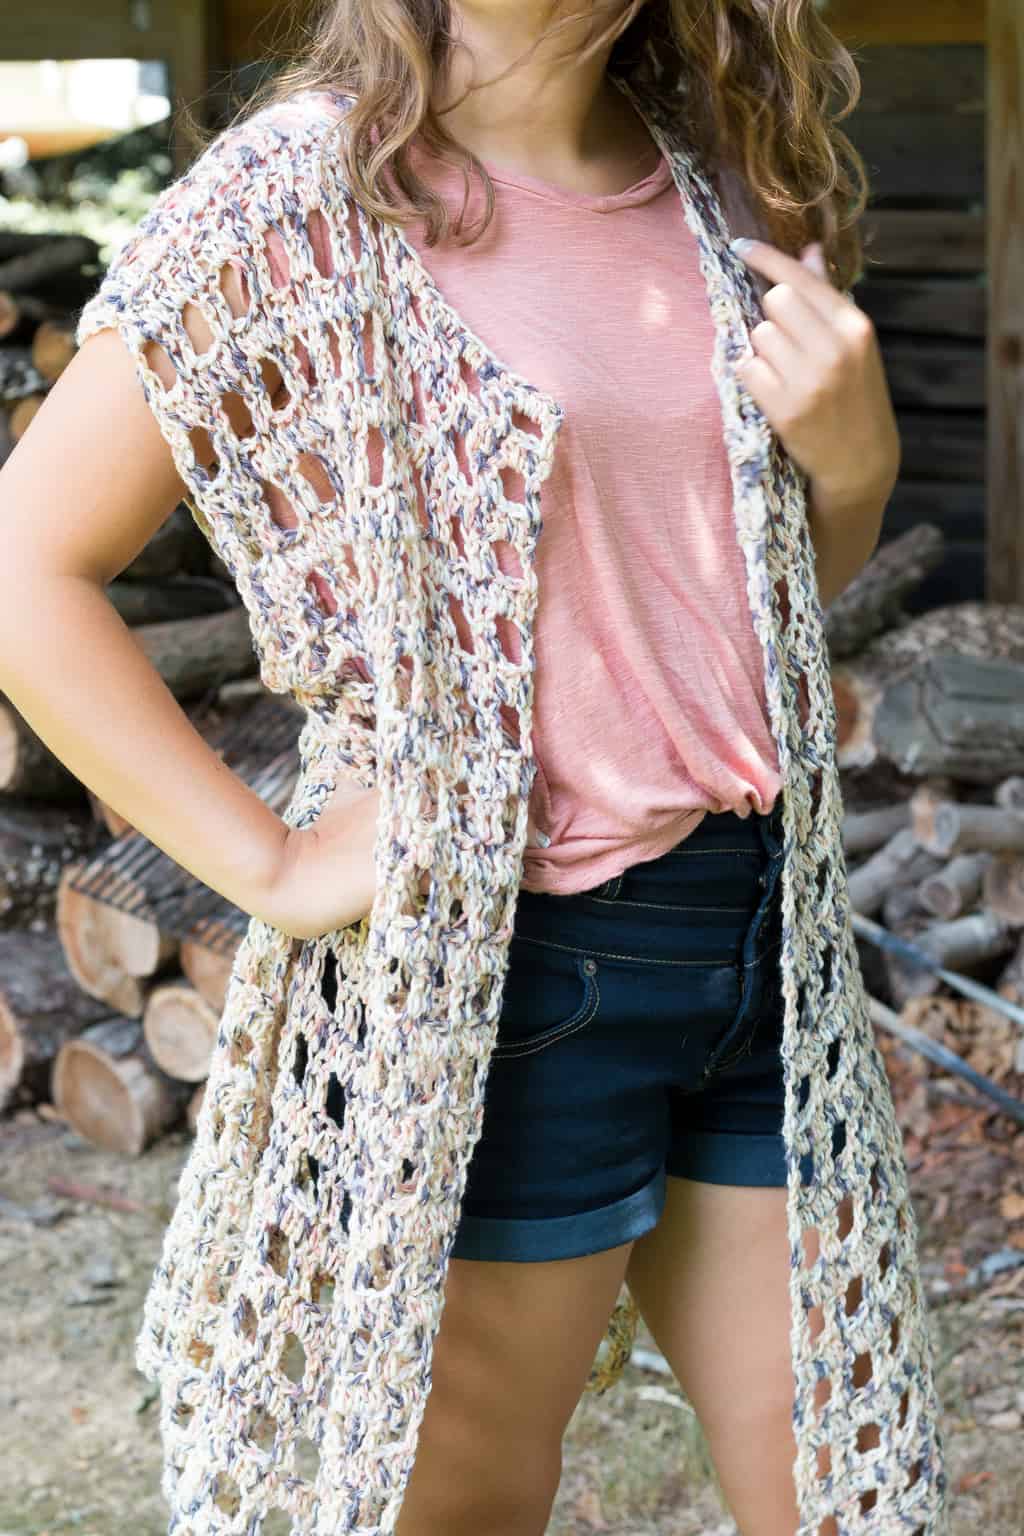
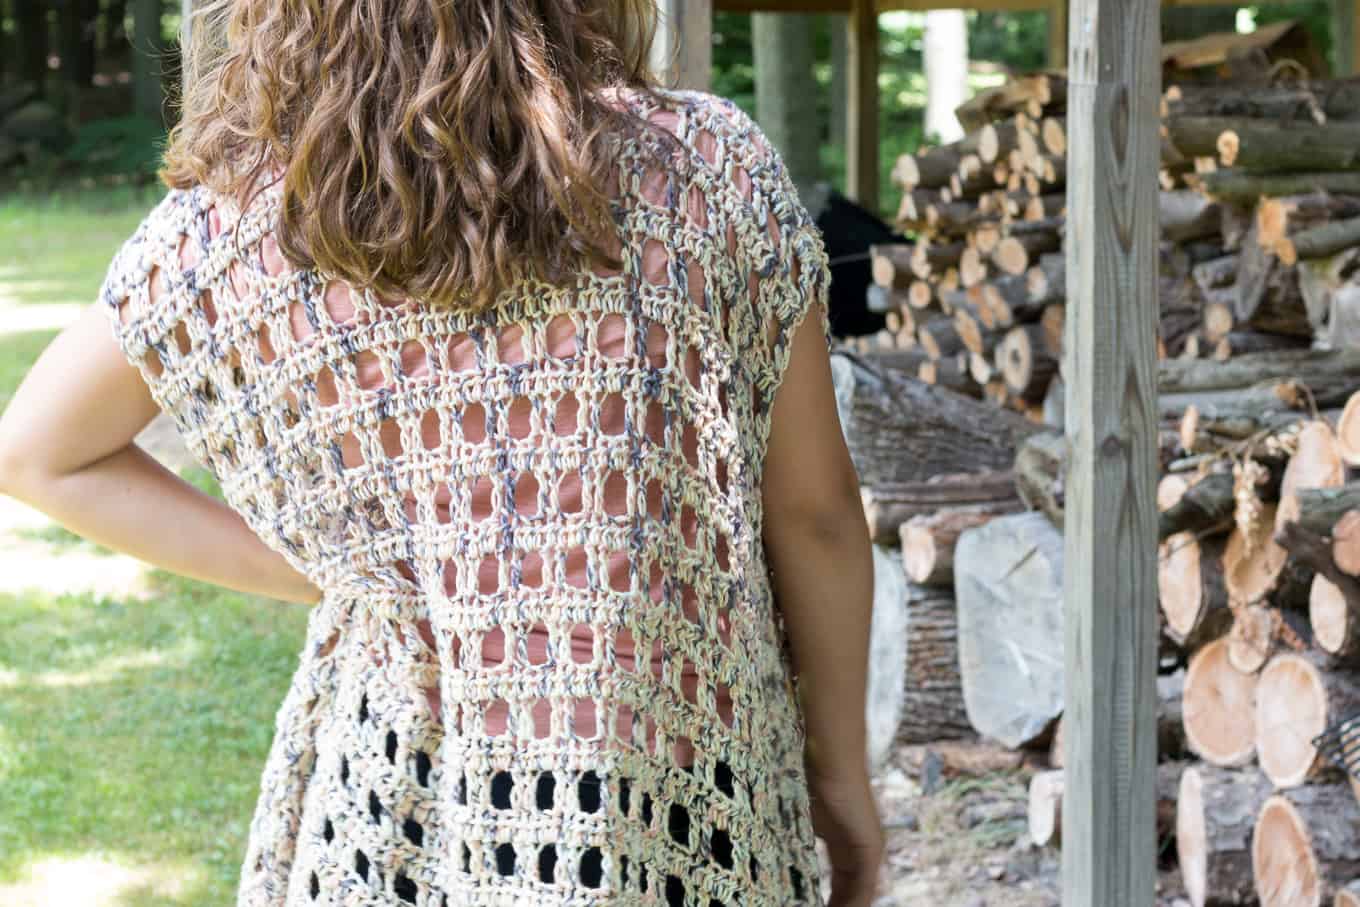
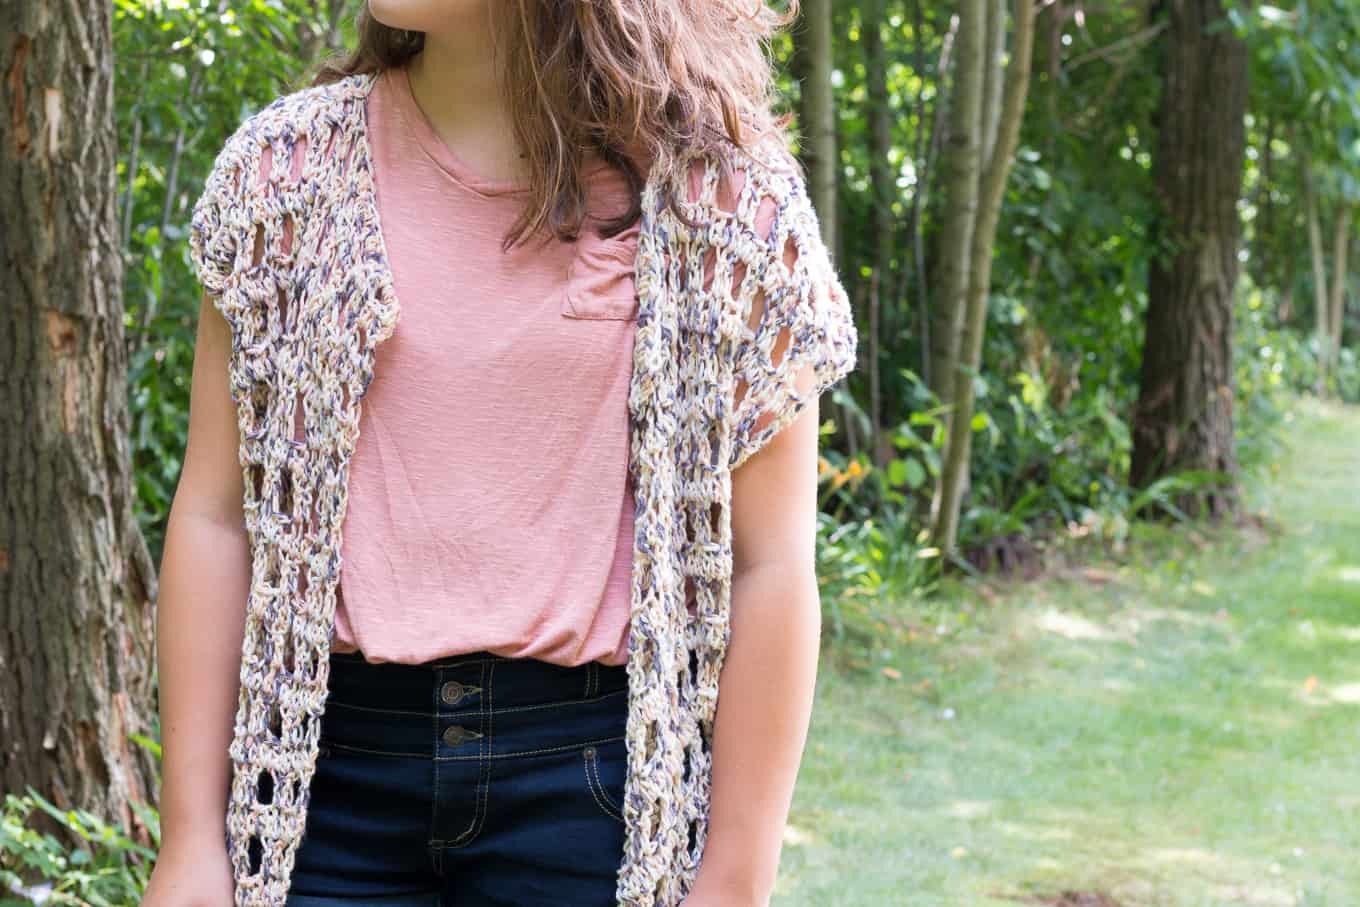
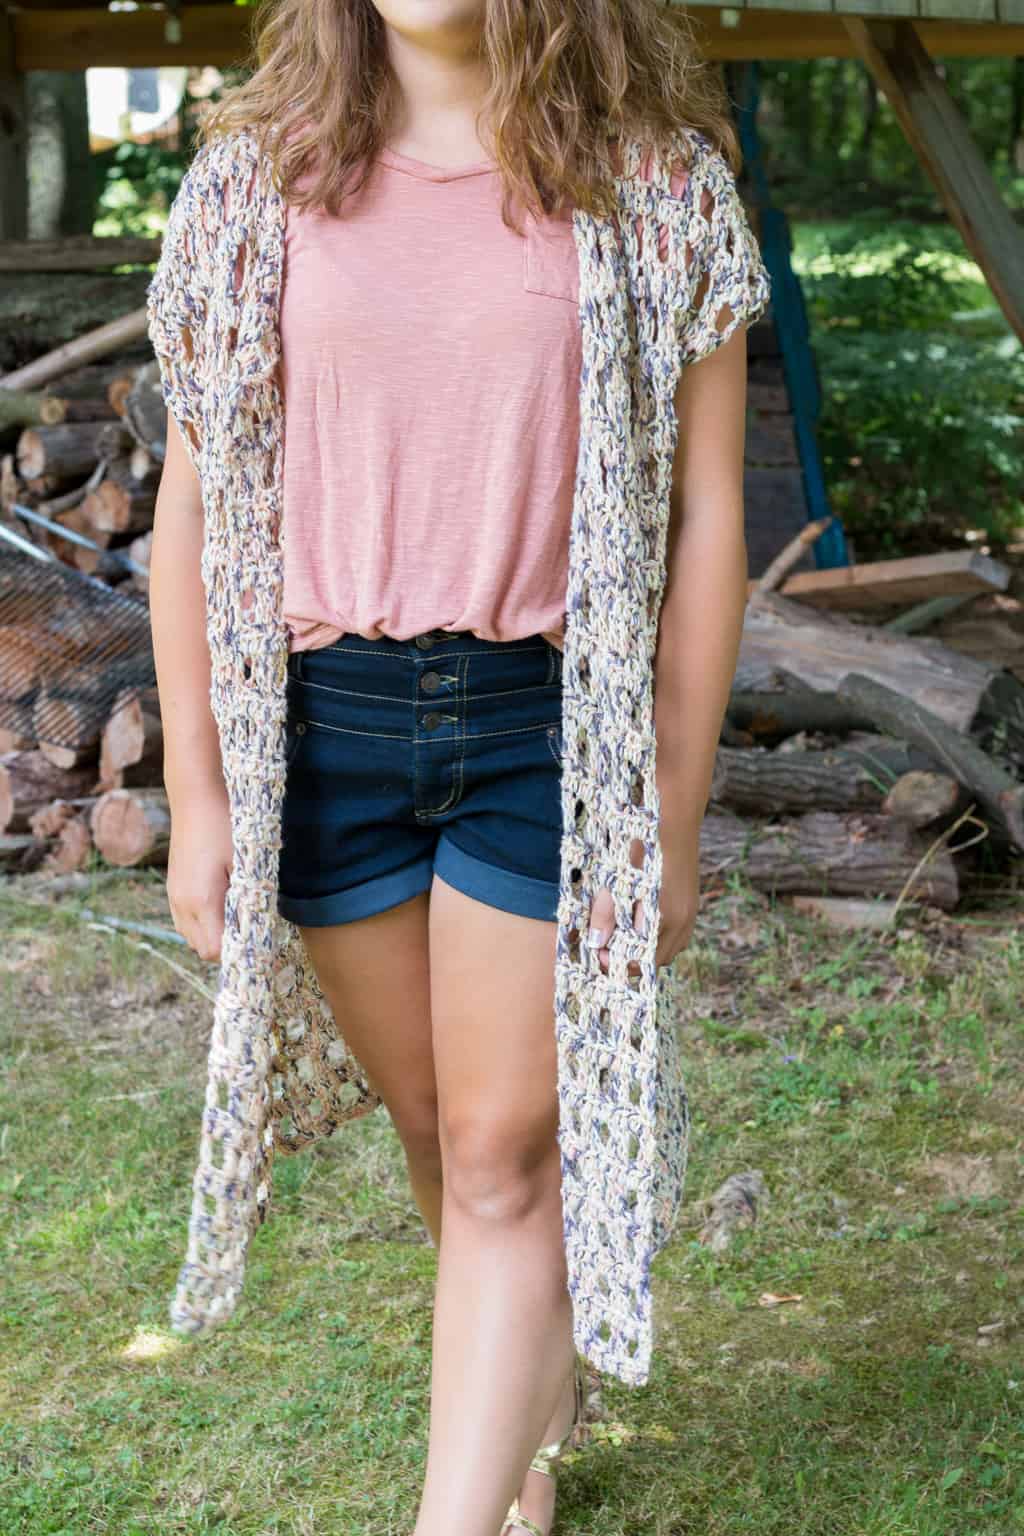
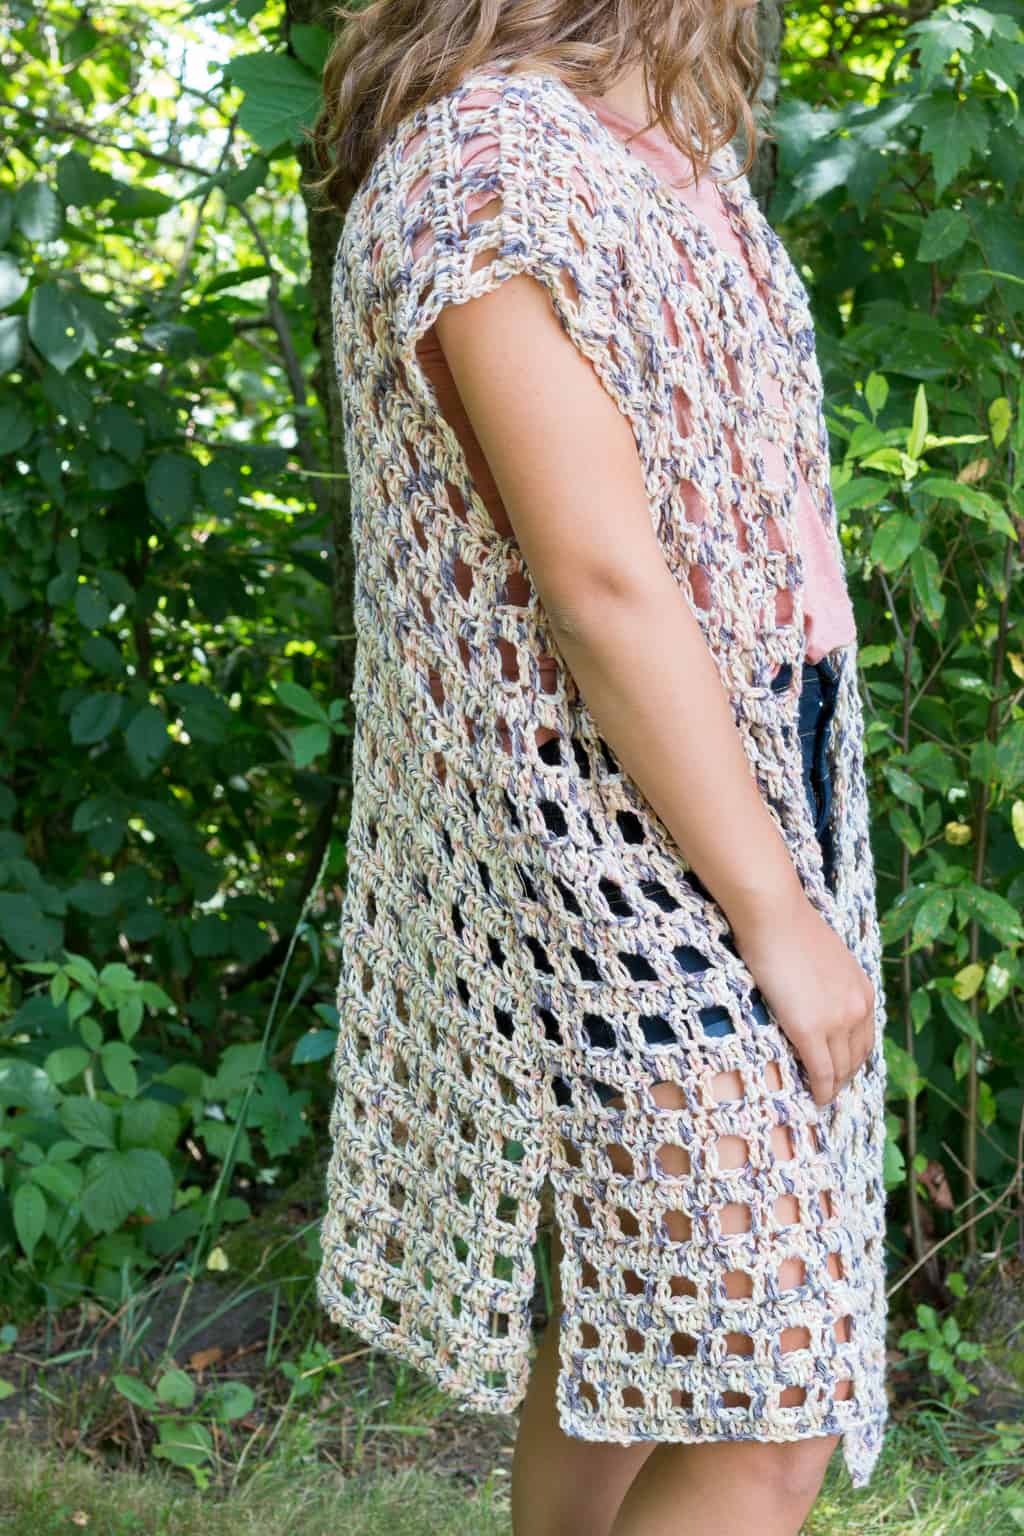
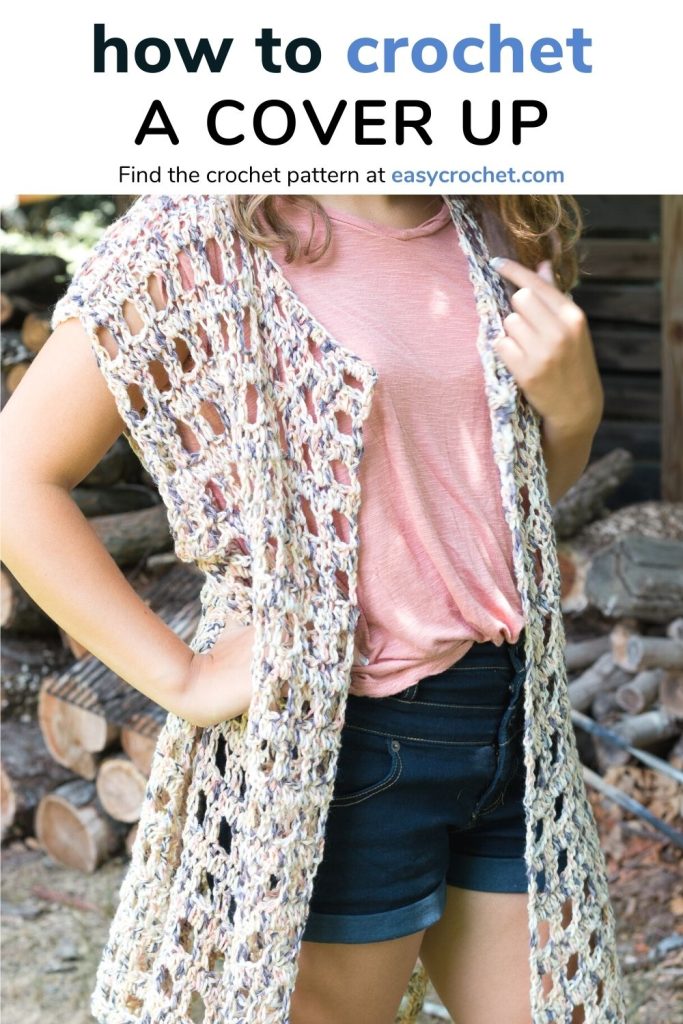
What makes the Mara cover up so great is that you can throw it on over almost anything. This cute crochet cover-up would also look wonderful with a comfy pair of skinny jeans, and a tee/tank top for a fun everyday look like I styled it in these photos.
My favorite use though is using it as a beach cover-up, since that was my main inspiration for this piece. You can scroll on down to learn about the yarn and the crochet stitches you’ll need to know to make this easy crochet pattern!
The Yarn
To get this beachwear look, I suggest using the yarn I used, Flikka Yarn from Lion Brand. This Flikka yarn adds to the comfy factor of the cover-up, for sure. If you haven’t had the chance yet to try Flikka, it is a soft cotton yarn & polyester lightweight blend with a beautiful drape, which makes it perfect as a layering garment.
- As of 2021, Flikka yarn is no longer available. See my suggestion for a yarn substitution below.

Need a Substitute? Try Comfy Cotton Blend Yarn that is made up of the same fibers and is also from Lion Brand Yarn. You’ll love both of these yarns for a bathing suit cover. Promise!
The Stitches
To make this easy cover up pattern, you will need to know just a few basic crochet stitches. If you can half double crochet and double crochet, you will be able to make this beach robe. The stitches used are beginner crochet stitches, so if you are a newer crocheter looking for something a little more difficult to try, this pattern is it!
Half Double Crochet (hdc):
- Yo (yarn over), insert the hook from front to back of the designated st, yo the hook and pick up a loop.
- Yo the hook and pull back through all three loops on the hook.
Half Double Crochet
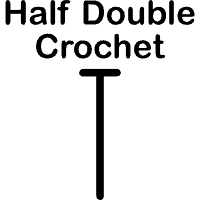
Abbreviation: hdc
Difficulty Level: Easy
Learn this stitch →
Double Crochet (dc):
- Yo the hook, insert the hook into the specified st.
- Yo the hook again, draw the yarn through the st, so there are 3 loops on the hook
- Yo the hook again draw it through 2 loops, so there are 2 loops on the hook
- Yo the hook, draw it through the final 2 loops.
Double Crochet
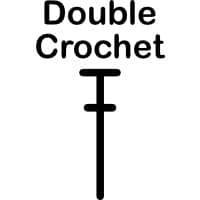
Abbreviation: dc
Difficulty Level: Easy
Learn this stitch →
Let’s Get Started
Scroll on down to make this Summer essential cover up with our free crochet pattern for your next beach vacation! Enjoy!
Easy Crochet Beach Cover Up Pattern
Skill Level: Easy
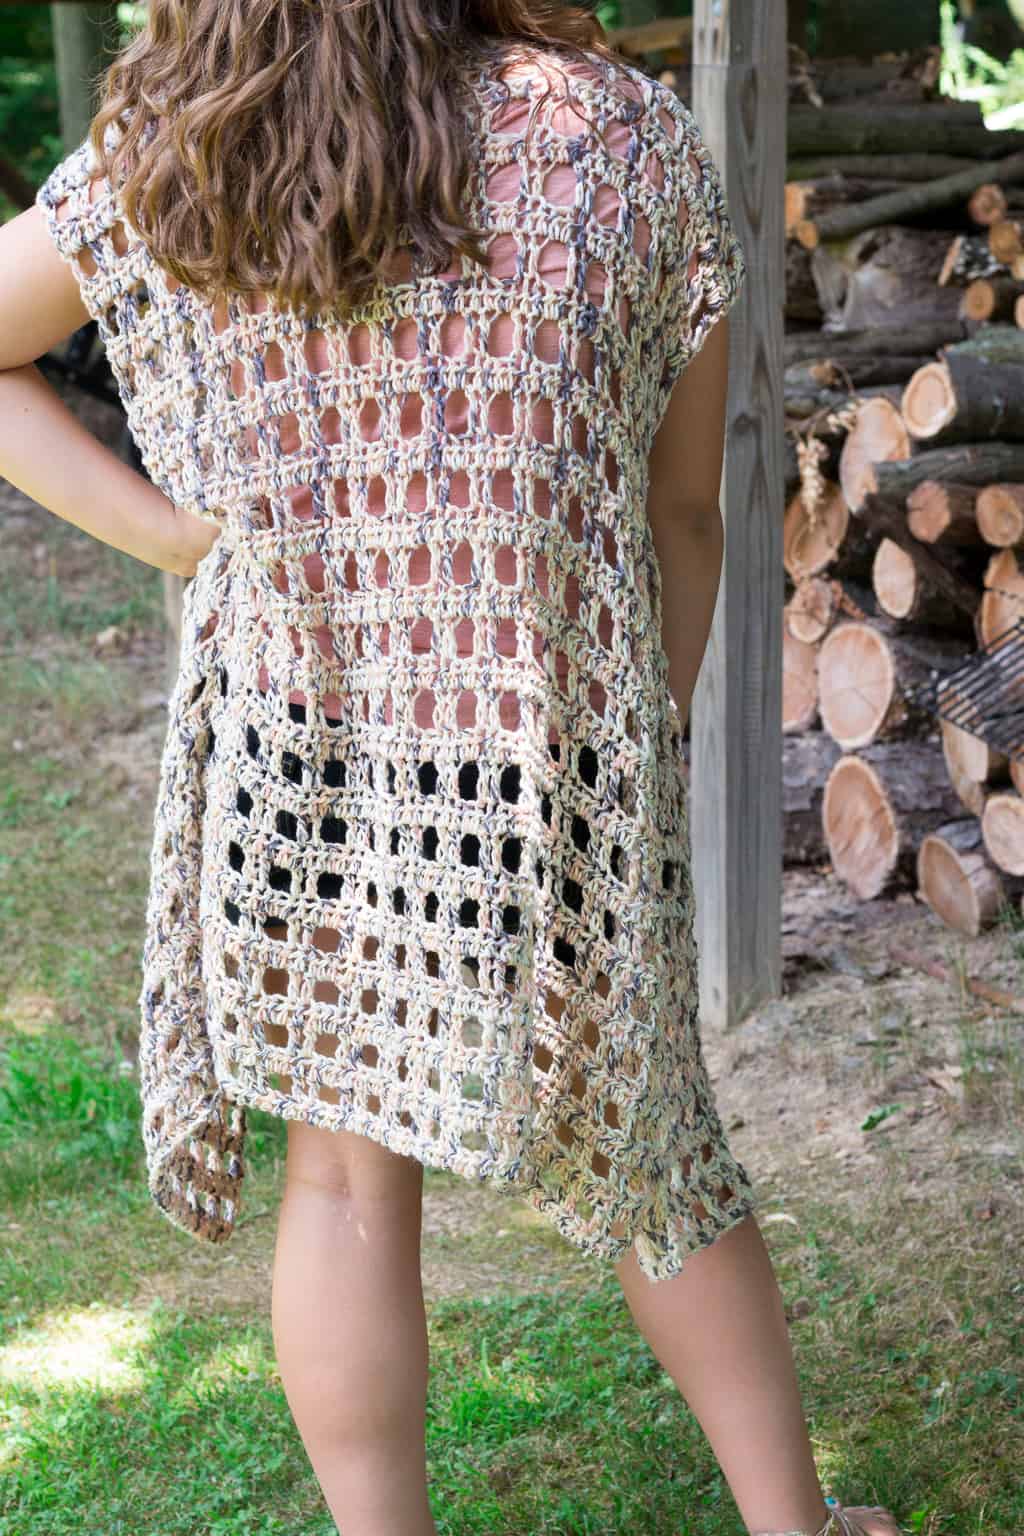
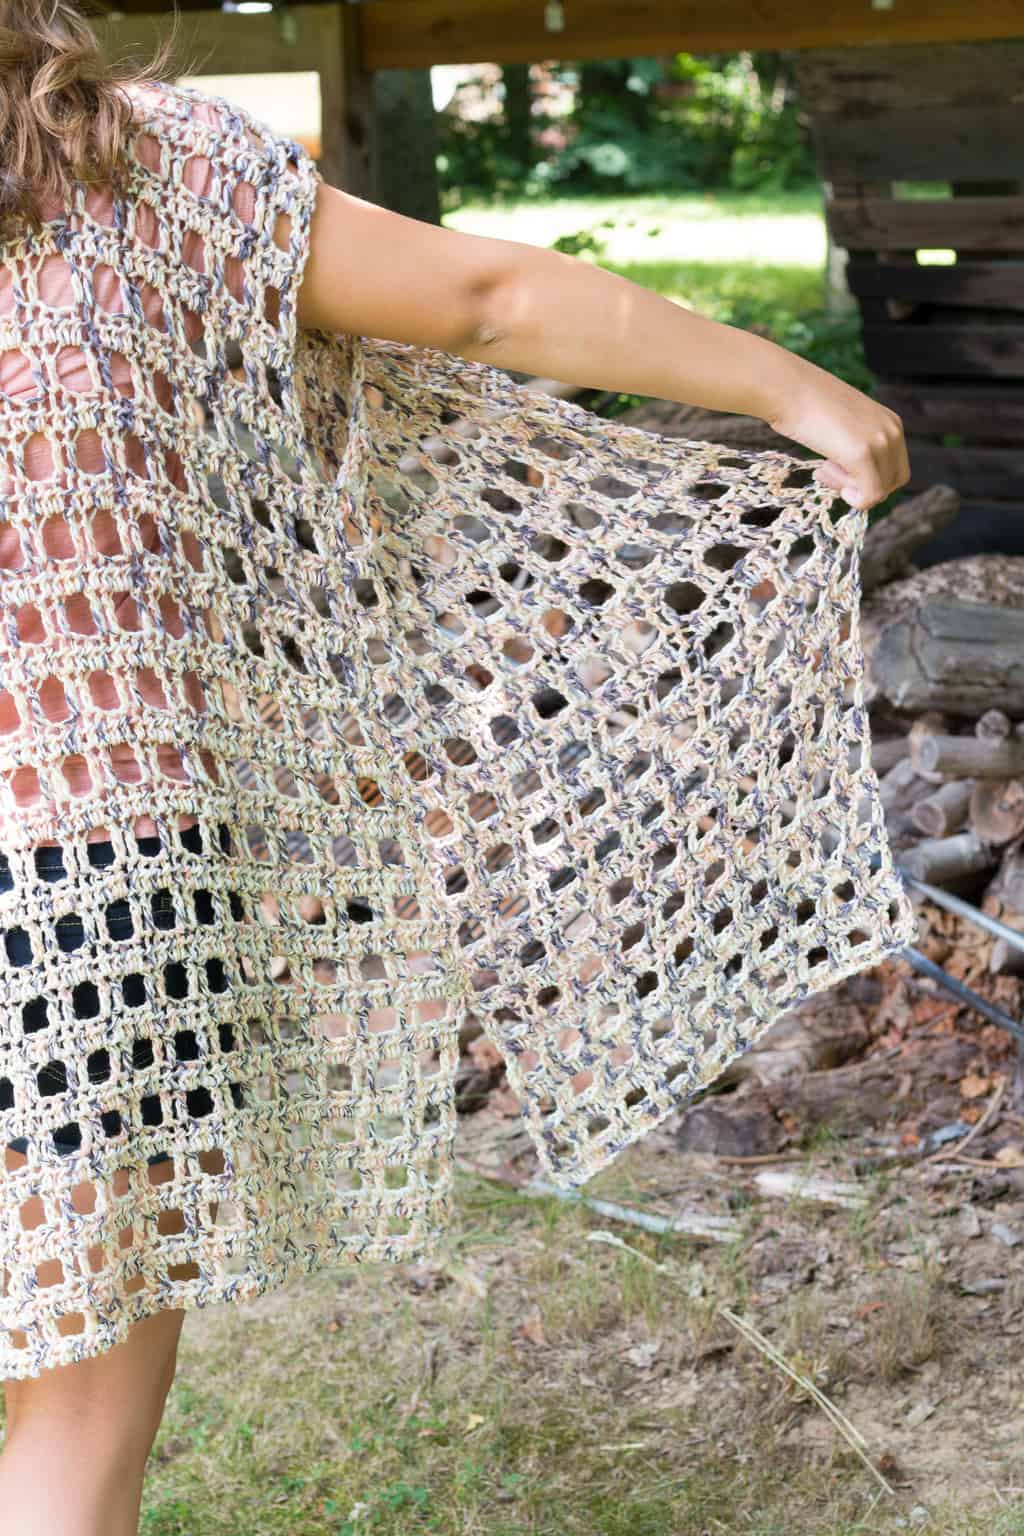
Pattern Description: The Mara Crochet cover up is a must-have for instant vacation vibes! The pattern has three rectangles, a mesh, or filet crochet design which makes this piece simple to work up and wear over swimwear.
Materials
- Flikka Yarn from Lion Brand in Keepsake or any light weight 3 yarn such as Comfy Cotton Blend Yarn from Lion Brand
- Crochet Hook 6 mm (J-10)
- Yarn Needle
- Scissors
Approximate Yardage/Number of Skeins Required
Tip: I recommend getting an extra skein of yarn just in case to account for differences, since each person crochets not quite the same.
- S/M: 4 skeins, 670 yards
- L/XL: 4 skeins, 784 yards
- 2XL / 3XL: 5 skeins, 910 yards
Approximate Dimensions
*Dimensions are after blocking
- S/M: Back =30″ L x 22″ W, Front Panel x2 = 30″ L x 12″ W
- L/XL: Back = 30″ L x 24″ W, Front Panel x2 = 30″ L x 14″ W
- 2XL / 3XL: Back = “30 L x 26” W, Front Panel x2 = “30 L x 16” W
This crochet beach dress / cover up is oversized, loose, and available in bigger sizes. If you want a more fitted look, size down. To shorten the panels, crochet fewer rows (the width will stay the same). Sizing stitch count in the pattern will be S/M, L/XL, 2XL/3XL listed in parentheses. The best practice is to take your body measurement before starting, so you know what size will fit best.
Tip: The model is 5′ 4″ so adjust the length with the instructions above for the fit you’d like.
Abbreviations
- ch(s) = chain(s)
- hdc(s) = half double crochet(s)
- dc = double crochet
- st(s) = stitch(es)
- sk = skip
- rep = repeat
Notes
- The pattern is in standard US terms
- !!! The ch(s) at the beginning of each row do NOT count as a st
Happy Crocheting Friends! I hope you enjoy making your beach day cover-up tunic!
Swim Suit Cover Up Pattern Instructions
Back Panel:
Foundation Row: Ch (53, 61, 69)
Row 1: In the second ch from the hook hdc, hdc in every ch across, turn. (52, 60, 68)
Row 2: Ch 3, dc in first st, ch 2, sk 2 st(s), * dc, dc, ch 2, sk 2, rep from * across ending with 1 dc in last st, turn. (52, 60, 68)
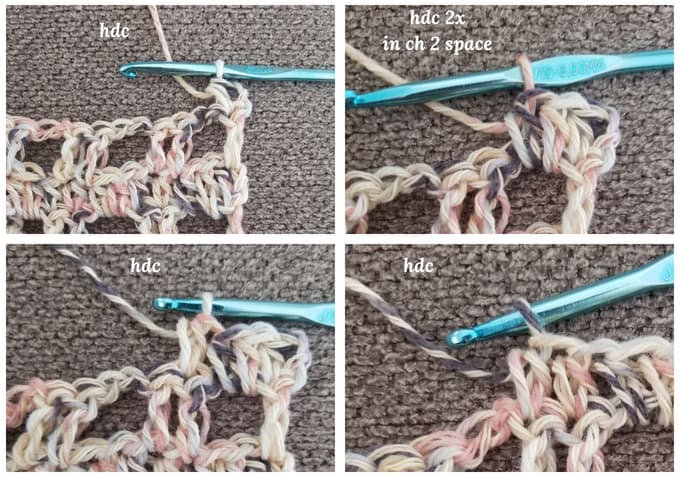
Row 3: Ch 2, hdc, *2 hdcs in ch 2 space, hdc, hdc, rep from * across ending with 1 hdc in last st. turn. (52, 60, 68)
Row 4- 37: Rep row 2 & 3 ending with row 3 on row 37, fasten off yarn. (52, 60, 68)
Front (Side) Panels (x2):
Foundation Row: Ch (33, 37, 41)
Row 1: In the second ch from the hook hdc, hdc in every ch across, turn. (32, 36, 40)
Row 2: Ch 3, dc in first st, ch 2, sk 2 st(s), * dc, dc, ch 2, sk 2, repeat from * across ending with 1 dc in last st, turn. (32, 36, 40)
Row 3: Ch 2, hdc, *2 hdc’s in ch 2 space, hdc, hdc, repeat from * across ending with 1 hdc in last st. turn. (32, 36, 40)
Row 4- 37: Repeat row 2 & 3 ending with row 3 on row 37, fasten off yarn. (32, 36, 40)
Finishing The Cover Up
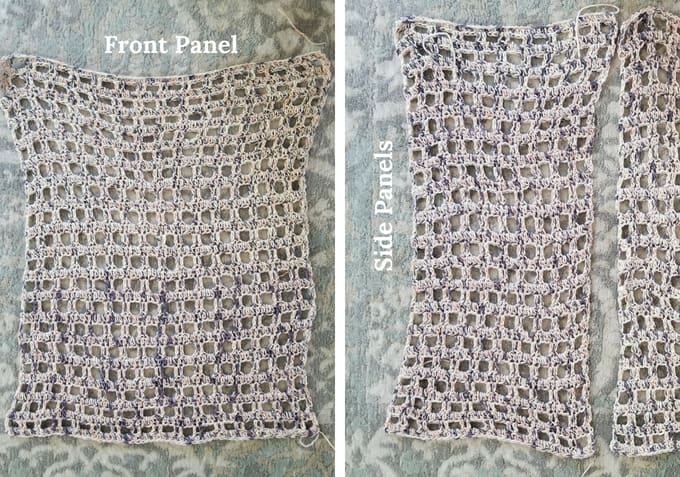
Blocking: I suggest blocking your pieces before sewing together, so they lay nice and flat for seaming. Dimensions above were taken after blocking.
Shoulder Seams: Place the back panel down and the two front panels on top as shown below. With a spare piece of yarn and a yarn needle sew together 8 inches on each side as shown below using the whip stitch.
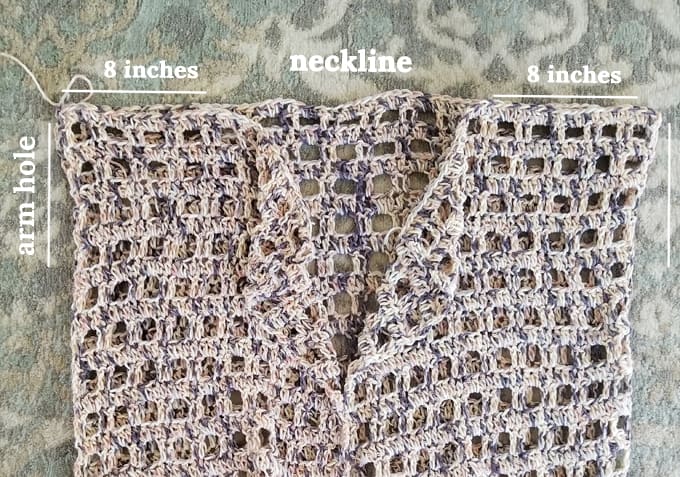
Arm Openings: Leave armhole for sizes as follows:
S/M: 8 inches
L/XL: 9 inches
2XL/3XL: 10 inches
Side Seams: After leaving a space for the armholes with a spare piece of yarn and a yarn needle sew one front panel and back panel together using the whip stitch stopping with approximately 8 inches of panel left to sew. Do this for the other side as well. Fasten off and weave in ends securely
Tips:
- Make sure panels are lined up evenly for a cohesive look before sewing together.
- This piece should drape and fall where it pleases. Blocking the panels before beginning to sew will make it easier to sew the kimono pieces together.
You are now done with your new Summer top beach cover up!

You Are Done With Your New Summer Swim Suit Cover-Up!
I hope you enjoyed making this simple pattern, and I hope you enjoy your very own swimsuit cover up! It is really the perfect accessory for a day at the ocean or lake.
Have Questions?
If you need any clarification, feel free to email me or ask in the crochet community group on Facebook.
Question: Could u please give me a breakdown of the row three steps. I chained 2, then it says hdc, where does that go.i get hdc in ch 2 space but the it says hdc, hdc wherefore these go? Then it repeats?
Hi Donna,
There is a photo tutorial for row 3 in the pattern that may help. It shows how to start the row and where to place the next few half double crochets.
Happy Crocheting!
Krista
I am making this and have followed the directions exactly. Mine is about 6inches too short as well. I am using the J hook and the Comfy Cotton Blend and I measure 5 stitches per 2 inches. I am going to have to add quite a few rows to get a length that is appropriate to use as a cover up. I am only 5’3″ and am working on the L/XL to get a looser fit however, the panel does not measure this. I can modify what I am doing however, you might want to relook at the pattern and see if there is a mistake. Perhaps a larger hook was used??? Perhaps a triple crochet instead of a double???? Just a little frustrating to buy all the materials and now need to find more yarn hoping the dye lot matches. Love the pattern and the cover-up. Just really think something is off in the pattern directions especially since I am not the only one saying this.
Hi Cathy,
The dimensions of the panels are after I blocked them, so that may be why there is a difference in sizing. The open filet stitches will stretch and block to the size you need. I did look over the pattern and the stitches, hook sizes and counts are correct from what I can tell. I also made sure to highlight the note in the dimensions that the size of the panels are after blocking, so it is easier to see for future crocheters.
-Krista
Hi, I love this summer cardi!, but everytime i try to start it, i get distracted by other projects i want to do, i might try a third time. see how it goes.
can i sell the finished product
Hi!
Yes, you may. Here is the FAQ page with that information. https://easycrochet.com/faqs/
Happy Crocheting!
Krista
Hi,
I just started making this kimono in the size small. However, The model in the pic does not appear to be super tall… I’m only 5’1” and 30 inches in length after blocking will be way above my knees. I’m looking for a similar length as what the model is wearing.
Was this made longer than the 37 rows?
Thanks!! Also….. I love this kimono and I love the yarn too!
Thank you!
Hi Sandi,
This was made to size but it will stretch. The model was my daughter from a few years ago, and she was probably was around 4’9 then. (just a guess) You definitely could make this longer if you’d like by adding some rows. 🙂 I hope you enjoy this pattern! Happy Crocheting!
Krista
Hi, I’m making the S/M size kimono. I just finished row 2. DC, DC, sk 2, ch 2, and have one stitch left. I just did two DC, what should I do in the last stitch? Thanks.
Hi, You need to end the repeat on a sk 2 throughout the row and the last stitch of the row after your last sk 2 will be a dc. Hope that helps.
Krista
I love the stitches you used. It is so pretty
Thank you so much!
I am going to ‘try’ and make this for my grand-daughter…. Nice pattern and – since my first name is Mara thought it would be a nice gift ……. 🙂
Hi Mara,
I am so glad you like it and it will be such a thoughtful gift!
Happy Crocheting!
Krista
Hi Deborah,
I would try a couple of different hooks until you reach the gauge of 5 stitches for every 2″. Happy Crocheting!
Krista
U loved this project…i am starting tomorrow. Yes I definitely wear this!
Hi Amanda,
My measurements are before blocking 🙂
Krista
I haven’t measured my panels, but I’m 5’10, so I’m guessing that’s may be why it is not as long on me! I love the pattern though and definitely will add more rows! Thanks! (I made the L/XL)
You are welcome Sara! I am so glad you like it and yes adding some rows will help for sure! If you’d like to share your finished project you can join our Facebook group!
https://www.facebook.com/groups/RescuedPawDesigns
Happy Crocheting
Krista
I started this over the weekend, and it’s so easy and works up quickly. However, I’m wondering how tall you are because mine seems like it’s going to be very short on me. I used a different type of yarn, but still worsted weight 4 ply? I’m thinking I’ll just add more rows, easy enough to do, but I was just wondering what I did wrong. Gorgeous pattern, I love it and can’t wait until it’s finished
Hi Sara,
I am so glad you like it! The model is about 5’2 in the pictures. What size did you make and what was your finished dimensions of your panels?
You definitely could add more rows to make it a bit longer if you’d like to do that also! 🙂
Krista
Absolutely love it. I finished mine today and it fits perfectly. My hubby took a couple of pictures of me wearing it.
I’ve had some compliments.
Thank you for such a great and easy pattern.
Hi Carol!
I am so glad you loved it! I’d love to see it! I have a FB group where we share our projects if you’d like to join?https://www.facebook.com/groups/RescuedPawDesigns/
Krista
Do you chain 1 hate each hdc in row 3
Hi Delia,
No there are no chain 1’s in row 3. 🙂
Krista
Great pattern! What size is pictured in the model photos?
Hi! She is wearing a S/M
Hello: is there a video. I had to restart 3 times.
Hi Sheryl,
I do not have a video for this at this time. I can try to help though!
Krista
Loved the Kimono, pattern easy to do and follow. Thank you!
Thanks Karen! I am so glad you like it! 🙂
I just want to be sure I’m not missing something…the photos of the finished pieces are labeled ‘Front Panel’ and ‘Side Panels’. But elsewhere in the directions they are called ‘Back Panel’ and ‘Front Panels’. Can you clarify please? Thanks! Can’t wait to try this pattern!