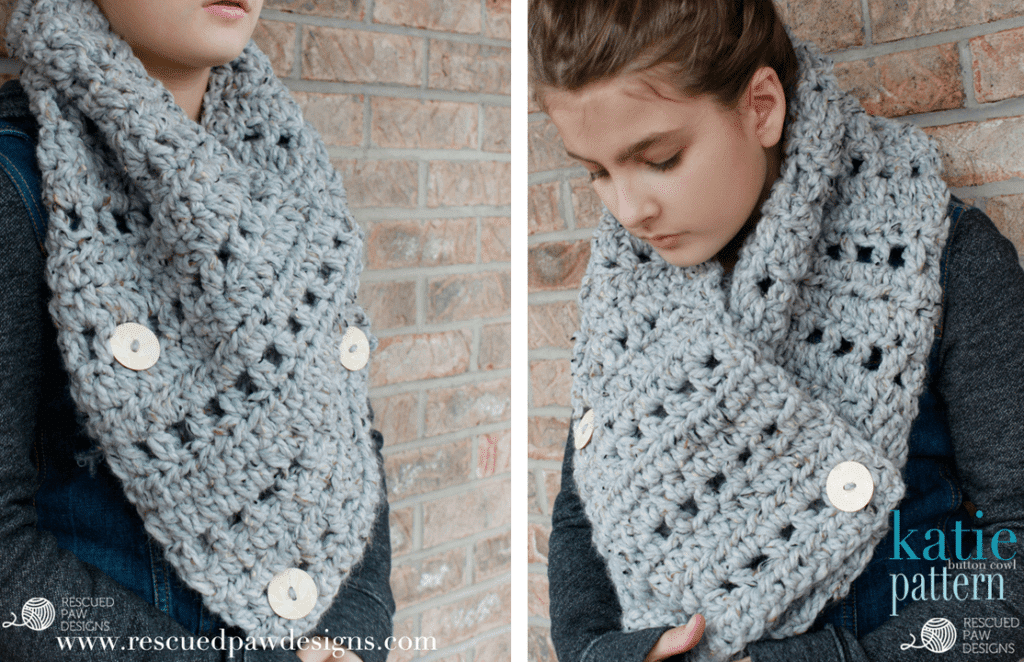
The Katie Button Cowl Chunky Crochet Pattern

The Katie is a great beginner-friendly chunky cowl crochet pattern that works up in no time at all!
Do you want to make more crochet scarves? Try the simple one-hour cowl or the reader favorite Andy Scarf!
I am so excited to see the Katie Cowl made!
Happy Crocheting!
This Crochet Button Scarf Works up Fast
This button cowl could be finished up in just one evening… Say for example when you are watching a marathon session of Call the Midwife or the Voice! Yes and I did exactly that!
The Yarn That is Perfect for a Chunky Crochet Scarf Pattern
To make sure this scarf was extra cozy I used Lion Brand Yarn Wool-Ease Thick and Quick Yarn which is one of my favorites!
This yarn is extremely easy to work with and crochets up fast. Which in my book is always a win-win!
If you haven’t had the luxury of trying this yarn yet then you definitely should put it on your to-do list.
If you have any questions, feel free to ask and I hope you enjoy the pattern.
Keep on scrolling down for the full, FREE crochet scarf pattern and tutorial!
Happy Crocheting!
Katie Button Cowl Crochet Pattern
Skill Level: Easy
Materials
< 2 skeins or 200 yards –Lion Brand Wool-Ease– Thick & Quick in Gray Marble or any other super bulky 6 yarns.
Yarn needle
Three 1.5 inch buttons
Crochet Abbreviations
ch = chain
sl st = slip stitch
hdc = half double crochet
st = stitch
sk = skip
Notes
Finished size is 11” width & 44” length
Gauge = 4 sts for every 2”
Written in standard US terms.
Katie Free Crochet Cowl Pattern
Row 1: ch 22.
Row 2: starting in 3rd ch from hook hdc, hdc in remaining stitches across, turn. (20)
Row 3: ch 2, starting in the top of the last hdc from the row before hdc (aka the first st), * ch 1, sk next st, hdc, repeat from * across ending with 1 hdc in top of turning ch from previous row, turn. (20)
Row 4: ch 2, starting in the top of the last hdc from the row before hdc (aka the first st), * 2 hdc’s in ch 1 space, repeat from * across ending with 1 hdc in top of turning ch, turn. (20)
Row 5: ch 2, hdc in 3rd st from hook, hdc in remaining sts across, turn. (20)
Row 6 – 46: repeat rows 3-5 (20)
Row 47: repeat row 3 (20)
Row 48: ch 2, hdc in the top of the last hdc from the row before(aka the first st), hdc in every st & ch across. (20)
Fasten off yarn.
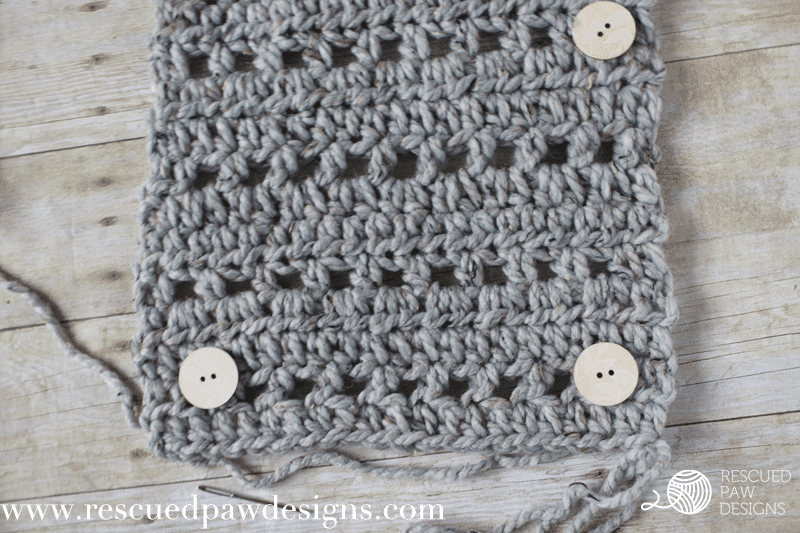
Attaching Buttons
On either end of the scarf layout three buttons as shown about 9” apart.
With extra yarn cut three 4” pieces. Attach buttons with yarn & yarn needle securely.
Finishing
Weave in ends throughout scarf with a yarn needle.
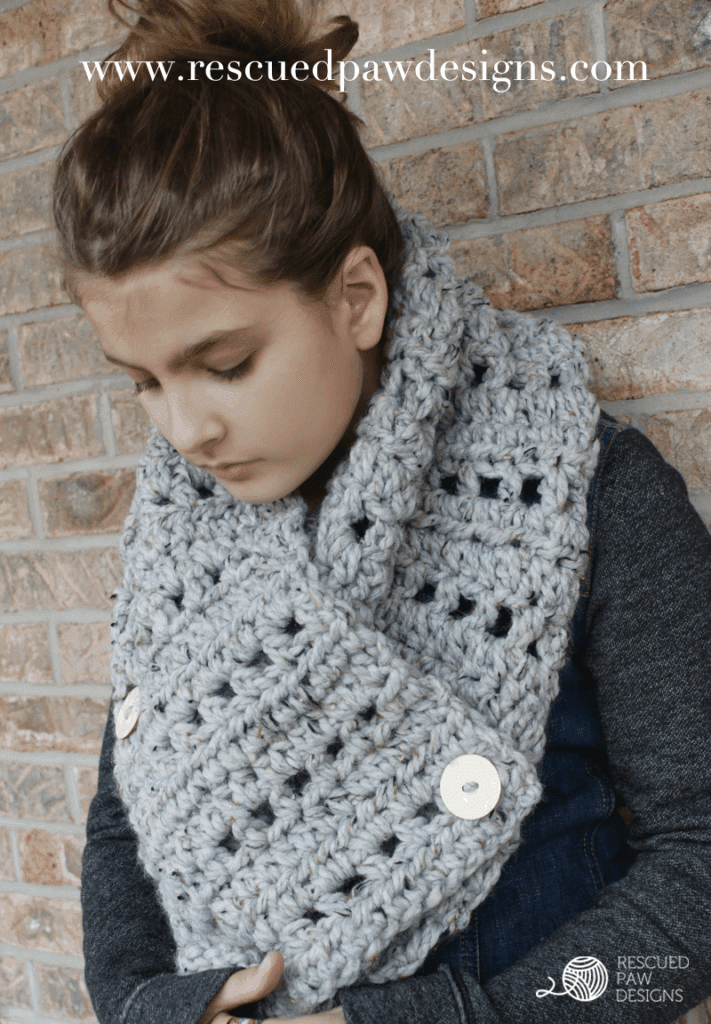
Wrap the scarf around the neck and wear as shown in the picture below. No buttonholes are needed because there is enough space in the scarf for the buttons to go through.

Follow Along With Easy Crochet
I hope you enjoyed the Katie Button Cowl! Please feel free to share your finished cowls with me on Facebook or Instagram!
- Easy Crochet Winter Scarf Pattern
- 7 Cozy Fall Crochet Scarf Patterns You’ll Love
- 13 Lacy Crochet Scarf Patterns
- Waffle Stitch Crochet Scarf Pattern
- Textured Crochet Neck Warmer Pattern
- Josie Chunky Crochet Scarf Pattern
- Cozy Crochet Pocket Shawl Patterns You’ll Love
- Ombre Crochet Neck Warmer Pattern
- Williams Puff Cowl Crochet Pattern
You say in instructions to chain 2 at the end of row 2, then you explain chain 1 in first stitch, where does the chain 1 go, I do not know of a way to chain in stitch…please help Krista…
Karen
HI Karen,
At the beginning of row 2 you need to hdc in the first st, then you chain (like you would at the beginning of a pattern), sk a st, and repeat the chain 1, sk a st combo until the end of the row. Hope this helps!
Krista
I’m pretty new to crocheting and I don’t understand how to start row #3. How do you chain 1 in the top of the last HDC from the row before? I thought chains don’t go through stitches? Or do you chain 2, then chain 1 and then HDC in the first stitch? Please help! Thanks!
Hi Stacy,
You chain 2 then work your first st into the last stitch from the row before. Hope this helps!
Krista
I love it too, but I’m having trouble understanding row 3. No matter what i do, I seem to end up with less stitches and it gets bunched.
Hi Pam, How many stitches are you ending with? Do you have a picture you could show me?
Hi Krista, I seem to get 13 stitches. The chains look big, and the row looks bunched. It seems to be the skipped stitches, but im not sure what im doing wrong. It’s supposed to be 20, right? I will try to get a picture later today. Thank you!
I love this pattern but what size crochet needle do you use? Thanks!