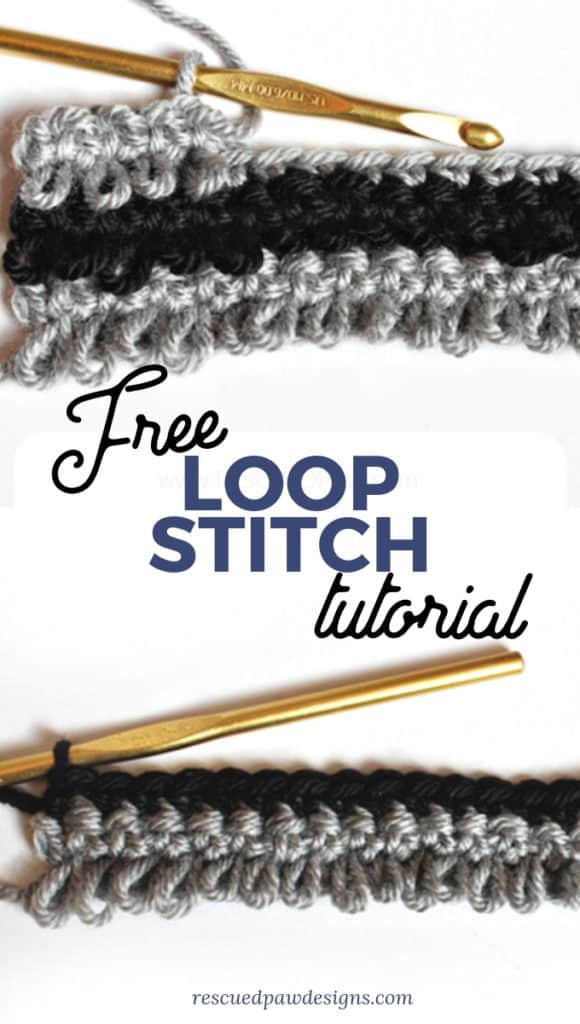
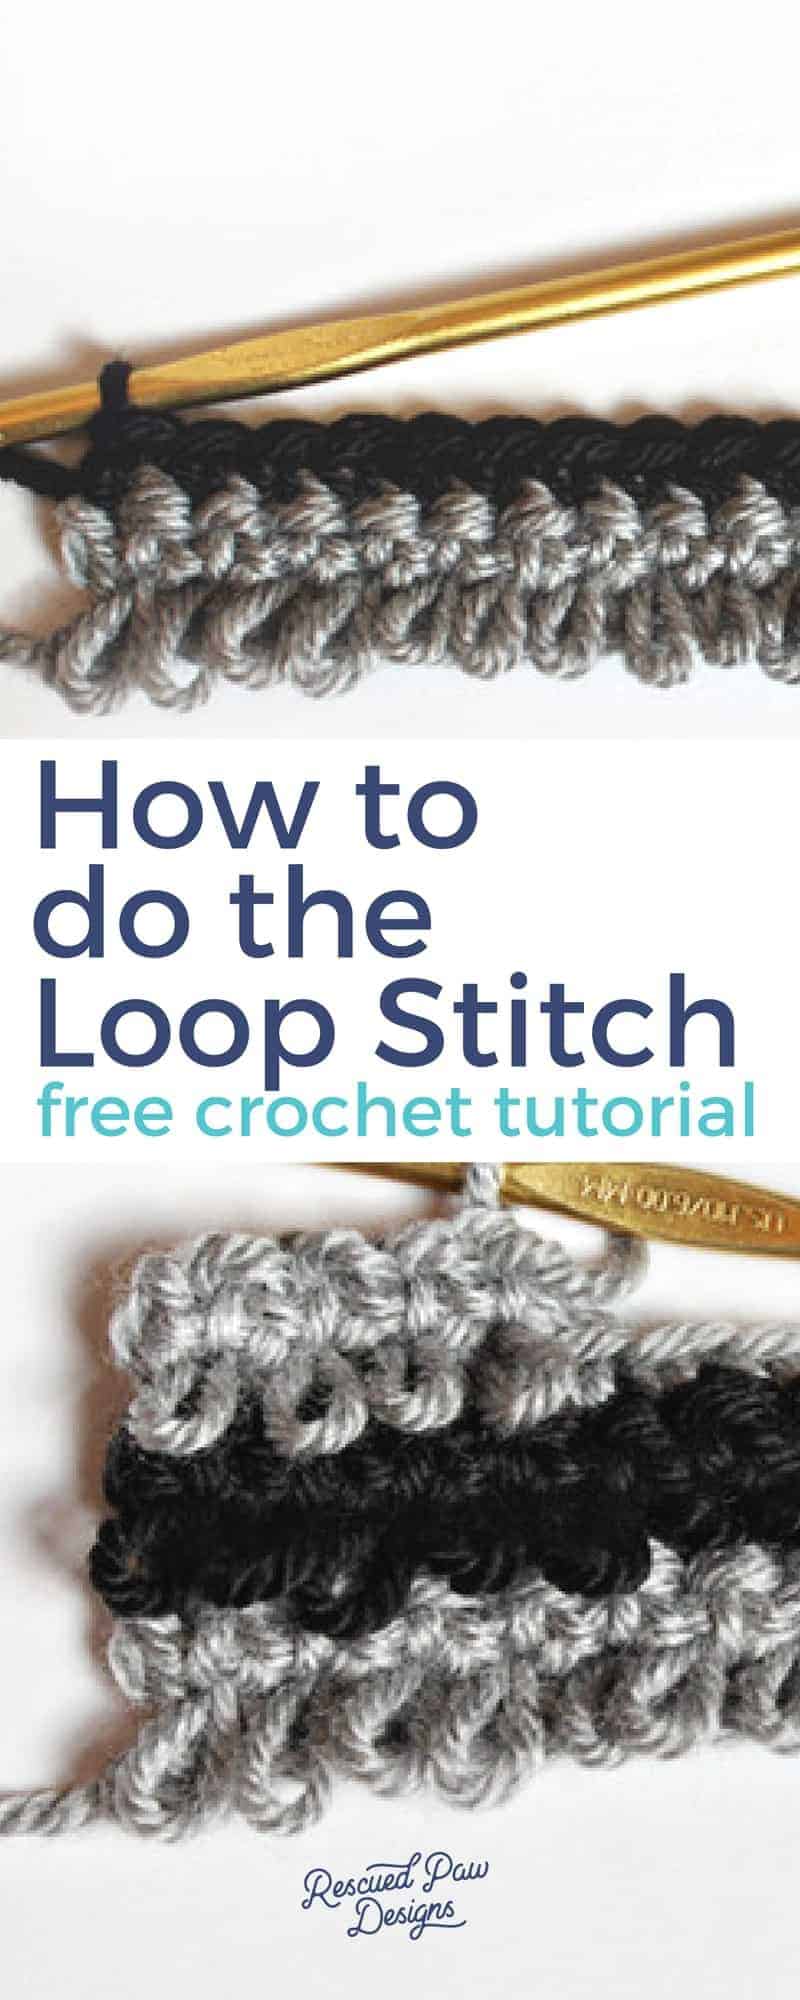
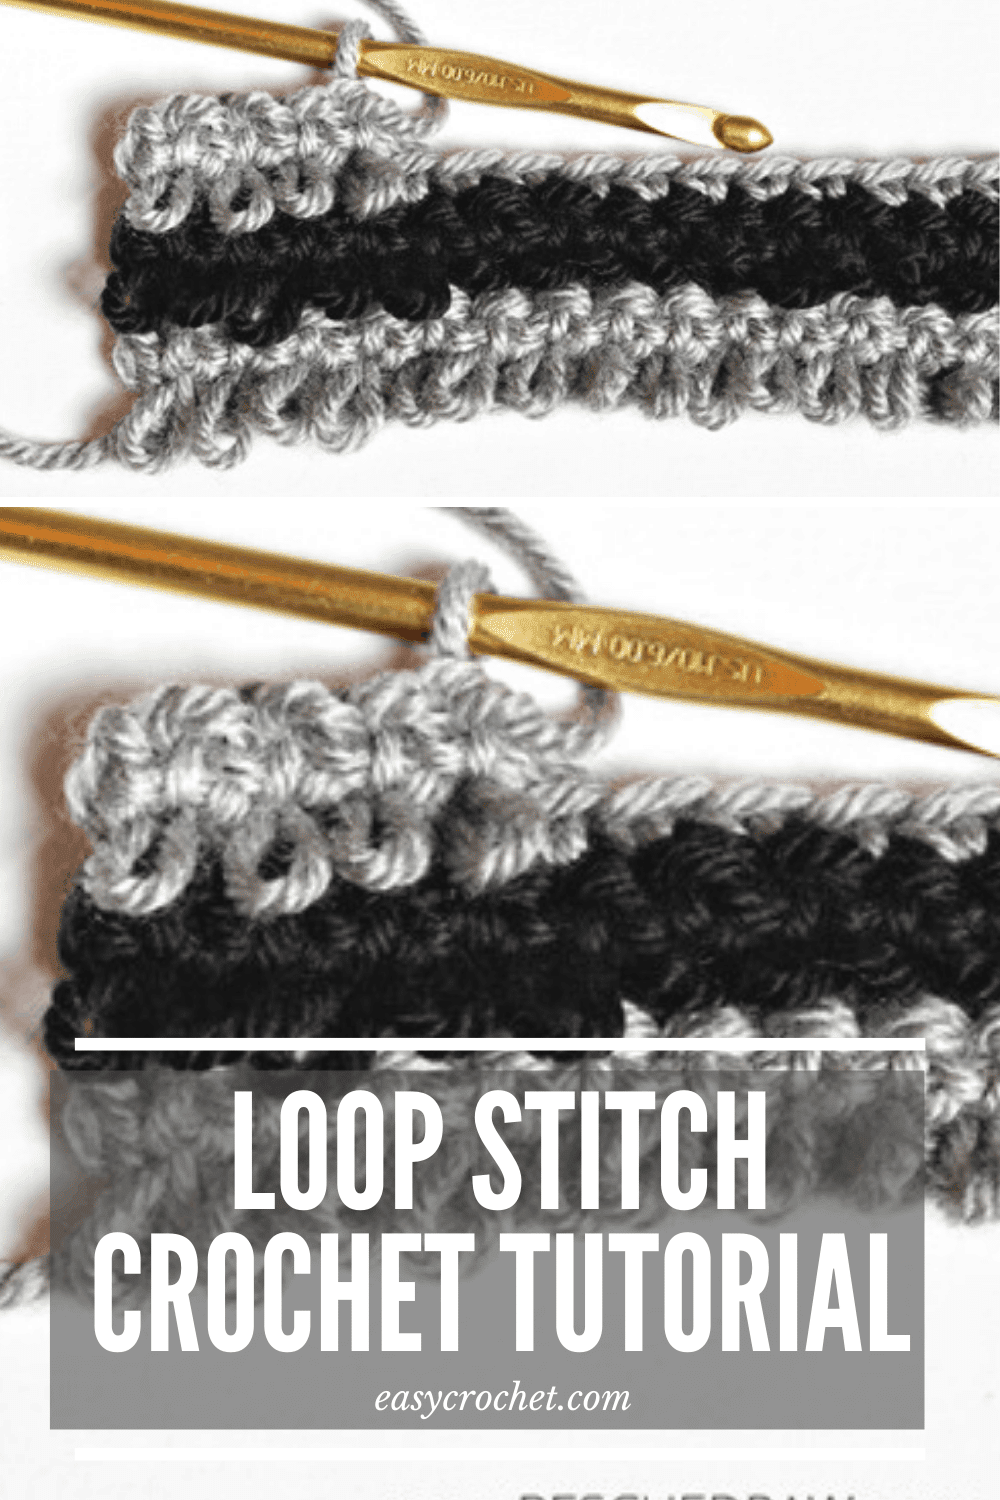
Crochet Loop Stitch Tutorial
The crochet loop stitch is a fun and easy stitch to learn! This stitch is perfect to use in all types of crochet projects such as hats, blankets, and scarves!
Read on down to learn how to make a loop stitch in crochet!
The Crochet Loop Stitch Adds Texture
I love the loop stitch in crochet and love the texture it gives to any crochet project. I have used it in the past to add faux hair to a cabbage patch doll hat or as a textured row in a blanket.
The possibilities really are endless with the loop stitch!
The Yarn That’s Perfect for This Loop Crochet Stitch
I have had some questions about the yarn I used for this loop project, so I thought I’d address that. For this tutorial, I used a worsted weight yarn, but any weight of yarn would work with this stitch.
The Yarn
I suggest any yarn from the Lion Brand Yarn Company such as Vanna’s Choice, Feels Like Butta and Basic Stitch.
Vanna’s Choice
This yarn is made by Lion Brand, and is a Weight 4 – Medium yarn.
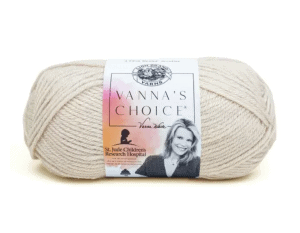
Fiber: 100% Acrylic
Yardage: 156m / 171 yds
Hook: 5.5 mm (I-9)
Substitute: Lion Brand Heartland
Basic Stitch Yarn
This yarn is made by Lion Brand, and is a Weight 4 – Medium yarn.
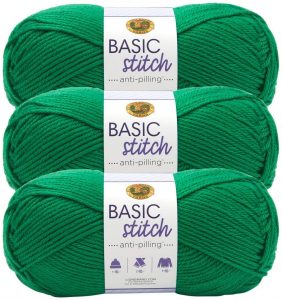
Fiber: 100% Acrylic
Yardage: 185 yards (153 in prints, 157 in moulines)
Hook: 5 mm (H-8)
Substitute: Caron Jumbo
Ready to Learn How to Make a Loop Stitch in Crochet?
Read on down to find the quick loop stitch tutorial to help you get the hang of how to make this fun loop stitch in crochet! I will have you stitching like a pro in no time! Have fun!
Happy Crocheting Friends!
The Crochet Loop Stitch Tutorial
Skill Level: Easy
Materials
- Yarn – any weight will work, but I like Vanna’s Choice or Feels like Butta by Lion Brand, which are both medium weight four yarn.
- Crochet hook – use a hook that the yarn label recommends. I used a 6 mm for this example.
Notes
- The loop is formed on the back side of the project so the wrong side should be facing you when you are making a loop stitch.
- At the end of every row, remember to chain 1 and turn.
- Written in standard US terms
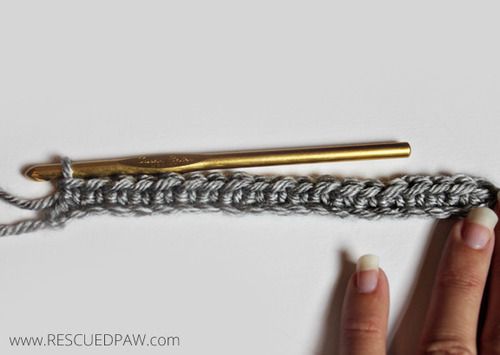
The Loop Stitch Crochet Pattern Steps
STEP 1: Chain desired amount and work a row of Single Crochets, Chain 1, turn. (I used 20 in my sample)
STEP 2: Insert hook into first stitch. Make sure working yarn is looped around finger you are using for tension (see picture)
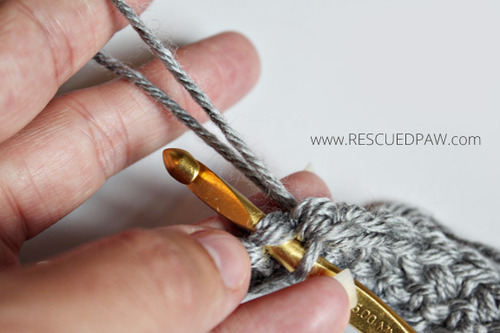
STEP 3: Hook both strands of yarn on to the hook
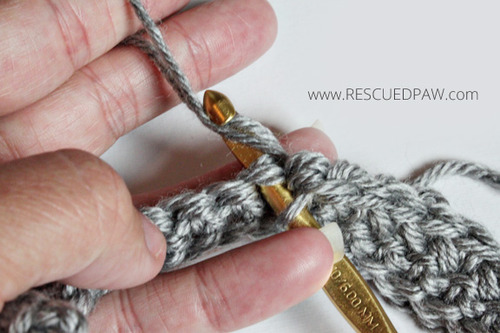
STEP 4: Pull both strands through stitch (you can now adjust the loop made at the back of the project to the desired size)

STEP 5: Yarn over and pull through all three loops.
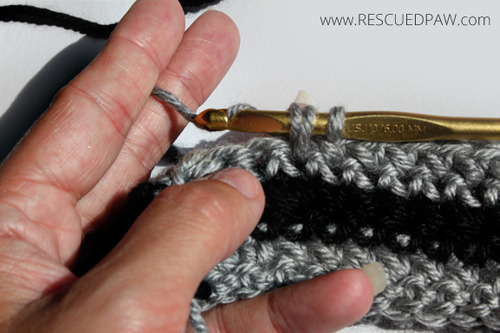
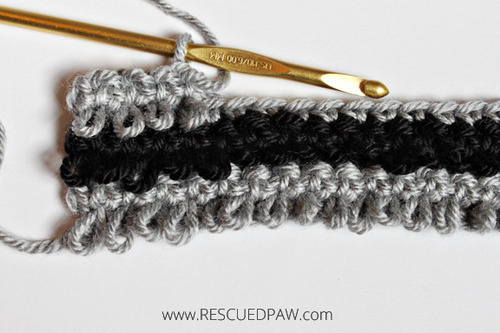
STEP 6: You have completed a loop stitch!!! Continue working loop stitches across the row.
Remember, on the next row, work single crochets.
Alternate loop rows and single crochet rows.
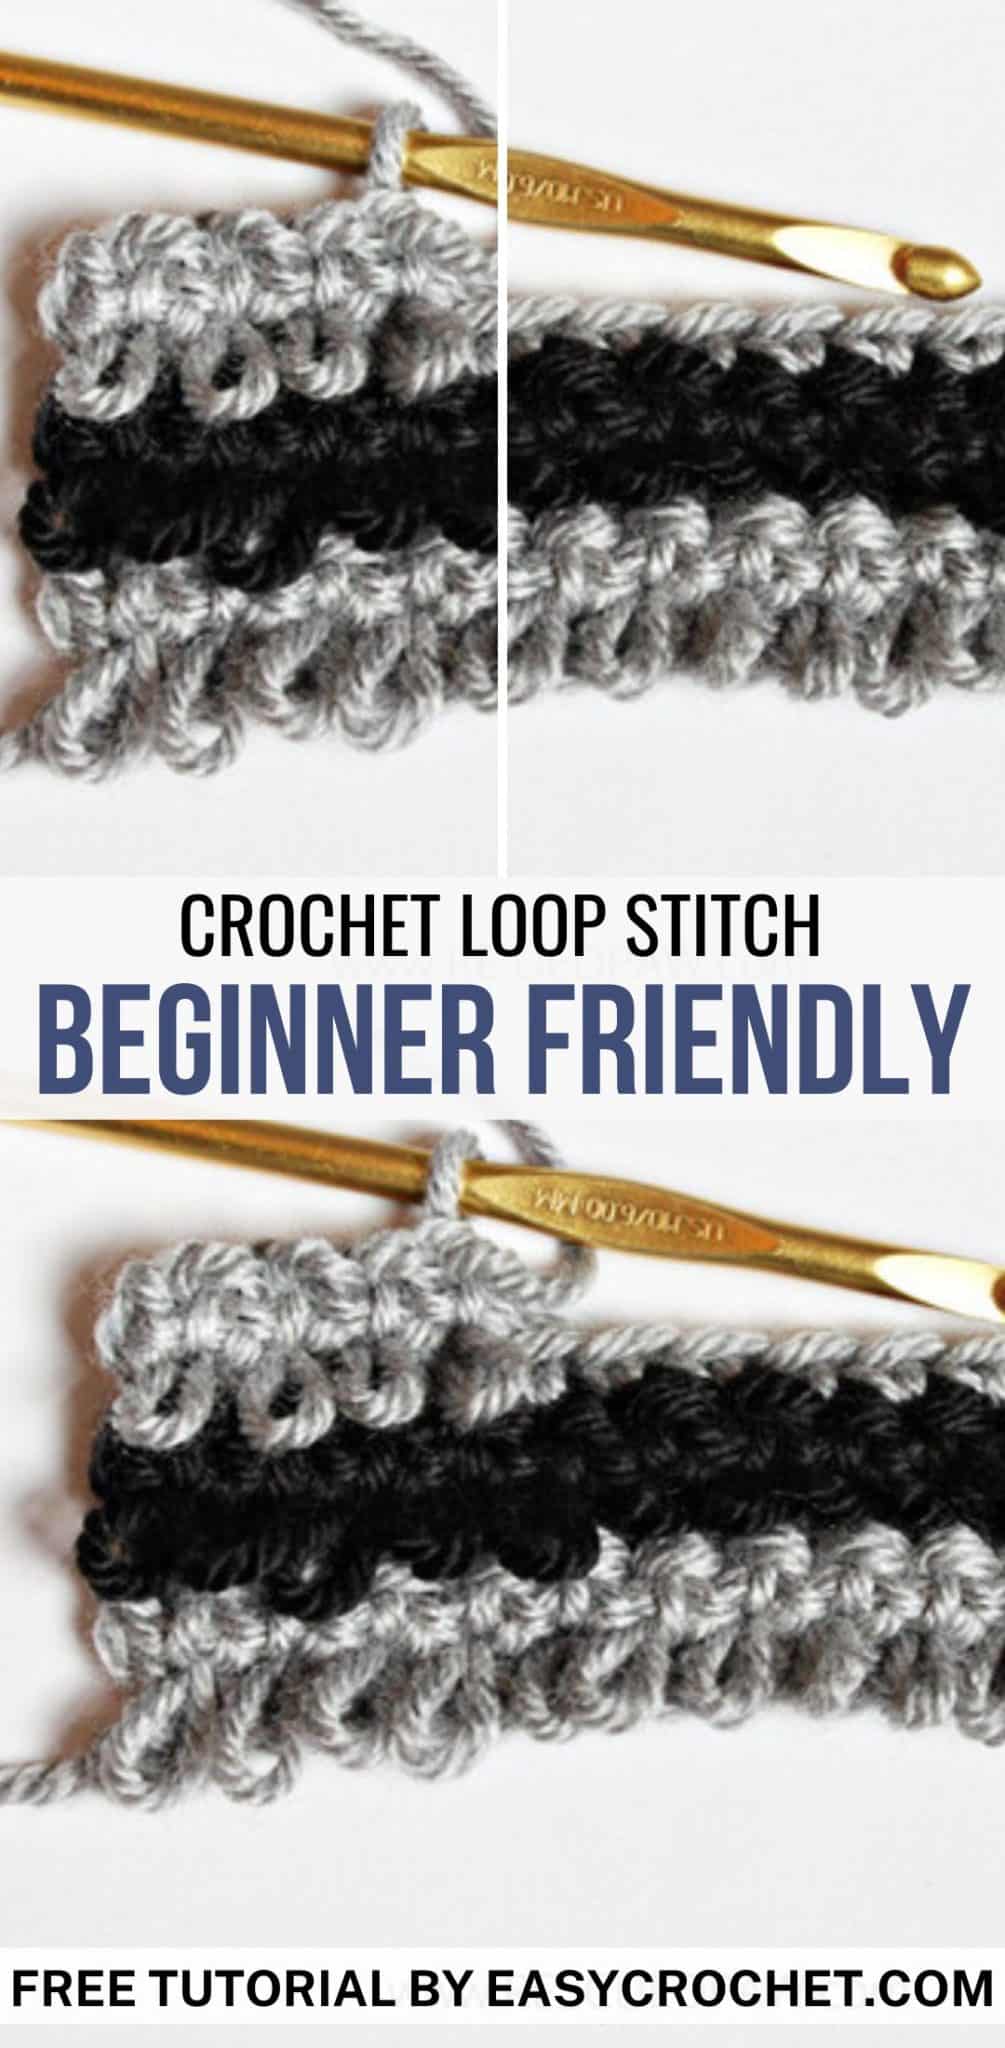
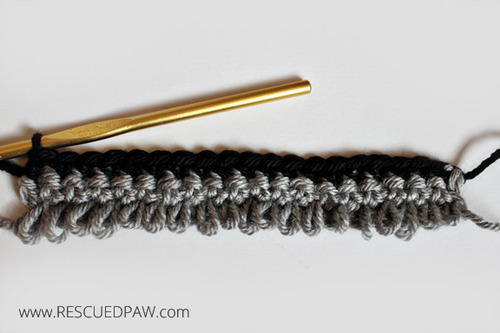
Here are some front view pictures of what you get when you do multiple loop stitches and change colors. (Learn how to change colors in crochet here.)
That’s it! You have now completed the loop stitch in crochet!
This really is a quick and easy crochet stitch pattern!
More Free Crochet Stitch Patterns and Tutorials
- Crochet Puff Stitch Tutorial with Photos
- Whip Stitch Crochet Seaming Technique
- Half Double Crochet Slip Stitch (hdc slst) for Beginners
- Single Crochet Increase Tutorial (sc inc)
- Creating Seams Using the Mattress Stitch
- Single Crochet Two Together (Single Crochet Decrease)
Thank you,thank you. I have struggled for 2 days to figure this out. I was going to ditch my project. Your explanation did the trick. So happy.
You are very welcome, Linda! I am so glad I was able to help. 🙂
Happy Crocheting!
-Krista
Thank you so much for this! I have been trying to find a good tutorial for the loop stitch and this finally helped it sink in. Thank you! I was wondering if I did the loops over a dowel or even a knitting needle could I do a row of them over it and then pull it out when I’m done?
I bet you could! If you do try it please share it will me if you can! 🙂
I love the look of this stitch. Can you tell me is after it’s finished to the loops pull if they are snagged? I guess I’m asking if they are “tight” or “loose” if pulled. Hope that makes sense. Thank you!
Hi! They should be pretty tight after they are done! 🙂