Crochet Egg Pattern for Easter
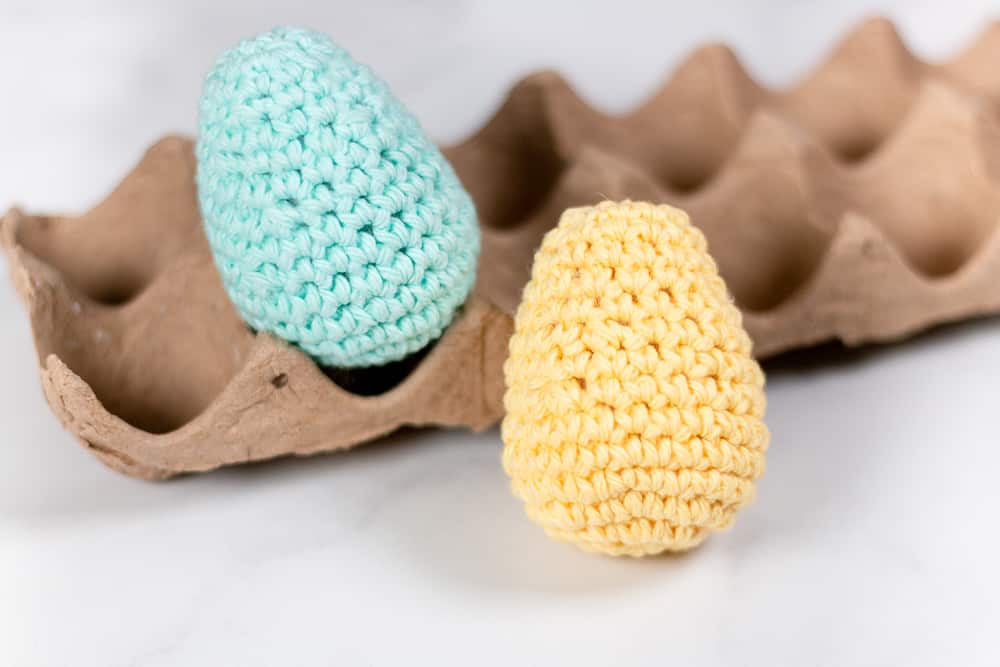
Are you searching for a new pattern for Easter? If so, you’ll love this easy Easter egg crochet pattern. Read on down to learn more and get started!
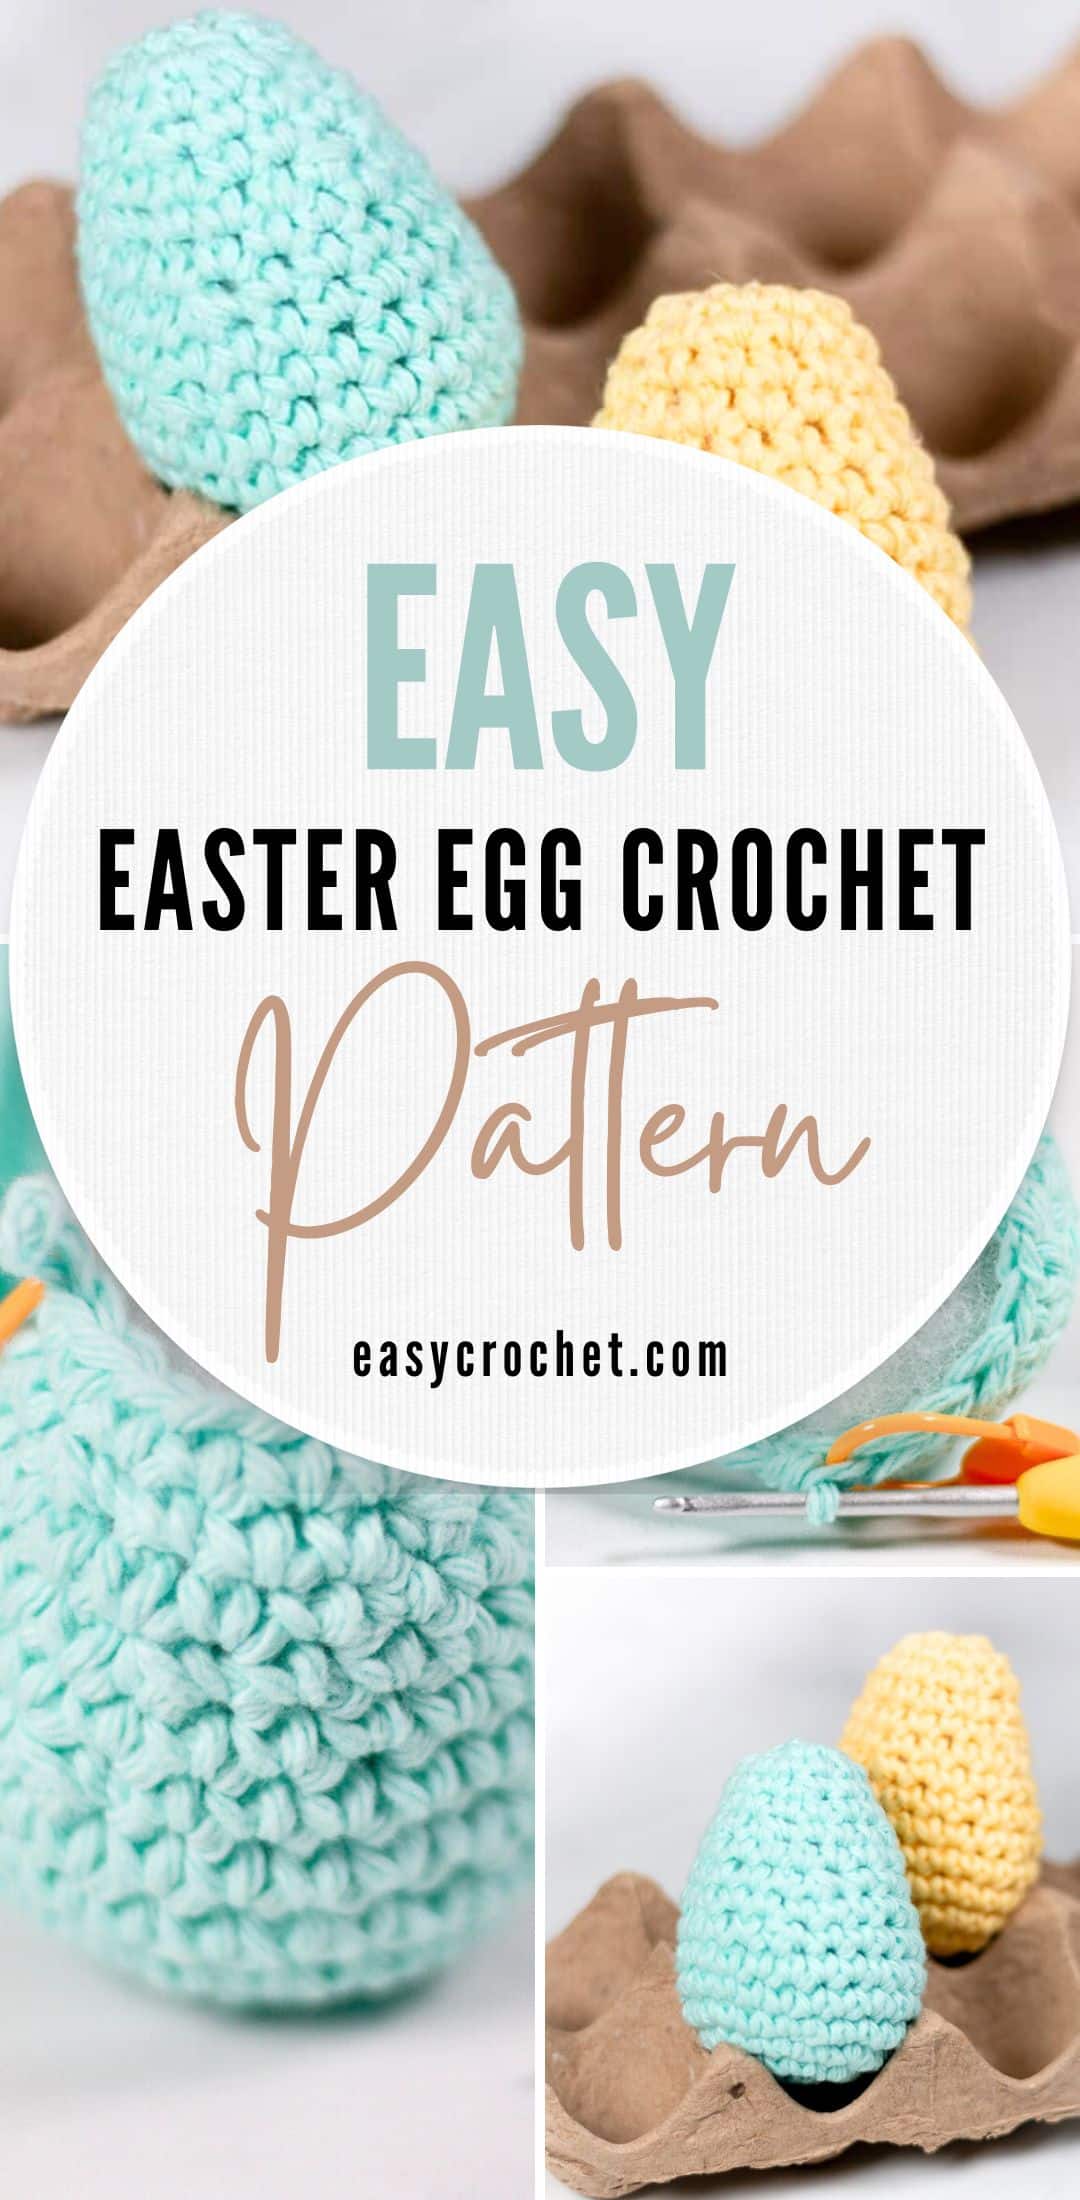
Why Crochet It? This egg is not only fun to make, but is a great break from crocheting bigger projects like blankets and scarves.
These crocheted eggs are the perfect project for anyone in the mood for a quick project. Plus, they crochet up pretty fast and are great for a crocheter who is new to crocheting toys or stuffed items (aka amigurumi).
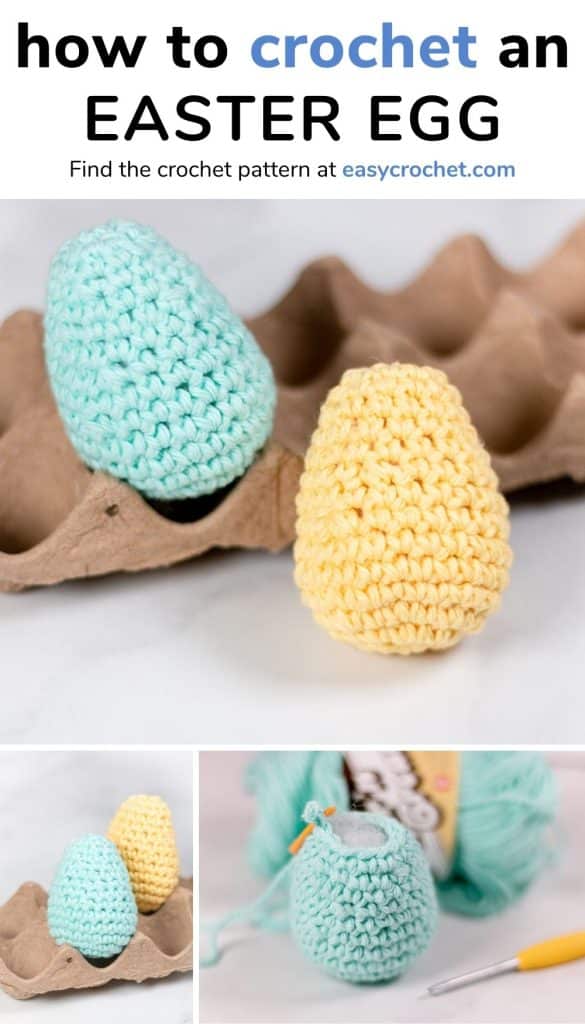
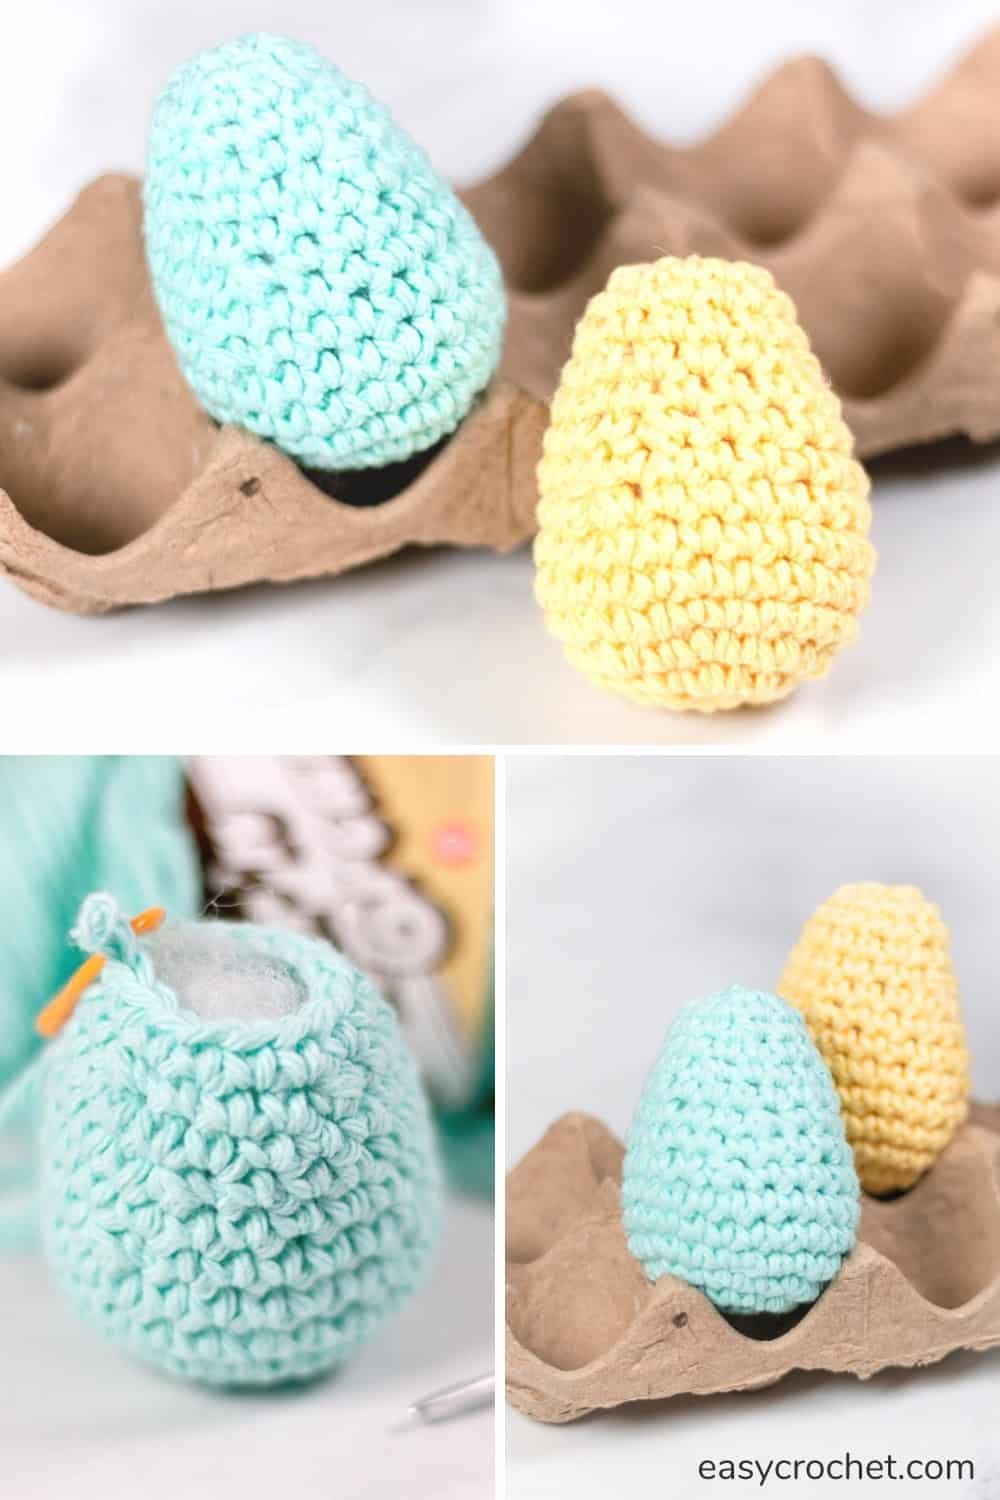
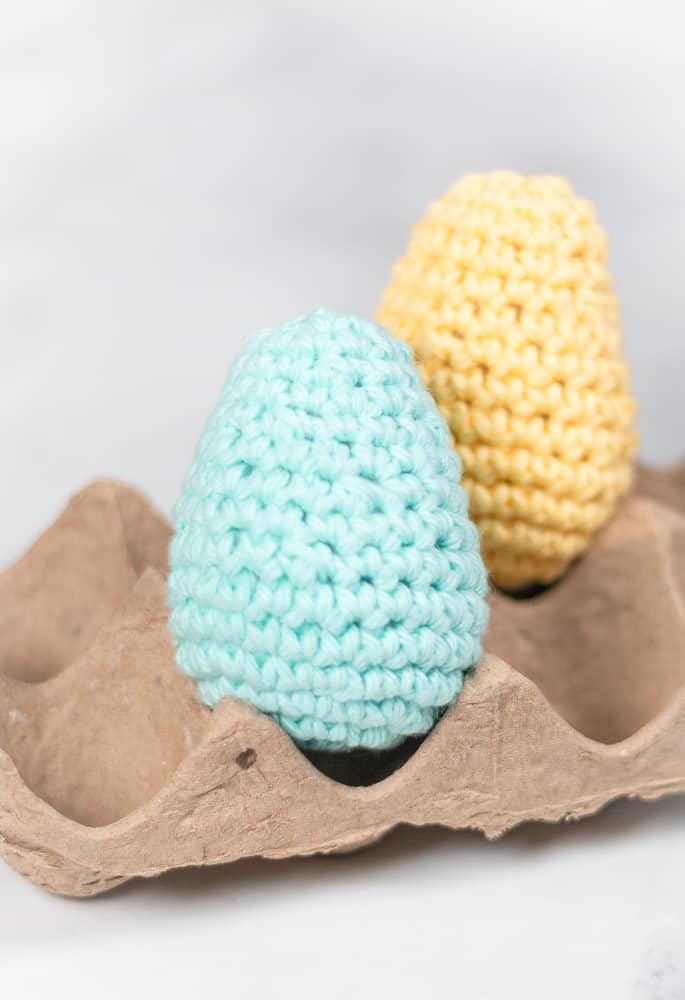
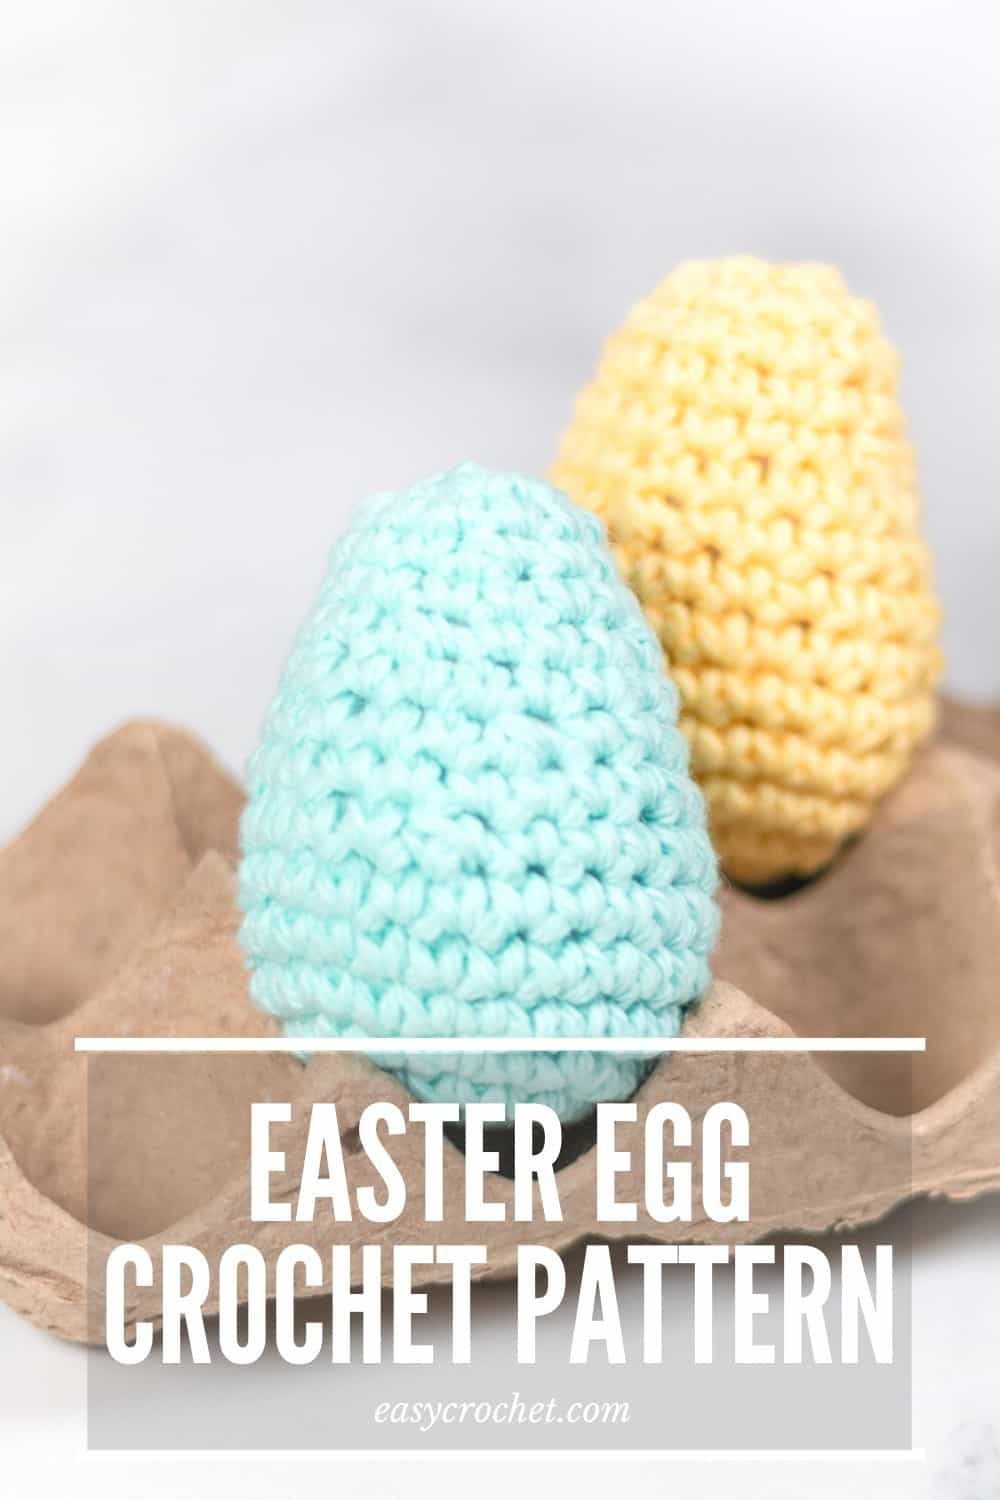
Crocheted Easter Eggs
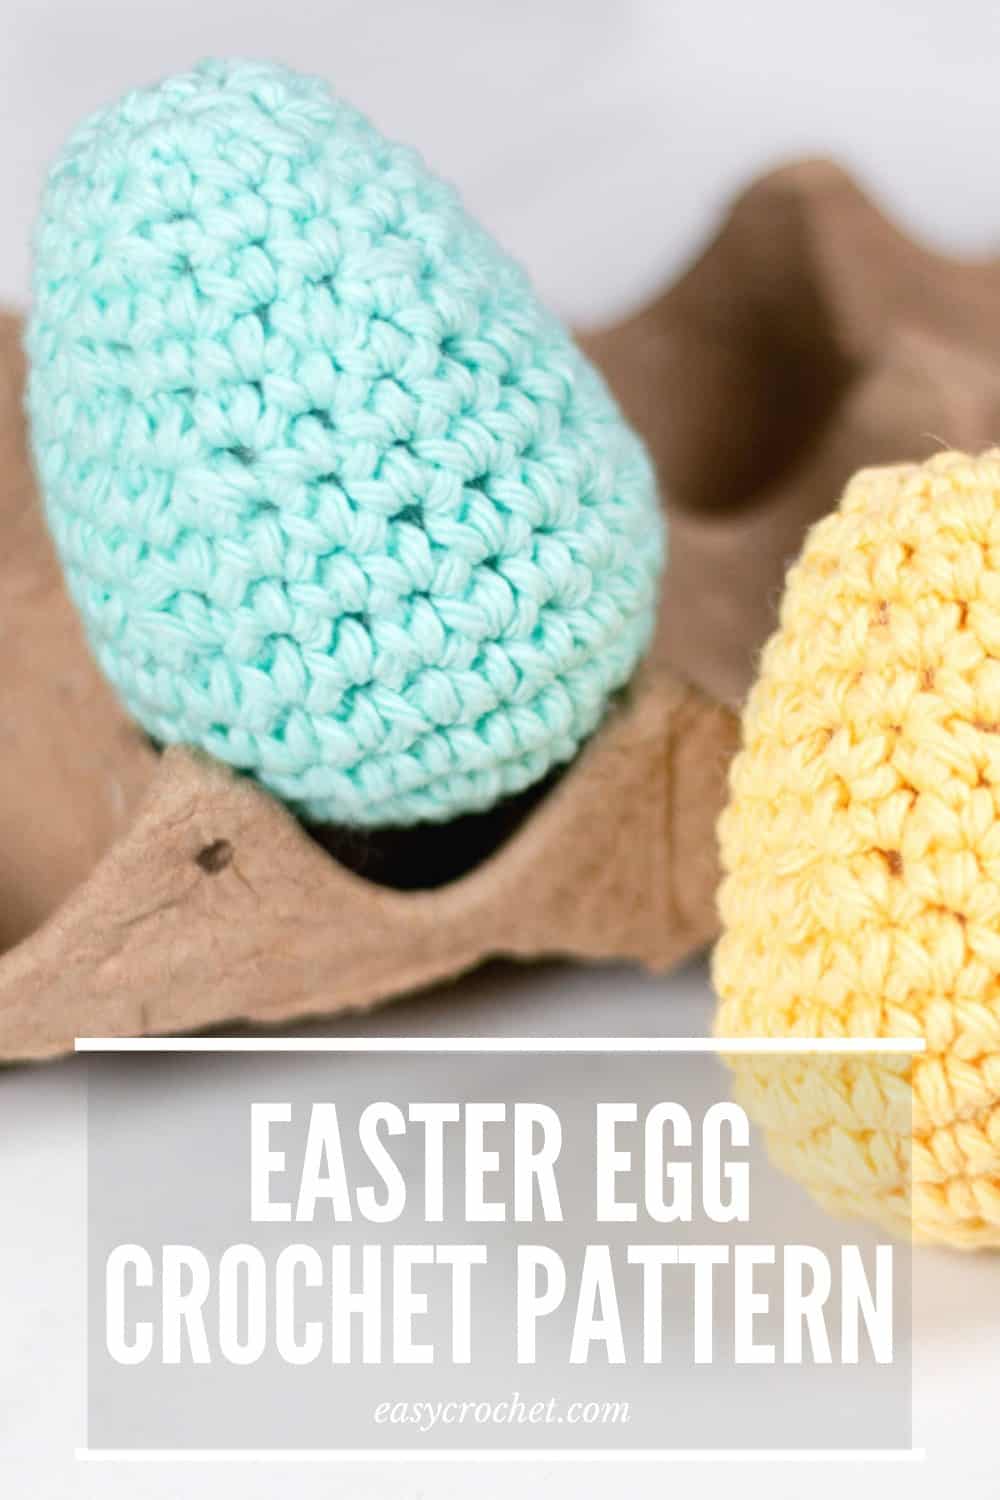
These adorable crocheted eggs are the perfect decorations for Easter that will last for years,, which I can attest to since we’ve had ours for a couple of years already, and they are still going strong!
Scroll on down to learn how to crochet an egg today with our free crochet pattern and instructions. Enjoy and Happy Easter Egg Making!
The Yarn You’ll Want to Use For These Easter Eggs
You will want to get your hands on some Lily Sugar’N Cream yarn from Yarnspirations which can be found in most crafts stores and online. It is a four weight cotton yarn, has great durability (aka it washes well) and is available in a variety of beautiful colors.
For these Easter eggs, I worked with the muted pastel color Beach Glass & Yellow. They work perfectly for spring and Easter time celebrations.
The Yarn
Learn a bit more about the yarn I used below, which is Lily Sugar’n Cream.
Lily Sugar’n Cream
This yarn is made by Yarnspirations, and is a Weight 4 – Medium yarn.
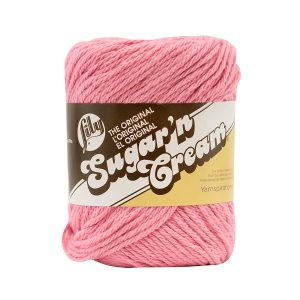
Fiber: 100% Cotton
Yardage: 645 meters / 706 yards (varies)
Hook: 5 mm (H-8)
Substitute: Bernet Handicrafter

You are welcome to have fun with the colors you pick. I can’t wait to see them all done!
How to Make Crochet Eggs
First, you start by working a magic circle and crocheting eight single crochets* into that circle. Place a stitch marker into that eighth stitch to keep track of the rounds in the egg. Learn more about the single crochet stitch if needed before you get started.
When you get to the eighth or ninth round, start filling with Poly-fil. You can find this fiber at most craft stores and online.


When you get to the final round, you will want to fasten off your yarn, leaving a 6″ yarn tail. We will use this to close the egg.
Next, using a bent yarn needle, work around the last stitches in the egg in the front loop only and pull tightly to close. Insert the yarn needle down through the center you just closed into the egg to secure the top neatly.
If you are ready to learn even more and for the rest of the details, keep on reading down below to get the free Easter egg pattern.
Ready to Get Started?
Scroll on down to learn how to make these extra cute crochet eggs and follow along with the tutorial and pictures.
Easter Egg Crochet Pattern
Skill Level: Intermediate
Materials
- 16 yards of Lily’s Sugar’n Cream cotton yarn or any four weight cotton yarn
- 2.75 mm C crochet hook
- Poly-fil (or any other brand)
- Place markers or stitch markers
- Scissors
- Bent yarn needle
Crochet Abbreviations
- sc(s) = single crochet(s)
- sc2tog = single crochet two together
- pm = place marker
- st(s) = stitch(es)
Pattern Notes
- Move the pm (place marker) up every round into the last st of that given round.
- Rounds are worked continuously to create a seamless crochet egg.
- Egg is worked from the bottom up.
- Fill with Poly-fil as you go. I started filling mine around round 8 in the pattern.
- Written in standard US terms
The Crochet Egg Pattern
Round 1: Create a magic circle with 8 total sc(s), pm. Pull magic circle tightly to close. (8)
Round 2: 2 sc(s) in every st around, pm. (16)
Round 3: *In next st make a sc, in next st make 2 sc(s), repeat from * around pm. (24)
Round 4: Make a sc into every st around, pm. (24)
Round 5: Make a sc into every st around, pm. (24)
Round 6: Make a sc into every st around, pm. (24)
Round 7: Make a *sc into the next 6 st(s), sc2tog, repeat from * around, pm. (21)
Round 8: Make a sc into every st around, pm. (21)
Round 9: Make a * sc into the next 5 st(s), sc2tog, repeat from * around. (18)
Round 10: Make a sc into every st around, pm. (18)
Round 11: Make a *sc into the next 3 st(s), sc2tog, repeat from * around ending with 3 sc(s), pm. (15)
Round 12: Make a sc into every st around, pm. (15)
Round 13: Make a *sc into the next 2 st(s), sc2tog, repeat from * around until 3 st(s) are left, sc into each of those last 3 st(s), pm. (12)
Round 14: Make a sc into every st around, pm. (12)
Round 15: Make a *sc, sc2tog, repeat from * around, pm. (8)
Closing the Amigurumi Egg:
Fasten off the yarn with a pair of scissors leaving a tail that is long enough to weave in throughout the last 8 st(s) and a little down into the egg. About 6 inches.
Using a bent yarn needle go through the front loops only of the last 8 st(s), pull tight to close the hole.
Hide the tail on the inside of the egg by going down through the center of the hole you just closed up. *Bring it back out the side of the egg away from the top hole. Then go back inside the egg right next to where you just came out. Repeat from * a couple of times, and then cut off the extra yarn tail with scissors.



More Free Crochet Patterns
- Free Heart Crochet Patterns for Valentine’s Day
- Best Easy Crochet Patterns for the Holidays
- 12 Crochet Graduation Gifts To Make This Year
- 24 Free Shamrock and Clover Crochet Patterns
- Easy Crochet Christmas Stocking Pattern
- 8 Spooky Crochet Halloween Projects to Haunt Your Home
- 32 Spring Crochet Patterns Ideas
- New Year’s Eve Crochet Patterns: 11 Sparkling Designs For Your Celebration
- 28 Free Crochet Christmas Patterns for the Home
- 14 Free Crochet Snowflake Patterns
- 11 Free Crochet Patterns for Father’s Day
- Free Heart Dishcloth Crochet Pattern
- Four Leaf Clover Crochet Pattern


well, I am new but I started knitting and crocheting when I was 11 or 12 and I am almost 62 but in these instructions what does (pm) mean in each round? please reply asap! but I will over read to really know what it means! thanks!
Hi Ginger,
Welcome to Easy Crochet!
Pm means place marker. There is a crochet abbreviation section above the pattern that explains each abbreviation that may help.
Happy crocheting.
Krista