Mini Crochet Bow Pattern
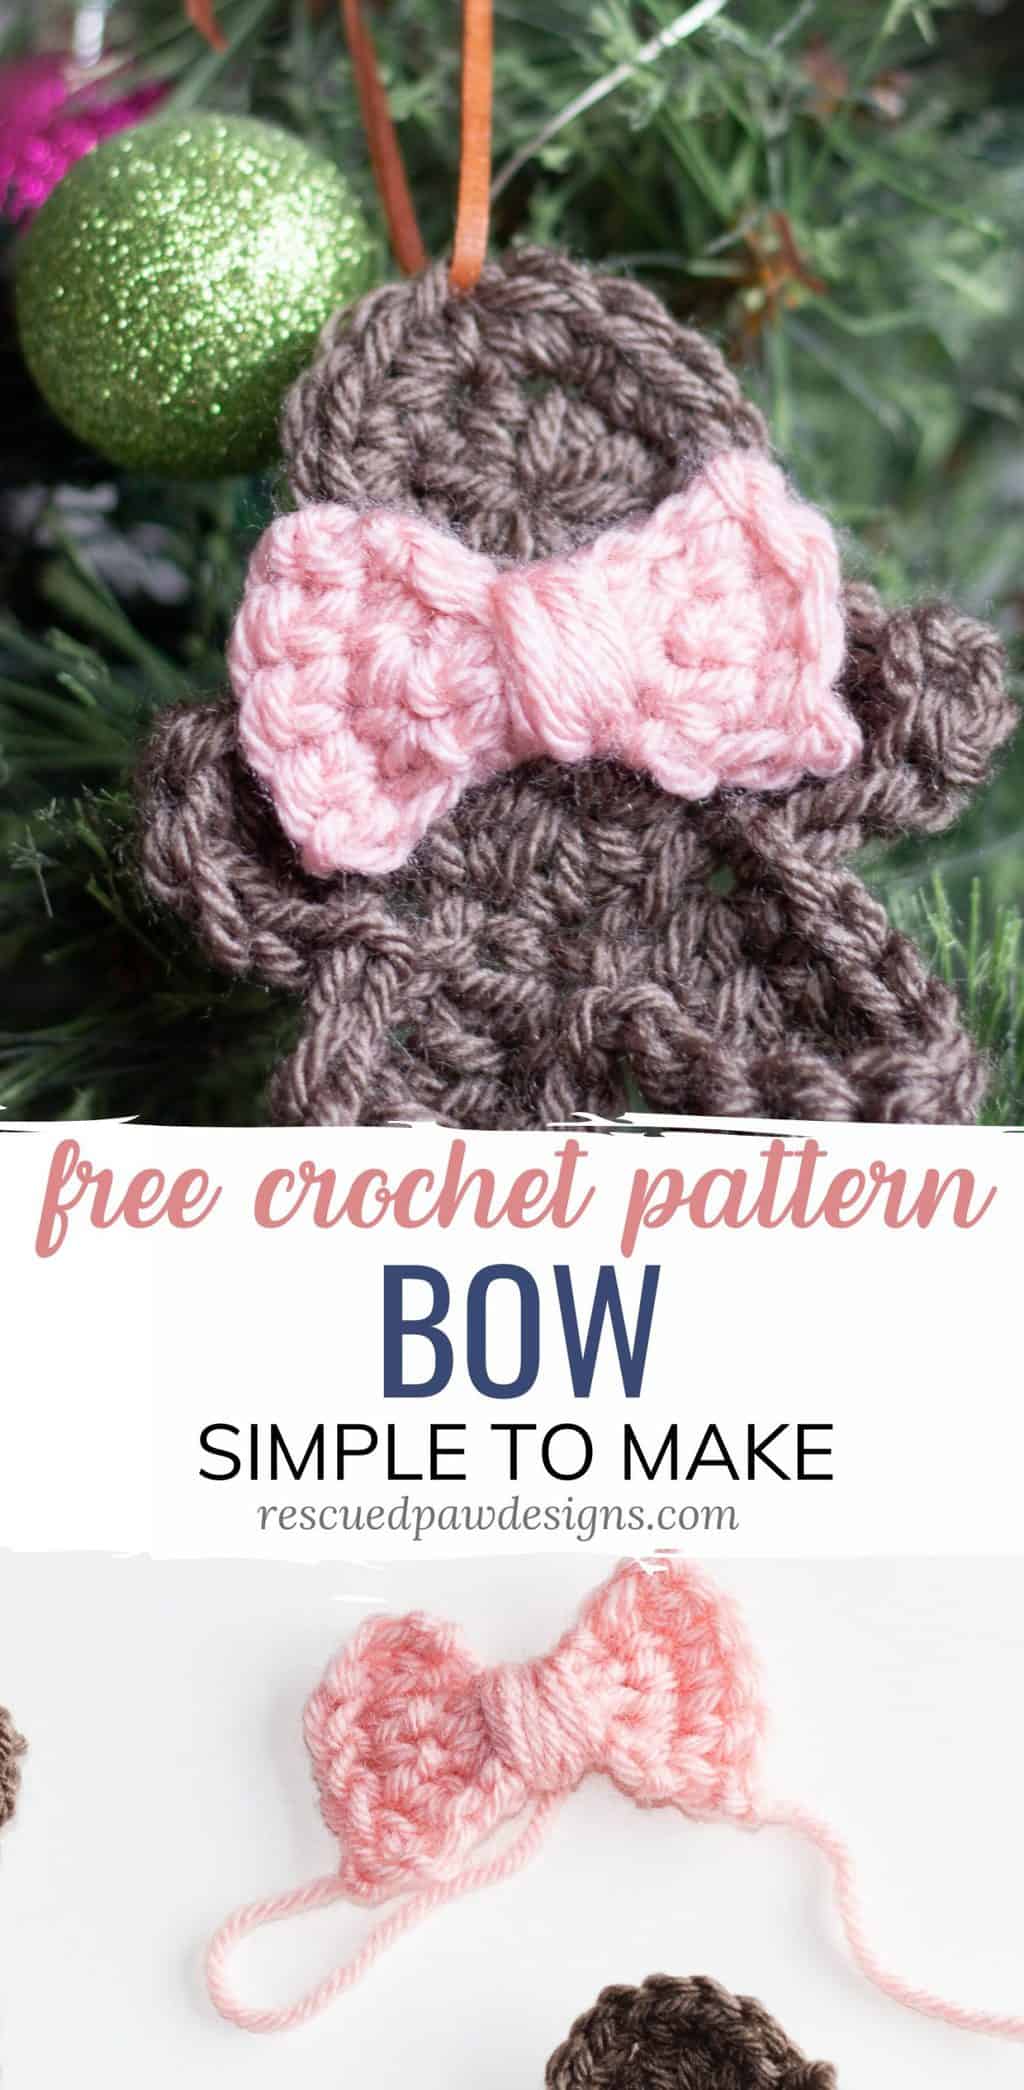
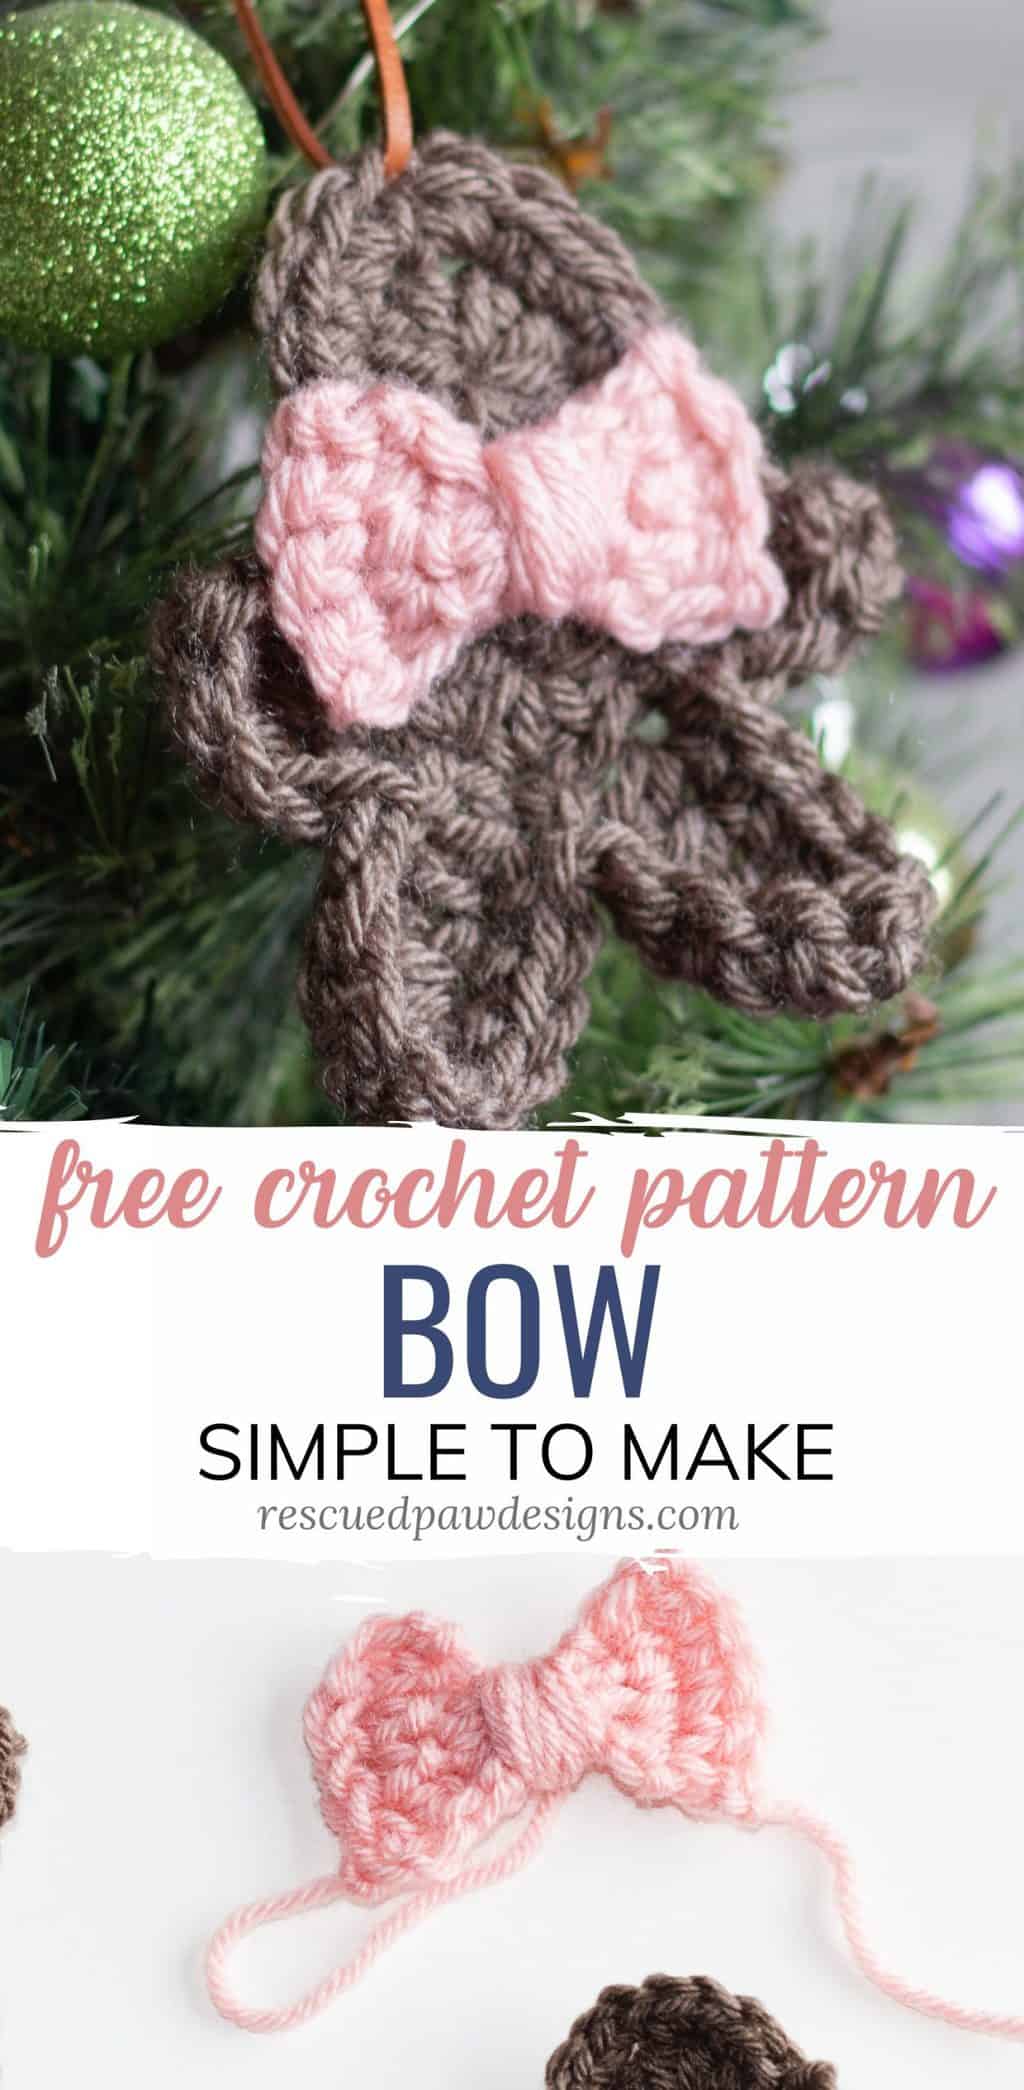
Use this easy crochet bow pattern to add a little something extra to your crochet projects. You can take a look at these bows on the gingerbread ornament pattern if you’d like to see them used on a pattern.

These little crocheted bows are perfect to add to a good deal of other crochet projects, too. Attach them to a hair clip (with hot glue) and you’ll have a quick seller at your craft fairs or a quick gift to make for a little one. You can also use them as little appliques on blankets, hats and more! As I mentioned before, I attached this bow design to the gingerbread pattern that I made as a little bow tie.
If you think of other ideas! Let me know.
The Yarn That’s Perfect for This Bow
For these bows, I used Vanna’s Choice by Lion Brand Yarn in Pink. It is a four weight yarn that is easy to find and is available in a variety of colors. You will not need much, so if you have some scrap yarn to use up that is leftover from other patterns, then those would be PERFECT for them!

I also wanted to mention that you can use any weight of yarn or crochet hook size for this pattern, but the finished bow size WILL vary if you do. Just mess around with it until you get what you are looking for. The best bet is to follow along with the recommended hook size for the yarn you want to use.
Keep on reading to get the free bow pattern to learn how to make a crochet bow today in two different sizes; a mini and mini-mini bow size!
Happy Crocheting!
Crochet Simple Bow Tutorial
Skill Level: Easy
Materials
- Less than 10 yards of medium weight four yarn (Lion Brand Vanna’s Choice)
- Size 4.5 mm crochet hook
- Yarn needle
- Scissors
Stitches
- dc = double crochet
- sc = single crochet
- ch = chain
- st = stitch
Notes
- The bow pattern is in standard US terms.
Mini Bow Pattern Steps
Mini Bow
Foundation Row: Ch 5, starting in the second ch from the hook sc, sc into each ch, turn (4) ( or a chainless single crochet foundation of 4, turn)
Row 1: Ch 2, dc into each st across, turn. (4)
Row 2: Repeat row 1. (4)
Row 3: Ch 1, sc into the first st, sc into each remaining st across. (4)
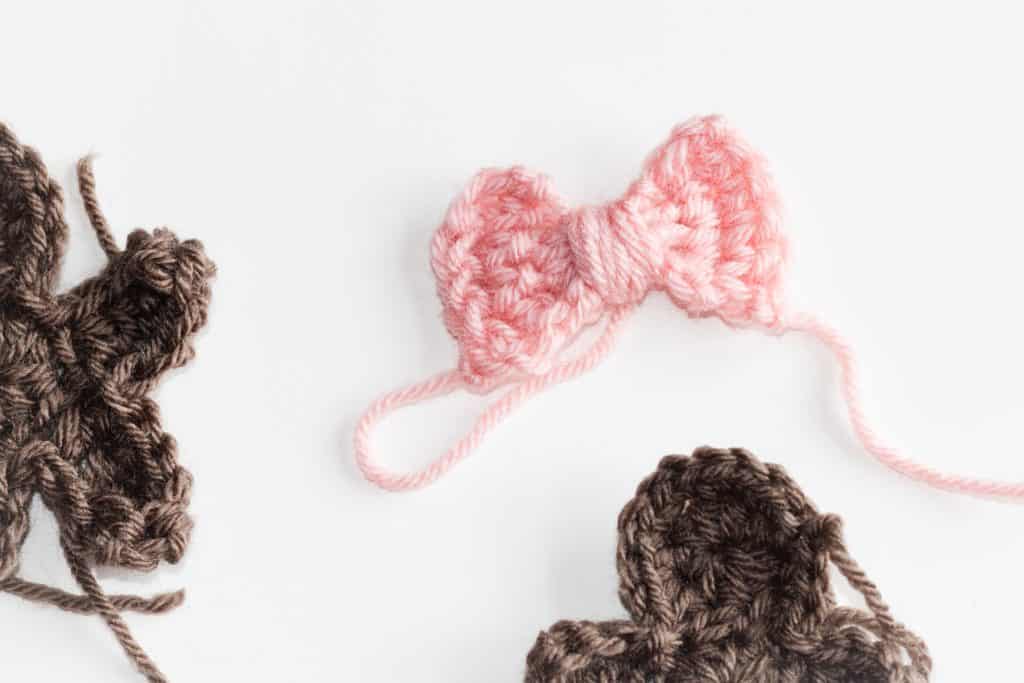
Finishing: Fasten off the yarn leaving a 6-inch tail. Wrap it around the center of the flat bow to create the bow look making sure not to pull too tight as to pucker the sides.
Mini-Mini Bow
Foundation Row: Ch 4, starting in the second ch from the hook sc, sc into each ch, turn (3) ( or a chainless single crochet foundation of 3, turn)
Row 1: Ch 2, dc into each st across, turn. (3)
Row 2: Repeat row 1. (3)
Row 3: Ch 1, sc into the first st, sc into each remaining st across. (3)
Finishing: Fasten off the yarn leaving a 6-inch tail. Wrap it around the center of the flat bow to create the bow look making sure not to pull too tight as to pucker the sides.

More Free Crochet Patterns
- Free Heart Crochet Patterns for Valentine’s Day
- Best Easy Crochet Patterns for the Holidays
- Easy Crochet Patterns That are All Cozy
- 5 Minute Crochet Patterns
- 8 Favorite Spring Crochet Tops
- 14 Free Crochet Leg Warmer Patterns
- 25 Warm Weather Crochet Patterns To Make
- 18 Cute Crochet Cow Patterns
- 30 Free Crochet Baby Blanket Patterns
- 12 Crochet Graduation Gifts To Make This Year
- 50 Easy Crochet Ideas For When You Can’t Make Up Your Mind
- 15 Free and Easy Moss Stitch Crochet Patterns