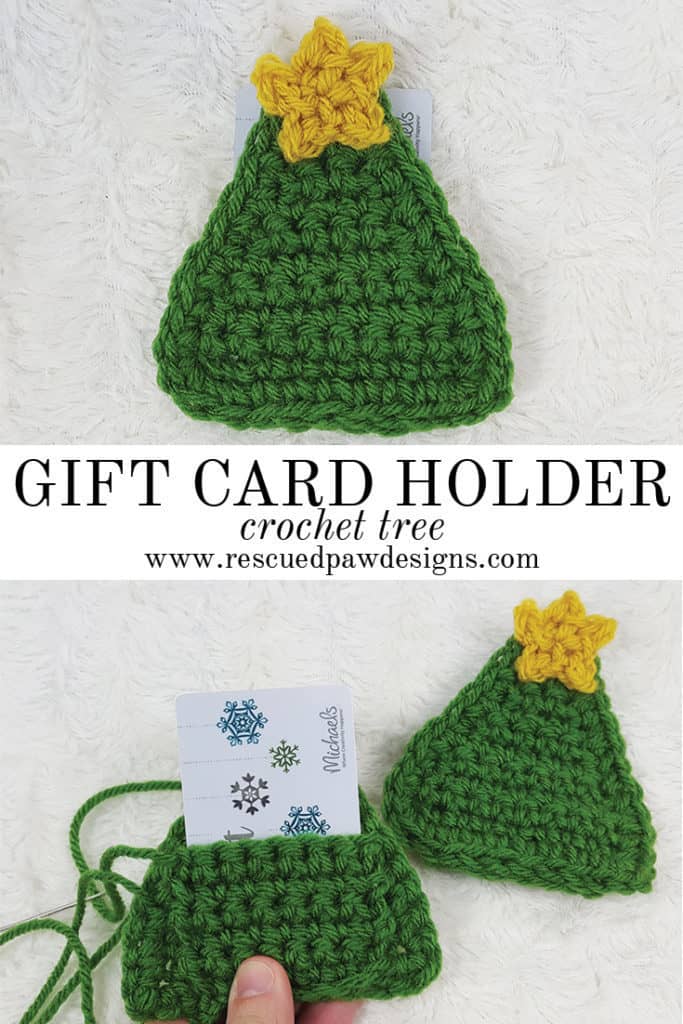
Crochet Tree Gift Card Holder Pattern
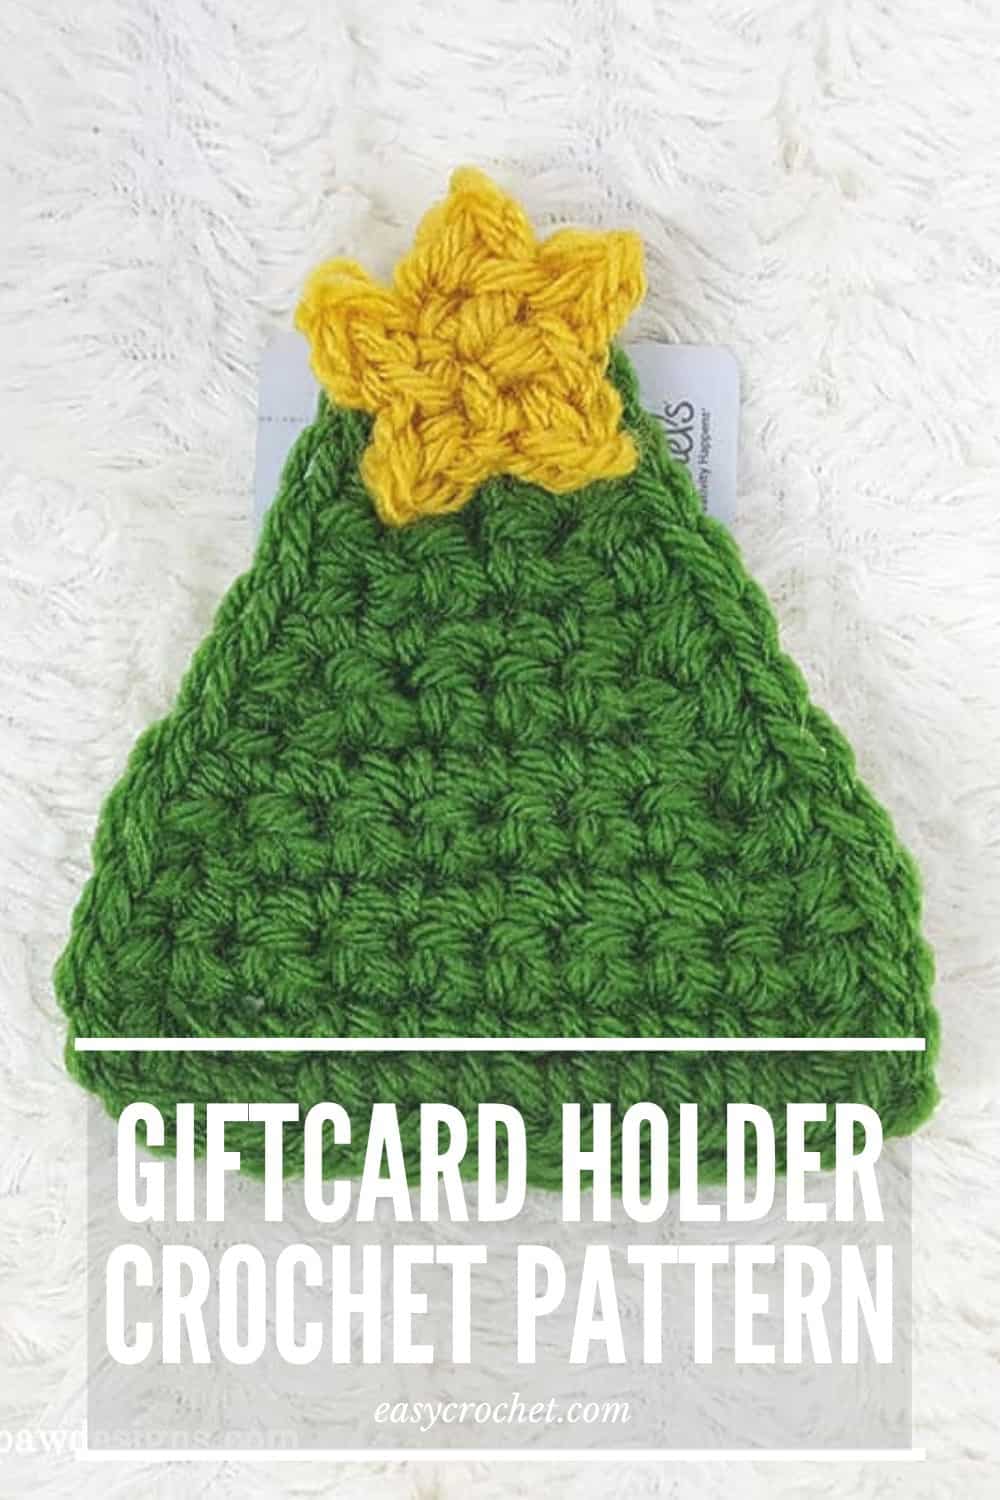
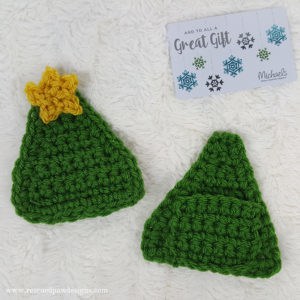
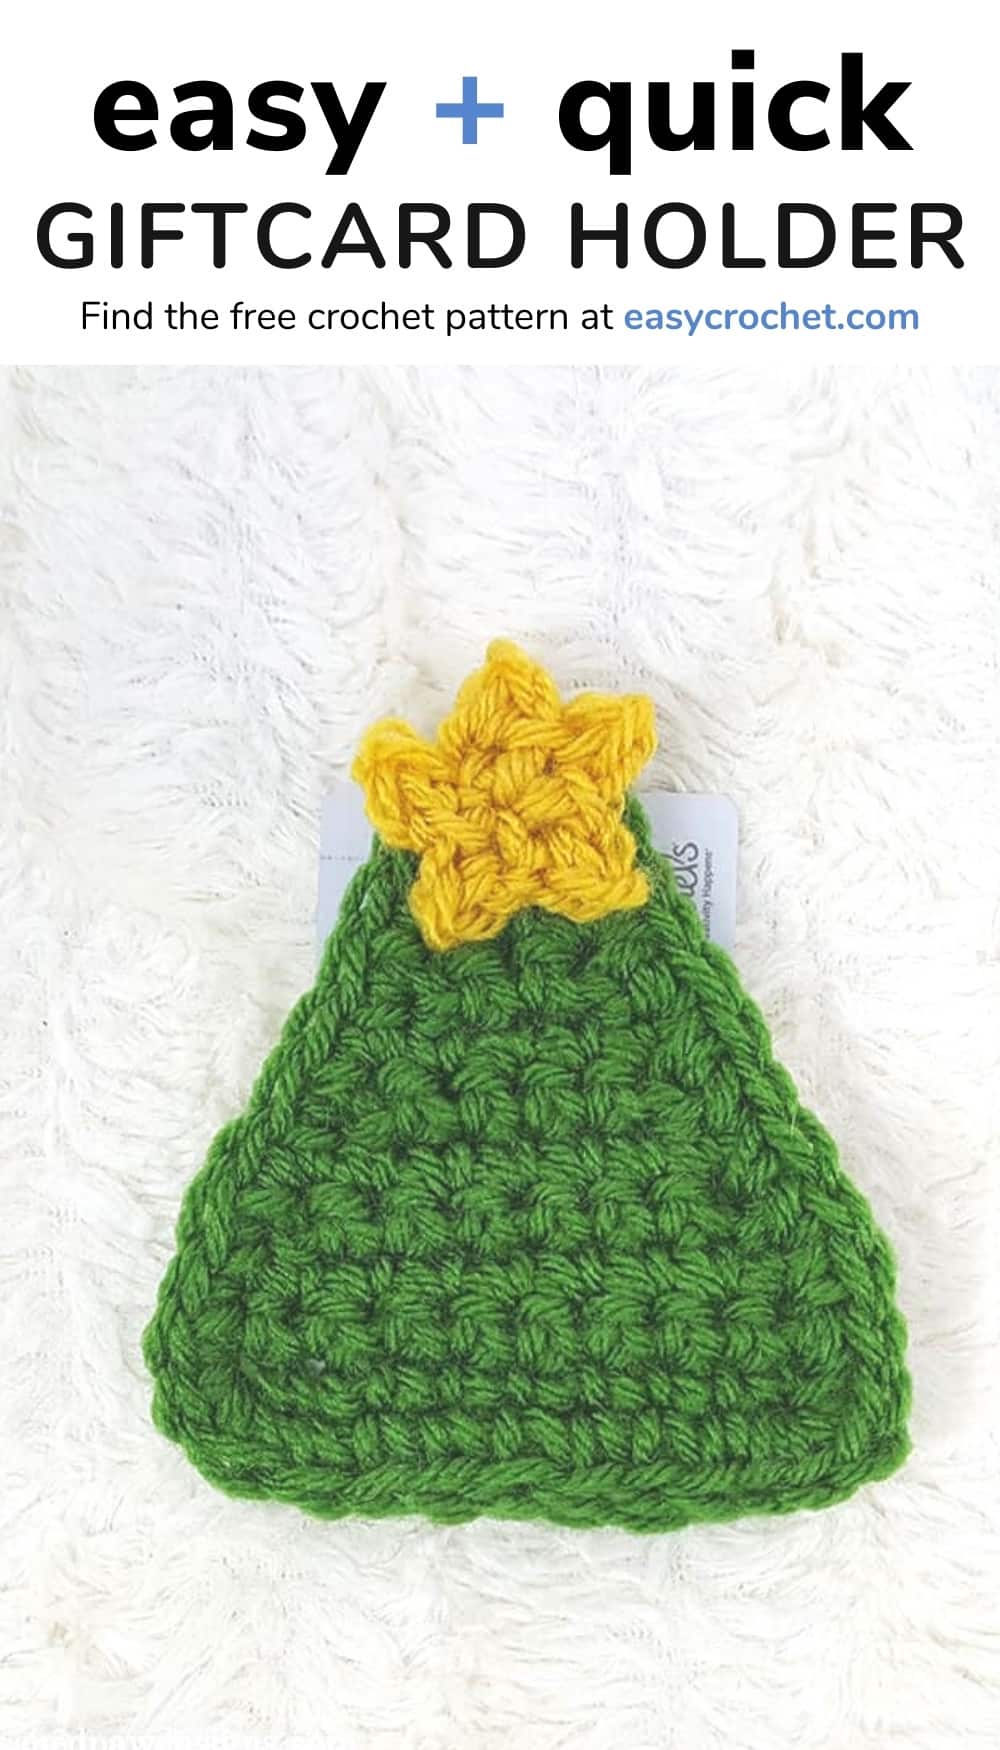
I am so excited to share my newest pattern, the crochet tree gift card holder! This pattern is fun, fast, and easy to make, which is always a favorite of mine. Plus, it makes a great gift to go along with money or gift cards that will instantly add a homemade touch.
Read on down to find the free crochet Christmas tree pattern! Happy Crocheting!
The Yarn
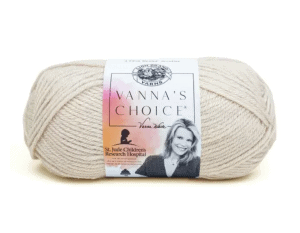
These crochet trees are made using my favorite yarn, Lion Brand Vanna’s Choice, and take a little less than a half-hour to make!
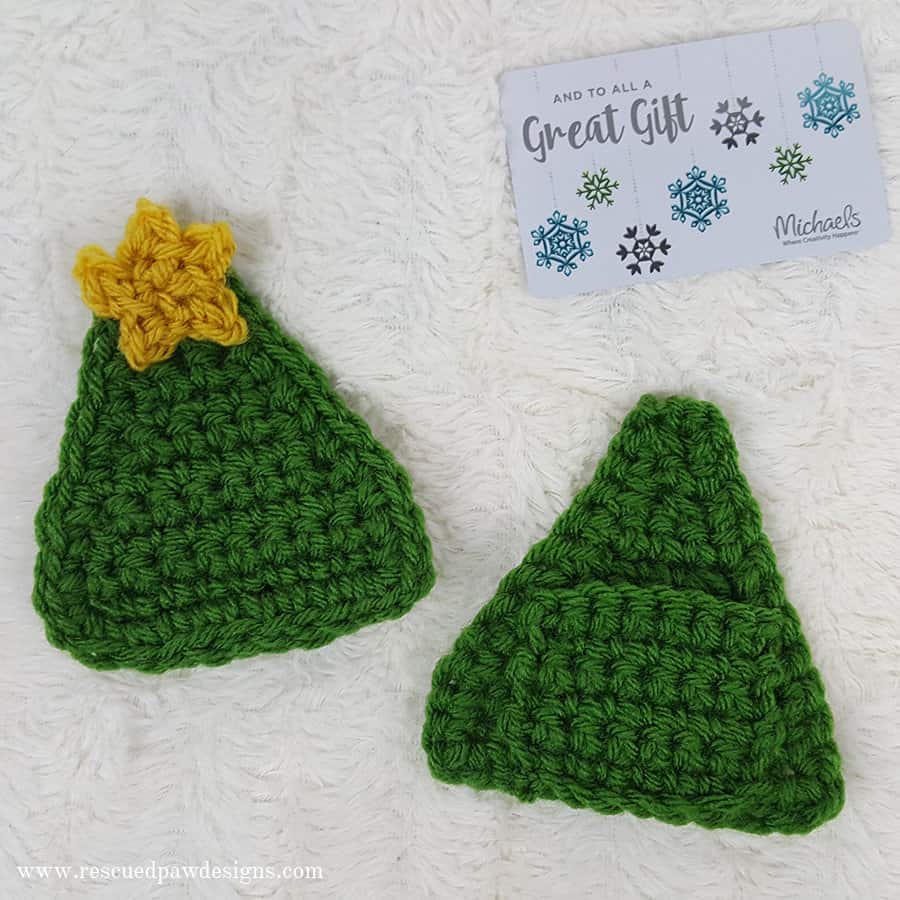
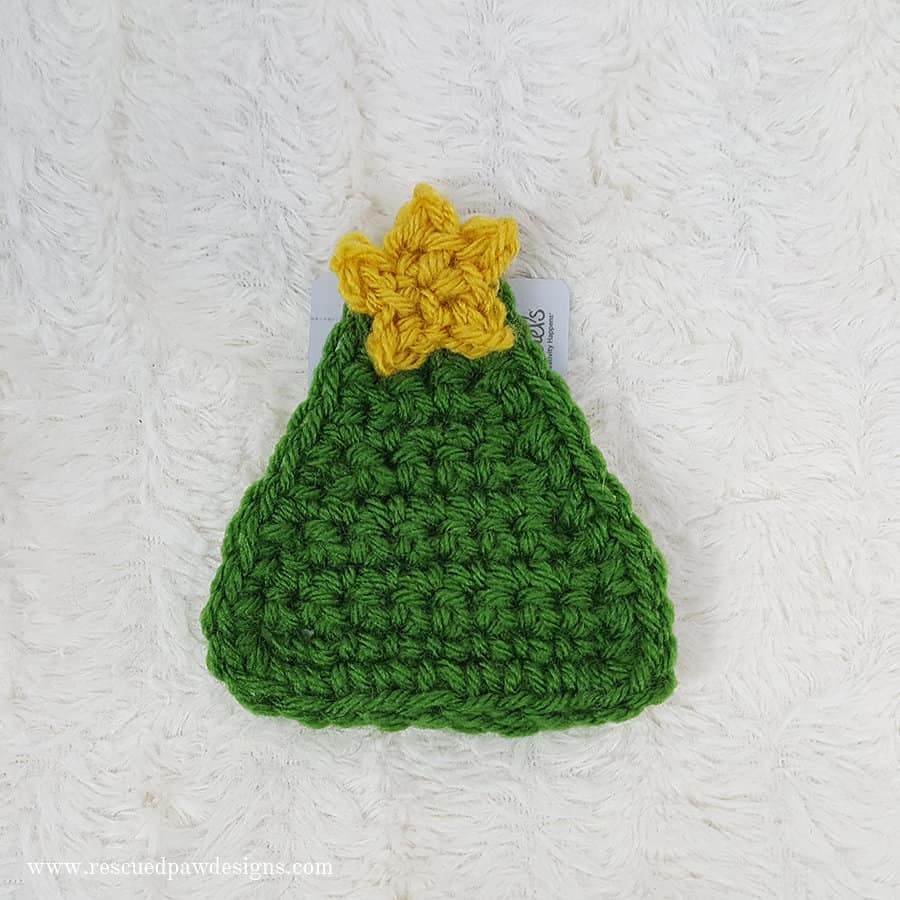
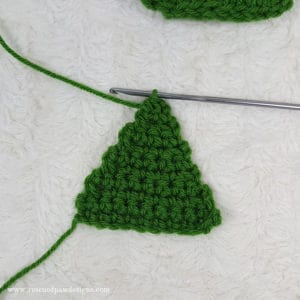
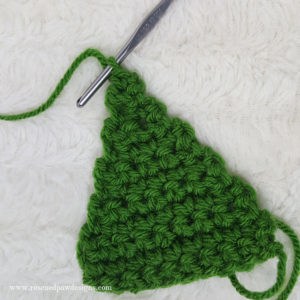
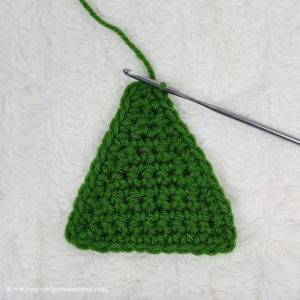
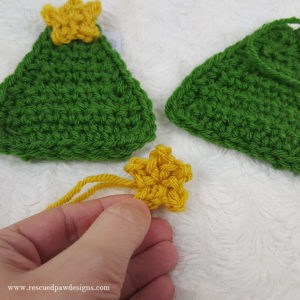
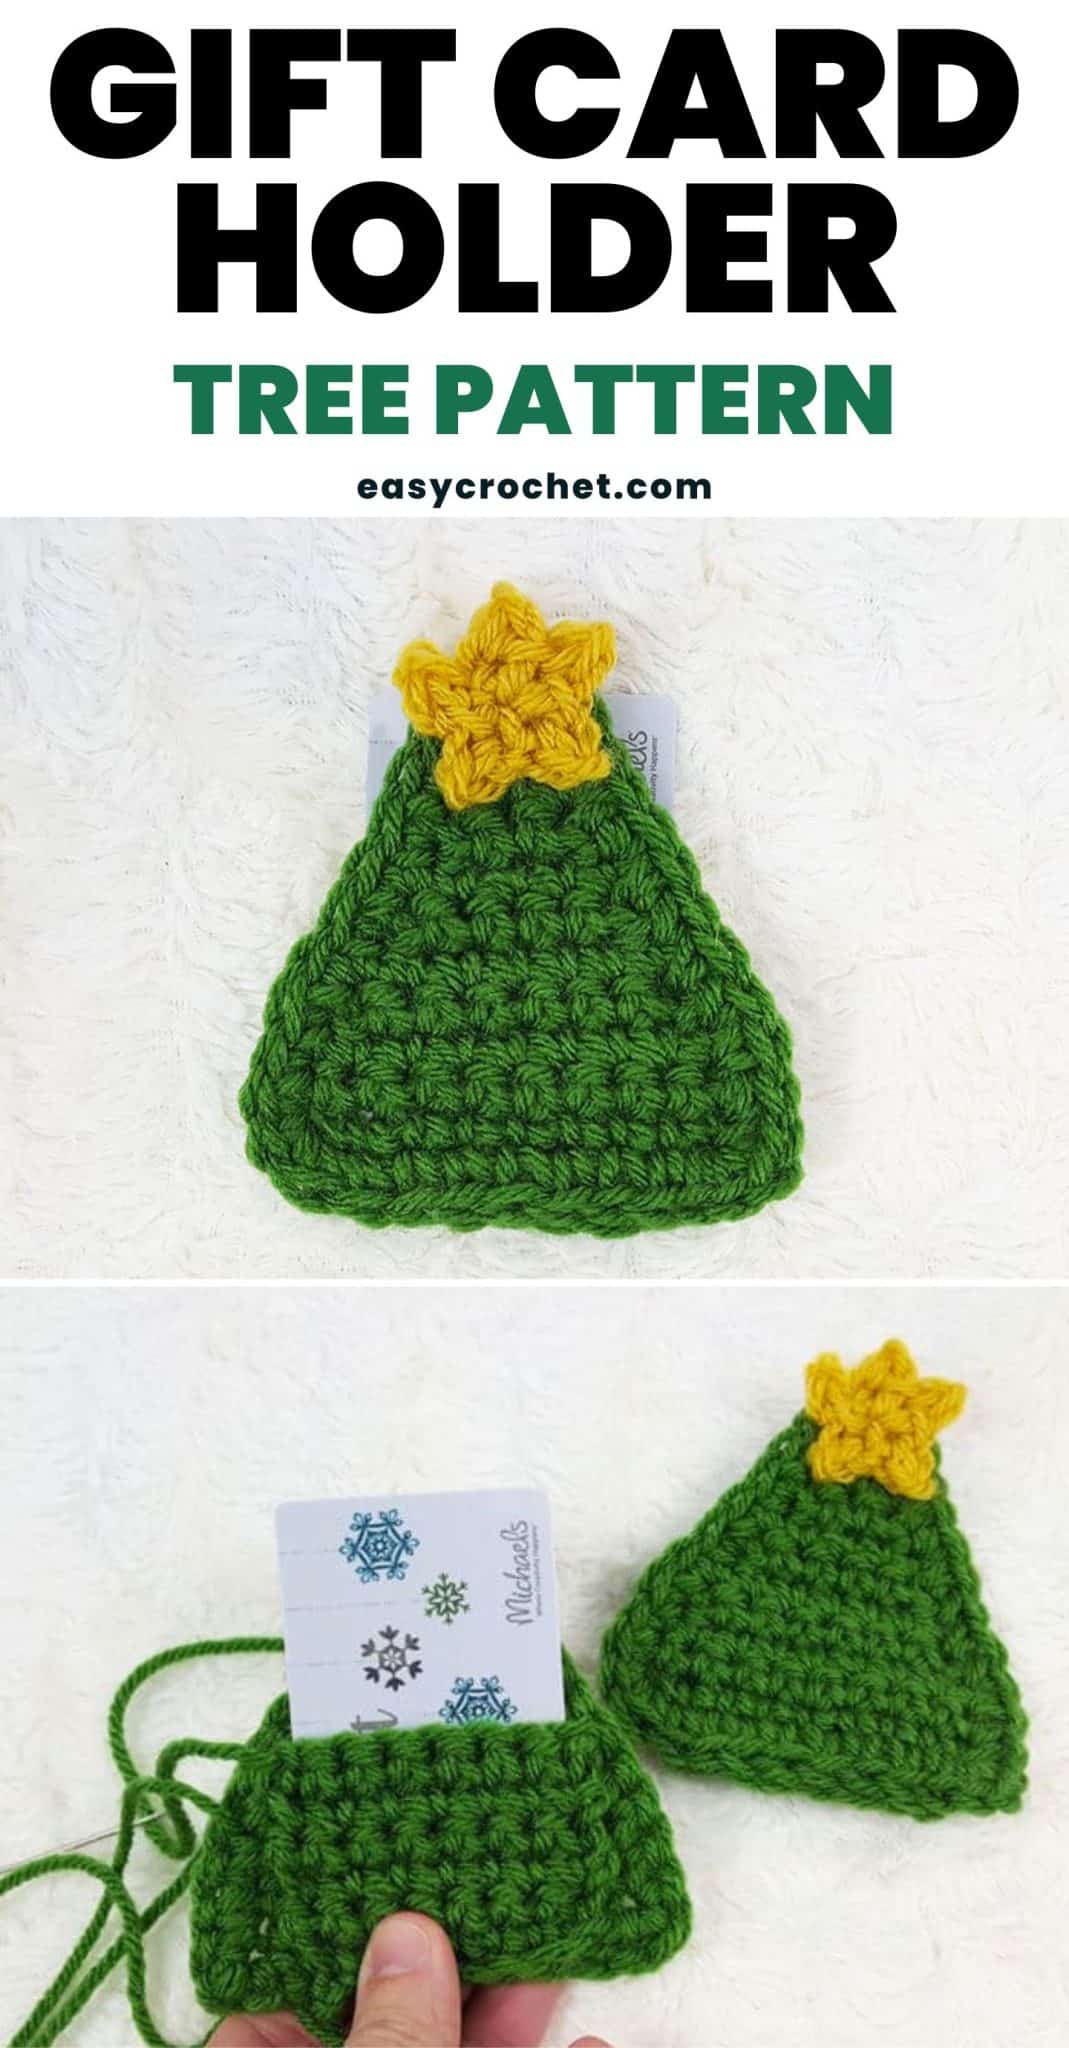
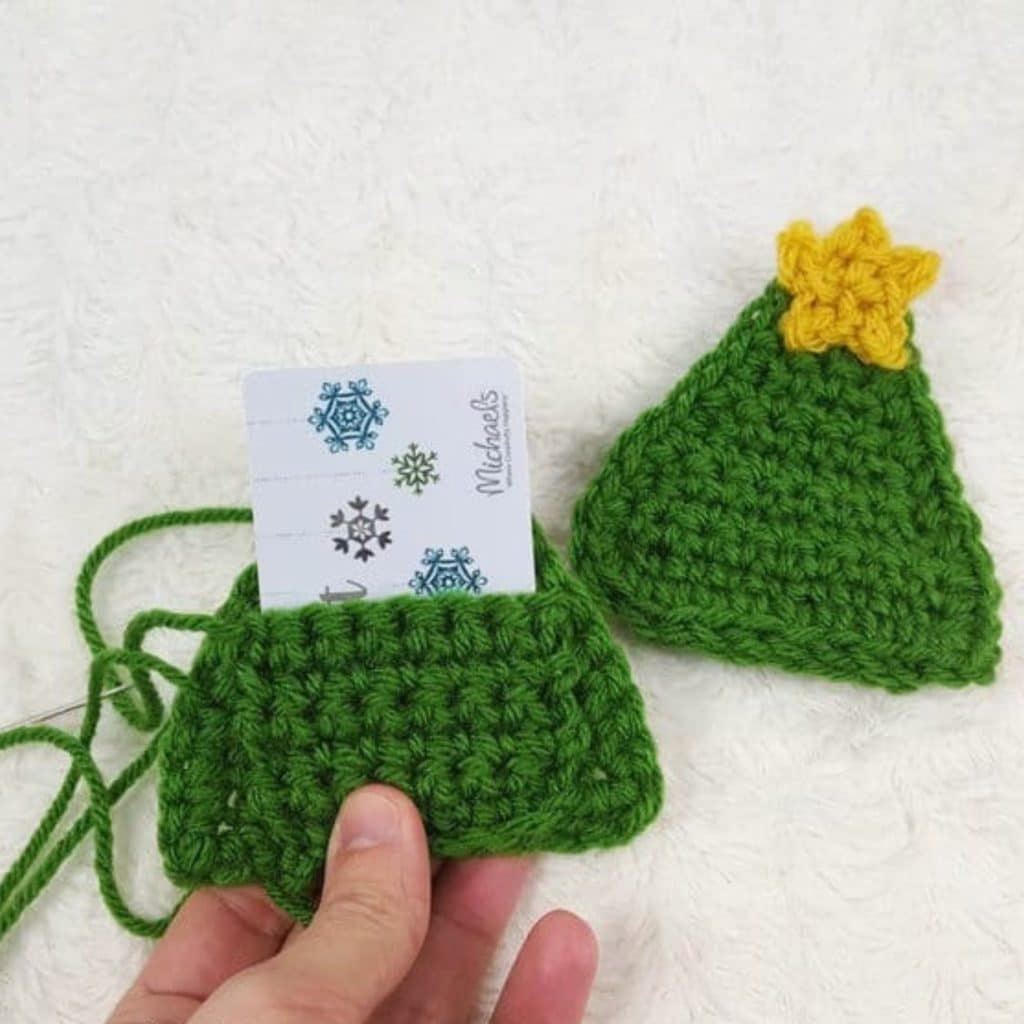
I started this tree by using the Kelly Green yarn to crochet rows back and forth, decreasing as I went along until I was left with a tree shape! I then finished it out with a border and a crochet star using the Mustard yarn!
Vanna’s Choice
This yarn is made by Lion Brand, and is a Weight 4 – Medium yarn.
Fiber: 100% Acrylic
Yardage: 156m / 171 yds
Hook: 5.5 mm (I-9)
Substitute: Lion Brand Heartland
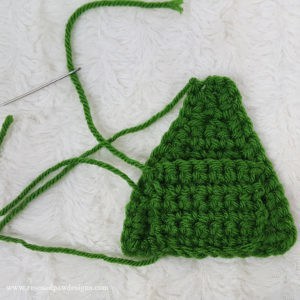
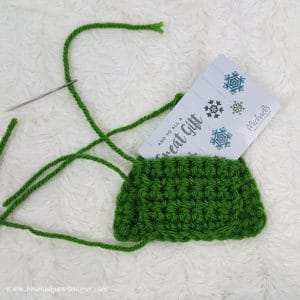
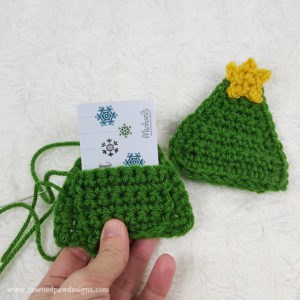
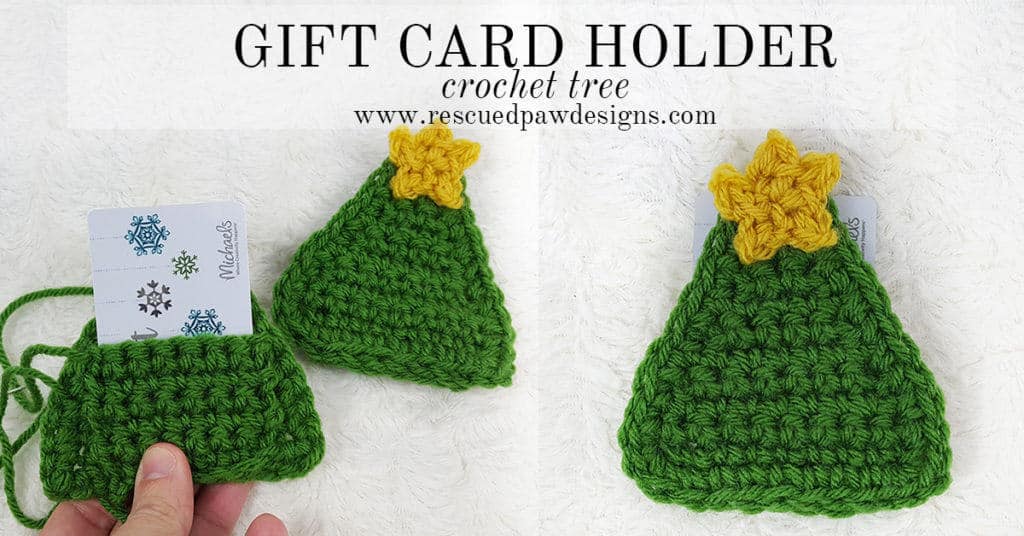
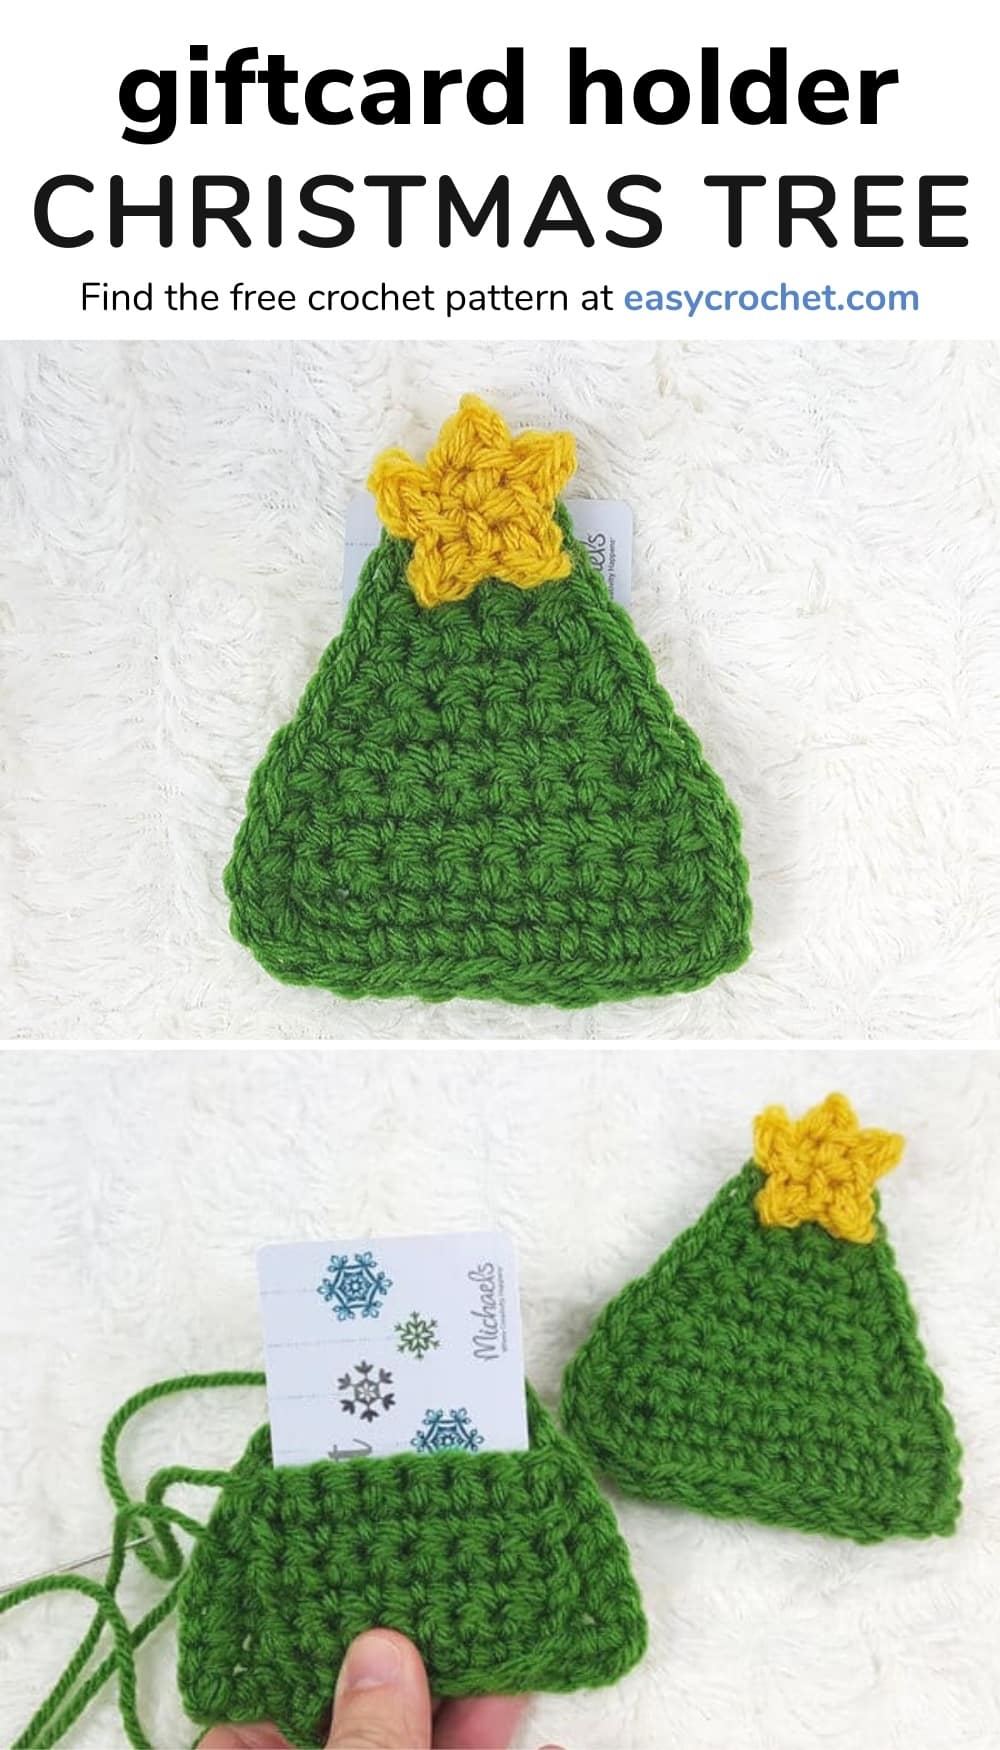
To make the gift cardholder, I made a little block of single crochets and attached them to the back of the tree with a yarn needle. All done!
If you are ever in a pinch for a gift, these small trees are great to crochet last minute! They make great teacher gifts, friend gifts, or Christmas gifts too.
Let’s Get Started!
I hope you enjoy making these cute crochet Christmas trees, and if you have any questions, please feel free to ask!
Read on down for the crochet tree pattern for Christmas!
Crochet Tree Gift Cardholder
Skill Level: Intermediate
Materials
- Crochet hook size F 3.75 mm
- Less than 30 yards (28 meters) of Vanna’s Choice Yarn by Lion Brand in Mustard and Kelly Green or any #4 four weight yarn
- Yarn Needle
- Scissors
- Gift Card to the store of your choosing
Notes
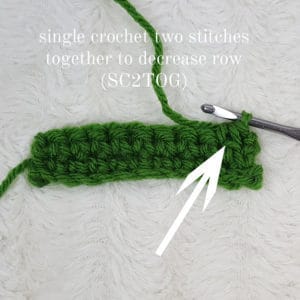
- You will need to know how to single crochet two together to make crochet this gift card holder.
- The crocheted trees will have a finished size as its widest points of 4 x 4 inches (10 x 10 cm).
The Pattern
Crochet Christmas Tree:
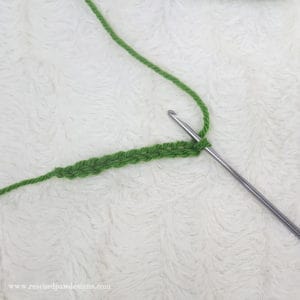
To start: With Green chain 11
Row 1: Starting in the 2nd chain from the hook, single crochet in every chain across, turn. (10)
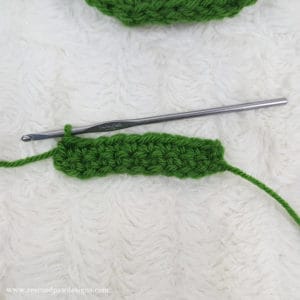
Row 2: Chain 1, starting in 1st stitch, single crochet, single crochet in every stitch across, turn. (10)
Row 3: Chain 1, single crochet the first two stitches together, single crochet once in each of the next 6 stitches, single crochet the last two stitches together, turn. (8)
Row 4: Chain 1, starting with the first stitch, single crochet, single crochet in the remaining stitches across, turn. (8)
Row 5: Chain 1, single crochet the first two stitches together, single crochet once in each of the next 4 stitches, single crochet the last two stitches together, turn. (6)
Row 6: Chain 1, starting with the first stitch, single crochet, single crochet in the remaining stitches across, turn. (6)
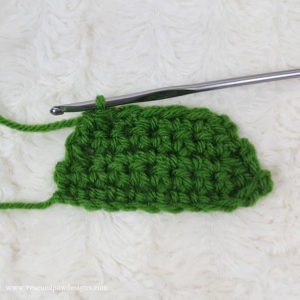
Row 7: Chain 1, single crochet the first two stitches together, single crochet once in each of the next 2 stitches, single crochet the last two stitches together, turn. (4)
Row 8: Chain 1, starting with the first stitch, single crochet, single crochet in the remaining stitches across, turn. (4)
Row 9: Chain 1, single crochet the first two stitches together, then single crochet the last two stitches together, turn. (2)
Row 10: Chain 1, starting with the first stitch, single crochet, single crochet in the remaining stitches across, turn. (2)
Row 11: Chain 1, single crochet the last two stitches together, turn. (1)
Row 12: Chain 1, single crochet once in the only stitch, do not fasten off the yarn. (1)
Border of Crochet Tree:
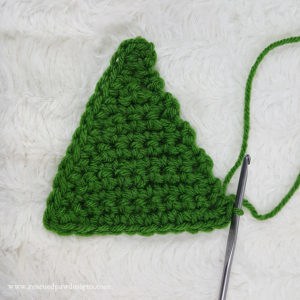
To start: With yarn still attached to the last stitch on top of the crochet tree chain 1, work along the left side of the tree down and make 10 single crochets evenly.
Corner: You have now reached the corner where you will make3 single crochets in the same stitch.
Bottom of the Tree: Make 8 single crochets along the bottom part of the tree until you reach the next corner.
Corner: You have now reached the right-hand corner, where you will make 3 single crochets in the same stitch.
Up the Right Side: Make 10 single crochets up the right side evenly.
Finishing: Slip stitch to the top of the first single crochet of the border, fasten off yarn.
Gift Card Holder:
To start: With Green Chain 8
Row 1: Starting in the 2nd chain from the hook, single crochet, single crochet in every stitch across, turn. (7)
Row 2: Ch 1, starting in first the stitch, single crochet, single crochet in every stitch across, turn. (7)
Row 3 – 6: Repeat Row 2. (7)
Finishing: Fasten off the yarn, leaving a 12-15 inch piece for attaching the holder to the tree. Attach the holder by using a yarn needle, the 15″ tail of yarn and weaving in and out along the edges to secure. I placed mine along the center bottom of the tree.
Crochet Star:
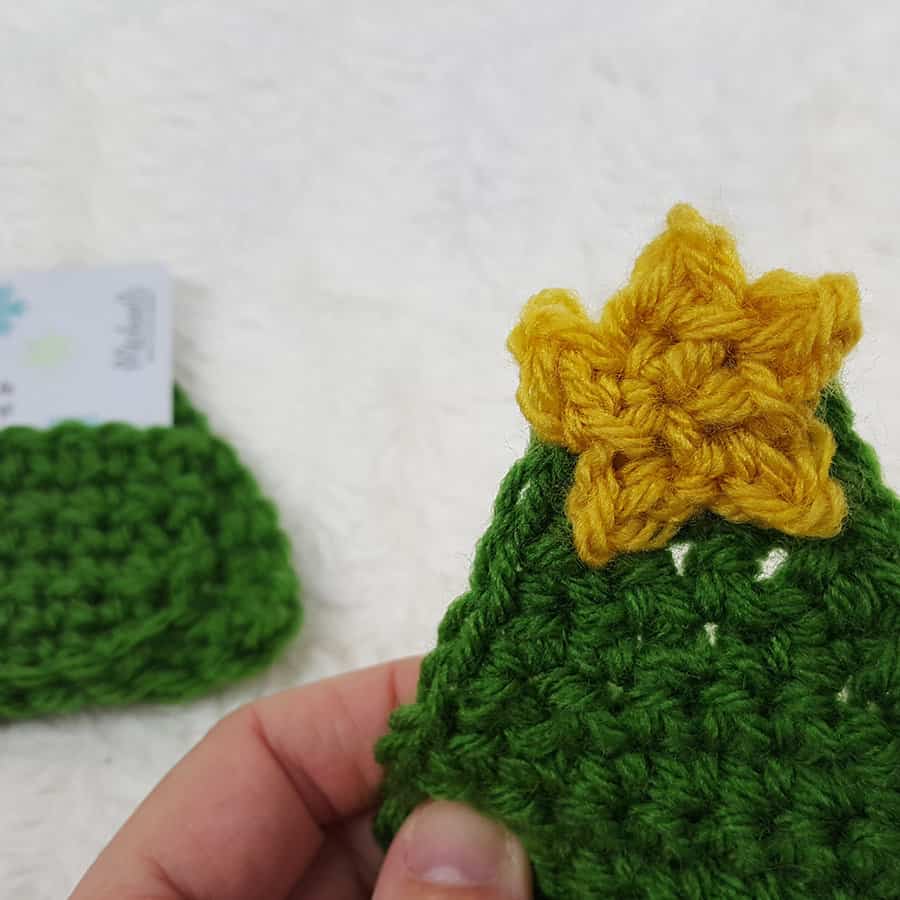
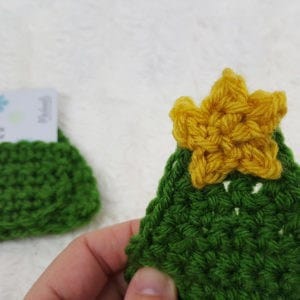
To start: With the Mustard Vanna’s Choice yarn make a small crochet star. I used a tutorial for a Mini Crochet Star from Repeat Crafter Me. Attach to the tree with a yarn needle securely.
You are done! To finish, using a yarn needle make sure all the yarn ends are securely fastened and woven in throughout the tree and star!
I hope you liked this crochet tree gift cardholder and make sure to follow along with me on Instagram or Pinterest, so you never miss out on a new pattern.
More Crochet Christmas Patterns
- Best Easy Crochet Patterns for the Holidays
- Easy Crochet Christmas Stocking Pattern
- 4 Easy Crochet Christmas Stocking Patterns for Beginners
- Easy and Free Christmas Crochet Patterns for Beginners
- Cozy Up This Winter With These Crochet Coffee Cozies
- Get Cozy with Our Pine Tree Crochet Pattern Collection
