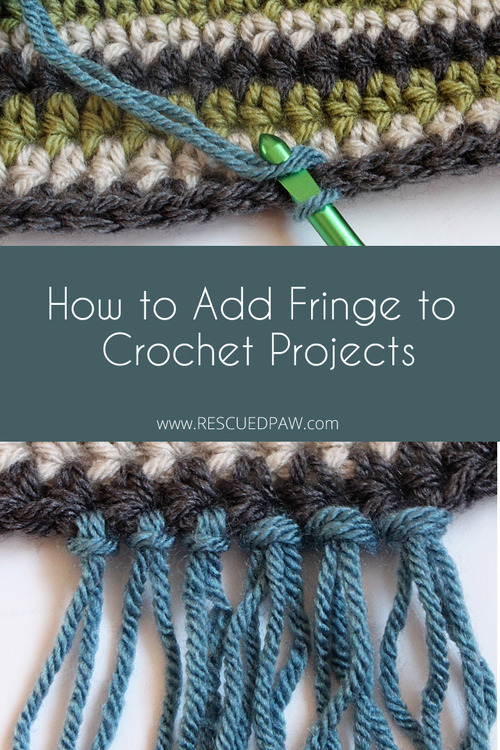
Adding Fringe to Your Crochet Scarves and Blankets: A Guide
Have you ever wondered how to add fringe to a crochet scarf, blanket or other crochet patterns? Wonder no more!
To learn, read on down to find the full tutorial on how to add fringe to crochet projects. You’ll love how easy it really is to add a little extra fun to patterns using this easy to follow guide.
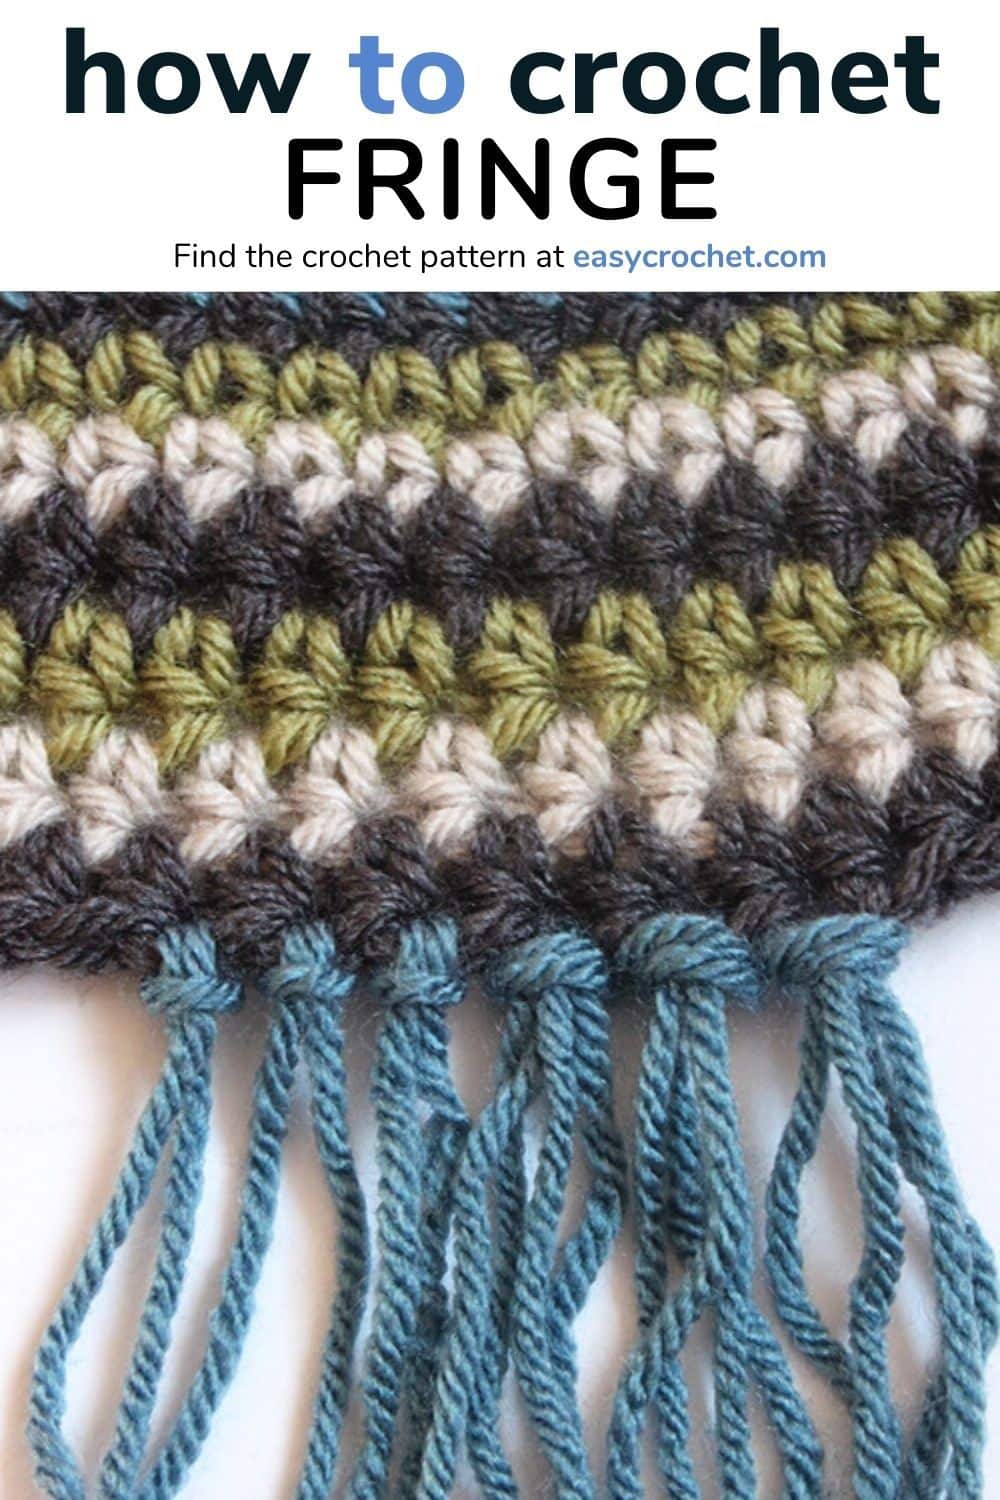
Fringe Is Easy To Add To A Crochet Project
Fringe is super easy to add to crochet items for a few reasons.
- First, you don’t need to be an expert; it’s beginner-friendly. You basically just cut strands of yarn and tie them to the edges of your project. No need for complex stitches!
- Second, you don’t need any extra tools. Just scissors and maybe a ruler to keep the lengths even. That’s it!
- Third, it’s quick. You can add fringe to a scarf or blanket in no time, making it stand out.
I love to add fringe to scarfs and blankets, but any project would work! I’ve added it to my Gracelyn Fringe Scarf and my Fabulously Fall Scarf in the past. You could even make a crochet fringe top too.
Supplies to Add Fringe to Crochet Patterns
To make fringe, you’ll need just a few basic supplies:
- Yarn: The same yarn used in your project, or something that complements it.
- Scissors: Sharp ones to make clean cuts.
- Ruler or tape measure: To make sure all the strands are the same length.
Vanna’s Choice
This yarn is made by Lion Brand, and is a Weight 4 – Medium yarn.
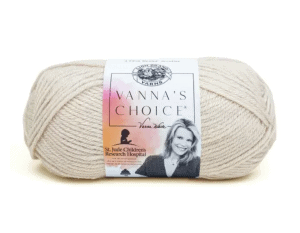
Fiber: 100% Acrylic
Yardage: 156m / 171 yds
Hook: 5.5 mm (I-9)
Substitute: Lion Brand Heartland
I used Vanna’s Choice by Lion Brand for this example and a Size J crochet hook. If you have a different weight yarn, that will work too, but be sure to use the correct hook size with it.
Ready to Add Fringe to Crochet?
Follow the tutorial below to get started today and learn how to add fringe to crochet projects! You will love the way crochet fringe edging looks! I promise.
Have fun adding fringe to almost any crochet project you can think of. Read on down to find the adding fringe to crochet tutorial and…
Happy Crocheting!
Add Fringe to Crochet Guide
Skill Level: Easy
Materials
- Yarn
- Scissors
- Tape Measure
Fringe Tutorial
To Start
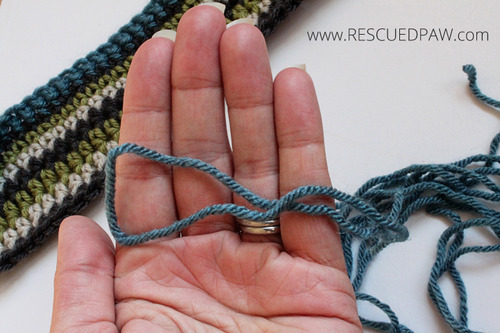
- Cut the Yarn: Use your scissors to cut strands of yarn. Use your ruler to make sure they’re all the same length. You’ll need two or more strands for each fringe.
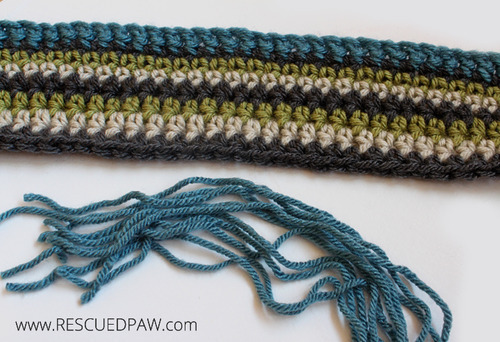
- Fold and Loop: Fold the strands in half to create a loop at one end
- Insert Hook: Put your crochet hook through the edge of your crochet piece where you want the fringe to go.
- Hook the Loop: Hook the loop you made in step 2 onto your crochet hook.
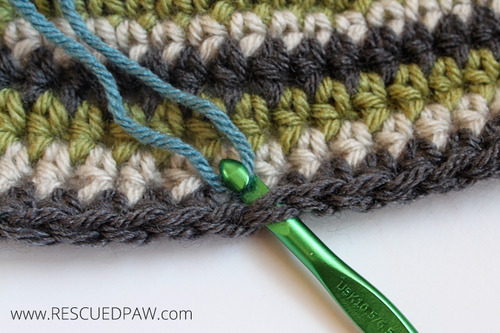
- Pull Through: Pull the loop through the crochet edge just enough to see the loop.
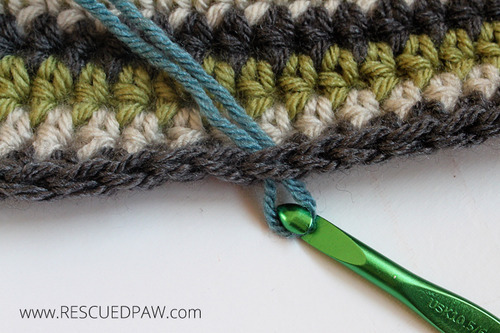
- Tie It: Now take the loose ends of the yarn strands and pull them through the loop you just made with the hook. Tighten it up, and you’ve got yourself a fringe!

- Repeat: Do this all along the edge where you want your fringe
- The first 3 fringes shown below are using only 1 piece of yarn, and the second 3 are using two pieces of yarn at once. I wanted to show you the difference in looks when using different amounts of yarn for fringe.
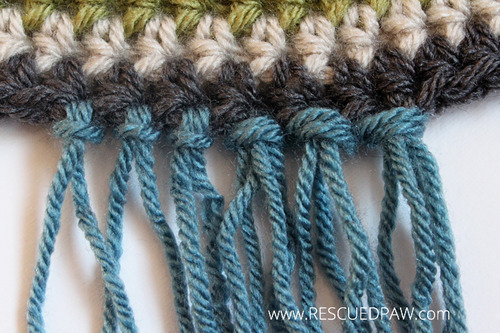
- Finishing: Evenly cut pieces of fringe to the desired length.
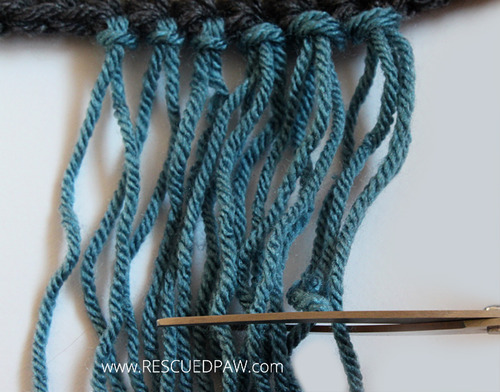
Congratulations! You are done making fringe for your crochet project!
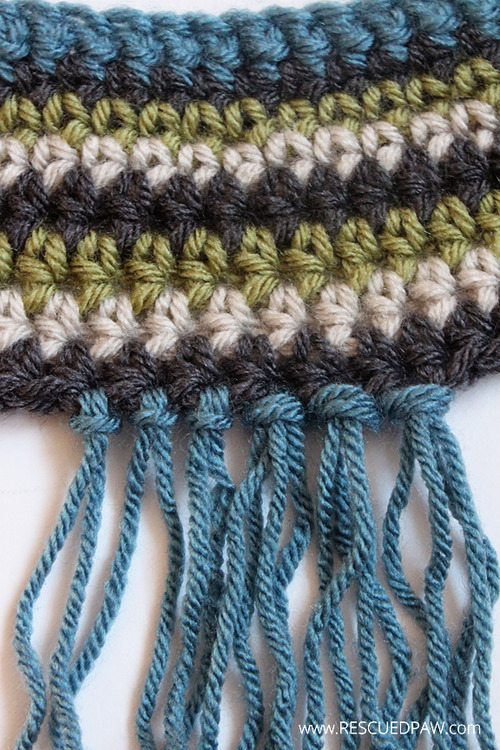

If you love this tutorial, be sure to check out the pretty in pink scarf to try out your new skill!
You May Also Like These Crochet Patterns
Extras: Want more free crochet patterns? Take a look at my suggestion below to make even more projects with my easy free crochet patterns.
- Free Heart Crochet Patterns for Valentine’s Day
- Best Easy Crochet Patterns for the Holidays
- Easy Crochet Patterns That are All Cozy
- 5 Minute Crochet Patterns
- 8 Favorite Spring Crochet Tops
- 14 Free Crochet Leg Warmer Patterns
- 25 Warm Weather Crochet Patterns To Make
- 18 Cute Crochet Cow Patterns
- 30 Free Crochet Baby Blanket Patterns
- 12 Crochet Graduation Gifts To Make This Year
- 50 Easy Crochet Ideas For When You Can’t Make Up Your Mind

