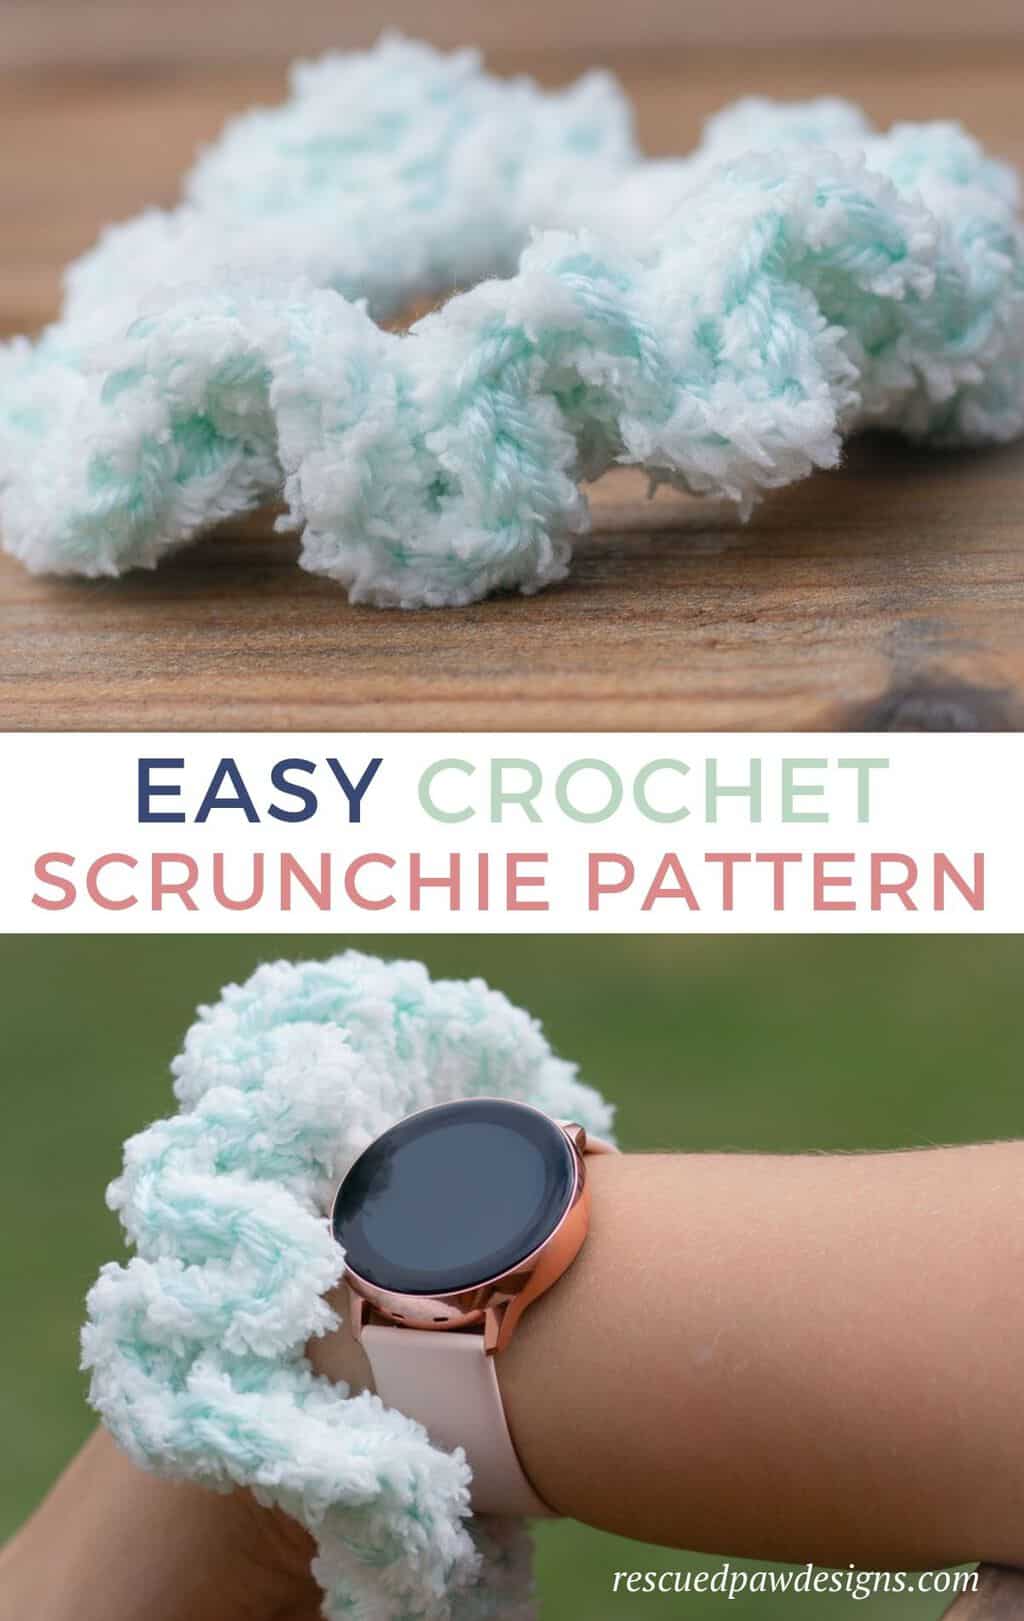
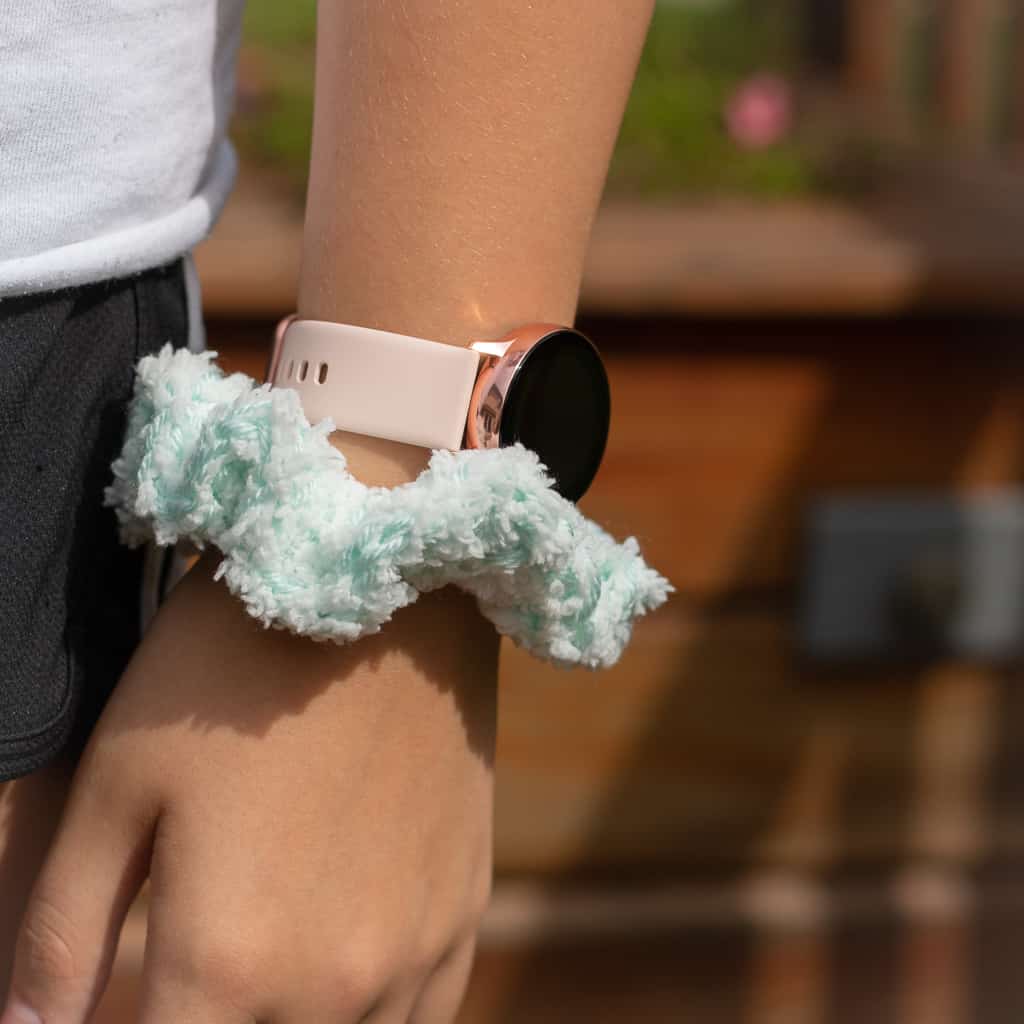
Easy Crochet Fuzzy Scrunchie Pattern
If you love quick and easy crochet patterns, then this yarn scrunchie is for you!
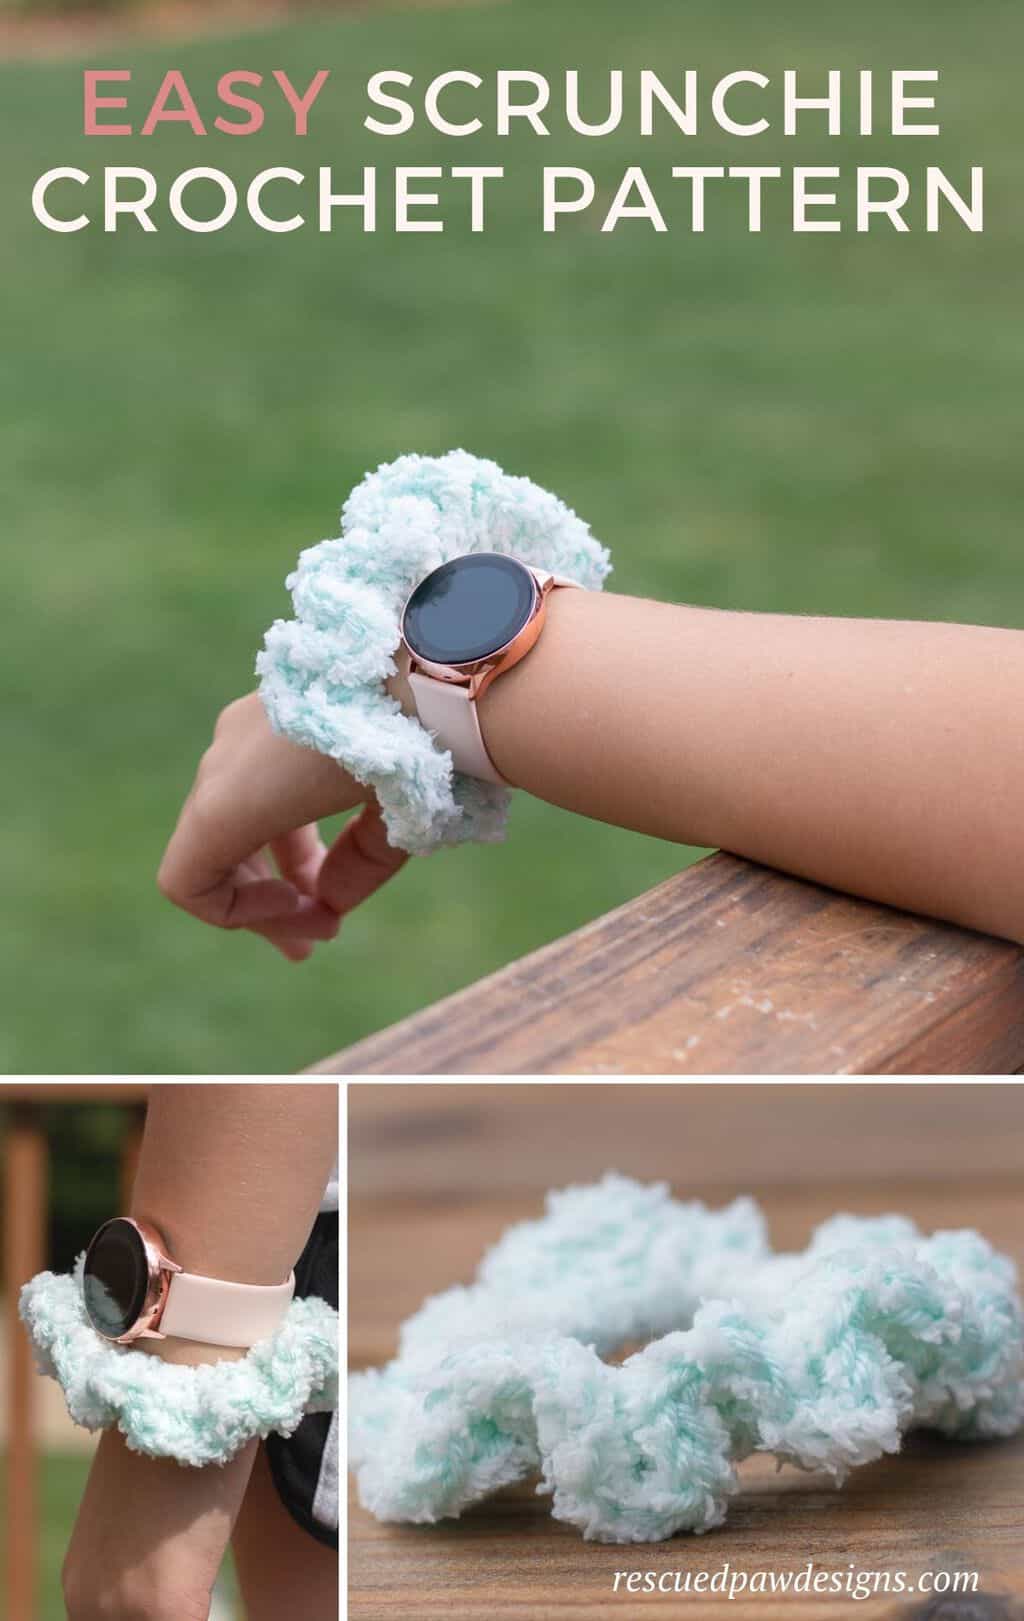
Use the free scrunchie design below to work up some cute and not to mention stylish hair ties that are in today just as much as they were in the ’80s!
You may also like the messy bun beanie, which uses a hair tie as a base for the pattern. Find the design here.
I’m excited for you to try this superfast crochet hair scrunchie pattern!
Happy Crocheting!
Uses a Beginner-Friendly stitch!
This scrunchie is made using just the simple double crochet or as it is sometimes referred to as the DC! If you can crochet this stitch, then you are good to go.
Double Crochet
Abbreviation: dc
Difficulty Level: Easy
Learn this stitch →
To start the scrunchie, you will need to attach the yarn to a hair tie, which you can find a tutorial about on YouTube. (Don’t forget to subscribe!)
After you attach the yarn with a DC, you will DC around the hair tie for the remainder of the pattern to create your new scrunchie! You can be creative with this design by adding more or less DC than it calls for, depending on your preference.
Have fun with it!

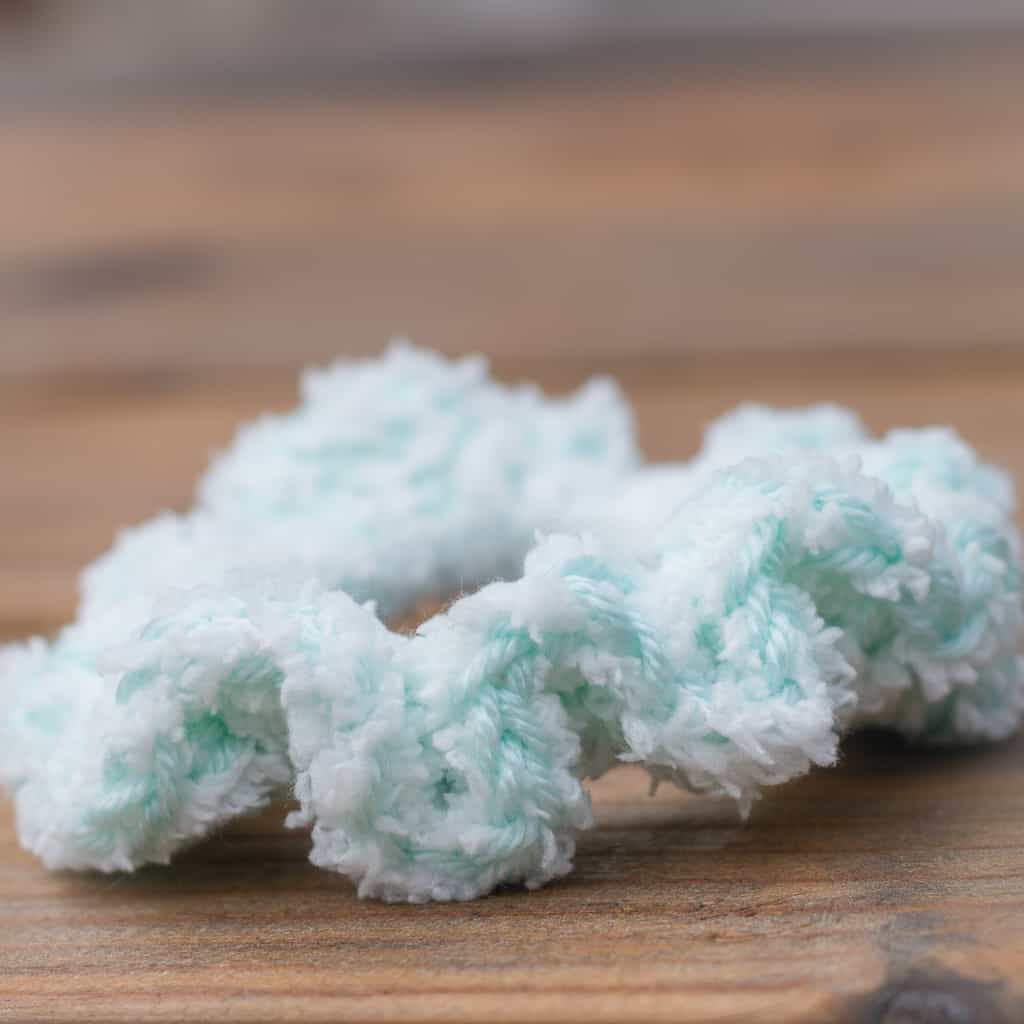
The Yarn
This hair tie scrunchie is worked up using Lion Brand Yarn’s Terry Spun in Ice and Basic Stitch Anti-Pilling in Frost. To achieve a fluffy soft feel I held both of these together at the same time while I worked around the hairband.
I will link up the yarns below, so you can take a look at them and maybe choose your new scrunchie colors! YAY! I can’t wait to see the color combinations everyone comes up with.
Click the images below to check them out!


Ready to Get Started?
Once you have your hook and yarn, then you are ready to go! Read on down to find the free scrunchie pattern!
Happy Crocheting!
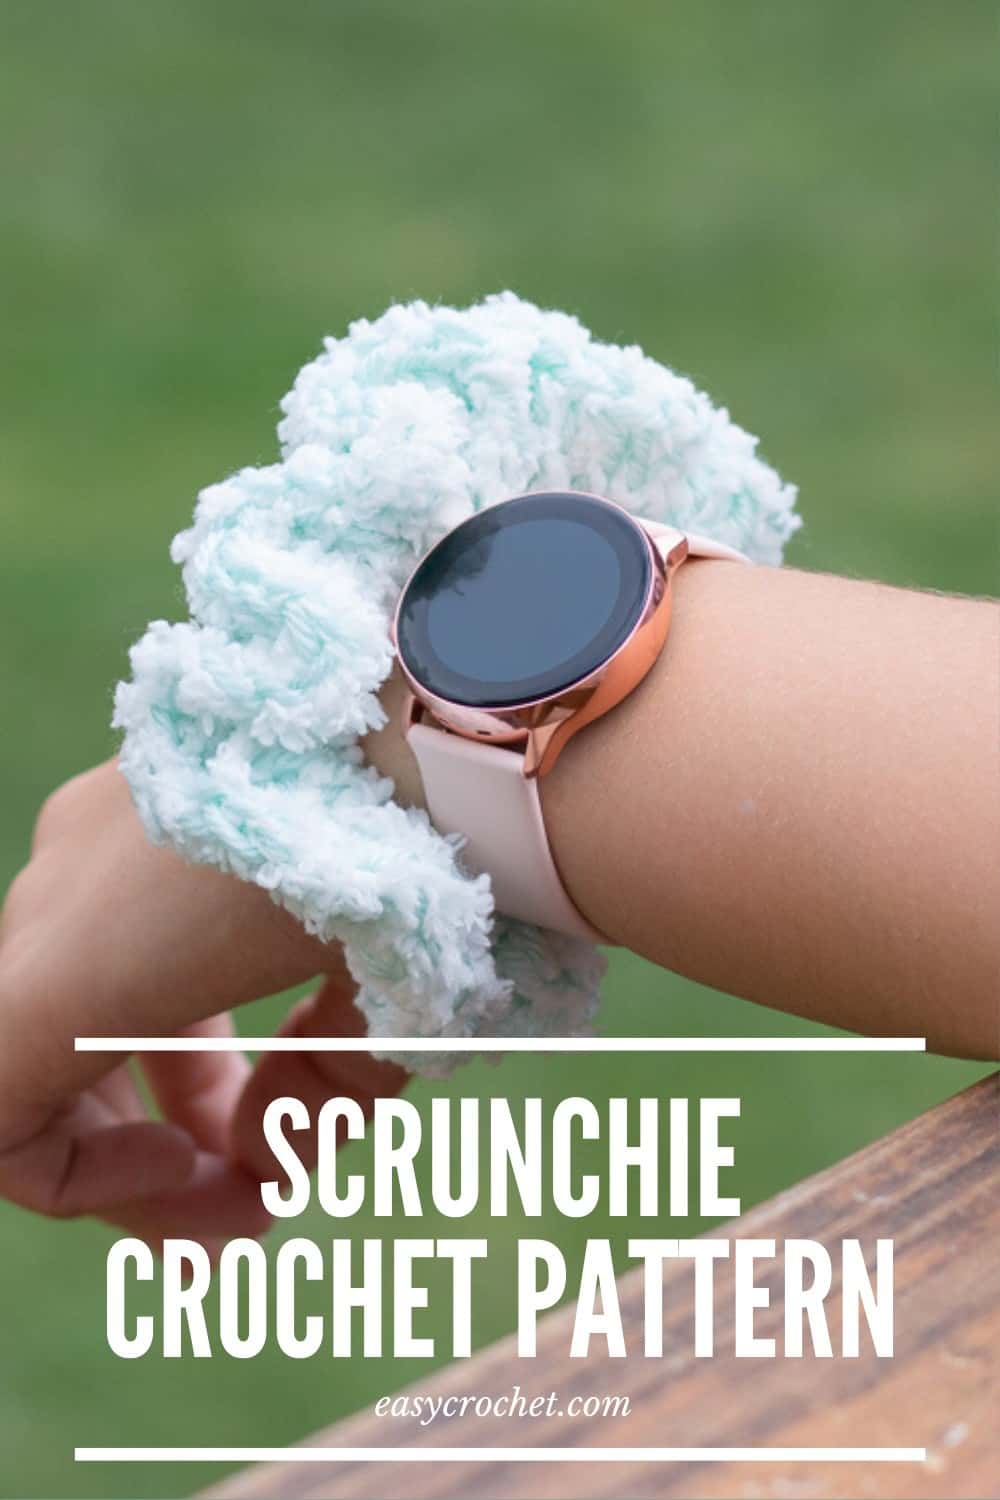
Free Crochet Hair Scrunchies Pattern
Skill Level: Easy
Materials
- Terry Spun – Ice or any bulky 5 yarn
- Basic Stitch anti-pilling – Frost or any medium weight yarn
- Crochet Hook – 5 mm H
- Yarn needle
- Scissors
- Hair Tie
Abbreviations
- SC = Single Crochet
- DC = Double Crochet
- SL ST = Slip Stitch
Notes
- The Hair Scunchie Pattern is written in standard US terms
- DC tutorial can be found here.
- How to attach yarn to a hair tie tutorial can be found here.
Pattern Steps
The entire pattern is worked holding two strands of yarn together at the same time: Terry spun & Basic Stitch.
To Begin: Attach yarn to hair tie with an SC. You can use this video tutorial here if you need help with this part, or view the picture tutorial below.
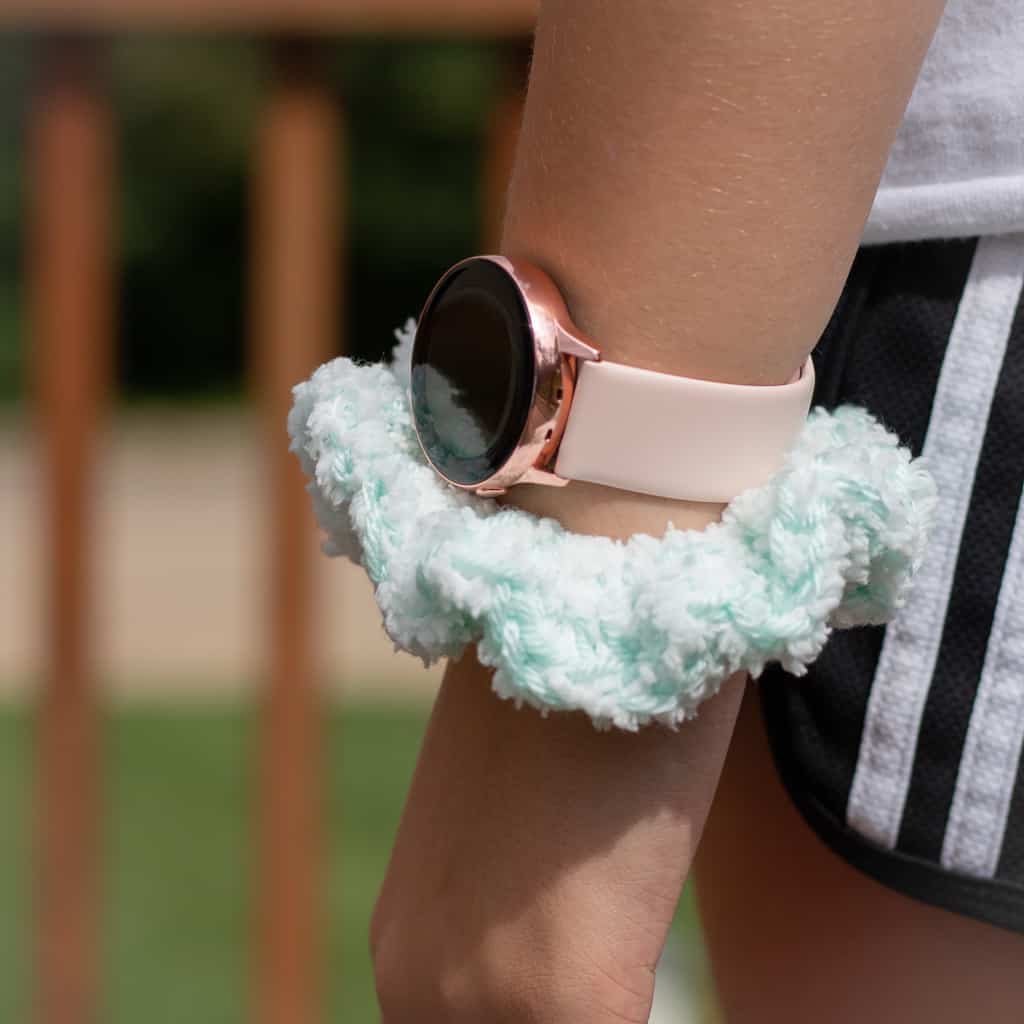
DC approximately 150 times around, more or less. You will want the yarn to start to “scrunch” up. Again, this amount will depend on the size of the hair tie. Use your best judgment on this part.
Next: SL ST into the top of the first DC of the round.
Finishing: To finish the pattern, fasten off the yarn and use a yarn needle to weave in the loose ends securely.
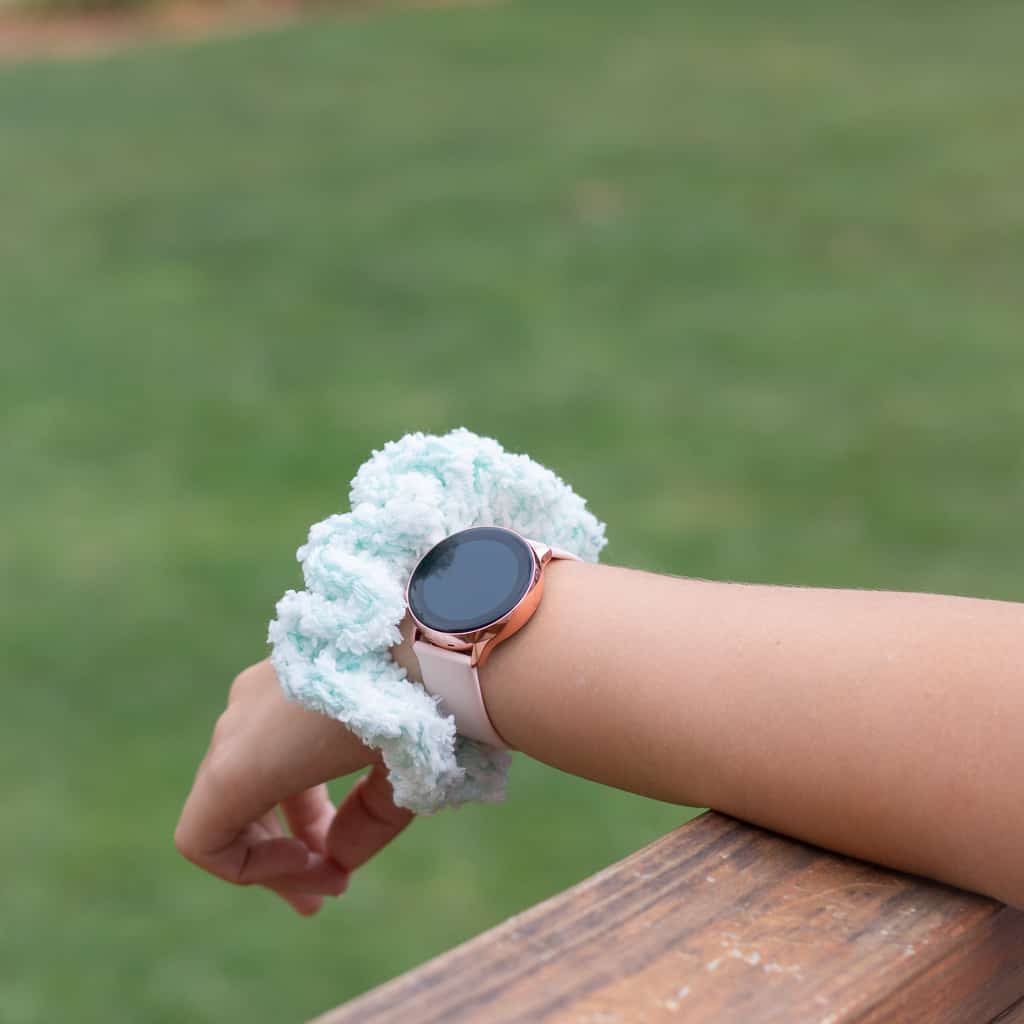
You have finished your new easy crochet scrunchie. Furthermore, let’s not forget, this make great gifts and stocking stuffers.
I hope you enjoyed this pattern. If you require any clarification, please feel free to ask.
You May Also Like These Patterns Too
- Free Heart Crochet Patterns for Valentine’s Day
- Best Easy Crochet Patterns for the Holidays
- Easy Crochet Patterns That are All Cozy
- 5 Minute Crochet Patterns
- 8 Favorite Spring Crochet Tops