Easy Crochet Fingerless Gloves Pattern for Winter Warmth
Looking for an easy fingerless glove crochet pattern? If so, I am excited to tell you about the Andy gloves crochet pattern that I just designed!
This pair of gloves works up fast, uses basic crochet stitches and are quite stylish! Keep on reading down to find the full free pattern, so you can start crocheting them today.
If you are like me, then you are always taking off your gloves and putting them back on when using any electronic, so these crochet gloves are a must-have.
I can’t tell you the number of times before I designed this pair of gloves that I would get so frustrated because I couldn’t use my phone with regular gloves!
Make a Matching Set
The simplicity of this crochet hand warmer design and the fact that they are made to match another reader favorite, the Andy Crochet Scarf, puts this crochet pattern in my top 10!
If you love matching crochet sets, then this is definitely the pattern for you. If you want to make a pair of these hand warmers for yourself, keep on reading down for the free crochet pattern!
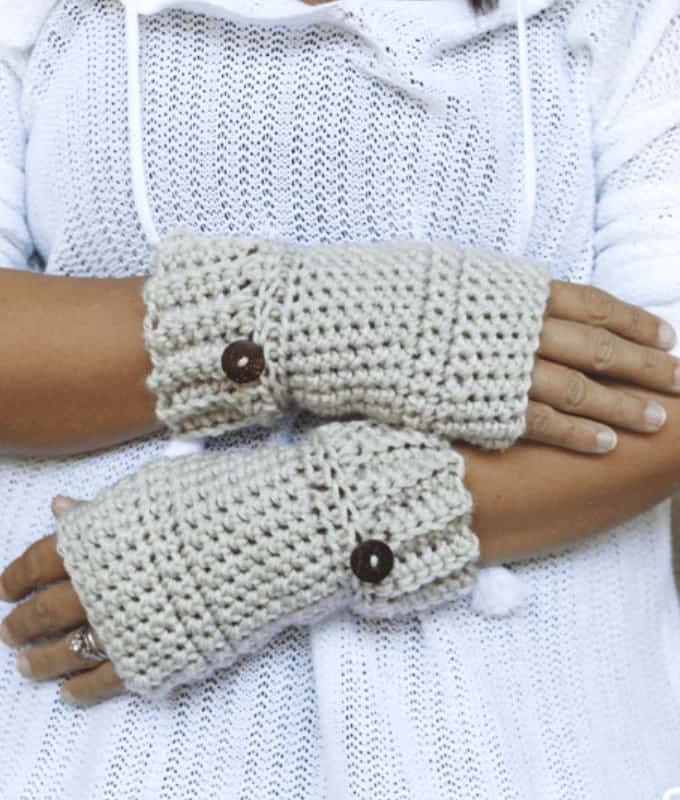
The Perfect Yarn to Make These Easy Fingerless Gloves
To crochet these fingerless gloves, I used Vanna’s Choice Yarn from Lion Brand. This yarn is a 100% acrylic yarn four weight yarn that is gorgeous AND easy to find at stores. I like to get this yarn from either Lionbrand.com or at WeCrochet.com for the best selection.
The Yarn
Vanna’s Choice
This yarn is made by Lion Brand, and is a Weight 4 – Medium yarn.
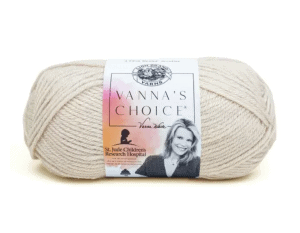
Fiber: 100% Acrylic
Yardage: 156m / 171 yds
Hook: 5.5 mm (I-9)
Substitute: Lion Brand Heartland
To crochet the gloves, as written, you will need only one skein of Vanna’s Choice yarn. I used the color Linen for my sample, but there are so many beautiful colors to choose from that they would look good in anyone of the 80+ that are available.
Furthermore, since these crochet wrist warmers use so little yarn, they are a perfect crochet project to use up extra fiber you may have left from other designs!
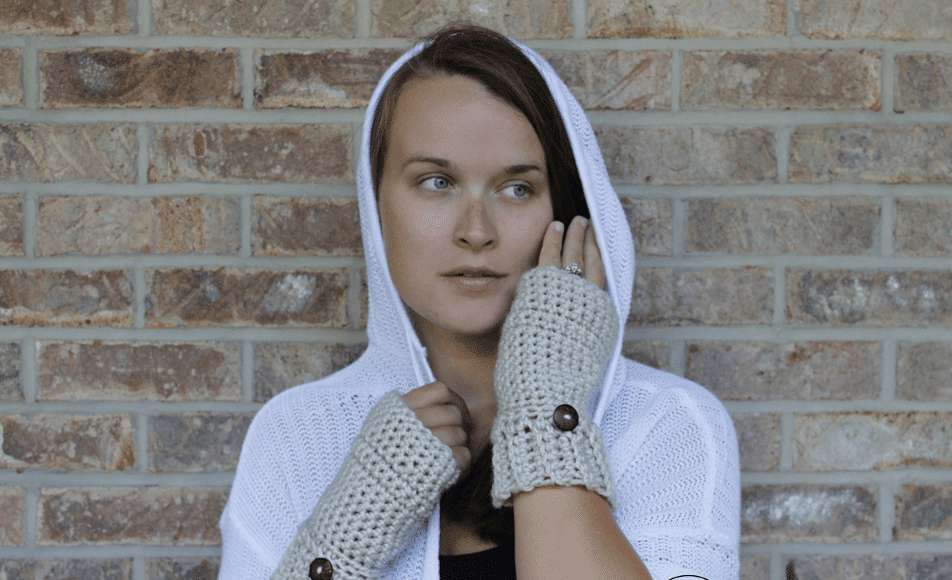
Other Materials for Fingerless Gloves
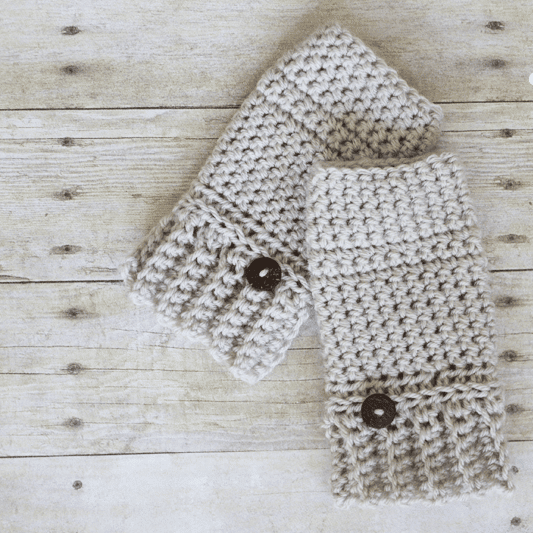
For the finishing touch on this pair of fingerless gloves, I added a coconut shell button, which are always my go-to buttons on each glove. You’ll love how they add a natural, earthly feel to almost any crochet project.
I found my set of buttons on Amazon, but most local craft stores should carry them, if not, then click that affiliate link above and grab some!
Ready to Get Started?
I promise these fingerless gloves are super easy to work up and if you need any clarification at all about these crochet hand warmers please, feel free to ask.
Enjoy and Happy Crocheting!
Free Fingerless Gloves Pattern
Skill Level: Easy
Materials
- Size J crochet hook 6.00 mm
- Yarn needle
- Measuring Tape
- 170 yards of Lion Brand Vanna’s Choice yarn in Linen (or any worsted weight (4) yarn)
- Two 1 inch cotton shell buttons
Finished Size
- 8″ height x 8″ circumference (in inches)
- One size fits most
Crochet Abbreviations
Learn more about crochet abbreviations.
- hdc = half double crochet
- ch = chain
- bl = back loop
- fl = front loop
- st = stitch
- sk = skip
- sl st = slip stitch
- sc2tog = single crochet 2 together
Notes
- This fingerless glove pattern is written in standard US terms
- The main glove body is worked in rounds and rows. Rounds 1 -8, Rows 9-12, Rounds 13 – 18.
Easy Fingerless Gloves Free Pattern
(make 2)
Ribbing
(each row should be 2″ wide = 6 sc’s for every 2″)
FOUNDATION ROW: ch 7, sc in 2nd ch from hook, sc in remaining ch’s across, turn (6)
ROW 1: ch 1, working in the bl and starting in the first st sc, bl sc in remaining st’s across, turn. (6)
ROW 2- 21: repeat row 1. (6)
Finishing
- Hold together ends with the side of the ribbing you started the pattern with on the inside, sl st 6 times across evenly along the seam to form a circle.
- Do not fasten off yarn and continue on to the glove pattern below to finish
Body of Glove
(gauge is 6 sc for every 2″)
Round 1: ch 1, do 21 hdc’s evenly around top of ribbing, sl st top of first hdc (21)
Round 2: ch 1, starting in first st hdc in the fl, hdc in the fl in the remaining st’s around, sl st to top of first hdc (21)
Round 3-5: ch 1, starting in the first st sc, sc in the remaining st’s around, sl st to the top of the first sc (21)
Round 6: ch 1, starting in the first st do 2 sc’s, sc around until you are left with 1 st, 2 sc’s in the remaining st, sl st to top of first sc (23)
Round 7: ch 1, starting in first stitch sc, sc in the remaining st’s around, sl st to the top of the first sc (23)
Round 8: repeat round 7 (23)
Forming the Thumb
Row 9: (we will be working in rows now) repeat round 7 but do not sl st to top of first sc, turn your work (23)
Row 10: ch 1, starting in the first st sc, sc in every st in row, turn (23)
Row 11: repeat row 10 (23)
Row 12: repeat row 10 (23)
Finishing The Gloves
Round 13: (we will be working in rounds now) repeat row 10, but sl st to top of first sc of round (23)
Round 14: repeat round 7
Round 15: ch 1, in the first st sc2tog, sc around until you are left with 2 sc’s, sc2tog. sl st to top of first sc (21)
Round 16: ch 1, in first st sc, sc in remaining st’s around, sl st to top of first sc (21)
Round 17: repeat round 16 (21)
Round 18: ch 1, starting in 2nd ch from hook sl st, sl st in every st around, sl st to top of first sl st, fasten off yarn (21)
To Finish Completely
- Weave in loose ends throughout with a yarn needle.
- Button attachment: (optional) Cut a 6″ piece of yarn, using a yarn needle, attach the button to the outside left of the glove securely

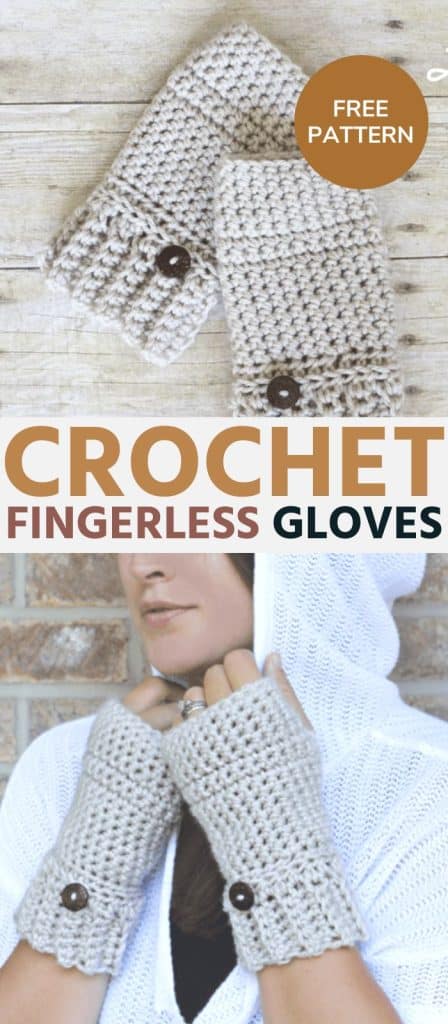
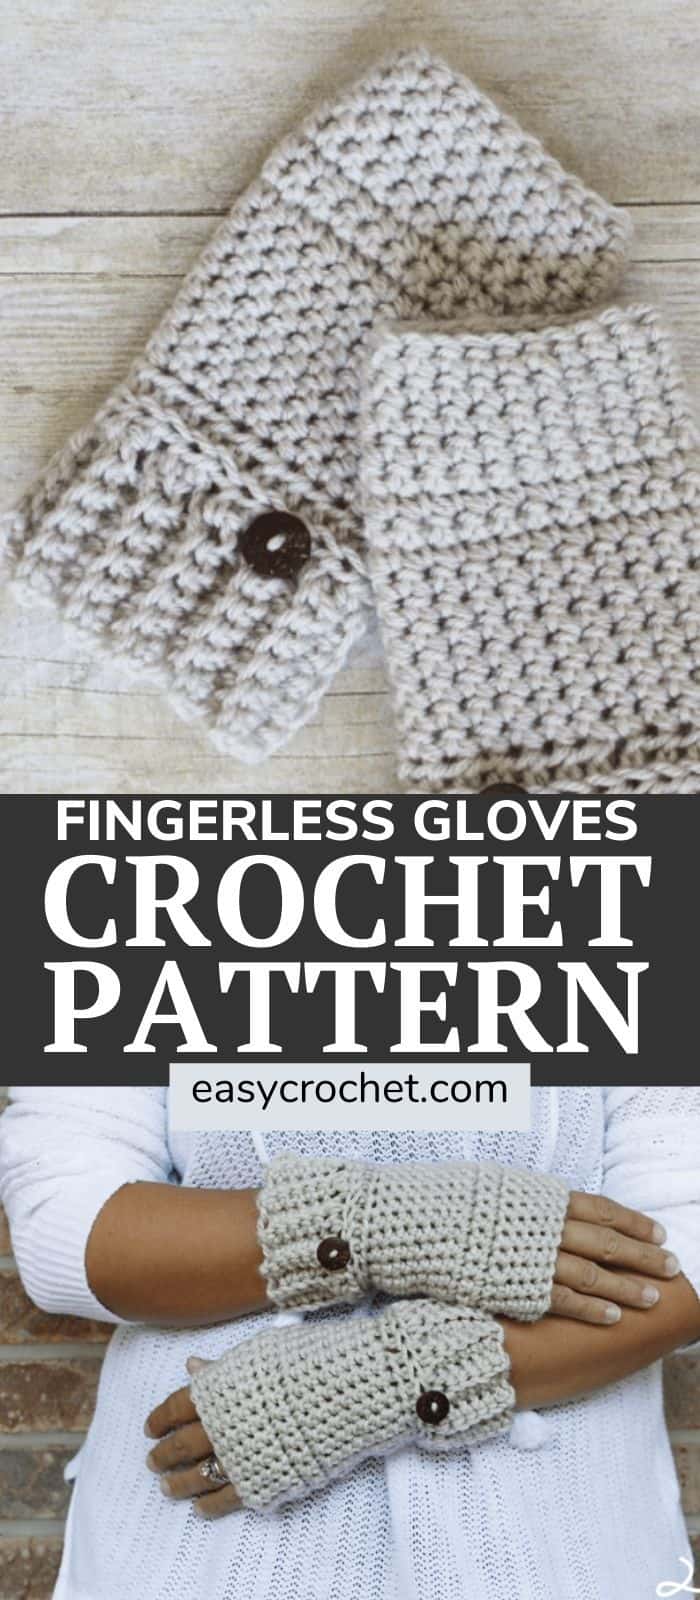
If you liked this pattern, please use the images below to share on Pinterest, so you can make it later!
Don’t forget to add this Andy Crochet fingerless gloves pattern to Ravelry, so you can make them again. Andy Crochet Hand Warmers Pattern

I love your pattern I did alter it some. I like a bigger wrist part so I added more stitches to the chain for the cuff. Also like gloves higher on the fingers so I added another sc row, then added a hdc row to match the one that started the body of the glove and give more height, then another sc row, then the slip stitch row. The extra hdc row at the top really gave the gloves a nice look
When you slip stitch the ribbing into a circle with the right side on the inside, when to you turn it right side out? before you begin on the glove HDCs?
Hi, wondering… what about the thumb ? I don’t see any place to work that. Thanks for your help
Judy. Jtalmo68@gmail.com
Hi Judy,
In the main glove pattern you will start by working in rounds, then switch to rows, then back to rounds which will leave an opening for the thumb. 🙂 Hope this helps!
Krista
Thank you so much for sharing your patterns. I completed the wrist warmers in a little over an hour. I find your instructions very easy to follow. Thanks again
You are welcome Andrea! Thanks for being here! 🙂
Please advise this newbie, after you do the ribbing and start in round 2 you say chain one and start in second chain from hook, are you crocheting in the same stitch as slip stitch? I’m confused here.
Hi Cindy,
I fixed the wording 🙂 It should be easier to read now. Thanks for pointing this out! 🙂
Hi Krista 🙂
I have made both the scarf and hand warmers for a friends birthday and was wondering if you have done a pattern for a hat to match? loving the set and may do one for myself as well!
Hi Molly!
I am glad you love the set! I have a hat in the works!It should be released soon! 🙂
Brilliant! look forward to making it! 🙂 Thank you 🙂
Thank you for sharing these two beautiful patterns. Your wrist warmers are beautiful and I will be having a go at making them. Is the pattern in American stitches?
Hi Louise,
You are welcome and thank you for the kind words! 🙂 All my patterns are written in standard US crochet terms. Hope this helps!
Krista