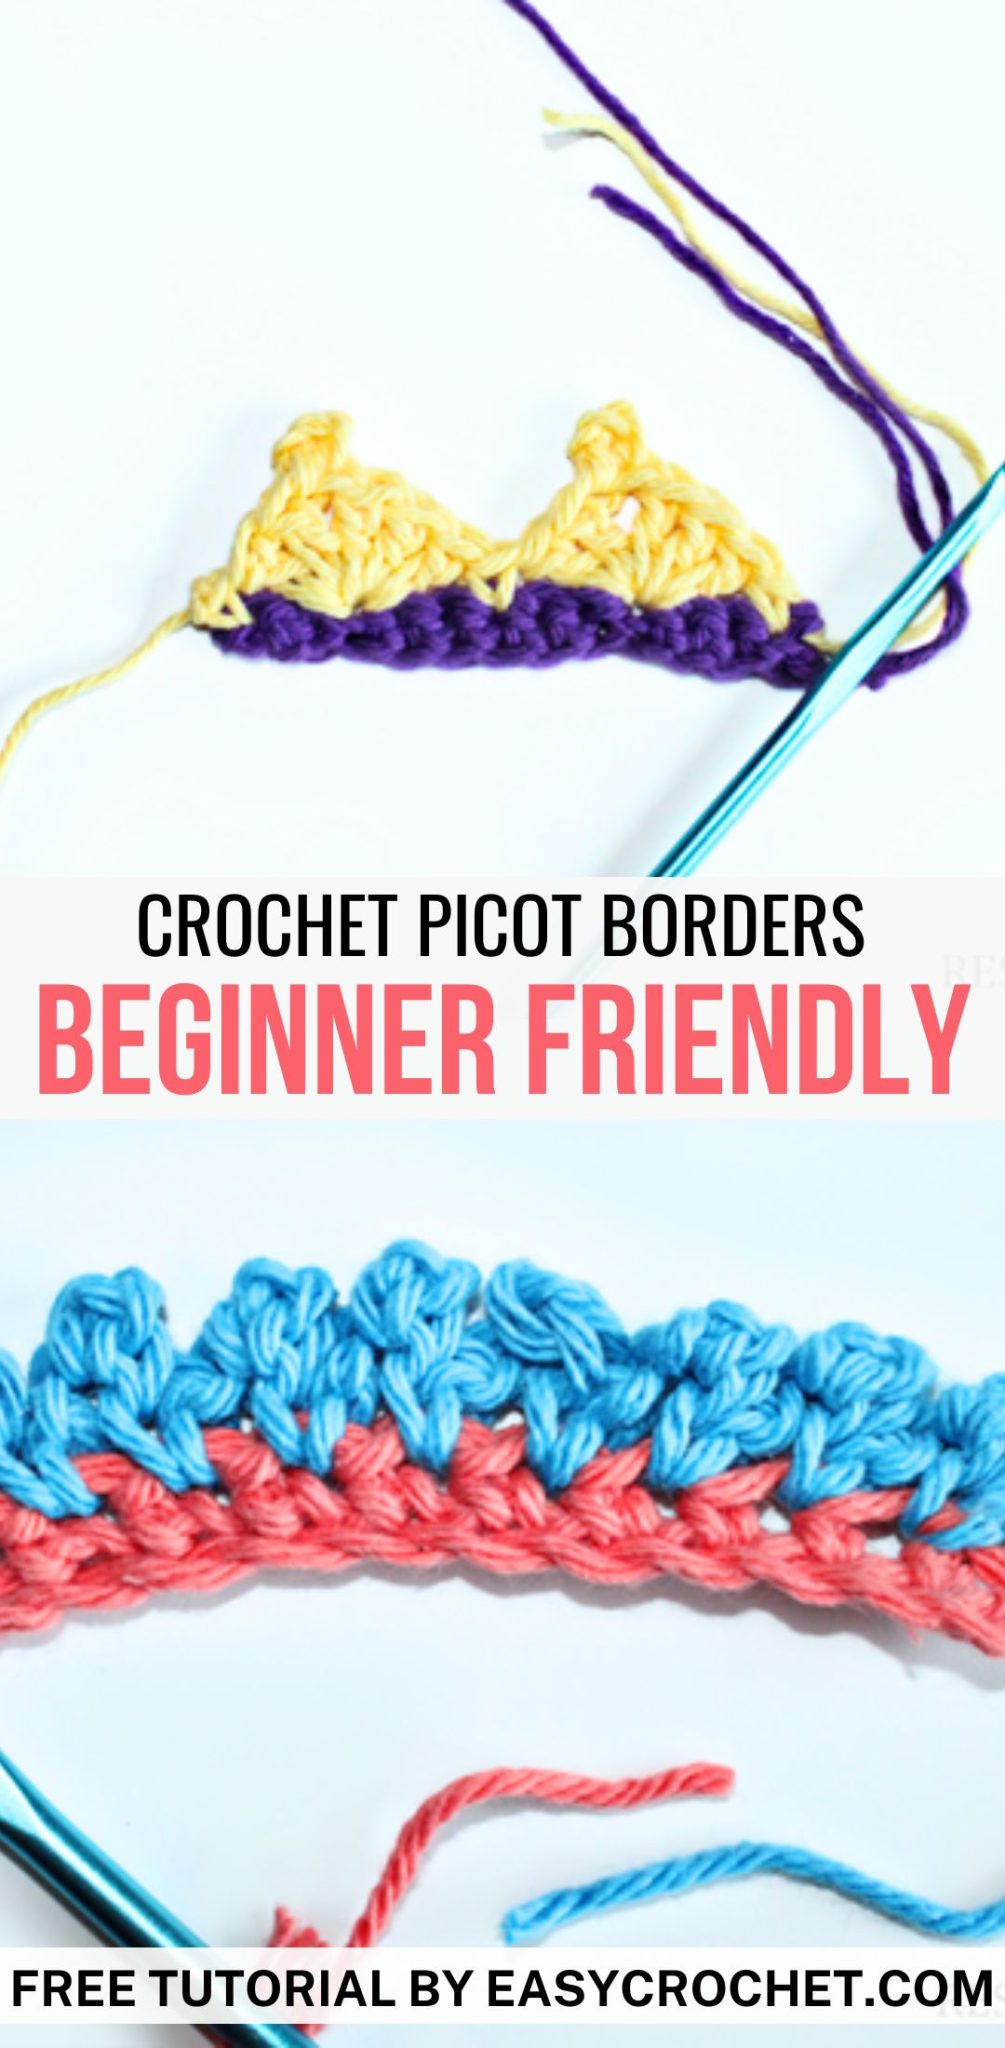
Picot Borders Crochet Tutorials (Two Ways!)
If you are looking for an interesting border for your crochet blanket, then try these picot crochet border tutorials to add that something extra!
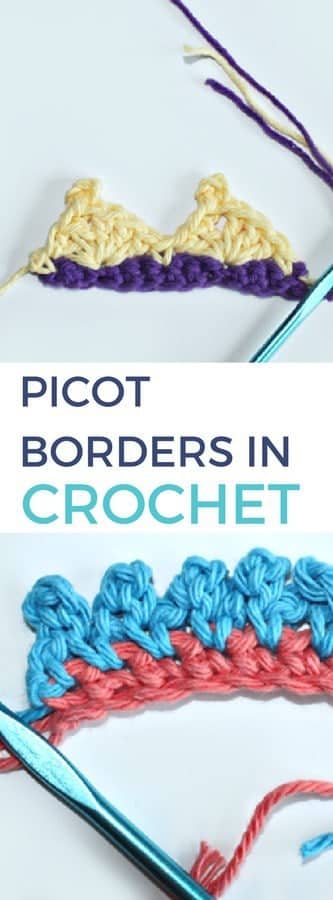
Below I’ll show you two different ways to add a picot border to your blanket, washcloth or any project you wish!
How Do I Make a Picot Stitch in Crochet?
If you are asking yourself this question, then I can help! Picot borders are super easy to crochet on to almost any crocheted piece such as a scarf, blanket & more!
These borders are the perfect way to add a little something extra to those crochet projects.
Yarn For These Crochet Picot Stitches
You can use various yarns for these stitches, but my favorite is Vanna’s Choice by Lionbrand.
The Yarn
Vanna’s Choice
This yarn is made by Lion Brand, and is a Weight 4 – Medium yarn.
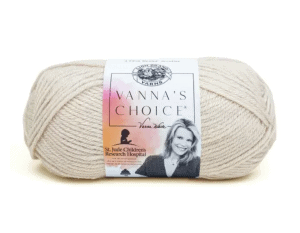
Fiber: 100% Acrylic
Yardage: 156m / 171 yds
Hook: 5.5 mm (I-9)
Substitute: Lion Brand Heartland

Keep in mind that whatever yarn you do pick to make a picot border with, you will need to read the label to determine the best crochet hook size to use.
Two Easy to Learn Picot Crochet Edging Techniques
The tutorials below are meant to be attached as borders to finished projects. I’d suggest them on blankets (like the Jane Crochet throw!), sweaters and even washcloths. Keep this in mind when reading the instructions.
Scroll on down for the full picot border tutorial! Happy Crocheting!
Picot Crochet Border Tutorials
Skill Level: Easy
Materials
- Yarn: Any yarn weight will work. I used a four weight cotton yarn for this example
- Crochet Hook: Any crochet hook size will work as long as it corresponds to the yarn used.
- Scissors
- Yarn Needle

Notes
- The tutorials are written in standard US terms
Picot Shell Border
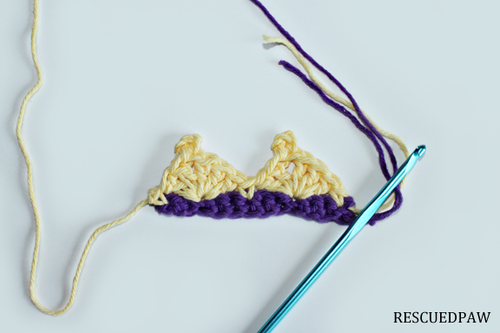
This can be worked in any multiple of 3 stitches.
- Chain 1, single crochet in the same stitch.
- * skip 2 stitches, in next stitch make 3 double crochets, chain 4, slip stitch in 1st chain, 3 double crochets
- Skip 2 stitches, 1 single crochet in next stitch.
- Repeat from * to continue the pattern border.
Picot Border
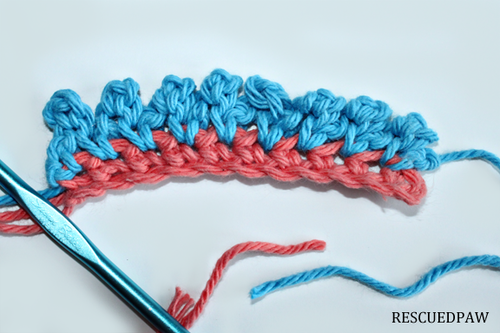
If you need to make a project bigger or smaller, just work this border into any multiples of stitches.
- Chain 1, single crochet in the same stitch
- Chain 3, slip stitch into the first chain(this is a picot!)
- * Single crochet into the next stitch, Ch 3, slip stitch into the first chain
- Repeat from * for the pattern border.
You’ve Made a Picot Border!
Now you can easily add borders to almost any crochet project! Which one of these two techniques was your favorite?
Let me know in the comments!
You May Also Like These Free Crochet Patterns
- Free Heart Crochet Patterns for Valentine’s Day
- Best Easy Crochet Patterns for the Holidays
- Easy Crochet Patterns That are All Cozy
- 5 Minute Crochet Patterns
- 8 Favorite Spring Crochet Tops
- 14 Free Crochet Leg Warmer Patterns
- 25 Warm Weather Crochet Patterns To Make
- 18 Cute Crochet Cow Patterns
- 30 Free Crochet Baby Blanket Patterns
- 12 Crochet Graduation Gifts To Make This Year
Scrolled all the way down and never saw link for the picot tutorial
Hi Phyllis,
You can click the skip to pattern button at the top to get it to it or scroll halfway down and there are two photo tutorials.
Krista