Andy Button Crochet Hat Pattern

Crocheted hats are a quick project to make and are great for staying warm when it’s cold outside.
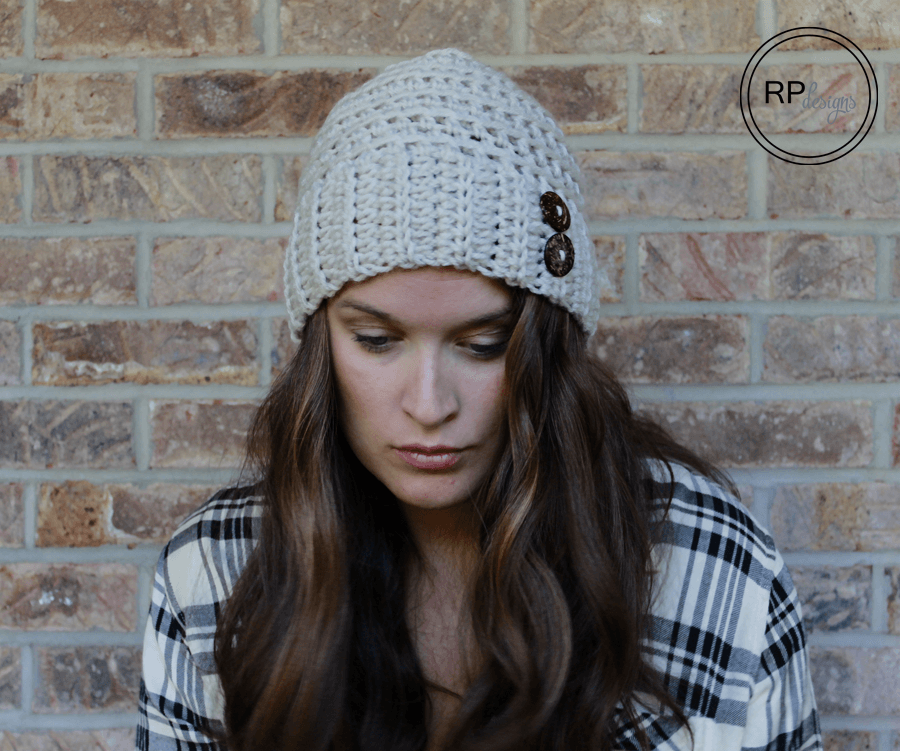
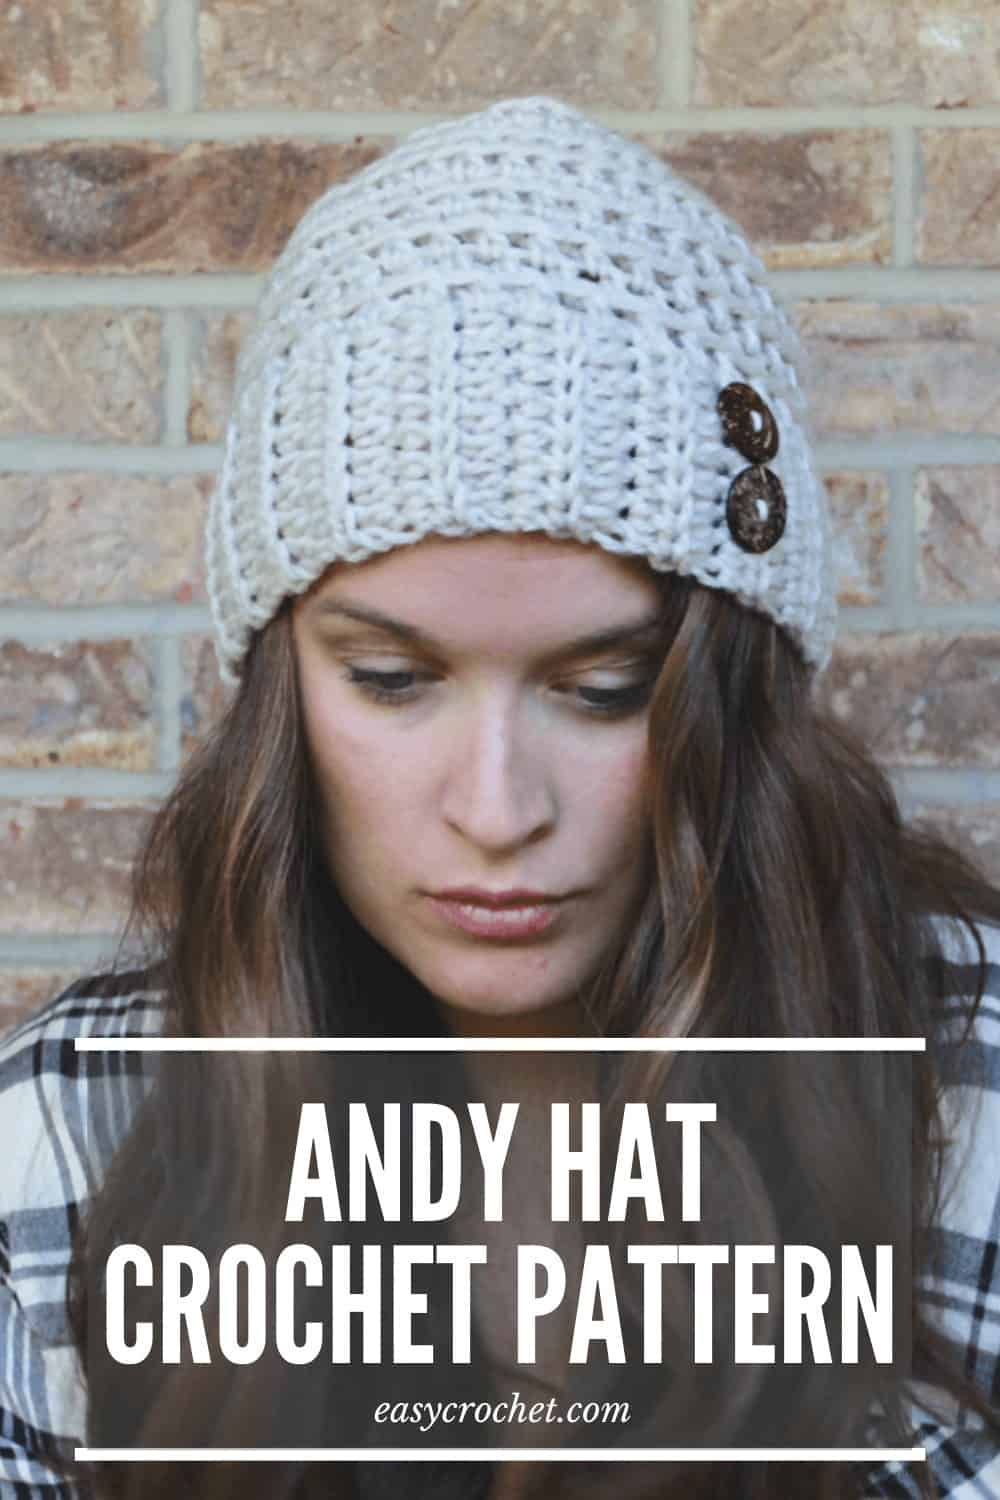
It’s finally that time of year again here in Pennsylvania when I need to pull out some hat patterns to crochet! If you need a new winter hat, then look no further than the Andy Crochet Hat pattern!
Read on down to find this easy crochet hat pattern and get started today!
The Yarn
To make this simple crochet hat I used less than one skein of Lion Brand Yarn Vanna’s choice yarn which is a 100% acrylic yarn that is available in a wide variety of colors.
Do you want to use a substitute yarn? If so, any four weight yarn will work perfectly. I suggest Red Heart Soft or Caron Simply Soft as great alternatives.
Gauge + Hat Sizing
I am getting many messages about gauge. A guide to gauge can be found here on the blog. If you are experiencing any problems with gauge with the recommended crochet hook size, I would suggest sizing up a crochet hook or two to try to reach the correct gauge.
You could also take a look at our crochet hat size chart guide to make sure you make the perfect sized hat.
And please remember if you are using a different yarn weight, even a different yarn with the suggested weight outcome will vary. This pattern is meant to be a guide. Please be kind in your comments to me.
Pair this Hat with our Scarf + Hand Warmers
This hat goes perfectly with the Andy Button Scarf & Andy Hand Warmers crochet patterns that I released earlier this year! Make sure to check both of them out!


Let’s Get Started!
If you are ready to make this design, then read on down for the full, FREE Andy Crochet Hat Pattern!
Andy Crochet Hat
Skill Level: Intermediate
Materials
- 1 skein of Lion Brand Vanna’s Choice Yarn in Linen or any worsted weight yarn (4)
- Yarn needle
- Crochet hook size J 6 mm
- 2 one inch coconut shell buttons.
Finished Size
- One size fits most Teen – Adult Woman: approx 19″ circumference (stretches easily to 22″) & 9″ length
Gauge
- Gauge is critical for proper fit. Please take the time to make sure your gauge is correct.
- Gauge for the main hat: 6 sts = 2″
- Gauge for the ribbing: Each is row is 2.75″ wide &.5″ high
- Click here to learn why gauge is so significant.
Abbreviations
- sl st = slip stitch
- ch = chain
- st = stitch
- hdc = half double crochet
- hdc2tog = half double crochet 2 together
- bl hdc = half double crochet in the back loop
Notes
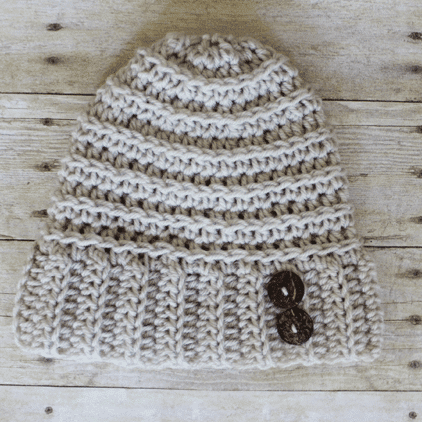
- The 3rd loop is the loop behind the main V that is formed with a half double crochet stitch. We will be working part of the hat in that stitch.
- The pattern is written in standard US terms
The Pattern
Make sure to follow the correct gauge listed above or the hat will end up to small or to big.
Part 1: (this will form the ribbing on the hat)
- Row 1: ch 9
- Row 2: starting in the 2nd ch from the hook bl hdc, bl hdc across row in each st, turn. (8)
- Row 3: ch 1, bl hdc, bl hdc across row in each st, turn. (8)
- Row 4-36: repeat row 3 (8)
- Hold together two short ends & do 8 sl st’s evenly together across to form a circle. It should measure 19″ inches at this point
Part 2: (main part of hat)
Round 1: ch 1, and working along top of circle ribbing horizontally hdc on top of the last row you just worked, hdc on the top of every row across for a total of 37 hdc, sl st to top of first hdc. (37)

Round 2: ch 1, in first st, hdc in the 3rd loop , do a 3rd loop hdc in every st around, sl st to the top of the first hdc. (37)
Round 3: ch 1, hdc, hdc in every st around, sl st to the top of the first hdc. (37)

Round 4: repeat round 2 (37)
Round 5: repeat round 3 (37)
Round 6: repeat round 2 (37)
Round 7: repeat round 3 (37)
Round 8: repeat round 2 (37)
Round 9: hdc2tog, * hdc 1 time in next 3 sts, hdc2tog, repeat from * around, sl st to top of first hdc. (29)
Round 10: repeat round 2 (29)
Round 11: hdc2tog, *hdc 1 time in next 3 sts, hdc2tog, hdc 1 time in next 4 sts, hdc2tog, repeat from * around, ending with 3 hdc’s & a hdc2tog, sl st to top of first hdc. (23)
Round 12: repeat round 2. (23)
Round 13: hdc2tog, *hdc 1 time in next 3 sts, hdc2tog, hdc in next 2 sts, hdc2tog, repeat from * around, end with 3 sts, sl st to top of first hdc (18)

Finishing
Leave a 15″ piece of yarn and fasten off, attach yarn needle to yarn, weave through the last round of st’s, pull yarn tail tightly to close top the top of the hat. Fasten off securely, weave in loose ends throughout the hat with yarn needle.
Securely attach buttons to bottom ribbing of hat with extra yarn. (optional)

Thanks for Stopping By!
I hope you enjoyed the Andy crochet hat pattern, and if you have any questions, feel free to ask me anytime! I would love to see your creations when you are done on Instagram using the hashtag #andyhat or #easycrochetcom.
More Free Crochet Patterns
- Free Heart Crochet Patterns for Valentine’s Day
- Best Easy Crochet Patterns for the Holidays
- Easy Crochet Patterns That are All Cozy
- 5 Minute Crochet Patterns
- 8 Favorite Spring Crochet Tops
- 14 Free Crochet Leg Warmer Patterns
- 25 Warm Weather Crochet Patterns To Make
- 18 Cute Crochet Cow Patterns
- 30 Free Crochet Baby Blanket Patterns
- 12 Crochet Graduation Gifts To Make This Year
Pattern’s Extra Information
SELLING: You may sell items made from patterns on Easy Crochet unless otherwise stated. If you choose to sell items made from this pattern, please link back to me at www.easycrochet.com for credit. Please do not use my pictures to sell your items.
TRANSLATIONS: Please do not post a translation of my pattern(s) anywhere. If you would like to help make a translation I would be happy to publish it on Easy Crochet with a link and full credit to your blog. For further questions, please email rescuedpaw@gmail.com.
PLEASE DO NOT COPY, SHARE (a link is OK), ADJUST OR RESELL MY PATTERNS
Thank you for respecting my work.


Thank you for the pattern. I use your “19” suggestion instead of the row count. Can our perfect!
Thank you for a brilliant pattern… Just finished making it using a super chunky yarn, so I didn’t make as many rows on the main part. It’s super cosy and warm! 🙂
Hi Lotta,
Thank you so much! I am so glad you liked this one. Happy Crocheting!
Krista
Thanks for sharing this great pattern! Can’t wait to get started on it. Going to a Fiber Festival in Maryland today and will look for yarn to make this hat 🙂
I wear a small adult bike and motorcycle helmet and found the count of 37 to be much too small, using a K hook and making the stitches extra loose. 🙁
I just made this hat. The only way it was able to fit my head was for me to stretch it over my head. Once I did that, it fits perfect. If I do make it again, I may try and add some stitches somewhere to make it a little bit bigger. I doubled checked my gauge and I’m using the same brand of yarn. I believe this would fit a teen better, maybe an adult. So I understand why everyone seems upset. But she gave us a free pattern, just play around with the stitches. The ribbing was perfect, only the main section of the hat barely came down.
Thank you though! Pattern and gauge was written exact.
You are welcome! I would suggest sizing up a hook size for the main hat and see if that helps too! 🙂
I have read and reread Part 2, Round 2 and continue to be totally confused by it. The picture doesn’t clarify it for me either. I ended up with 58 hdc to make it fit my head and don’t know where to go from there. Soooo confused
Directions are definitely not for an adult.
Hi Pat,
This pattern was written for an teen / adult women but since everyone is different it may not fit all. If the recommended crochet hook size is not giving you the size you need I would suggest sizing up a crochet hook or two to try to reach the correct gauge. If you are using a different yarn weight, even a different yarn with the suggested weight outcome will vary.
Thanks
Krista Cagle
Your 3 half double crochet is hard to understand. There is not a picture that I could find about this .
way too small, only fit half of my 23″ circumference female head. had to make ribbing waayy longer, still did not fit. worsted weight 4 yarn, size 6mm, or J hook if ya will, loose stitch. idk what went wrong but tyvm anyway for the free pattern☆, i just refuse to try thrice :/
Hi SaraAnn,
Oh no! I am guessing maybe your gauge was different that suggested. If you do decide to try again you could even go up a crochet hook size to get the correct gauge. Have a great day!
Krista
Crocheted hats have a count of 60 stitches , i tried this pattern even using a K hook and it is still to small. Cannot understand how 37 stitches will fit a teen or adult head. I am not new to this craft as I started out at the age of 12 and now i am 70. I love the pattern but going to try and revise it for a larger size.
HI Maryann,
What is your gauge? If the gauge is followed as written then it will fit a teen to adult women 🙂 Hope this helps.
Krista
I am confused. On the main part of the hat it starts with round 3, then round 2, then round 1, then rounds 4 and on.
Hi Gwen,
Somehow they weren’t in order, but they are fixed now.
Krista
Hello,
I need some clarification on Round 2 where is says “Round 2: ch 1, in first st hdc in the 3rd loop , do a 3rd loop hdc in every st around, sl st to the top of the first hdc. (37)”. I have read this over and over and really can’t understand it.
Does is mean that you do a hdc in every 3rd loop. So, you are essentially decreasing the row size? Or are you suppose to ch1 and then do a hdc in the 3rd loop and then hdc in every loop til the end?
Hi Chantelle,
The third loop is located on the back of the HDC stitch.I have a picture above showing where the 3rd loop is. 🙂 Let me know if this helps 🙂
Please help, I couldn’t find the third loop behind the hdc that you mentioned
Hi Mimi,
It will be the far (third) back loop of the hdc stitch. I have a picture with the pattern to help. Let me know if you have any more questions.
I just completed this hat and its my new favorite! My only confision was starting the forst round after ribbing. But it worked out fine. Thank you!!
So I used an i-5.50mm hook, added 10 rows to the ribbing so it actually went all the way around my head and followed the directions (accounting for the added stitches per row) and still ended up with a hat that maybe covers half of my head… but not really sure where I went wrong. 🙁
Hi Michelle,
How many sts do you have for every 4″ of your hat?
In round 9, my stitches are increasing, not decreasing. Could you please tell me what I’m doing wrong? Is it 2-1-1-1-2-1-1-1? 2 being the hdc2tog, 1 the hdc.
You are correct. How many St’s are you getting?
The crochet hat Andy button is so nice however my head is 24 circumference how do I adjust thanks
Hi Anne,
You could make the ribbing longer and then proceed to follow the pattern as written adjusting the st count on the main part of the hat. Hope this helps.
Krista – I have completed the ribbing section of this hat, but I’m stuck on the first round of the body. I’m not clear which stitch is considered the second chain from hook and although I have tried 4 times I never get 37 stitches around. Can you give me some guidance and/or tips so I can better determine where the placement of my half doubles should be for the first row? Thanks. Linda
Hi Linda,
You will just count down 2 stitches from the hook and that will be the one you will work into 🙂 As for the getting the correct #of stitches I would check to see if the ribbing count is correct. Hope this helps! 🙂
Krista
I am itching to make this hat, but I am lost on how you got such a large gauge with an I hook. 2 rows of hdc measuring 2″? That’s a 1″ tall hdc! I switched to a J (6.00) hook and it’s still not nearly that big. Do you have a really loose crochet stitch or am I missing something? >_< Thanks!
I am having the same issue with the gauge and I am using Isaac Mizrahi yarn which is a category 5 yarn with a 5.5 mm hook…. Not sure how to proceed other than to go buy a super bulky yarn?
I fixed the pattern to reflect the correct gauge for the ribbing.
You have a hook size of 5.25mm. I have a H/5.00mm and an I/5.5mm hook which would you suggest I use as a replacement for the 5.25mm?
You could use the 5.5 and just make sure you have the correct gauge.
Love the hat, I’m definatley going to try it out. But what does the bl mean?
Thanks!
HI Lisa,
It means back loop. 🙂