How to Make a Slip Knot in Knitting
Most knitting projects and knitting patterns begin with a slip knot.
Learning how to create a slip knot is easy, the first step to casting on, and can be done in only a few simple steps.
Take a look below to follow along with our step-by-step guide on how to tie a slip knot for beginners.
Knit Slip Knot Tutorial
Skill Level: Easy
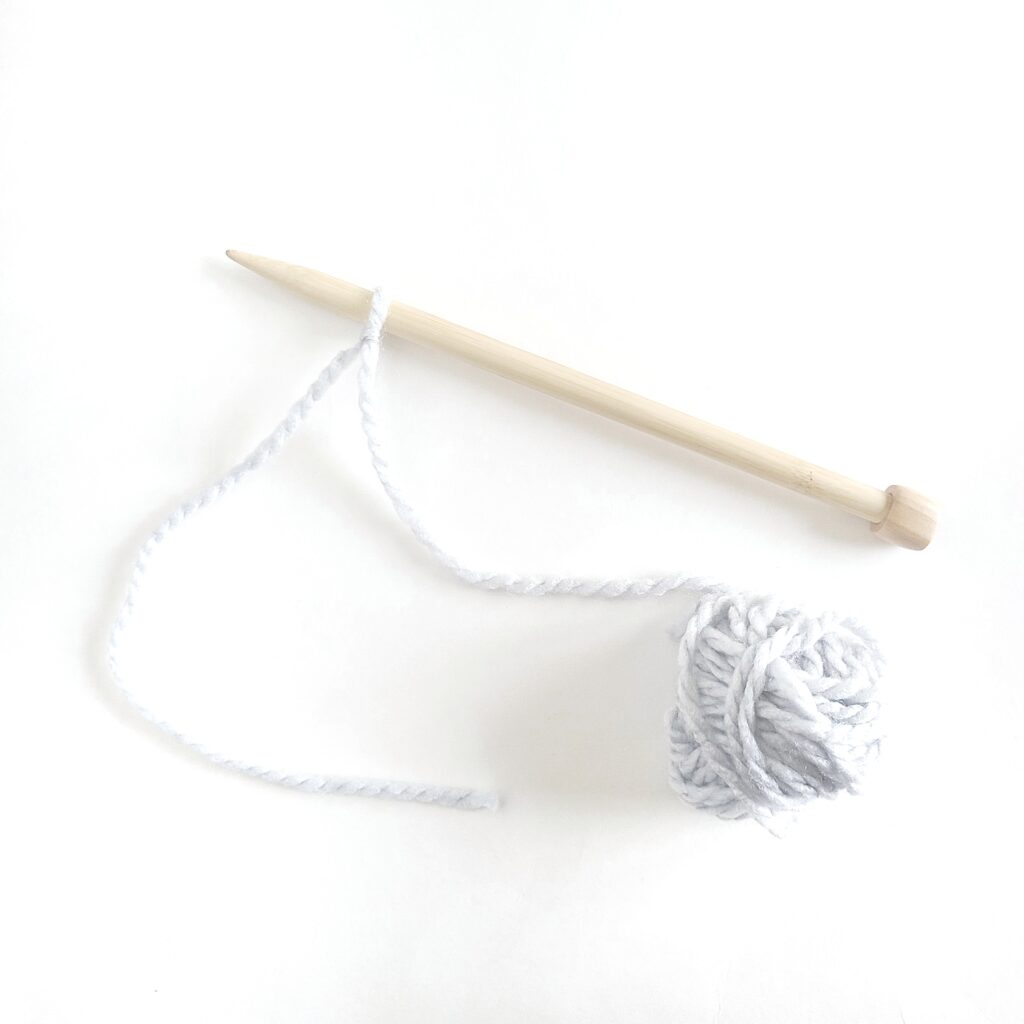
Materials: Any yarn (I used Charisma Bulky Yarn), Any size knitting needles that corresponds to the yarn used (10 mm straight point needles)
Notes: Written in standard US terms
Step 1
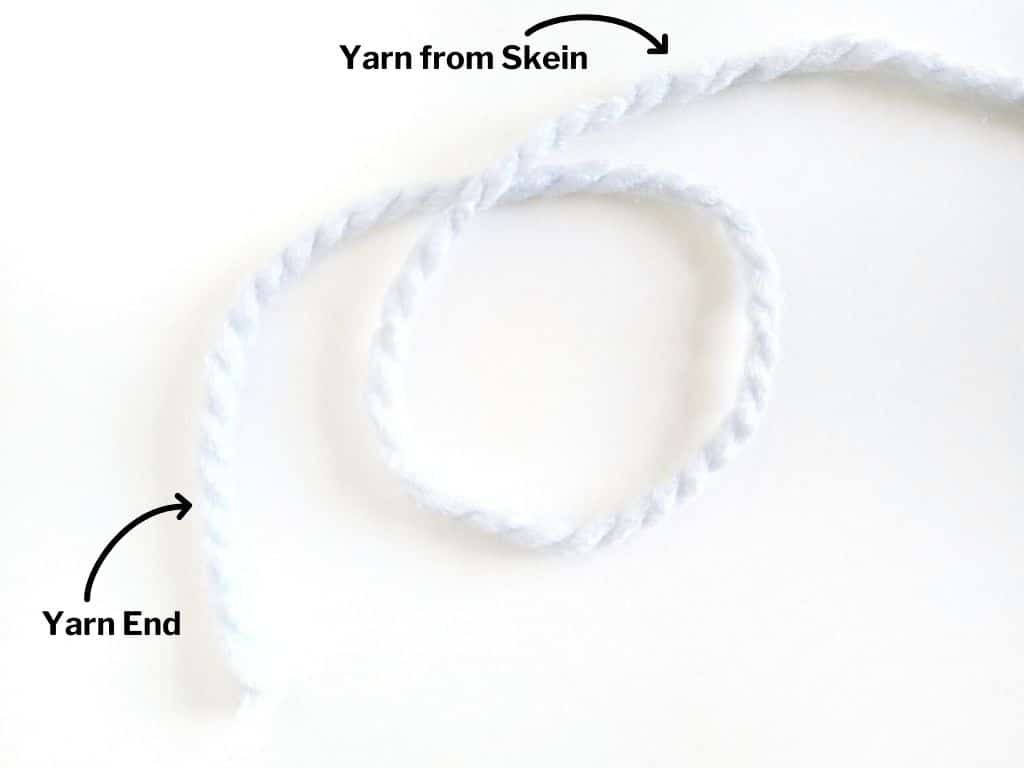
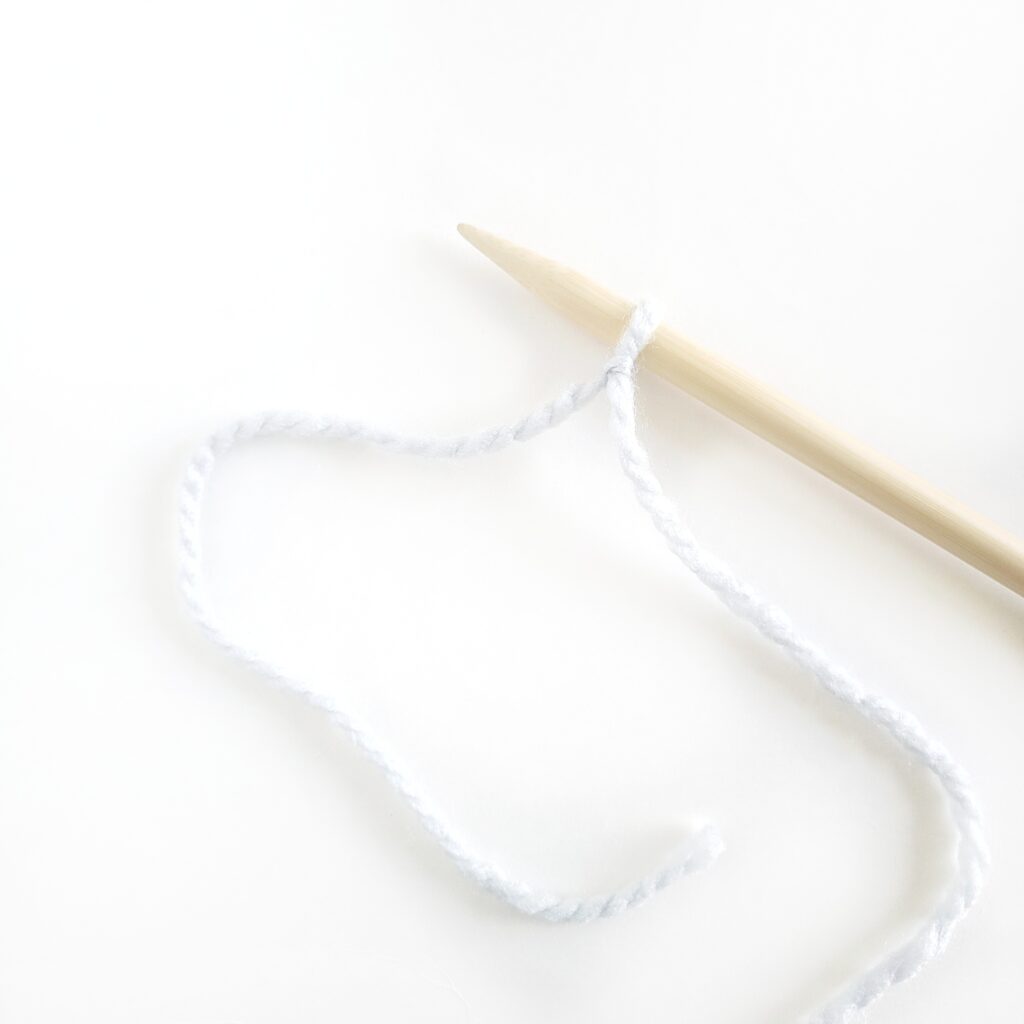
Cross the yarn coming from the ball of yarn over the tail end of yarn to form a circle.

Step 2
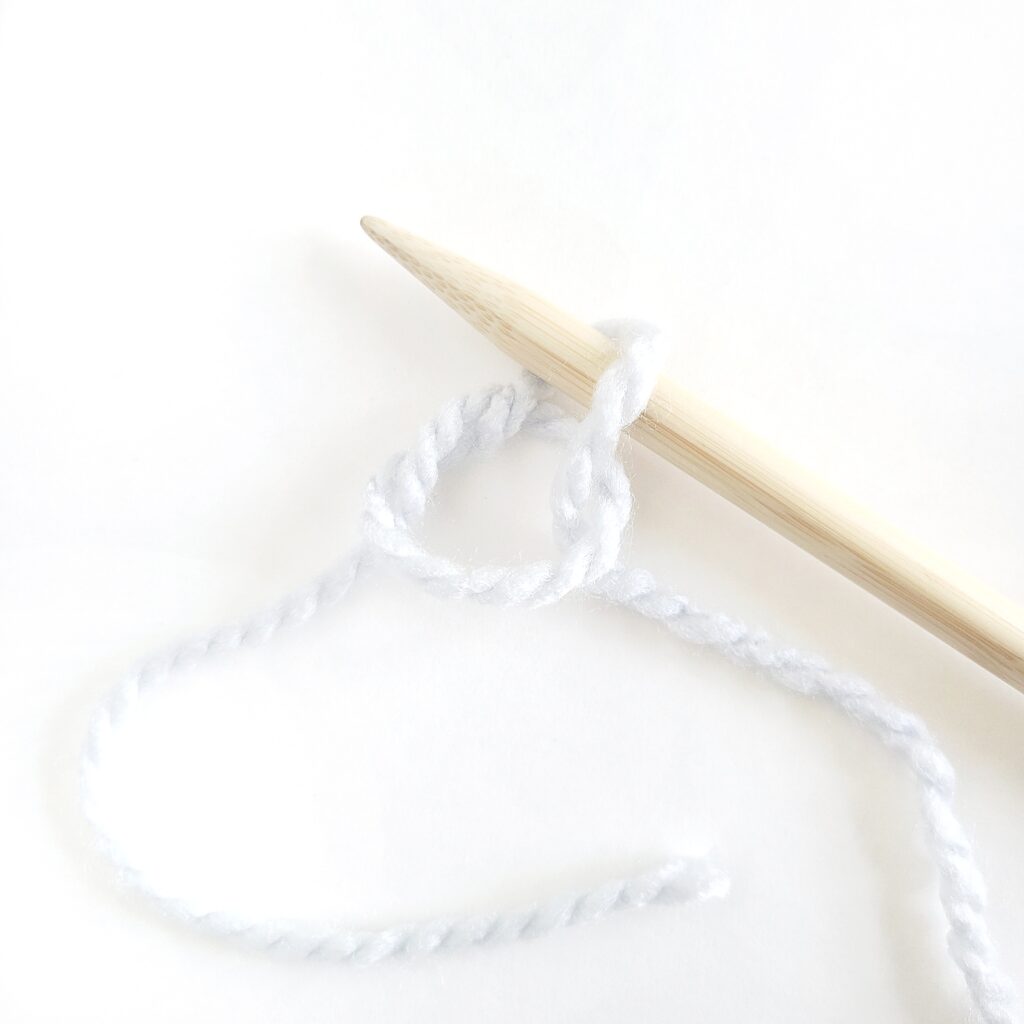
Insert a knitting needle into the loop of yarn (circle) as shown. Wrap the needle tip around the ball end of the yarn and pull the yarn down through the circle.
Step 3
Step 2 will create a loop on the hook and a loose slip knot.
Step 4
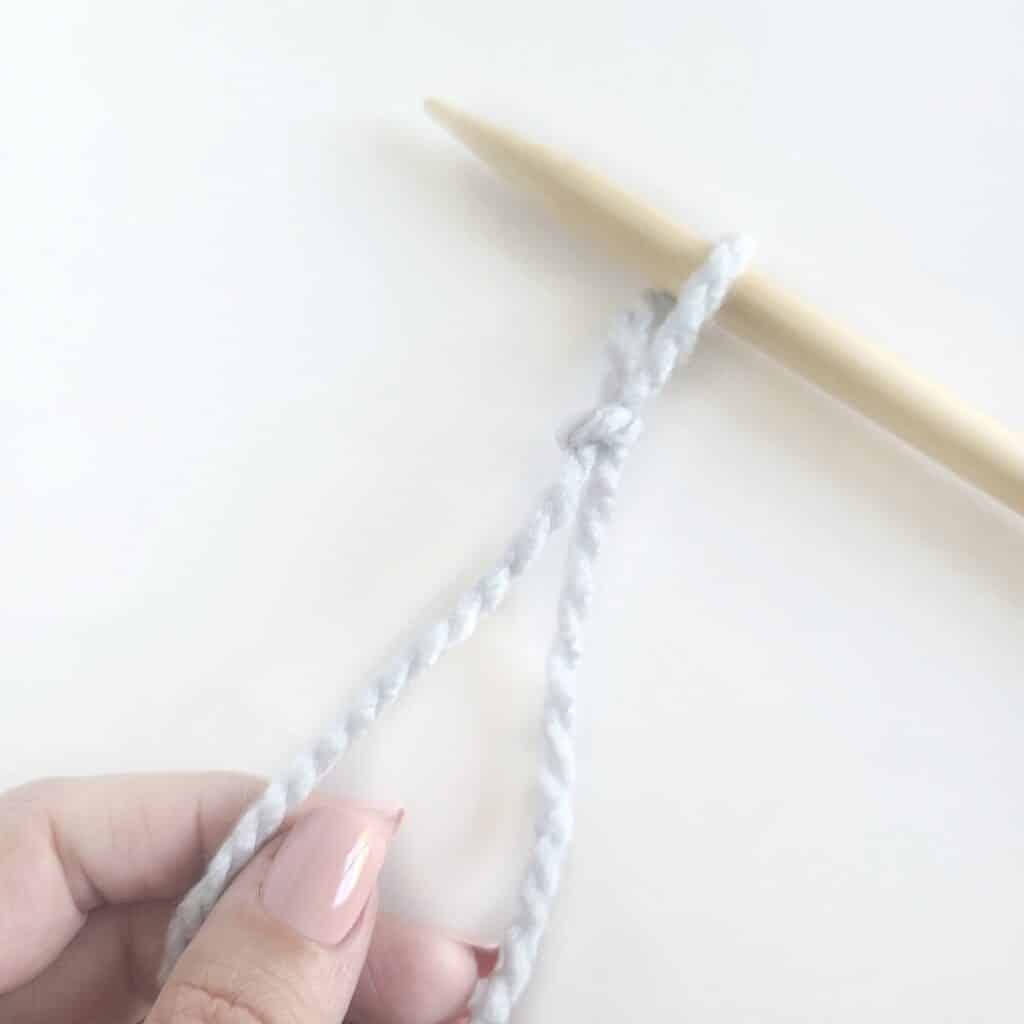
Pull both ends of the yarn to tighten the base of the slip knot around the needle.
Step 5
The slip knot should be tight enough on the needle that it won’t slide off, but loose enough that it can slide slightly.
Step 6
There should be a 4-6″ yarn tail, so it can be woven (or darned) in with a yarn needle after a knit project is complete. Check with the pattern you are following in case it instructs you to start with a longer tail for seaming or other reasons.
You are done! You have now created a slip knot, which is the first stitch on the needle when casting on. Not only that, but you are well on your way to learn some more fun knit stitches like the garter stitch, knit stitch and more!