How to Knit a Garter Stitch for Beginners
The garter stitch is the most common basic knitting stitch beginners attempt when learning how to knit for the first time.
It is simple and beginner-friendly and creates a beautiful stitch that lays flat with nice texture.
Scroll on down to find a full written tutorial as well as a step-by-step photo tutorial on how to knit the garter stitch.
What is a Garter Stitch Knitting?
A garter stitch in knitting is made by knitting each row or continuous knit stitches in a row. The first row of knit stitches; the side facing out is considered the right side (RS) of the fabric.
Here is an example of the RS abbreviation being used:
Row 1: (RS) K
Row 2 to ?: Repeat Row 1
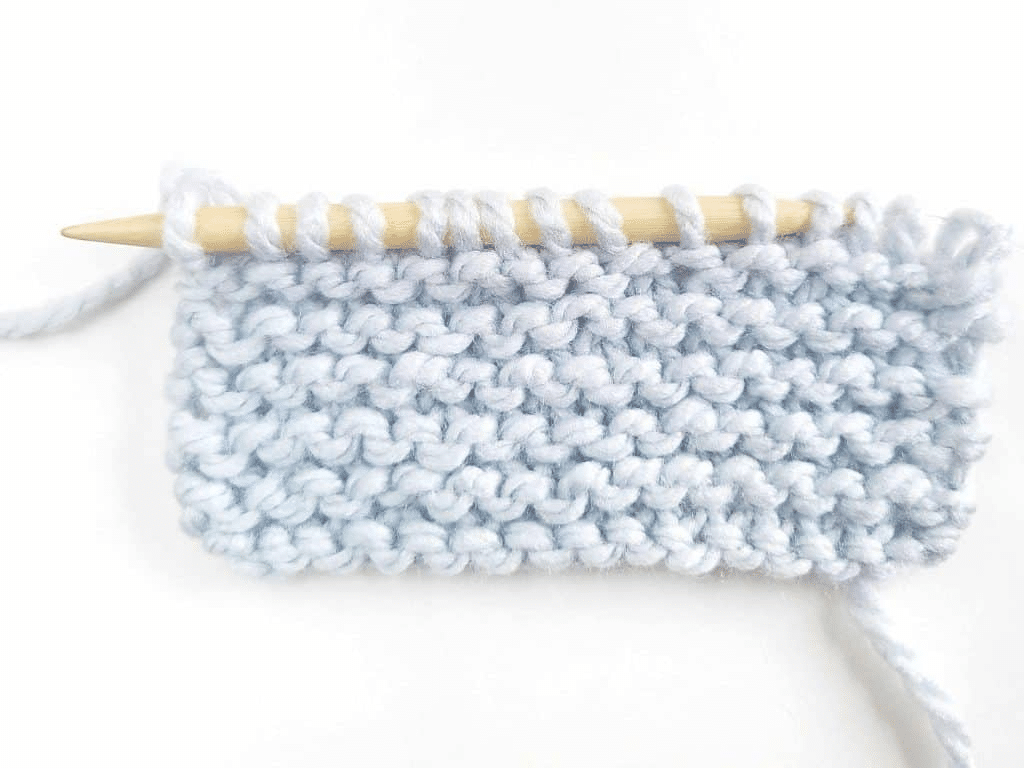
A single row of knit stitches produces a V on the front of the work and a bump on the back. More than one row of knit stitches look the same on both sides and are completely reversible.
Since both sides of the knit garter stitch look the same, it creates a simple, but interesting fabric that lays flat and works great with any yarn weight, from lace to super bulky. Projects made with a knit stitch are stretchy both length and width wise.
All sorts of projects can be created thanks to the garter stitch, from hats and scarves to blankets and sweaters. My favorite knit project with this stitch is a garter stitch blanket pattern, since its beginner-friendly and looks great when finished.
Supplies Needed to Make a Garter Stitch
To be able to knit a garter stitch, you will need to have yarn, a knitting needle and scissors on hand. Learn more about each of these essential knitting tools below.
Yarn
You can use any weight of yarn to make a garter stitch in knitting, from lightweight to super bulky yarn types. This example shows a five weight yarn, but you are welcome to use any type of yarn you may have when learning how to knit this stitch.
Knitting Needle
For this tutorial, I used a 10 mm sized knitting needle. Knitting needles come in many sizes, and will vary depending on what yarn you decide to use. The recommended needle size can be found on the label of most yarns on the market.
Other Supplies
To complete this stitch tutorial, you will also want to have something to cut the yarn when you are done, such as a pair of stork scissors. They are not a necessity, but they are fun to have.
My stock scissors are the designated yarn scissors in my house, which are only allowed to be used for my knit and crochet pattern creations.
Stitches used in the Garter Stitch
The garter stitch is continuous rows of the knit stitch, or in other words, every row in this pattern is made using the knitting garter stitch.
The knit stitch is an easy beginner stitch to learn and is the first stitch that most start with when learning how to knit for the very first time.
Learn more about the Knit Stitch or (k) abbreviated below.
Tip: Follow along with our step by step knit stitch tutorial with photos for extra help before starting the garter stitch tutorial below.
Garter Stitch Pattern
Skill Level: Basic
Materials:
- Yarn
- Knitting needle that corresponds to the yarn you have on hand
- Scissors
Stitches & Abbreviations:
- k = knit stitch
- st(s) = stitch(es)
- rep = repeat
Notes:
- Tutorial is in standard US terms
How to do the Knit Stitch (k):
- Insert the right needle into the first stitch on the left needle. Make sure it goes from left to right into the front of the stitch.
- Take the yarn behind, bring it up and wrap the yarn around the right needle clockwise.
- Using the tip of the right needle, draw a loop of the working yarn through the stitch
- Slip the stitch of the left needle. You have now created a stitch on the right needle.
- The row is complete when all the stitches have been transferred off the left needle and onto the right needle.
Garter Stitch Tutorial
To learn the garter stitch, you will first need to learn the knit stitch, which is shown below from the start to row 1. Row 2 creates the garter stitch when another row of knit stitches is created. More than one row of knit stitches is a garter stitch.
To Start
Cast on any number of stitches.
Row 1
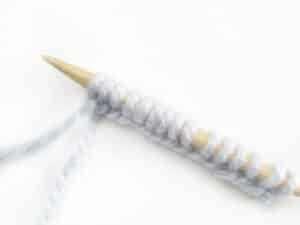
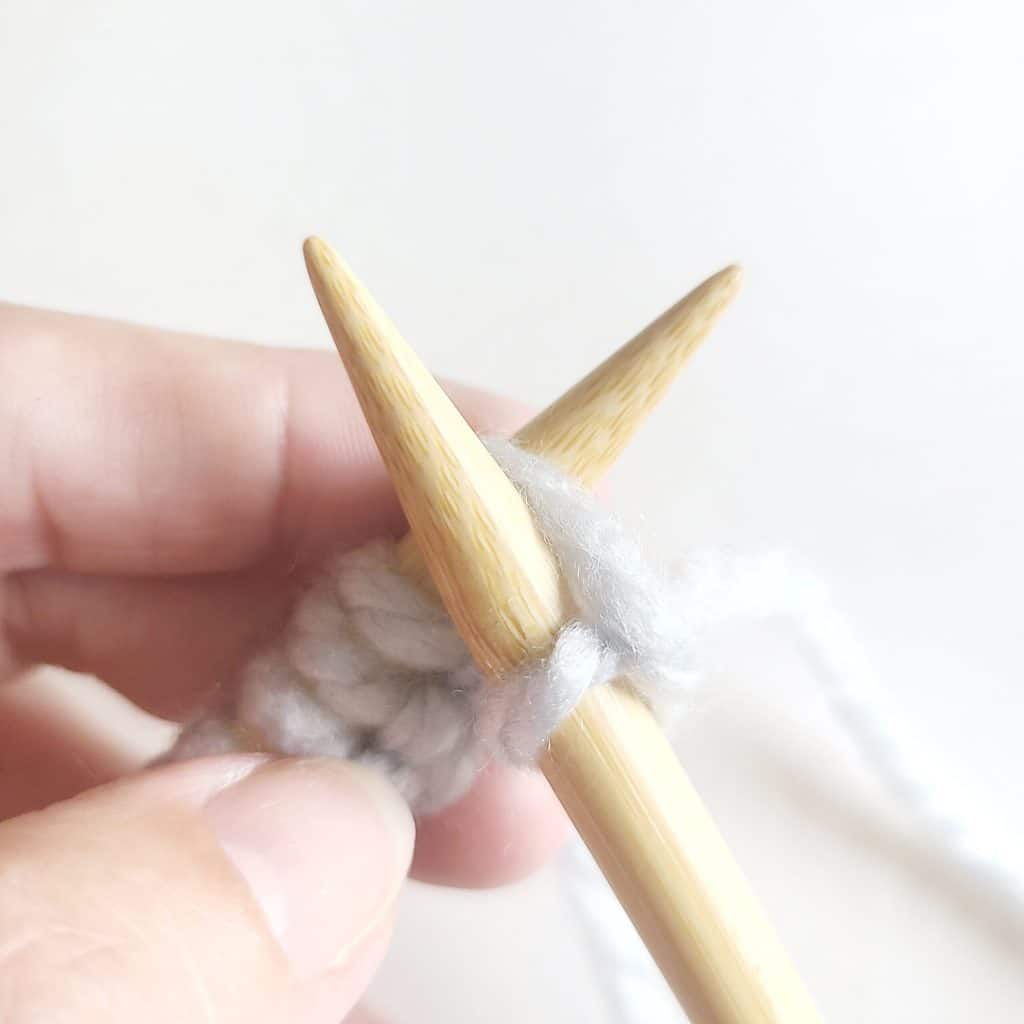
Step 1: Insert the right needle in the first stitch on the left needle. Make sure it goes from left to right into the front of the stitch.

Step 2: Taking the yarn behind, bring it up and around the right needle clockwise.
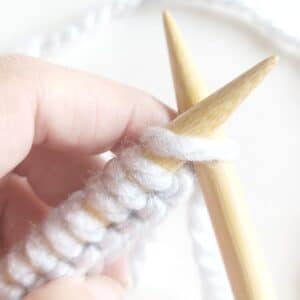
Step 3: Using the tip of the right needle, draw a loop of the working yarn through the stitch.
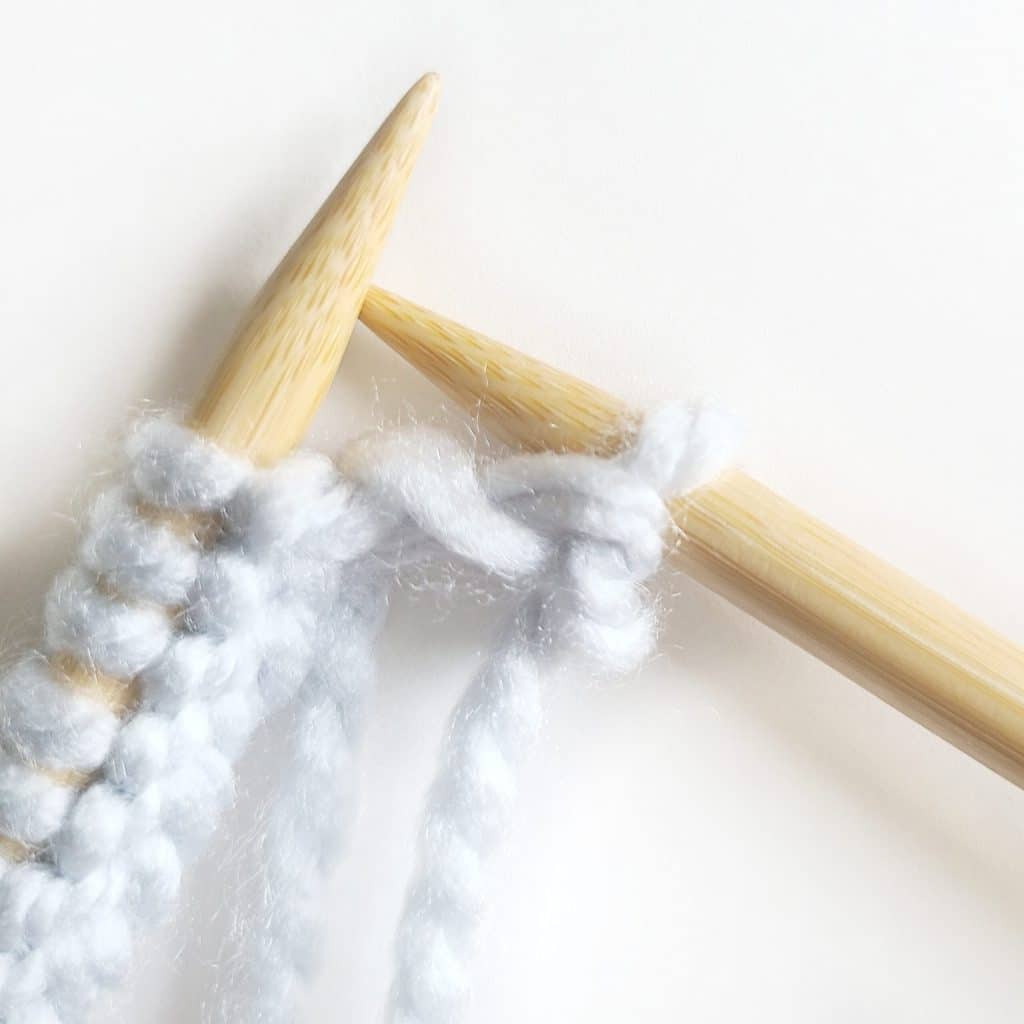
Step 4: Slip the stitch off the left needle. There now is a new stitch on the right needle.
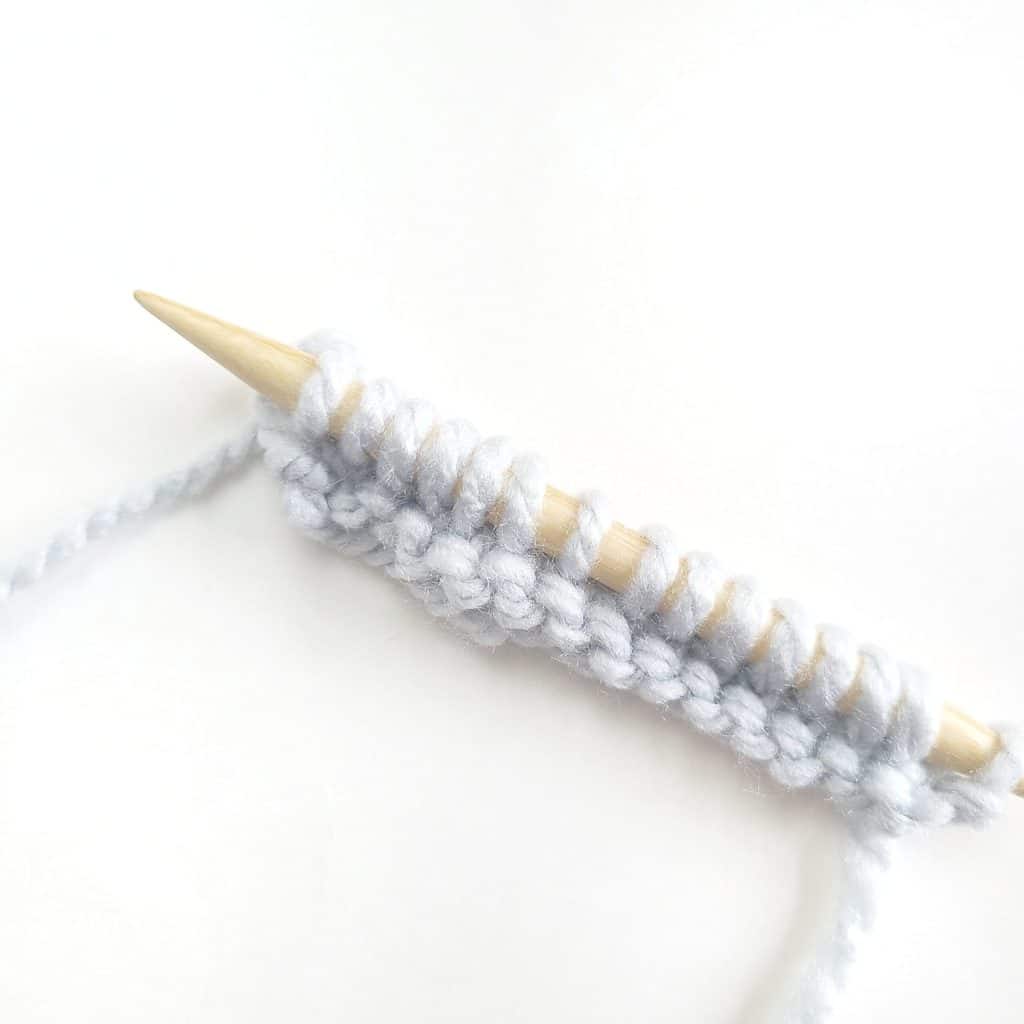
Step 5: Repeat steps 1-5 for the remaining stitches until no stitches remain on the left needle and all the stitches are on the right needle.
Row 2 to ?
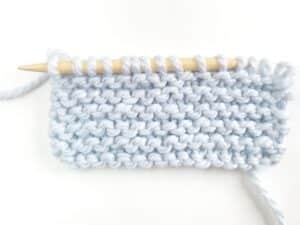
Repeat row 1 until the desired number of rows are reached.
I hope you enjoyed this tutorial on how to knit a garter stitch! If you need any clarification, please feel free to contact me!
How Can I tell how many rows in the Garter stitch I’ve made?
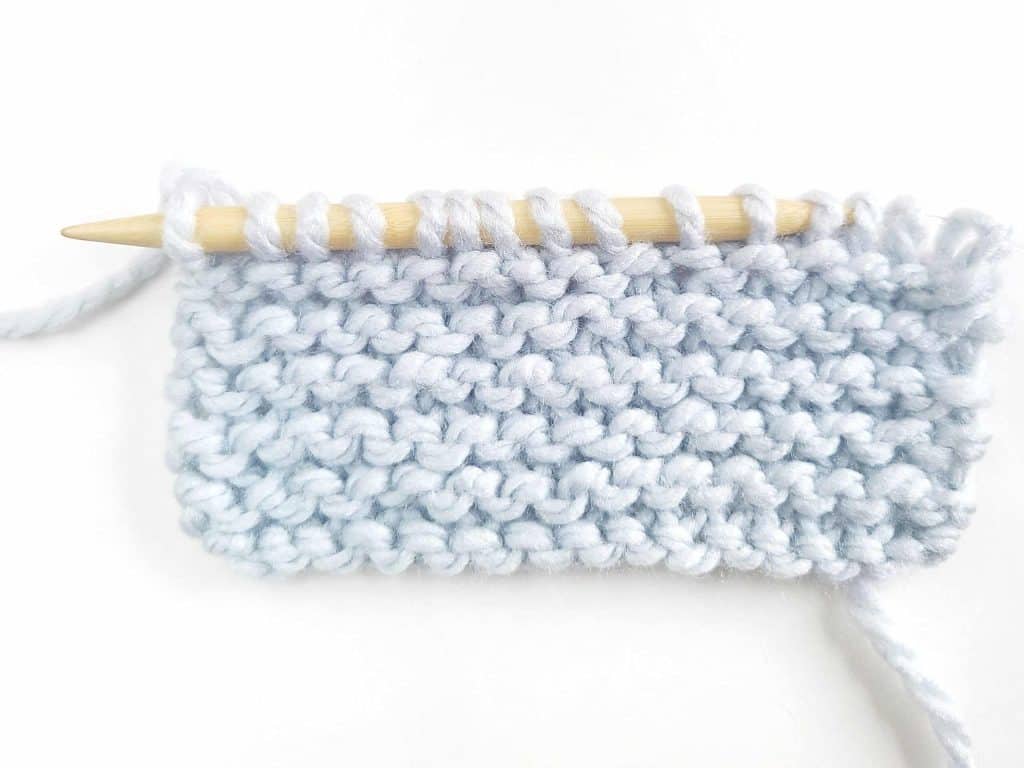
The garter stitch creates bumpy rows that have interlocking loops. Those bumps are caused by two rows of knitting, so each bumpy row counts as two rows in garter stitch.
What Can I knit with the Garter Stitch?
Since the garter stitch creates a flat project, it is prefect to create knit scarves and knit blankets with. Other knitting patterns can be found on Yarnspirations’ website.
How is Garter Stitch in the Round Different?
Because the right side of the work is always facing you as you work in the round, knitting every stitch of every round gives you a stockinette stitch, and not the garter. To knit garter stitch in the round, you have to alternate knit and purl rounds.
What is a Reverse Garter Stitch?
A reverse garter stitch is accomplished by creating a purl across all the rows instead. This is because a knit stitch will look like exactly a purl stitch from the reverse and vice versa.
What is “Work in Garter Stitch” Mean?
Work in the garter stitch simply means that you need to knit all stitches on every row until the knitting pattern says otherwise.